
As I slid the first slice of my Classic New York Cheesecake onto a plate, an irresistible aroma filled the kitchen, taking me back to that cozy corner deli in Manhattan. This isn’t just any dessert; it’s a remarkable blend of decadence and tradition, featuring a golden graham cracker crust that perfectly cradles a rich, creamy filling. What makes this cheesecake truly special is the low-and-slow baking method in a water bath, ensuring a dreamy, crack-free surface that you’ll be proud to serve. Plus, this baked cheesecake is freezer-friendly, making it a fantastic make-ahead option for gatherings and celebrations. Ready to dive into the world of homemade cheesecakes? What toppings will you choose to complement this classic delight?
Why is New York Cheesecake so Special?
Rich Creaminess: The secret lies in the perfect balance of cream cheese and sour cream, which creates a bold and deliciously creamy texture that melts in your mouth.
Golden Graham Cracker Crust: This crust is not just any crust; it offers a satisfying crunch that contrasts beautifully with the smooth filling.
Timeless Tradition: Preparing a Classic New York Cheesecake is an art. The low-and-slow baking method in a water bath guarantees a flawless, crack-free finish, making it perfect for special occasions.
Versatile Toppings: Personalize your cheesecake with fresh fruit, chocolate drizzles, or a tangy fruit coulis—just like my Cheesecake Stuffed Strawberries can elevate your dessert game.
Make-Ahead Delight: This recipe is not just delicious but also practical. You can indulge in creamy perfection without the last-minute rush, ensuring a stress-free gathering.
Crowd-Pleasing Appeal: Your family and friends will rave about this cheesecake, making it a must-have at any gathering or celebration.
Classic New York Cheesecake Ingredients
• Discover the must-have ingredients for a deliciously rich and creamy Classic New York Cheesecake!
For the Crust
- Graham Cracker Crumbs – Acts as the crunchy foundation; use finely crushed for optimal texture.
- Melted Butter – Binds the crust ingredients together; substitute with coconut oil for a dairy-free option.
- Granulated Sugar – Sweetens the crust nicely; consider brown sugar for a deeper flavor profile.
For the Filling
- Cream Cheese – The essential ingredient for a rich creaminess; avoid substitutions for best results.
- Granulated Sugar (Filling) – Sweetens the cheesecake; opt for a sugar substitute for a lower-sugar treat if necessary.
- All-Purpose Flour – Stabilizes the filling; can be swapped with a gluten-free flour blend if desired.
- Eggs – Provides structure and richness; use large eggs at room temperature for best incorporation.
- Sour Cream – Adds an extra layer of creaminess and tang; Greek yogurt can be used as a substitute.
- Vanilla Extract – Enhances the overall flavor profile; pure almond extract works nicely for a twist.
- Salt – Balances sweetness; essential in the recipe for enhancing the flavor.
Now you’re all set to create your own Classic New York Cheesecake, filled with rich flavors and memories!
Step‑by‑Step Instructions for Classic New York Cheesecake
Step 1: Preheat and Prepare the Pan
Preheat your oven to 325°F (165°C) while you prepare for the magic of the Classic New York Cheesecake. Take a 9-inch springform pan and wrap the bottom and sides with two layers of heavy-duty foil to prevent water from seeping in during the baking process. Set this aside; we’ll come back to it shortly.
Step 2: Make the Graham Cracker Crust
In a mixing bowl, combine graham cracker crumbs, melted butter, and 1/4 cup of granulated sugar until well blended. Press the mixture firmly into the bottom and about 1 inch up the sides of the prepared pan. Bake the crust in your preheated oven for 8 minutes until it’s lightly golden. Once done, remove it from the oven and allow the crust to cool completely before adding the filling.
Step 3: Beat the Cream Cheese
In a large mixing bowl, beat 24 ounces of cream cheese on medium speed until it’s silky smooth, about 3 minutes. Make sure to scrape down the sides of the bowl frequently, allowing for even mixing. This step is crucial for a lump-free filling in your Classic New York Cheesecake, so take your time to get it just right.
Step 4: Add Sugar and Flour
Next, add 1 cup of granulated sugar and 1 tablespoon of all-purpose flour to the cream cheese mixture. Beat until everything is blended perfectly. Then, incorporate the eggs, adding one at a time while mixing on low speed to prevent overmixing, which can lead to cracks in your cheesecake. Stop mixing once just combined.
Step 5: Mix in Remaining Ingredients
Now, gently fold in 1 cup of sour cream, 1 teaspoon of vanilla extract, and a pinch of salt until everything is thoroughly incorporated. This mixture transforms your filling into that rich, creamy goodness that defines a Classic New York Cheesecake. Be careful not to overbeat; you want a smooth texture without introducing too much air.
Step 6: Pour the Filling
Pour the luscious filling into the cooled graham cracker crust, spreading it evenly using a spatula. To protect the cheesecake while baking, carefully place the springform pan into a larger roasting pan. Fill the roasting pan with hot water until it reaches about 1 inch up the sides of the springform pan, creating a gentle water bath that keeps the baking temperature stable.
Step 7: Bake the Cheesecake
Bake the cheesecake in the preheated oven for 70-75 minutes. Keep an eye on it; the edges should be set, while the center should still jiggle slightly when you gently shake the pan. This jiggle indicates it’s perfectly baked, rich, and ready to cool down without cracking.
Step 8: Cool the Cheesecake
After baking, turn off the oven and leave the door ajar. Let your Classic New York Cheesecake rest in the oven for 1 hour, allowing it to cool gradually. This step is key to preventing cracks. Once cooled, take it out of the oven and let it cool at room temperature for another hour before refrigerating.
Step 9: Chill Overnight
Cover the cheesecake and refrigerate it overnight to let the flavors meld beautifully. This long chilling time enhances its flavor and texture, making each slice smoother and creamier. Patience is key—the wait will be worth it when you slice into this classic dessert!
Step 10: Serve and Enjoy
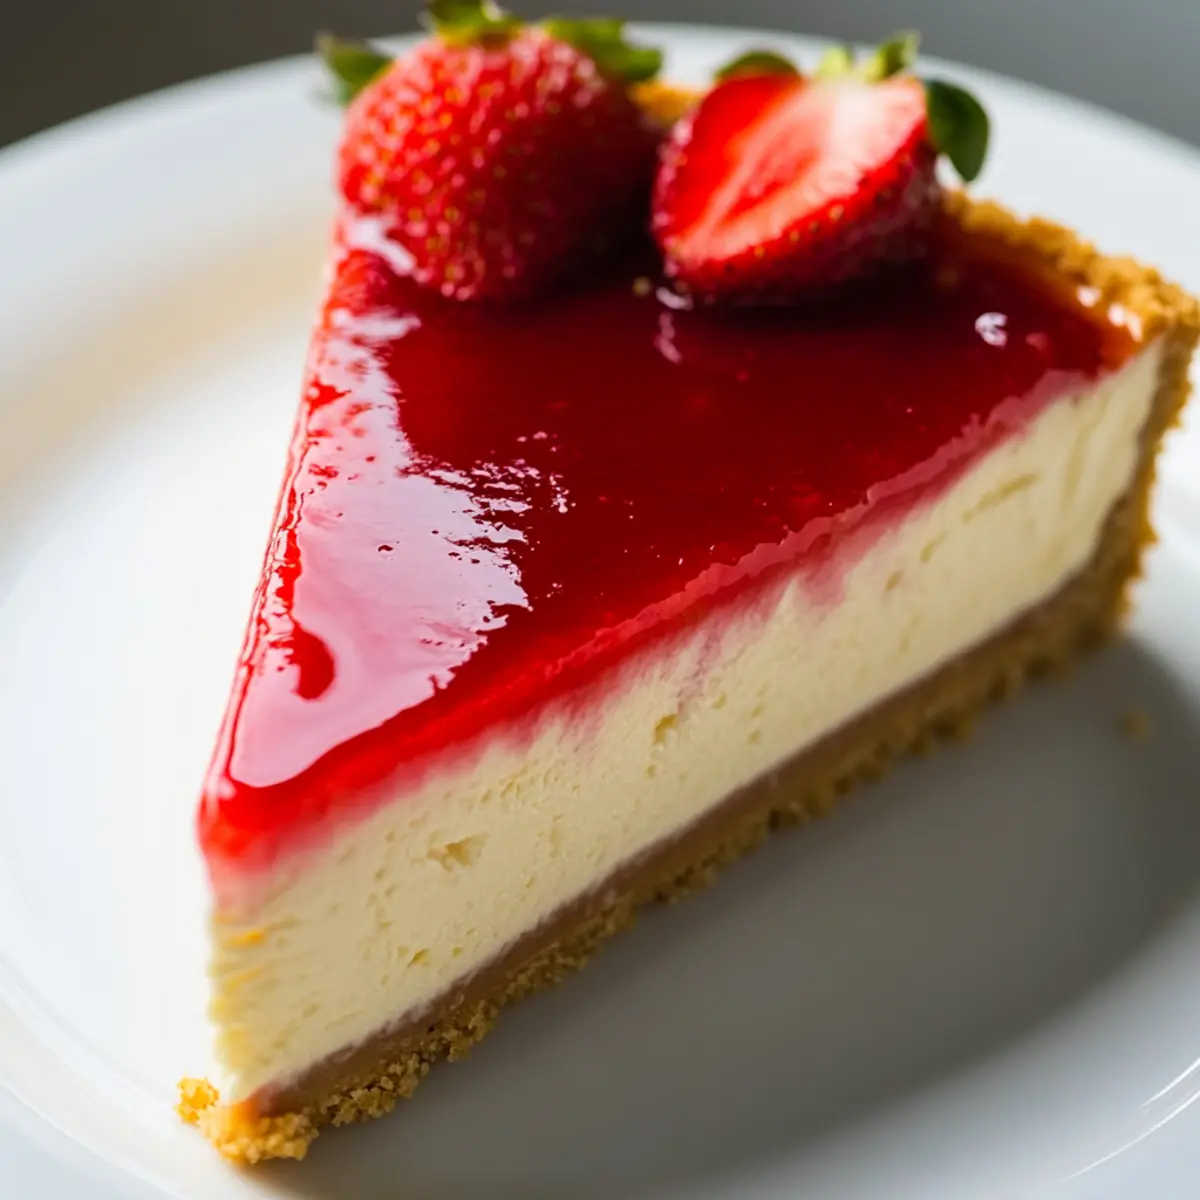
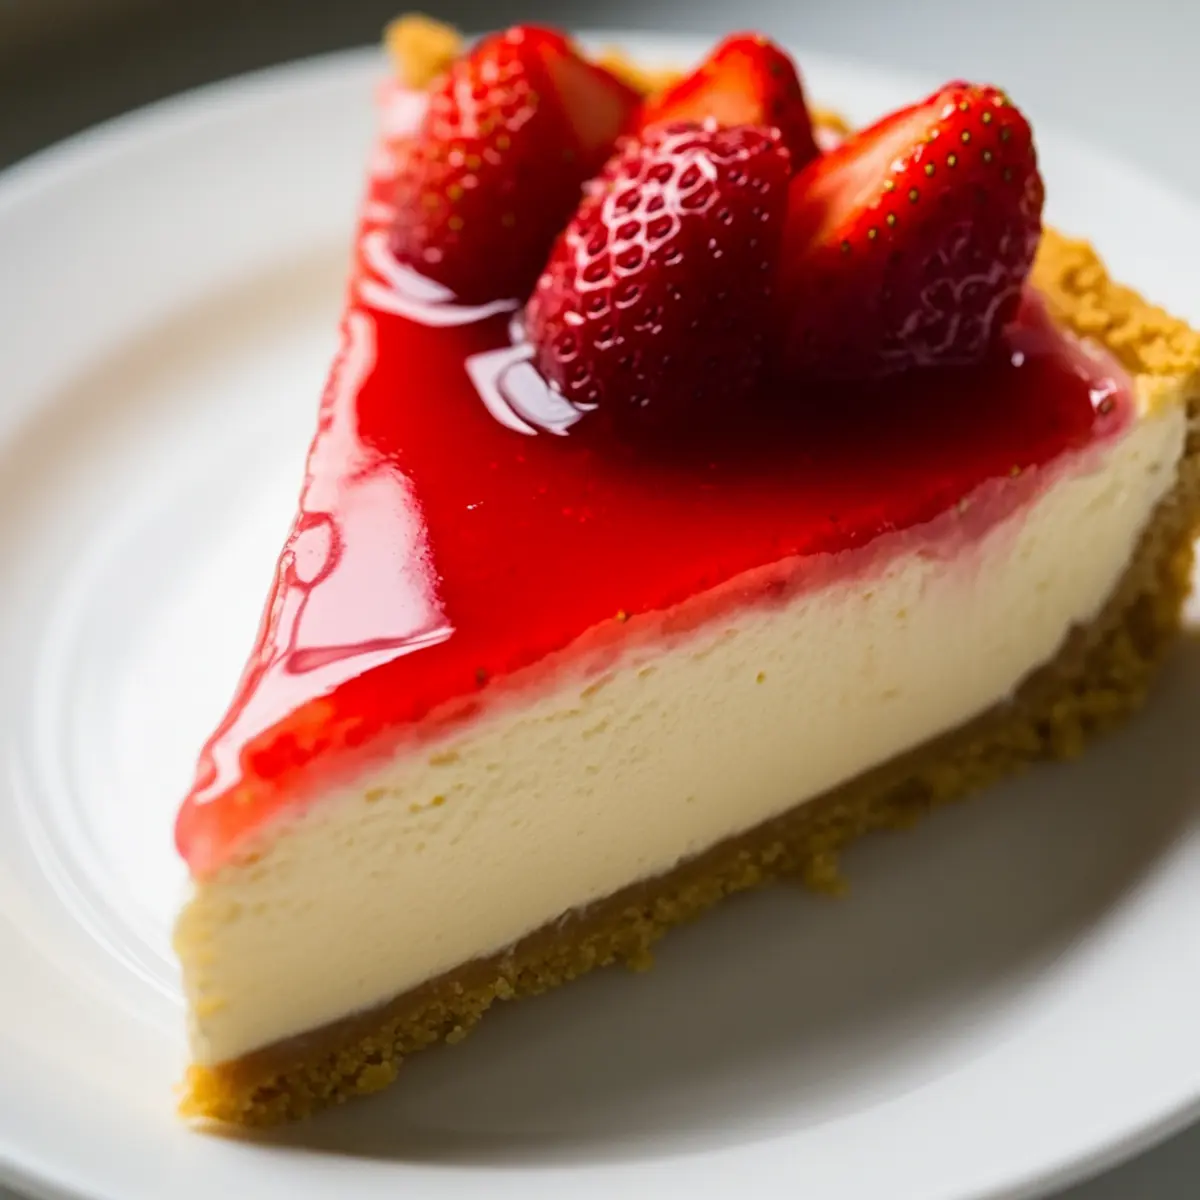
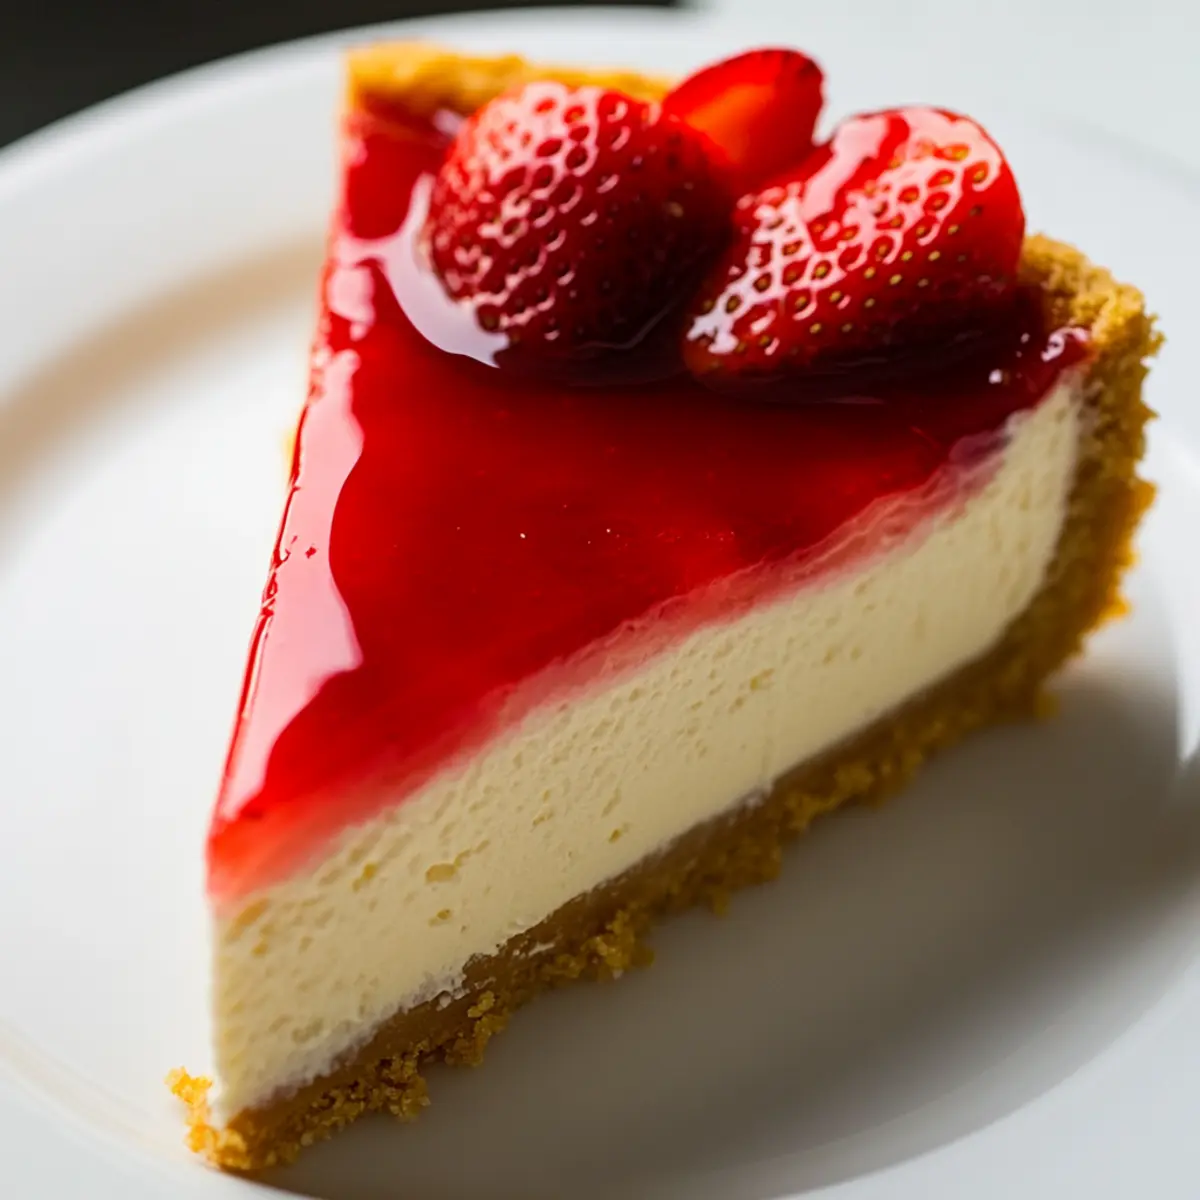
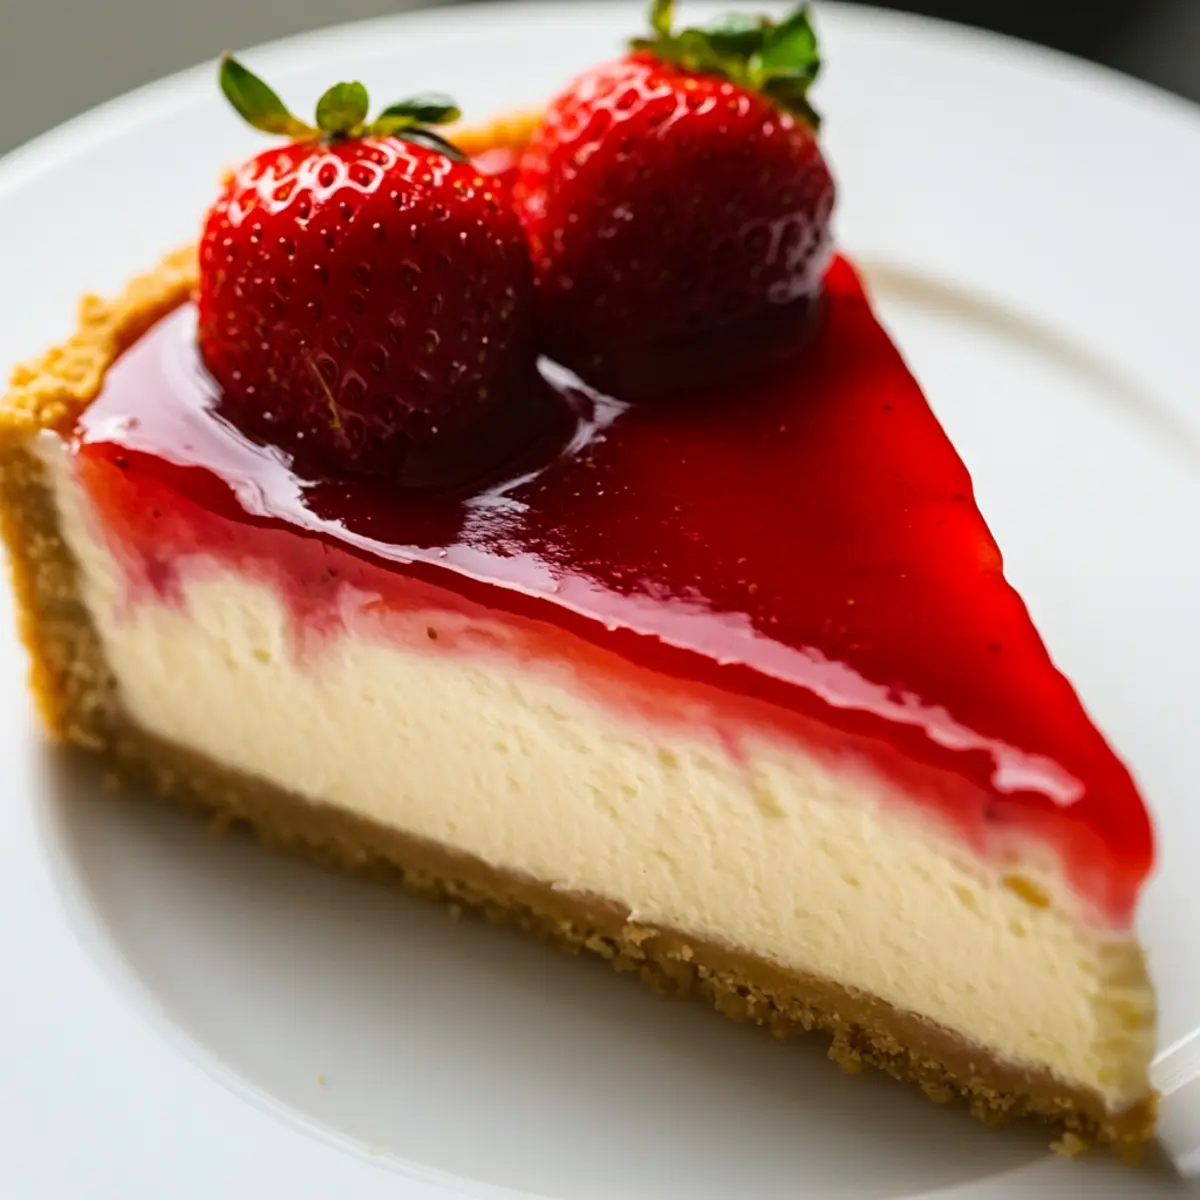
Before serving, carefully run a knife around the edge of the cheesecake to loosen it from the pan. Invert it onto a plate and flip it back if you wish. Slice and serve chilled, topped with fresh strawberries or your favorite fruit coulis for that extra special touch. Your Classic New York Cheesecake is ready to be enjoyed!
Make Ahead Options
These Classic New York Cheesecake options are ideal for busy home cooks looking to save time! You can prepare the graham cracker crust and keep it tightly covered in the refrigerator for up to 3 days before adding the filling, which helps maintain its firmness and flavor. The cream cheese filling can also be mixed and refrigerated for up to 24 hours prior to baking—just ensure you bring it to room temperature before pouring it into the crust. When you’re ready to bake your cheesecake, simply preheat your oven and follow the remaining steps. By prepping components ahead, you’ll have a deliciously rich dessert with minimal last-minute effort, allowing you to enjoy more time with family and friends.
Expert Tips for Classic New York Cheesecake
-
Water Bath Essential: Never skip the water bath as it maintains a steady baking temperature, preventing unsightly cracks on your cheesecake.
-
Room Temperature Cheese: Make sure your cream cheese is at room temperature before mixing. This ensures a lump-free, creamy filling that is the hallmark of classic New York cheesecake.
-
Mixing Caution: When incorporating eggs, mix on low and avoid overmixing to preserve the cheesecake’s dense texture. Overbeating can introduce too much air, leading to cracks.
-
Gradual Cooling: After baking, letting the cheesecake cool in the oven with the door ajar for an hour helps prevent sudden temperature changes, which can cause cracks.
-
Knife Technique: To easily release your cheesecake from the pan, run a knife around the edge before inverting it onto a plate. This little trick makes serving a breeze!
Classic New York Cheesecake Variations
Feel free to customize your cheesecake experience with these delightful twists that will mesmerize your taste buds!
- Dairy-Free: Swap melted butter for coconut oil in the crust to create a delicious dairy-free version without sacrificing flavor.
- Sweetness Level: Replace granulated sugar with brown sugar for a deeper, more caramel-like sweetness that enhances the filling’s richness.
- Zesty Twist: Add lemon zest to the cream cheese filling for a refreshing burst of citrus that perfectly complements the rich creaminess.
- Flavor Forward: Try swapping vanilla extract for pure almond extract to give your cheesecake a fragrant, nutty twist that’s absolutely inviting.
- Fruit Toppings: Instead of strawberries, consider topping your cheesecake with fresh blueberries or raspberries for a beautiful and vibrant contrast.
- Swirled Sensation: Incorporate a layer of fruit puree, such as raspberry or strawberry, swirled into the cheesecake batter before baking for a stunning visual and flavor enhancement.
- Chocolate Indulgence: Fold in mini chocolate chips into the filling for a delightful chocolatey surprise with every bite, ideal for the chocolate lovers in your life!
- Nut Crust Alternative: Replace the graham cracker crust with crushed nuts for a gluten-free option that adds texture and a satisfying crunch.
For effortless dessert ideas, don’t forget to explore my Crisp Mini Cheesecakes or indulge in the rich flavors of Cookie Butter Cheesecake. Which variation will you try first?
How to Store and Freeze Classic New York Cheesecake
Refrigerator: Store the cheesecake tightly covered in the fridge for up to 5 days. This helps maintain its rich and creamy texture while keeping it fresh.
Freezer: For longer storage, wrap individual slices in plastic wrap, followed by aluminum foil, and freeze for up to 2 months. Thaw in the fridge overnight before serving to preserve quality.
Serving After Storage: To serve, allow the cheesecake to come to room temperature for about 30 minutes after refrigeration or freezing. This enhances its creamy perfection, making every bite delightful.
Airtight Tip: Ensure the cheesecake is in an airtight container or tightly wrapped to prevent any absorption of other odors in the fridge, keeping your Classic New York Cheesecake tasting just as divine!
What to Serve with Ultimate New York Cheesecake
The perfect cheesecake deserves a delicious array of accompaniments that heighten the experience and entice your taste buds.
-
Fresh Strawberries: Bright and juicy, they add a sweet-tart contrast that beautifully balances the rich creaminess of the cheesecake.
-
Berry Compote: A warm, homemade berry sauce drizzled over the top introduces a delightful tartness that enhances each creamy bite.
-
Chocolate Ganache: Pour over for a luxurious twist; chocolate pairs exceptionally well with the cheesecake’s flavor and elevates the dessert to a decadent delight.
-
Whipped Cream: Light and airy, it provides a lovely texture contrast while adding a hint of sweetness that doesn’t overpower the cheesecake.
-
Coffee: A strong, bold brew complements the creamy richness, making each bite even more satisfying, especially after a meal.
-
Caramel Sauce: Drizzling warm caramel adds a luscious layer of sweetness that pairs beautifully with the cheesecake’s rich flavors.
-
Mint Leaves: Fresh mint sprigs serve as a vibrant garnish, bringing a refreshing note that brightens up the entire dessert.
-
Ice Cream: A scoop of vanilla bean ice cream on the side introduces a creamy, cool element that enhances the cheesecake experience beautifully.
-
Nutty Biscotti: For a crunchy texture, serve alongside crunchy biscotti, offering a delightful experience with every bite of creamy cheesecake.
Classic New York Cheesecake Recipe FAQs
How do I know if my cream cheese is at the right temperature?
Absolutely! For the best results, your cream cheese should be soft and at room temperature, which usually takes about 30 minutes out of the fridge. It should yield easily when pressed with a finger, allowing for a smooth and lump-free batter.
How can I store my cheesecake for freshness?
Store your Classic New York Cheesecake tightly covered in the refrigerator for up to 5 days. Use plastic wrap or an airtight container to keep it fresh and maintain its creamy texture. You might find it helpful to place a piece of parchment paper on top to prevent sticking.
Can I freeze my cheesecake, and if so, how?
Yes, you can freeze your cheesecake! Wrap individual slices in plastic wrap, followed by aluminum foil. This will protect them from freezer burn for up to 2 months. When ready to enjoy, simply thaw the slices in the refrigerator overnight for best results.
What should I do if my cheesecake cracks?
Don’t worry if your cheesecake cracks; it happens to the best of us! To prevent this in the future, make sure to follow the water bath method carefully and avoid overmixing your filling. If it does crack, you can always cover it with a delicious layer of fruit or whipped cream for a lovely presentation.
Are there any dietary considerations for making this cheesecake?
Great question! If you have dietary restrictions, you can make substitutions like using coconut oil instead of butter for a dairy-free crust. Additionally, a gluten-free flour blend can replace all-purpose flour in the filling. Always ensure the cream cheese is full-fat for the ideal texture if you’re not substituting.
Classic New York Cheesecake: Rich, Creamy Perfection Awaits
Ingredients
Equipment
Method
- Preheat your oven to 325°F (165°C). Wrap a 9-inch springform pan with heavy-duty foil.
- Combine graham cracker crumbs, melted butter, and 1/4 cup of granulated sugar. Press into the pan and bake for 8 minutes.
- Beat cream cheese until silky smooth, about 3 minutes. Scrape down the bowl sides frequently.
- Add 1 cup of sugar and 1 tablespoon of flour to the cream cheese. Beat until blended, add eggs one at a time on low speed.
- Gently fold in sour cream, vanilla extract, and a pinch of salt until incorporated.
- Pour the filling into the cooled crust. Place the springform pan in a roasting pan filled with hot water.
- Bake for 70-75 minutes until edges are set but the center jiggles slightly.
- Turn off the oven and let the cheesecake cool in the oven with the door ajar for 1 hour.
- Cool at room temperature for another hour, then refrigerate overnight.
- Run a knife around the edge, invert onto a plate, slice, and serve chilled with toppings.
Leave a Reply