
As the sun starts to shine brighter and summer beckons, we all crave that nostalgic taste of childhood—like the refreshing bite of a creamsicle on a hot day. I’m excited to share my No-Bake Creamsicle Cheesecake recipe, a delightful tribute to those sunny memories, with a creamy filling bursting with vibrant orange flavor. This dreamy dessert not only captures the essence of summer but also requires minimal effort to whip up—allowing you more time to savor the season with loved ones. With just 20 minutes of prep time, it’s a showstopper that’s sure to impress at any gathering, whether it’s a backyard BBQ or a casual dinner with friends. Plus, it’s customizable for various dietary preferences, so everyone can enjoy a slice of this sweet nostalgia. Are you ready to recreate those sun-soaked days in dessert form? Let’s dive into this easy and delightful cheesecake!

Why is This Cheesecake a Must-Try?
Unforgettable flavors: The No-Bake Creamsicle Cheesecake captures that nostalgic creamsicle taste, making it a delightful treat for all ages. Effortless preparation: With only 20 minutes of active time, you can impress your guests without spending hours in the kitchen. Customizable options: Easily adjust the recipe to fit any dietary needs, whether making it gluten-free or vegan. Perfect for gatherings: Its stunning presentation and refreshing flavor make it a hit at summer BBQs or birthday parties. Plus, try pairing it with our Cheesecake Stuffed Strawberries for a double dessert delight! Enjoy a taste of summer nostalgia without the hassle of baking!
No-Bake Creamsicle Cheesecake Ingredients
For the Crust
• Graham Cracker Crumbs – Perfect for a tasty base; substitute with gluten-free crumbs if necessary.
• Unsalted Butter (0.5 cup) – Binds the crust together; use coconut oil for a dairy-free version.
• Granulated Sugar (0.25 cup) – Adds sweetness to the crust; can be reduced or substituted with a sugar alternative.
For the Filling
• Cream Cheese (16 oz) – The creamy base for the cheesecake; use plant-based cream cheese for a vegan option.
• Powdered Sugar (1 cup) – Sweetens the filling; optional to reduce for less sweetness.
• Heavy Whipping Cream (1 cup) – Infuses fluffiness and richness; substitute with coconut cream for a dairy-free option.
• Vanilla Extract (1 tsp) – Enhances flavor; no substitutions needed.
• Orange Zest (1 tsp) – Adds fragrant citrus notes; can replace with lemon or lime zest for a different twist.
• Orange Juice (0.5 cup) – The key flavor component; fresh juice is highly recommended for an optimal taste.
• Unflavored Gelatin (1 tsp) – optional – Helps firm the cheesecake; omit for a softer texture.
For the Toppings
• Whipped Cream – A luscious topping; use dairy-free cream for a vegan version.
• Orange Slices & Zest – For garnish, bringing color and vibrancy to your creation.
Dive into creating this delightful No-Bake Creamsicle Cheesecake that not only revives cherished summer memories but also leaves room for personal touches with substitutions!
Step‑by‑Step Instructions for No-Bake Creamsicle Cheesecake
Step 1: Prepare the Crust
In a mixing bowl, combine graham cracker crumbs, melted unsalted butter, and granulated sugar until it reaches a consistency similar to wet sand. Evenly press this mixture into the bottom of a 9-inch springform pan, ensuring it’s compact. Chill the crust in the refrigerator for at least 15-20 minutes while you prepare the filling, allowing it to firm up for a better base.
Step 2: Make the Filling
In a large mixing bowl, beat the softened cream cheese and powdered sugar using an electric mixer until the mixture is completely smooth and creamy, about 2-3 minutes. Gradually add the vanilla extract, orange zest, and fresh orange juice, mixing well until everything is thoroughly combined. This luscious filling is the star of your No-Bake Creamsicle Cheesecake, so make sure it’s well blended!
Step 3: Whip the Cream
In a separate bowl, pour in the heavy whipping cream and whisk it with a hand mixer until stiff peaks form, which will take about 3-5 minutes. Gently fold the whipped cream into the cream cheese mixture using a spatula, being careful not to deflate the airy texture. If you’re including gelatin, dissolve it in warm water before incorporating it into the filling for a firmer cheesecake.
Step 4: Assemble the Cheesecake
Pour the creamy filling over the chilled graham cracker crust, smoothing the top with a spatula to ensure an even surface. Cover the pan with plastic wrap or aluminum foil, then refrigerate for a minimum of 4 hours, or ideally overnight, to allow it to set up properly. The No-Bake Creamsicle Cheesecake should be firm but creamy when it’s time to serve.
Step 5: Garnish and Serve
Once set, carefully remove the cheesecake from the springform pan. Generously top it with whipped cream, then decorate with fresh orange slices and a sprinkle of orange zest for a vibrant presentation. Slice the cheesecake into wedges and serve chilled, showcasing the beautiful layers. This delightful No-Bake Creamsicle Cheesecake is ready to transport you and your guests back to those sunny, carefree days!
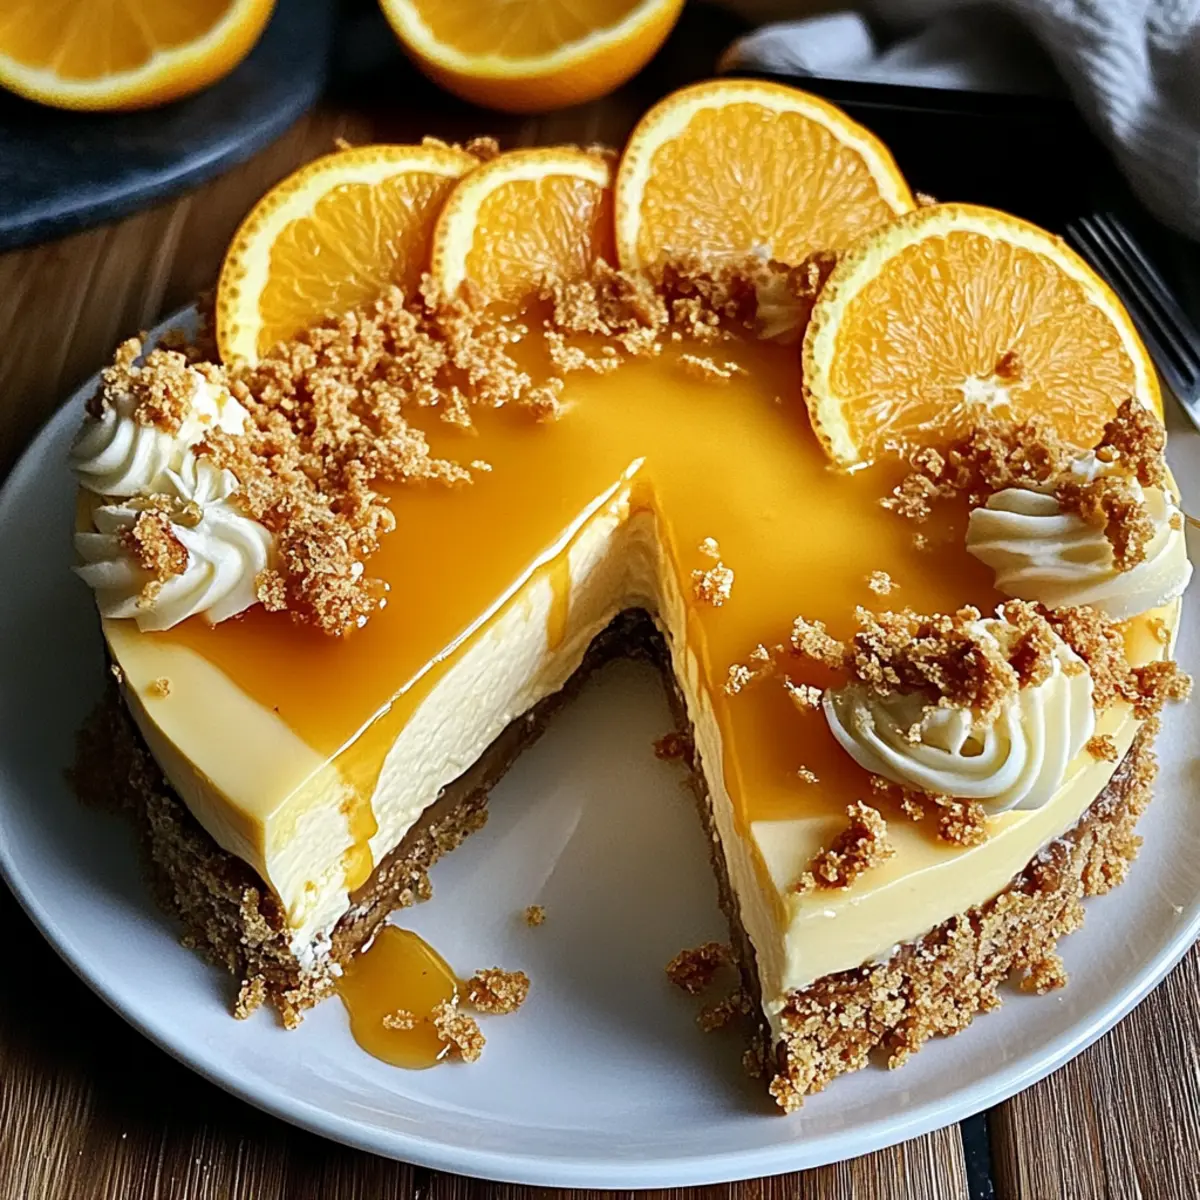
Expert Tips for No-Bake Creamsicle Cheesecake
-
Stiff Peaks: Whip the heavy cream until stiff peaks form. This is crucial for maintaining the light texture of the No-Bake Creamsicle Cheesecake.
-
Room Temperature Ingredients: Ensure your cream cheese is at room temperature for easier mixing. Cold cream cheese can result in a lumpy filling.
-
Gentle Folding: When combining the whipped cream with the cheesecake filling, fold gently to preserve the airy texture. Overmixing can lead to a dense result.
-
Chill Time: Allow the cheesecake to set in the refrigerator for at least 4 hours, or ideally overnight, to achieve the perfect creamy consistency.
-
Customize Wisely: Feel free to substitute orange juice with lemon or lime for a zesty twist. Just be mindful of the flavor balance to maintain the refreshing essence.
What to Serve with No-Bake Creamsicle Cheesecake
As you gather around the table to indulge in this delightful dessert, consider these delicious pairings to create a full summer feast.
-
Fresh Berries: Bright and juicy berries add a burst of color and acidity, balancing the creamy sweetness of the cheesecake. Serve them alongside for a refreshing contrast.
-
Lemonade Spritzer: This fizzy, citrusy drink complements the orange flavor beautifully, enhancing the lightness of your dessert while quenching thirst on a hot day.
-
Minty Greek Yogurt: A dollop of fluffy, mint-infused Greek yogurt brings a cooling creaminess that mingles wonderfully with the cheesecake’s tang. It’s a delightful way to sneak in some extra freshness!
-
Chocolate-Dipped Pretzels: The salty crunch of pretzels dipped in chocolate offers a flavorful textural contrast, creating a playful bite alongside the creamy cake. Plus, who can resist chocolate?
-
Coconut Macaroons: These sweet coconut treats add a chewy texture and a hint of tropical flavor that resonate beautifully with the summery vibes of your cheesecake.
-
Grilled Peaches: Slightly caramelized, grilled peaches bring a warmth and rustic sweetness that pairs unexpectedly well with the cool, creamy cheesecake. A sprinkle of cinnamon elevates their charm.
-
Sparkling Water with Lime: Light, refreshing, and bubbly, this drink offers a palate-cleansing sip that enhances the citrus notes of your dessert without overpowering it.
-
Homemade Graham Cracker Ice Cream: For an ultimate treat, serve this creamy creation alongside your cheesecake for a nostalgic twist that plays on the dessert’s flavor profile.
-
Coconut Milk Smoothie: A cool, creamy smoothie made with coconut milk and mango will complement the cheesecake while offering a refreshing tropical escape.
This lineup not only highlights the wonderful flavors of the No-Bake Creamsicle Cheesecake but also rounds out your meal into a delicious celebration of summer!
Make Ahead Options
These No-Bake Creamsicle Cheesecakes are perfect for busy home cooks looking to save time during summer gatherings! You can prepare the crust and filling up to 24 hours in advance, allowing the cheesecake to set in the fridge overnight. Simply combine your graham cracker crust, press it into the springform pan, and mix the filling as instructed, but do not garnish yet. Once ready to serve, top with whipped cream, orange slices, and zest for a refreshing finish. By making it ahead of time, you’ll have a stunning dessert ready to impress your guests with just a few minutes of final prep!
No-Bake Creamsicle Cheesecake Variations
Feel free to unleash your creativity and customize the flavors of this delightful cheesecake to suit your taste buds!
-
Gluten-Free: Use gluten-free graham cracker crumbs or coconut flour for the crust to make this treat accessible for everyone.
-
Vegan Delight: Swap cream cheese for plant-based cream cheese and use coconut cream in place of heavy whipping cream for a completely vegan version.
-
Citrus Twist: Replace orange juice and zest with lemon or lime for a zesty, refreshing take that still screams summer!
-
Flavor Explosion: Enhance the flavor by adding a splash of pure vanilla extract or a dash of almond extract to the cream cheese filling for a delightful surprise.
-
Nutty Crust: For a unique texture, substitute the graham cracker crust with a nut-based crust made from blended almonds or walnuts mixed with melted coconut oil.
-
Fruit Fusion: Fold in fresh berries or diced mango into the cheesecake filling for a fruity twist that complements the orange undertones beautifully.
-
Increased Citrus: Want a bolder orange flavor? Add more orange juice and zest to the filling for an invigorating citrus punch.
Feeling inspired? You might also enjoy trying out our Crisp Mini Cheesecakes or whip up something fun like Heaven on Earth Cake. The options are endless!
How to Store and Freeze No-Bake Creamsicle Cheesecake
Fridge: Store the cheesecake in an airtight container in the refrigerator for up to 5 days. Make sure it is well covered to maintain its freshness and creamy texture.
Freezer: If you want to store it for longer, you can freeze the No-Bake Creamsicle Cheesecake by wrapping it tightly in plastic wrap and then aluminum foil. It can last up to 2 months in the freezer.
Thawing: To enjoy, thaw the cheesecake in the refrigerator overnight before serving. This helps preserve its texture and flavors.
Reheating: No need to reheat! Serve the cheesecake chilled for the best experience, topped with fresh whipped cream and orange slices.

No-Bake Creamsicle Cheesecake Recipe FAQs
How do I select the best oranges for this recipe?
Absolutely! When choosing oranges, look for ones that are firm with bright, smooth skin, avoiding any with dark spots or blemishes. The scent is a great indicator too; if they smell aromatic, they are likely juicy and flavorful. Fresh, in-season oranges will enhance the refreshing flavor of your No-Bake Creamsicle Cheesecake.
How should I store leftovers?
Very! Store any leftover cheesecake in an airtight container in the refrigerator for up to 5 days. Be sure to cover it well to maintain its freshness and prevent it from absorbing other odors in the fridge. If you anticipate not finishing it right away, consider freezing to enjoy later!
Can I freeze the No-Bake Creamsicle Cheesecake?
Absolutely! To freeze, wrap it tightly in plastic wrap, followed by aluminum foil, which will help protect it from freezer burn. It can last up to 2 months in the freezer. To serve after freezing, just thaw it in the refrigerator overnight for the best texture and flavor.
What should I do if my cheesecake doesn’t set properly?
No worries! If it doesn’t set as expected, it may be due to insufficient chill time or not enough gelatin if used. If you encounter this, return it to the refrigerator for a few more hours. To rescue a soft cheesecake, consider mixing a little more dissolved gelatin into the filling before chilling, but do it gently to avoid deflating it.
Is this recipe suitable for those with dietary restrictions?
Very! This No-Bake Creamsicle Cheesecake is easily customizable; you can use gluten-free graham cracker crumbs, substitute cream cheese with a plant-based option for a vegan dessert, and coconut cream for the whipping cream. Always double-check labels to ensure any substitutions fit your dietary needs!
Can my pets enjoy this cheesecake?
While it’s a delightful treat for us, it’s best to keep this cheesecake away from pets. Ingredients like cream cheese and sugar can be harmful to them. If you want to treat your furry friend, consider making them a pet-friendly dessert instead that caters to their dietary needs!
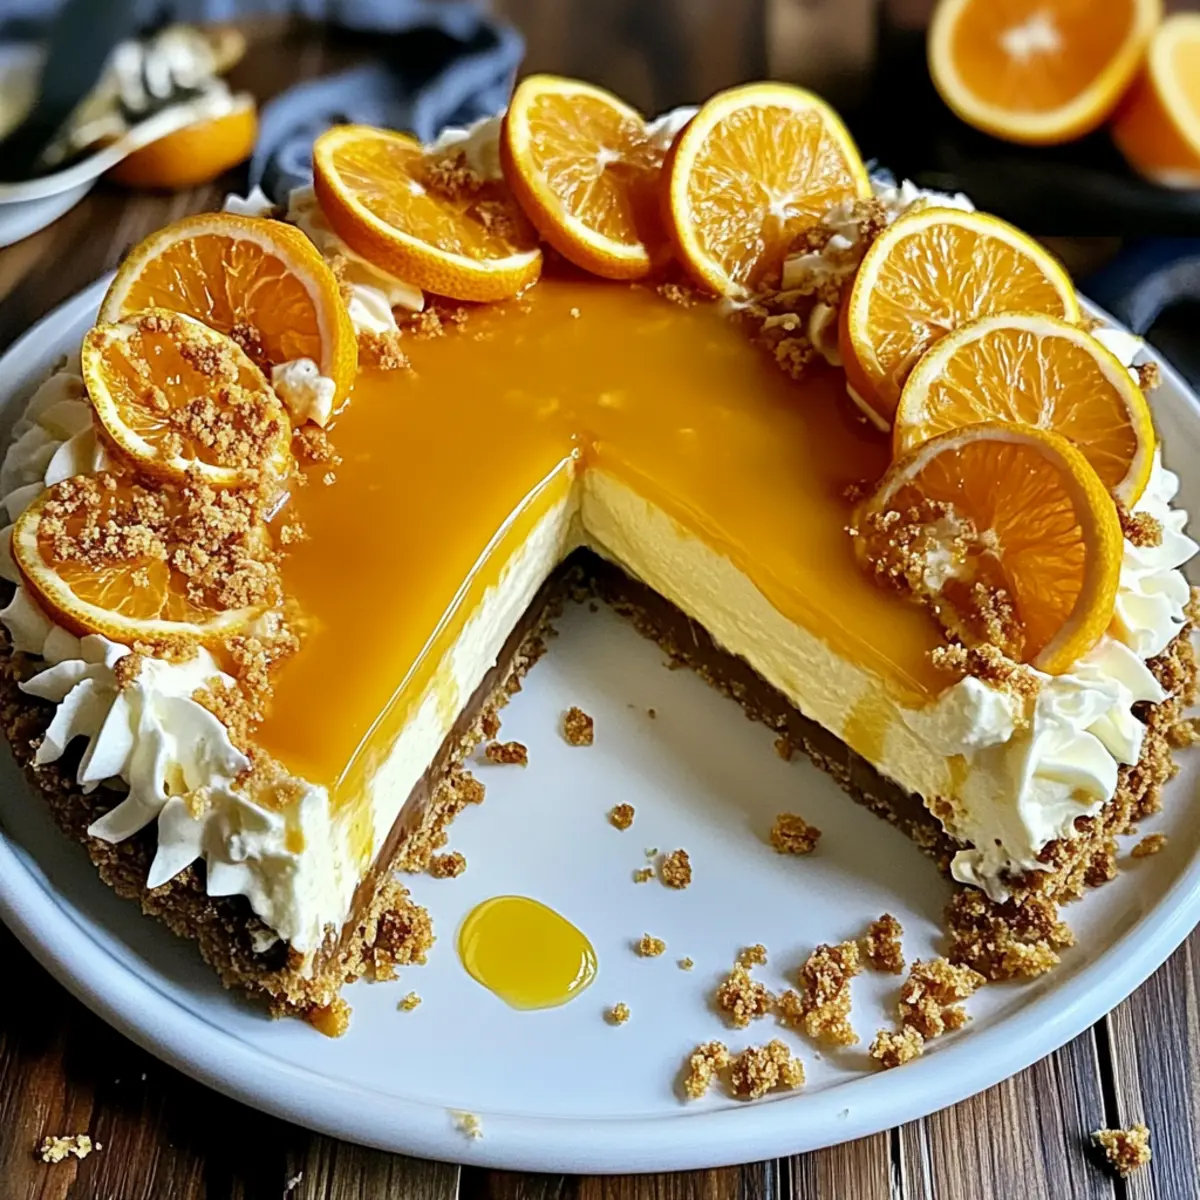
No-Bake Creamsicle Cheesecake: Chill Out with This Summer Delight
Ingredients
Equipment
Method
- Prepare the crust by combining graham cracker crumbs, melted unsalted butter, and granulated sugar until it reaches a consistency similar to wet sand. Press this mixture into the bottom of a 9-inch springform pan and chill in the refrigerator for at least 15-20 minutes.
- In a mixing bowl, beat softened cream cheese and powdered sugar until the mixture is smooth and creamy, about 2-3 minutes. Add vanilla extract, orange zest, and fresh orange juice, mixing well to combine.
- Whip heavy whipping cream until stiff peaks form, about 3-5 minutes. Gently fold the whipped cream into the cream cheese mixture, being careful not to deflate it. If using gelatin, dissolve it in warm water and fold it into the filling.
- Pour the creamy filling over the chilled graham cracker crust. Smooth the top with a spatula. Cover with plastic wrap or aluminum foil and refrigerate for a minimum of 4 hours, or ideally overnight, to set.
- Remove the cheesecake from the springform pan, top with whipped cream, and garnish with fresh orange slices and a sprinkle of orange zest. Slice and serve chilled.
Leave a Reply