
Amid the culinary landscapes of Japan, there’s something utterly charming about the evolution of sushi, and my new favorite twist is all about baked sushi cups! These Baked Salmon Sushi Cups capture the essence of traditional sushi while delivering a portable, mess-free option that’s great for any occasion—from cozy family dinners to vibrant parties. With quick prep that gets you out of the kitchen in no time and flavors that delight everyone at the table, it’s hard not to fall in love with this guilt-free, gluten-free spin on a classic. So, are you ready to dive into a world where sushi meets comfort food? Let’s get started!
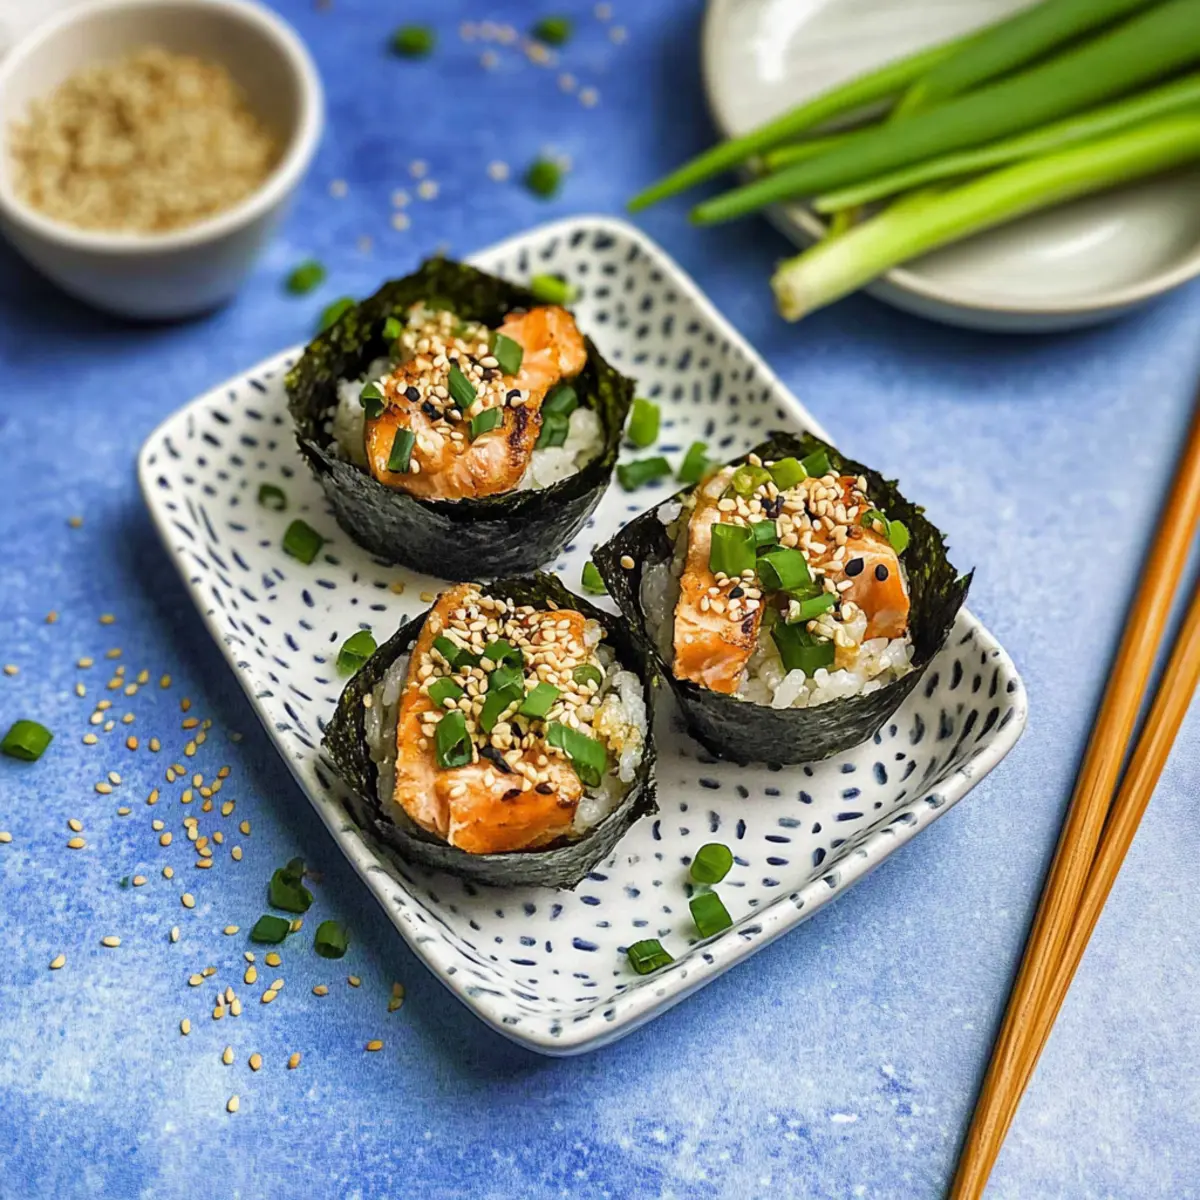
Why Choose Sushi Bake Cups?
Easy and Accessible: Baked sushi cups are a breezy option, allowing even novice chefs to impress loved ones. Flavor Explosion: The combination of salmon and savory sauces creates a unique, mouthwatering fusion. No Raw Fish Fuss: Enjoy a sushi experience without worries about raw seafood. Perfect for Sharing: These bite-sized delights make excellent appetizers for gatherings or cozy family dinners. Serving them alongside Golden Baked Brie would amp up the fun! Quick Clean-Up: No rolling or messy prep; simply bake and serve. Dive into this delightful spin on sushi night and enjoy every bite!
Sushi Bake Cups Ingredients
• Dive into the delightful world of sushi with these easy-to-make sushi bake cups!
For the Base
- Salmon – Use cooked salmon for a safe and flavorful protein option; canned tuna or shrimp work well too.
- Sushi Rice – This sticky rice holds the sushi cups together; short-grain or Jasmine rice can substitute.
- Rice Vinegar – Enhances the flavor of the rice; white vinegar can be used if needed.
- Salt – Balances the flavors; use sparingly for the best taste.
For the Topping
- Kewpie Mayo – Adds creaminess and umami; regular mayo serves as an alternative if unavailable.
- Soy Sauce – Introduces savory elements; opt for coconut aminos for a gluten-free version.
- Green Onions – Provides a fresh crunch; consider swapping with chives for a milder flavor.
- Sesame Seeds – These add a hint of nuttiness and crunch; feel free to omit if allergies are a concern.
Assembly Essentials
- Nori Sheets – Crucial for the authentic sushi flavor; no substitutes recommended for these cups.
- Non-stick Cooking Spray – Guarantees easy release from the muffin tin for perfect sushi cups.
Embrace the flavors and textures of these sushi bake cups and get ready to wow your family and friends with a gluten-free twist on a classic dish!
Step‑by‑Step Instructions for Sushi Bake Cups
Step 1: Gather Ingredients
Start by gathering all your ingredients for the sushi bake cups. Ensure you have cooked salmon, sushi rice, Kewpie mayo, rice vinegar, soy sauce, nori sheets, and green onions at hand. This preparation will make the cooking process smoother, helping you transition seamlessly from one step to the next.
Step 2: Preheat the Oven
Preheat your oven to 400°F (200°C) while you prepare your muffin tin. Lightly grease each cup of a muffin tin with non-stick cooking spray to prevent sticking and ensure a clean release of your sushi bake cups later. This will set the stage for a perfectly baked result.
Step 3: Prepare the Salmon Mixture
In a large mixing bowl, combine the cubed cooked salmon with Kewpie mayo and soy sauce. Mix until the salmon is evenly coated, creating a creamy and flavorful filling. This will serve as the delicious topping for your sushi bake cups, so set it aside for now while you assemble the base.
Step 4: Cut Nori Sheets
Take your nori sheets and cut them into squares that will fit snugly into your muffin tin cups. Gently press each square into the greased muffin tin, making sure to create a cup shape. This step is important for ensuring a sturdy base for your sushi bake cups.
Step 5: Mix the Sushi Rice
In a separate bowl, combine your cooked sushi rice, rice vinegar, and a pinch of salt. Mix well until the rice is fully seasoned and slightly sticky. This mixture will act as the base for your sushi cups, holding everything together and adding that authentic sushi flavor.
Step 6: Fill Nori Cups
Carefully spoon the sushi rice into each nori cup, filling them about halfway. Press down gently to ensure the rice holds its shape, then top each cup generously with the salmon mixture you prepared earlier. This layering creates a beautiful balance of flavors in your sushi bake cups.
Step 7: Add the Finishing Touches
Sprinkle sesame seeds and finely chopped green onions over the tops of your filled sushi bake cups. These toppings will add a lovely crunch and enhance the visual appeal. This is your chance to personalize your dish, so feel free to get creative with the toppings.
Step 8: Bake to Perfection
Place the muffin tin in the preheated oven and bake the sushi bake cups for about 15 minutes, or until heated through and slightly golden on top. Keep an eye on them; you want a light crispness without overbaking. Once done, remove them from the oven and let cool for about 5 minutes before serving.
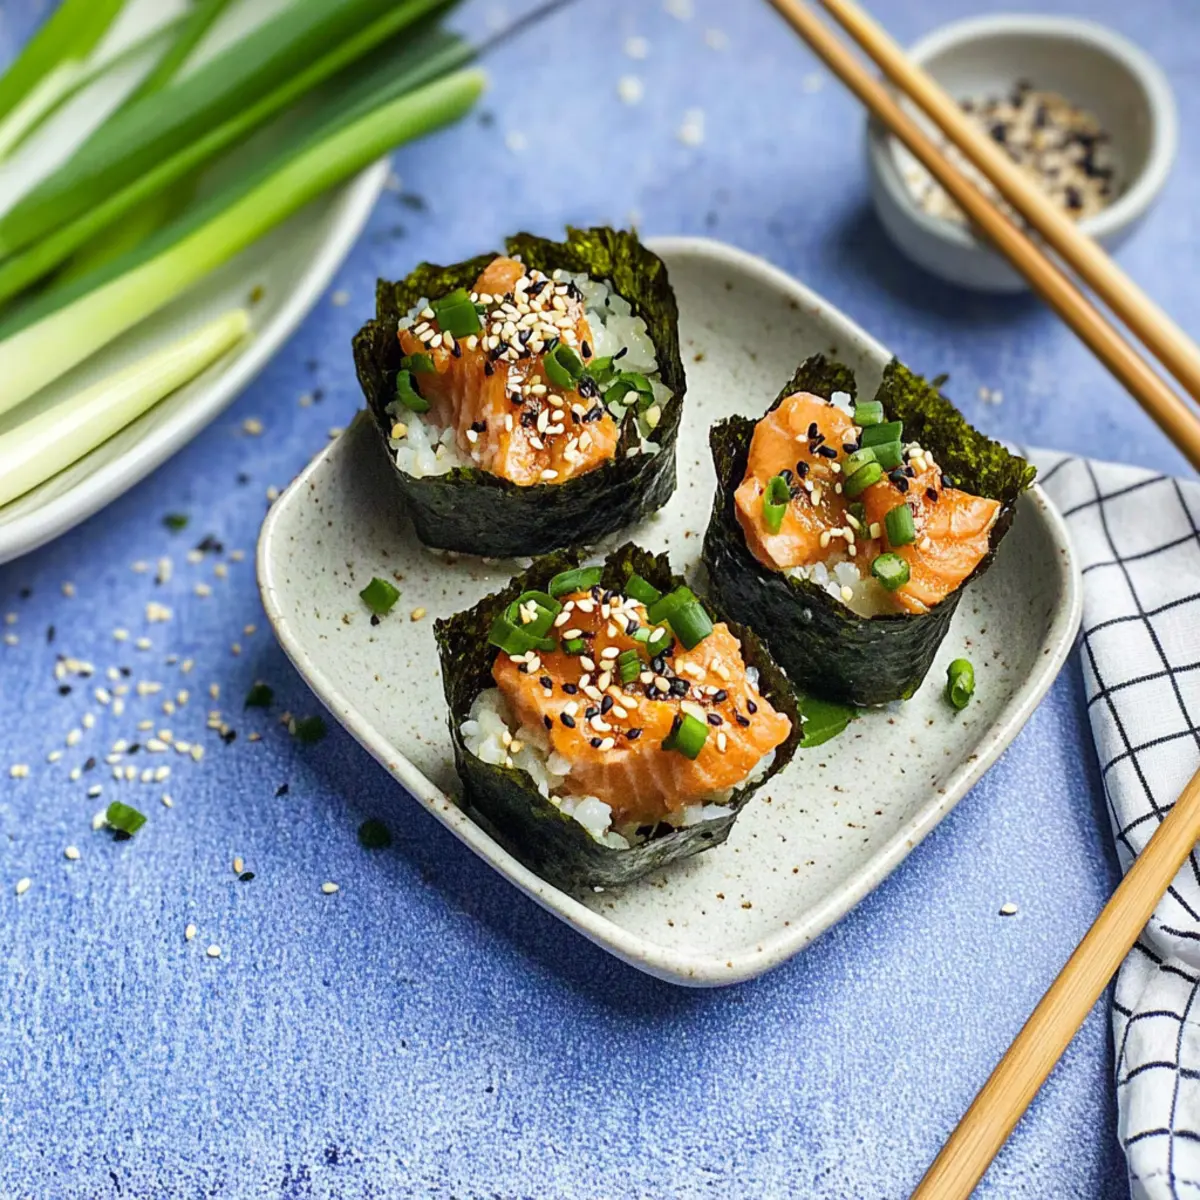
What to Serve with Baked Salmon Sushi Cups
Elevate your meal experience with delicious side dishes that wonderfully complement these trendy, portable sushi treats!
- Crispy Green Salad: A refreshing crunchy salad with a light vinaigrette brightens up the richness of the salmon cups.
- Miso Soup: Warm and comforting, miso soup offers a soothing contrast that enhances the umami flavors of the sushi cups.
- Edamame: These lightly salted soybeans serve as a protein-packed, vibrant finger food that’s perfect for snacking alongside the main dish.
- Vegetable Tempura: Lightly battered and fried vegetables provide a delightful crunch and a perfect textural contrast to your creamy sushi cups.
- Sushi Rolls: For sushi lovers, a side of traditional sushi rolls can create a fun sushi platter that invites sharing and tasting.
- Ginger Tea: This warm, soothing beverage not only aids digestion but also pairs beautifully with the savory notes of the baked sushi.
- Mango Sticky Rice: A sweet ending with fragrant coconut rice and ripe mango balances the savory flavors and promises a delightful finish.
- Sake: Pairing a chilled glass of sake enhances the whole dining experience, bringing authenticity and warmth to your meal.
Enjoy this delightful combination of flavors as you dig into your baked salmon sushi cups!
Expert Tips for Sushi Bake Cups
-
Perfect Rice Texture: Use warm sushi rice when assembling to achieve the best texture. Cold rice can lead to loose cups that don’t hold their shape.
-
Prevent Nori Cracks: If your nori sheets crack during shaping, fill them with rice first before pressing them into the muffin pan. This helps keep the nori intact.
-
Crispy Tops: For that golden, crispy finish, broil the sushi bake cups for the last 30 seconds of baking. Keep a close eye to prevent burning.
-
Flavor Variations: Experiment with toppings! A drizzle of sesame oil or sriracha can elevate your sushi bake cups; consider refreshing add-ons like diced mango or avocado for even more taste.
-
Make-Ahead Option: Prepare the sushi cups in advance by assembling them and refrigerating before baking. When ready, pop them in the oven for a quick and easy meal.
Sushi Bake Cups Variations & Substitutions
Feel free to customize these sushi bake cups with your personal favorites and dietary needs!
- Dairy-Free: Substitute Kewpie mayo with a dairy-free mayo or avocado for a creamy texture without the dairy.
- Seafood Swap: Use cooked shrimp or imitation crab instead of salmon for a different taste and texture.
- Vegetarian Delight: Replace fish with tofu or seasoned avocado, offering a rich, plant-based alternative.
- Extra Crunch: Add diced bell peppers or cucumbers for a fresh, crunchy element that enhances each bite.
- Spicy Kick: Drizzle with sriracha or sprinkle red pepper flakes on top before baking for a delightful heat.
- Flavor Boost: Drizzle a bit of teriyaki sauce over the top for an added layer of sweetness and depth.
- Rice Twist: Instead of sushi rice, try cauliflower rice for a lower-carb, gluten-free version that still holds together well.
- Herb Infusion: Mix chopped fresh herbs like cilantro or dill into the rice for a fragrant twist that brightens the dish.
Explore your creativity and make these delicious sushi bake cups truly yours! And if you’re a fan of warm, comforting dishes, you might also enjoy the scrumptious French Onion Bake or the delectable Roasted Chicken Bake.
How to Store and Freeze Sushi Bake Cups
Fridge: Store leftover sushi bake cups in an airtight container for up to 2 days. Keep them covered to maintain moisture and flavor.
Freezer: For longer storage, freeze the sushi bake cups in a single layer on a parchment-lined tray until solid. Then transfer them to a freezer-safe container for up to 2 months.
Reheating: To enjoy, reheat frozen sushi bake cups in the microwave or oven at 350°F (175°C) until heated through. This will help restore their delightful texture.
Thawing: If frozen, it’s best to thaw them in the refrigerator overnight before reheating for optimal results.
Make Ahead Options
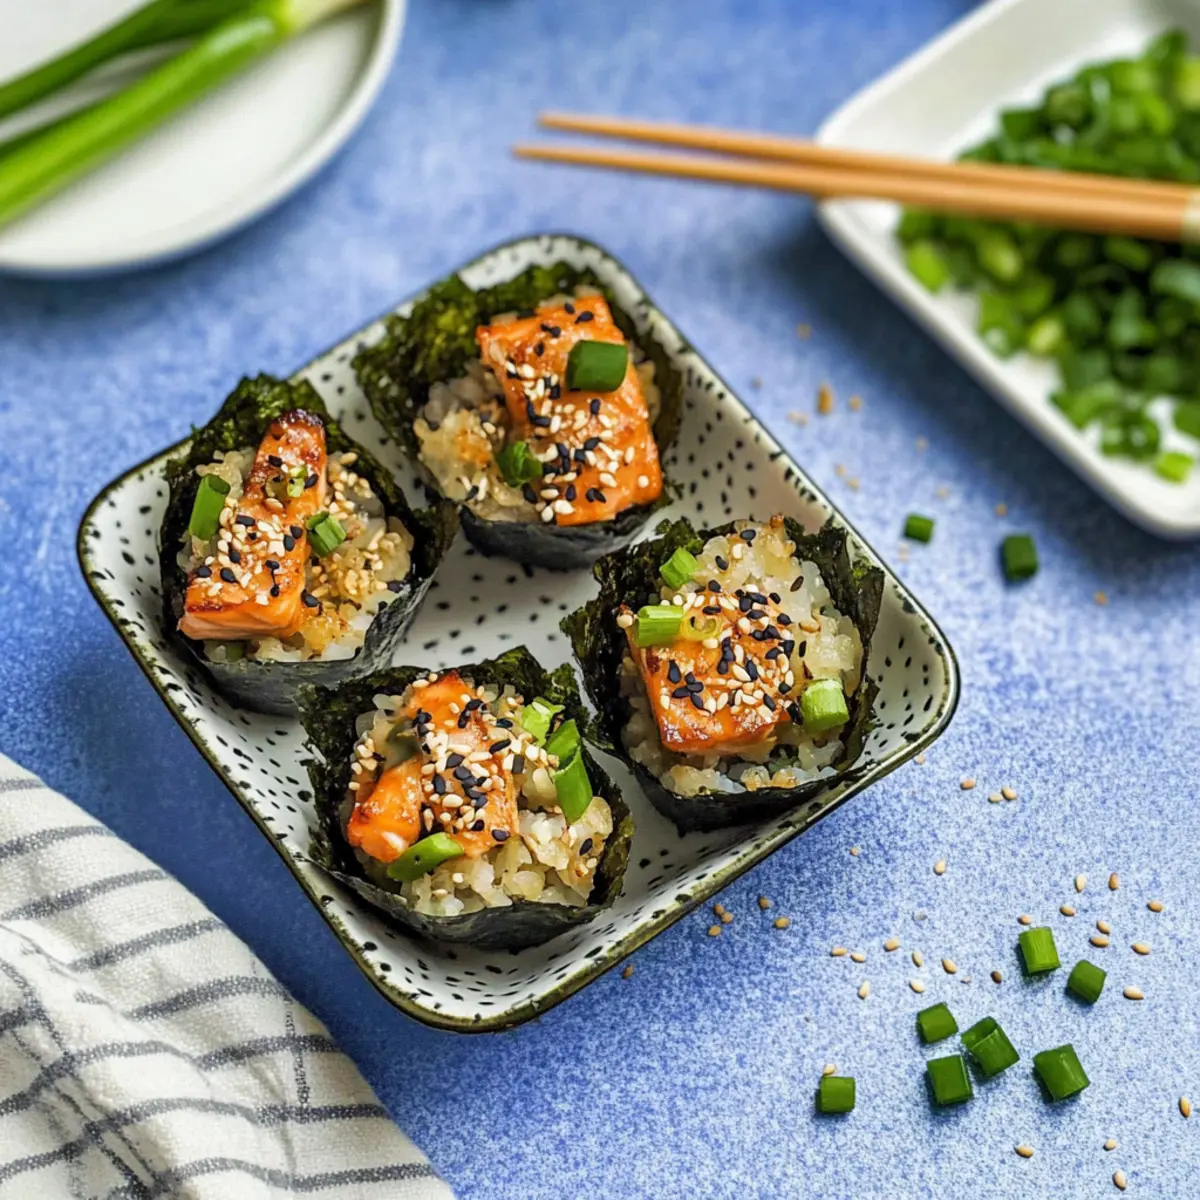
These Baked Salmon Sushi Cups are perfect for meal prep enthusiasts looking to save time on busy weeknights! You can prepare the nori cups filled with sushi rice up to 24 hours in advance—simply assemble them and keep them covered in the refrigerator. The salmon mixture can also be made ahead; store it in an airtight container for up to 3 days. When you’re ready to serve, just top the prepared cups with the salmon filling and sprinkle sesame seeds before baking. This ensures your sushi cups are just as delicious and fresh while minimizing your time in the kitchen when hunger strikes!
Baked Salmon Sushi Cups Recipe FAQs
What type of salmon should I use for the recipe?
Absolutely! I recommend using cooked salmon for safety and flavor. Fresh baked salmon is perfect, but if you’re short on time, canned tuna or shrimp are fantastic alternatives. For a vegetarian option, try seasoned avocado or tofu.
How should I store leftover sushi bake cups?
Store your leftover sushi bake cups in an airtight container in the refrigerator for up to 2 days. To retain moisture, make sure to cover them well. When you’re ready to enjoy them again, simply reheat in the microwave for a quick snack!
Can I freeze sushi bake cups? How?
Yes, you can freeze sushi bake cups! First, place them in a single layer on a parchment-lined tray until solid. Once frozen, transfer them to a freezer-safe container or a sealed plastic bag. They can last in the freezer for up to 2 months. When you’re ready to eat, thaw them overnight in the fridge, then reheat in the microwave or oven at 350°F (175°C) until warmed through.
What if my nori sheets crack during assembly?
Very! If you notice your nori sheets cracking, don’t worry. Fill them with rice first and then press them into the muffin tin; this will help keep the nori intact and provide a sturdy base for your cups.
Are these sushi bake cups gluten-free?
Yes indeed! By using coconut aminos instead of soy sauce, you can easily make these sushi bake cups gluten-free. Always check your ingredient labels to ensure they’re suitable for your dietary needs, especially with sauces and condiments.
Can I add other toppings to my sushi bake cups?
The more, the merrier! Feel free to get creative with your toppings! You could drizzle a bit of sesame oil or sriracha for added flavor. Diced mango or avocado would also make delightful additions for a fresh twist on each cup.
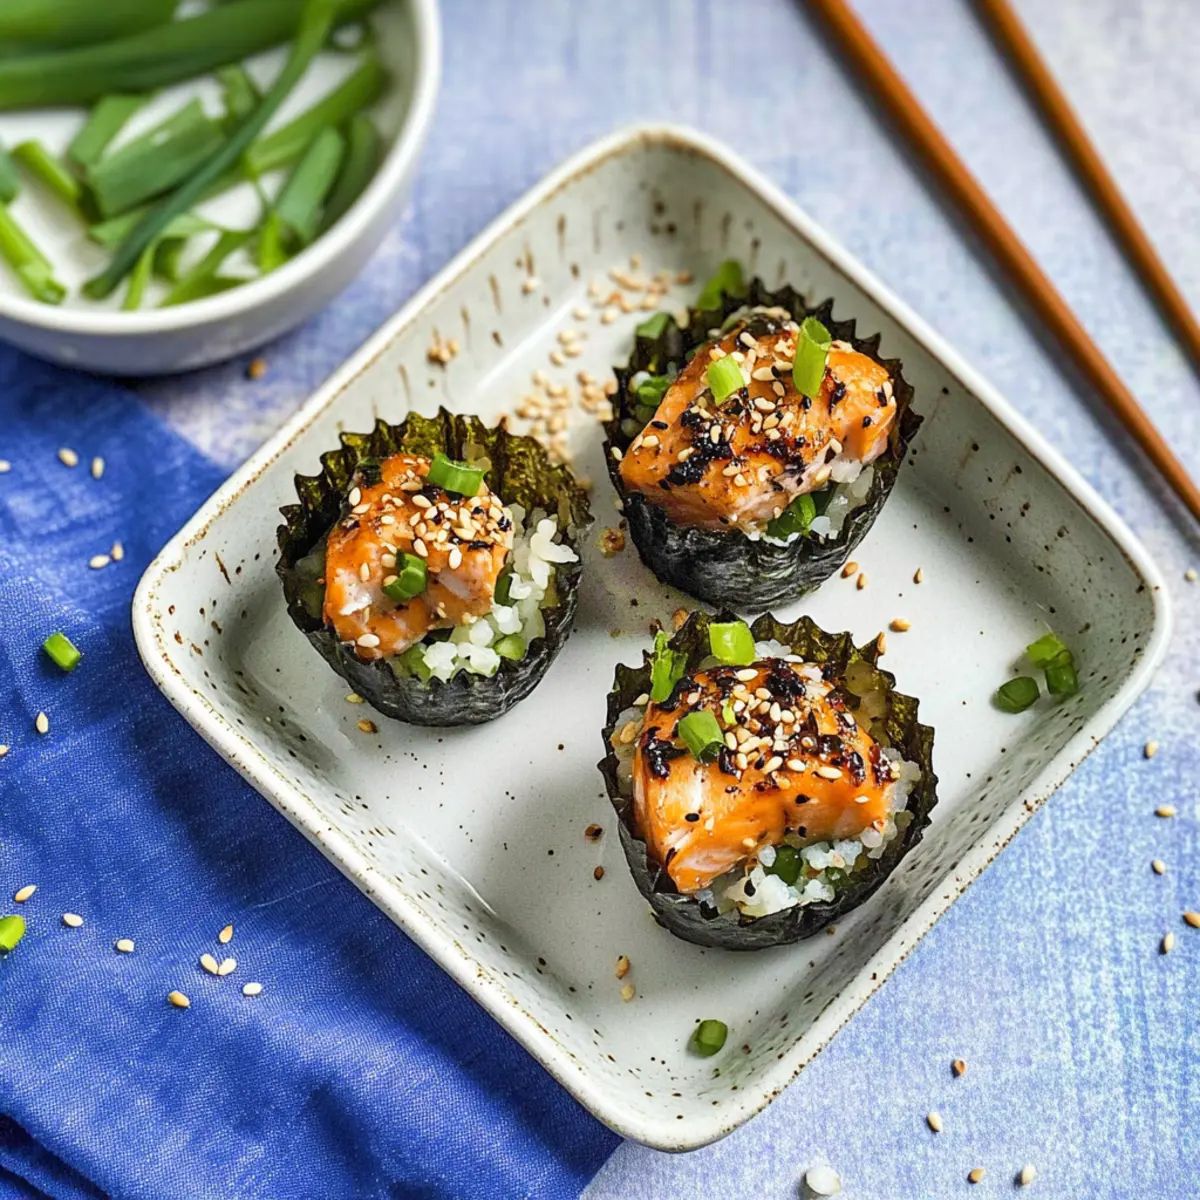
Savory Sushi Bake Cups for a Fun Twist on Sushi Night
Ingredients
Equipment
Method
- Gather all your ingredients for the sushi bake cups.
- Preheat your oven to 400°F (200°C) and grease the muffin tin.
- In a bowl, mix cubed cooked salmon, Kewpie mayo, and soy sauce.
- Cut nori sheets into squares and press them into the muffin tin.
- Mix sushi rice, rice vinegar, and salt until sticky.
- Spoon sushi rice into nori cups and fill halfway, topping with salmon mixture.
- Sprinkle sesame seeds and green onions on top.
- Bake for about 15 minutes until heated through and golden.
Leave a Reply