
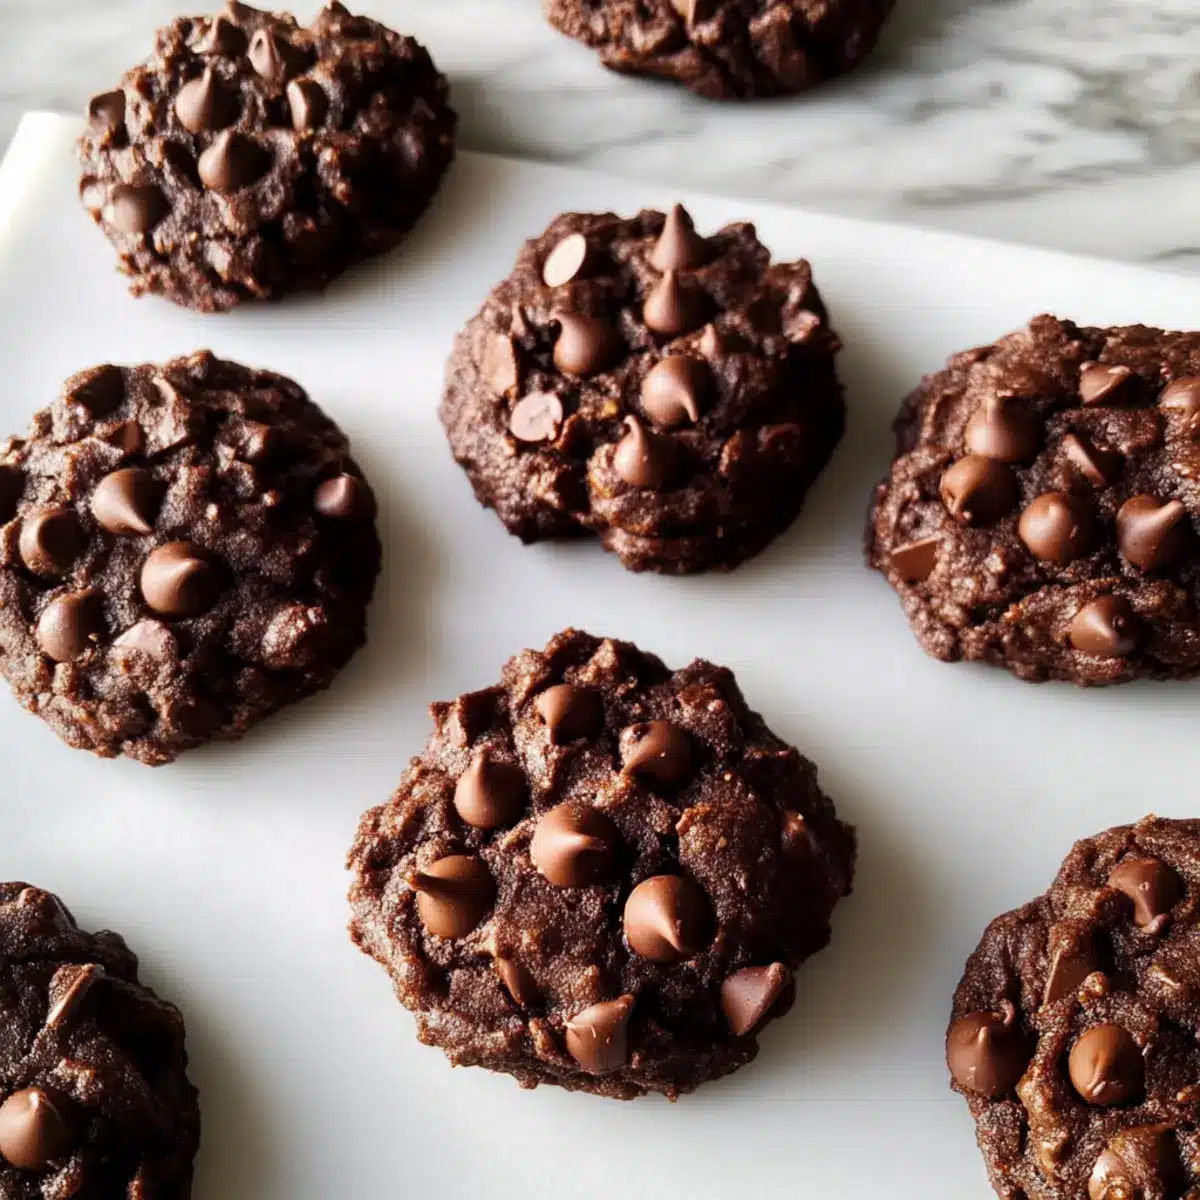
As I rummaged through my pantry looking for a quick energy boost, I stumbled upon a can of chickpeas just waiting to be transformed. This unexpected hero shines in my latest creation: Healthy High Protein Cocoa Chickpea Cookies. These cookies take on a luscious chocolate flavor while managing to be gluten-free, flourless, and completely vegan. With a soft, fudgy texture, they easily satisfy those chocolate cravings without the guilt. What I love most is that they’re not only packed with protein but also come together quickly, making them a perfect choice for busy days. Whether you need a post-workout treat or just a sweet yet nutritious snack, these cocoa chickpea cookies will leave you smiling. Ready to whip up something delicious? Let’s get to baking!
Why Try These Cocoa Chickpea Cookies?
Nutritious Delight: The combination of chickpeas and oats delivers a surprising boost of protein and fiber, making these cookies a guilt-free indulgence.
Guilt-Free Indulgence: Rich chocolate flavor masks the chickpeas, ensuring you satisfy your sweet tooth without a hint of regret.
Quick & Convenient: With only a handful of ingredients, these cookies come together in no time—ideal for busy lifestyles or spontaneous cravings.
Versatile Treat: Feel free to customize with nuts or chocolate chips, making each batch uniquely yours. They’re perfect for snacking, post-workout treats, or a sweet dessert!
Healthy Swap: Skip the typical sugary options; these cookies are a much healthier alternative compared to your standard fare. For more delicious healthy treats, check out my Chocolate Peanut Cookies or try the tropical twist of Hawaiian Pineapple Cookies.
Cocoa Chickpea Cookie Ingredients
For the Cookies
• Chickpeas – Essential for structure and plant-based protein; rinse and pat dry well to avoid excess moisture that can ruin texture.
• Ripe Banana – Provides natural sweetness and moisture; opt for a banana with deep brown spots for optimal sweetness.
• Cocoa Powder – Infuses a rich chocolate flavor to mask the taste of chickpeas; both Dutch-processed and natural types work beautifully.
• Old-fashioned Rolled Oats – Adds chewiness and structure; steer clear of quick oats as they may make your cookies too soft.
• Nut Butter (Almond or Peanut) – Binds ingredients; almond offers a mild flavor while peanut adds a robust taste.
• Maple Syrup – Contributes moisture and subtle sweetness without overwhelming the flavor; use sparingly to maintain a cookie-like texture.
• Vanilla Extract – Enhances the overall flavor profile.
• Baking Soda – A leavening agent that helps achieve the perfect cookie texture.
• Salt – Balances out the sweetness and enhances all the flavors.
• Optional Chocolate Chips – Introduces pockets of melted chocolate; they elevate the cocoa chickpea cookies into a more indulgent treat.
Step‑by‑Step Instructions for Cocoa Chickpea Cookies
Step 1: Preheat and Prepare
Start by preheating your oven to 350°F (175°C). While it heats up, line a baking sheet with parchment paper to prevent the cookies from sticking. This will ensure your Cocoa Chickpea Cookies bake evenly and release easily, allowing you to enjoy them without any fuss later on.
Step 2: Blend the Base
In a food processor, combine rinsed and dried chickpeas, cocoa powder, nut butter, maple syrup, vanilla extract, baking soda, and salt. Blend these ingredients together until the mixture is mostly smooth, about 1-2 minutes. You’ll know it’s ready when it forms a thick paste with few visible chickpea pieces—this will give your cookies a fudgy texture.
Step 3: Mix in the Extras
Transfer the blended mixture to a mixing bowl. Stir in the old-fashioned rolled oats and banana chunks until everything is well combined. If the dough feels too dry and crumbly, add plant milk, one tablespoon at a time, until the mixture is thick yet scoopable. This is where your Cocoa Chickpea Cookies start to take shape!
Step 4: Scoop and Shape
Using a spoon or cookie scoop, place rounded portions of the dough onto your prepared baking sheet, spacing them about 2 inches apart. Flatten each scoop slightly, as these cookies don’t spread much while baking. This gives them a nice, pleasing shape as they become delicious little treats in the oven.
Step 5: Bake to Perfection
Pop the baking sheet into your preheated oven and bake the cookies for 10-12 minutes. Keep an eye on them; they should look matte on top and remain soft to the touch when gently pressed. This is key for achieving the perfect texture of your Cocoa Chickpea Cookies!
Step 6: Cool and Enjoy
Once baked, allow the cookies to cool on the baking sheet for about 5 minutes. This resting time helps them firm up slightly. Then, transfer them to a wire rack to cool completely. Enjoy these delightful, fudgy Cocoa Chickpea Cookies as a nutritious snack or guilt-free dessert!
Expert Tips for Cocoa Chickpea Cookies
-
Proper Rinsing: Ensure your chickpeas are well-rinsed and completely dried; excess moisture can lead to a soggy cookie texture.
-
Monitor Baking Time: Keep a close eye on your cookies while they bake; overbaking can quickly dry them out. Look for a soft, matte appearance as an indicator of doneness.
-
Use the Right Oats: Stick to old-fashioned rolled oats for the best chewy texture. Avoid quick oats, which can result in overly soft cookies.
-
Right Amount of Sweetness: Be cautious not to overdo the maple syrup; using too much can turn your cocoa chickpea cookies cakey instead of fudgy.
-
Experiment with Flavors: Don’t hesitate to customize your cookies with different nut butters or add-ins like nuts and dried fruits for a fun twist!
How to Store and Freeze Cocoa Chickpea Cookies
Room Temperature: Store cookies in an airtight container at room temperature for up to 5 days. Keeping them sealed will help maintain their soft and fudgy texture.
Fridge: For longer freshness, you can refrigerate the cookies for about 10 days. Just remember to store them in an airtight container to prevent drying out.
Freezer: Cocoa chickpea cookies can be frozen for up to 3 months. Place them in a single layer on a baking sheet to freeze individually first, then transfer to a freezer-safe bag or container.
Reheating: To enjoy a warm cookie, reheat in the microwave for 10-15 seconds or bake at 350°F (175°C) for about 5 minutes until warmed through.
Cocoa Chickpea Cookies Variations & Substitutions
Feel free to mix things up and make these cookies your own with these delightful tweaks!
-
Nut Butter Swap: Substitute almond butter with peanut butter for a bolder, nutty flavor. Both options offer a unique twist that can suit your taste.
-
Gluten-Free Oats: Use certified gluten-free rolled oats to keep these cookies friendly for those with gluten sensitivities. It’s an easy swap for everyone to enjoy!
-
Dried Fruit Add-ins: Toss in chopped dried fruits like cranberries or raisins for a chewy, sweet contrast to the fudgy cookies. They’ll add a beautiful pop of flavor!
-
Spice it Up: Add a pinch of cinnamon or a dash of chili powder for a warm twist that elevates the flavor profile. It’s a delightful surprise with each bite!
-
Vegan Chocolate Chips: Opt for dairy-free chocolate chips to keep your cookies entirely vegan while enhancing the chocolate experience. It’s a small change that yields big flavor.
-
Nutty Texture: Incorporate chopped nuts, such as walnuts or pecans, for a crunchy surprise in every bite. This adds interesting texture and a rich, nutty flavor.
-
Banana Variations: Swap out the ripe banana for unsweetened applesauce if you’re looking for a lighter option. It keeps the moisture while adding a subtle tang.
-
Cocoa Powder Twist: Experiment with flavored cocoa powders, like dark chocolate or even mint, to introduce an unexpected taste sensation that is sure to impress.
These ideas can take your Cocoa Chickpea Cookies from delicious to extraordinary! For more tasty treats, consider making my Chocolate Peanut Cookies or the delightful Hawaiian Pineapple Cookies. Enjoy baking!
Make Ahead Options
You’ll love how easy it is to prep these Healthy High Protein Cocoa Chickpea Cookies ahead of time! You can mix the cookie dough and refrigerate it for up to 24 hours before baking, ensuring convenient access to fresh treats on busy days. Simply cover the bowl with plastic wrap to maintain moisture and prevent drying out. When you’re ready to bake, scoop and flatten the dough onto your baking sheet, and follow the baking instructions as normal. Alternatively, you can bake the cookies, let them cool, and store them in an airtight container at room temperature for up to 5 days. Enjoy your delicious, healthy cookies fresh and just as delightful, even when made ahead!
What to Serve with Healthy High Protein Cocoa Chickpea Cookies
Imagine biting into a fudgy cookie that not only satisfies your sweet tooth but also feels like a warm hug.
- Fresh Fruit Salad: A mix of berries and citrus adds a refreshing contrast, brightening the rich chocolate flavor with every bite.
- Nutty Trail Mix: A handful of mixed nuts provides a satisfying crunch and a boost of healthy fats, enhancing the cookie’s protein profile.
- Smoothie Bowl: Pairing these cookies with a vibrant smoothie bowl creates a fun, visually appealing breakfast or snack, packed with nutrients.
- Dairy-Free Ice Cream: Turning these cookies into an ice cream sandwich makes for a delightful treat that satisfies both health and indulgence.
- Herbal Tea: A soothing cup of herbal tea balances out the chocolate richness, creating a calming snack experience.
- Peanut Butter Dip: A side of peanut butter for dipping adds a delicious layer of flavor while maintaining a plant-based theme.
Each pairing brings its own unique experience, making your Healthy High Protein Cocoa Chickpea Cookies the star of the show!
Cocoa Chickpea Cookies Recipe FAQs
What type of chickpeas should I use for the cookies?
Absolutely! You should use canned chickpeas for convenience. Just be sure to rinse them thoroughly under cold water and pat them dry with a paper towel. This helps avoid excess moisture that can make your Cocoa Chickpea Cookies soggy.
How should I store leftover cookies?
For sure! Store your cookies in an airtight container at room temperature for up to 5 days. If you prefer them to last longer, refrigerating them can keep them fresh for about 10 days. Just make sure they’re sealed well to maintain that delightful texture.
Can I freeze Cocoa Chickpea Cookies?
Definitely! Freezing is a great option. First, place the cookies in a single layer on a baking sheet and freeze them until they’re solid. Then, transfer them to a freezer-safe bag or container. They can stay frozen for up to 3 months. Just remember to thaw them in the fridge overnight before enjoying!
What should I do if my cookie dough is too dry?
No worries at all! If your cookie dough feels too dry or crumbly, simply add plant milk, one tablespoon at a time, mixing thoroughly until it becomes thick yet scoopable. This helps create that soft, fudgy consistency that makes these Cocoa Chickpea Cookies irresistible!
Are Cocoa Chickpea Cookies suitable for people with allergies?
Very good question! These cookies are vegan-friendly and gluten-free if you use certified gluten-free oats, making them suitable for various dietary needs. However, if you have nut allergies, consider using sunflower seed butter or another nut-free alternative in place of nut butter. Always check the ingredient labels to ensure they meet your specific dietary restrictions.
How do I know when my cookies are done baking?
Great observation! Your Cocoa Chickpea Cookies are done when the tops look matte and they feel soft yet set when gently pressed. This usually takes about 10-12 minutes at 350°F (175°C). Keep an eye on them as they can overbake quickly!
Cocoa Chickpea Cookies: Fudgy Treats Packed with Protein
Ingredients
Equipment
Method
- Preheat your oven to 350°F (175°C) and line a baking sheet with parchment paper.
- In a food processor, combine rinsed and dried chickpeas, cocoa powder, nut butter, maple syrup, vanilla extract, baking soda, and salt. Blend until mostly smooth.
- Transfer the mixture to a bowl and stir in the rolled oats and banana chunks until well combined. Add plant milk if dough is too crumbling.
- Scoop rounded portions onto the baking sheet, spacing them about 2 inches apart, and flatten slightly.
- Bake for 10-12 minutes until matte on top and soft when pressed.
- Allow to cool on the baking sheet for 5 minutes before transferring to a wire rack to cool completely.
Leave a Reply