
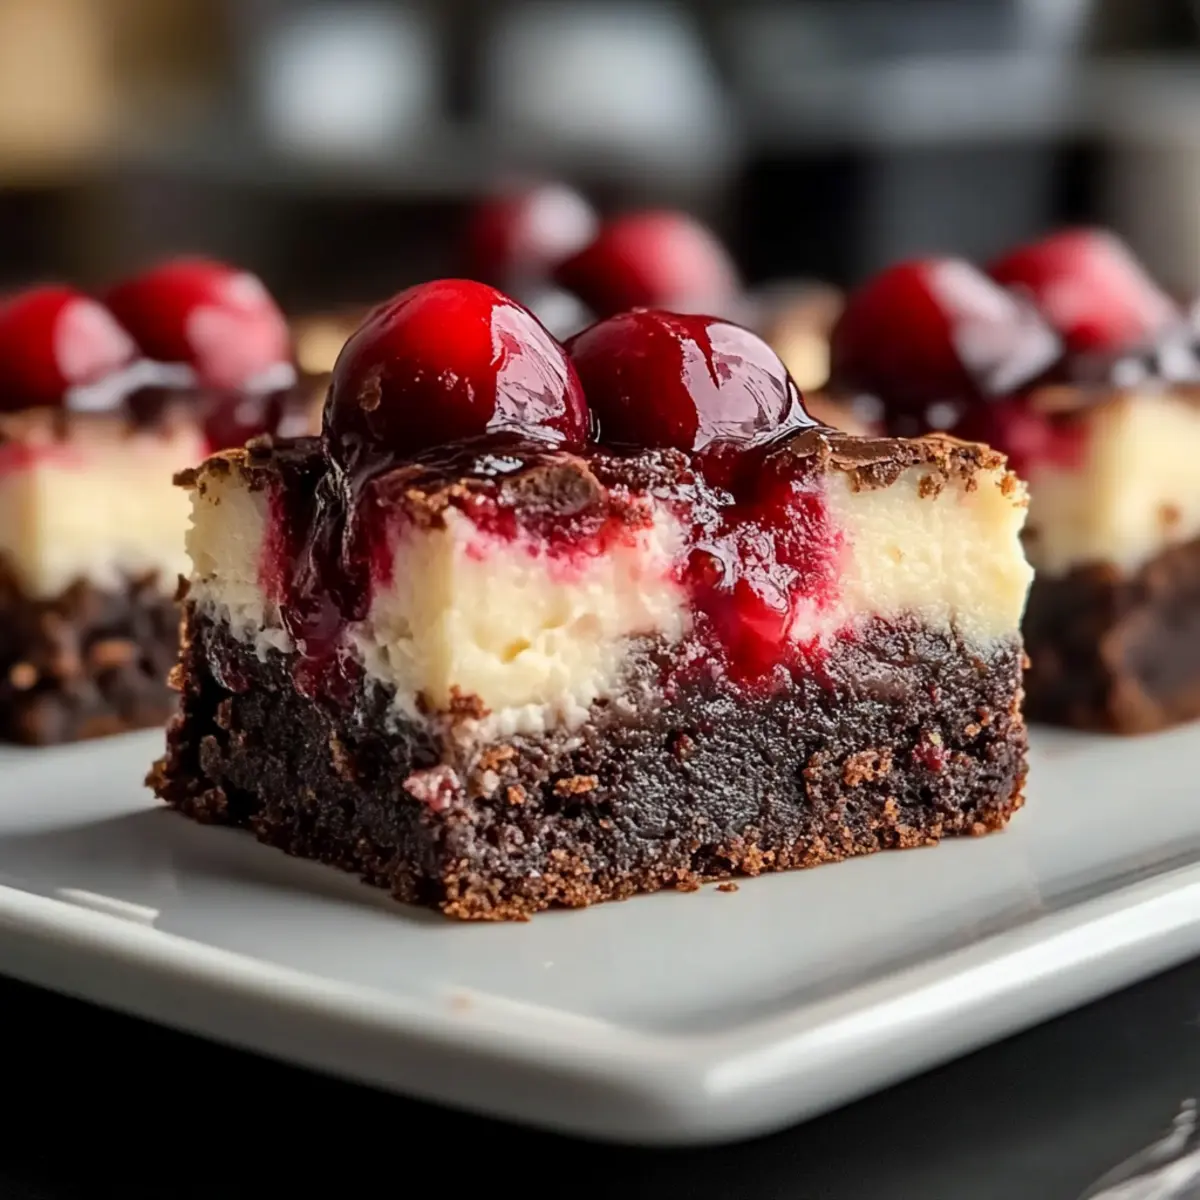
The moment I pulled these Cherry Cheesecake Brownie Bars out of the oven, my kitchen was filled with a tantalizing blend of chocolatey richness and sweet, fruity aroma. This delightful dessert combines a deeply fudgy brownie base with a silky cheesecake layer, bursting with cherry goodness that’s impossible to resist. What makes these bars truly special is their incredible versatility—whether you’re hosting a gathering or simply craving a sweet treat, they can be whipped up in just 30 minutes! Plus, they’re easily customizable for various dietary preferences, making them a crowd-pleaser for all occasions. Have you ever tasted a dessert that’s both satisfying and remarkably simple to make? Dive into this blissful recipe and find out how easy it is to create your own batch of Cherry Cheesecake Brownie Bars!
Why You’ll Love These Brownie Bars
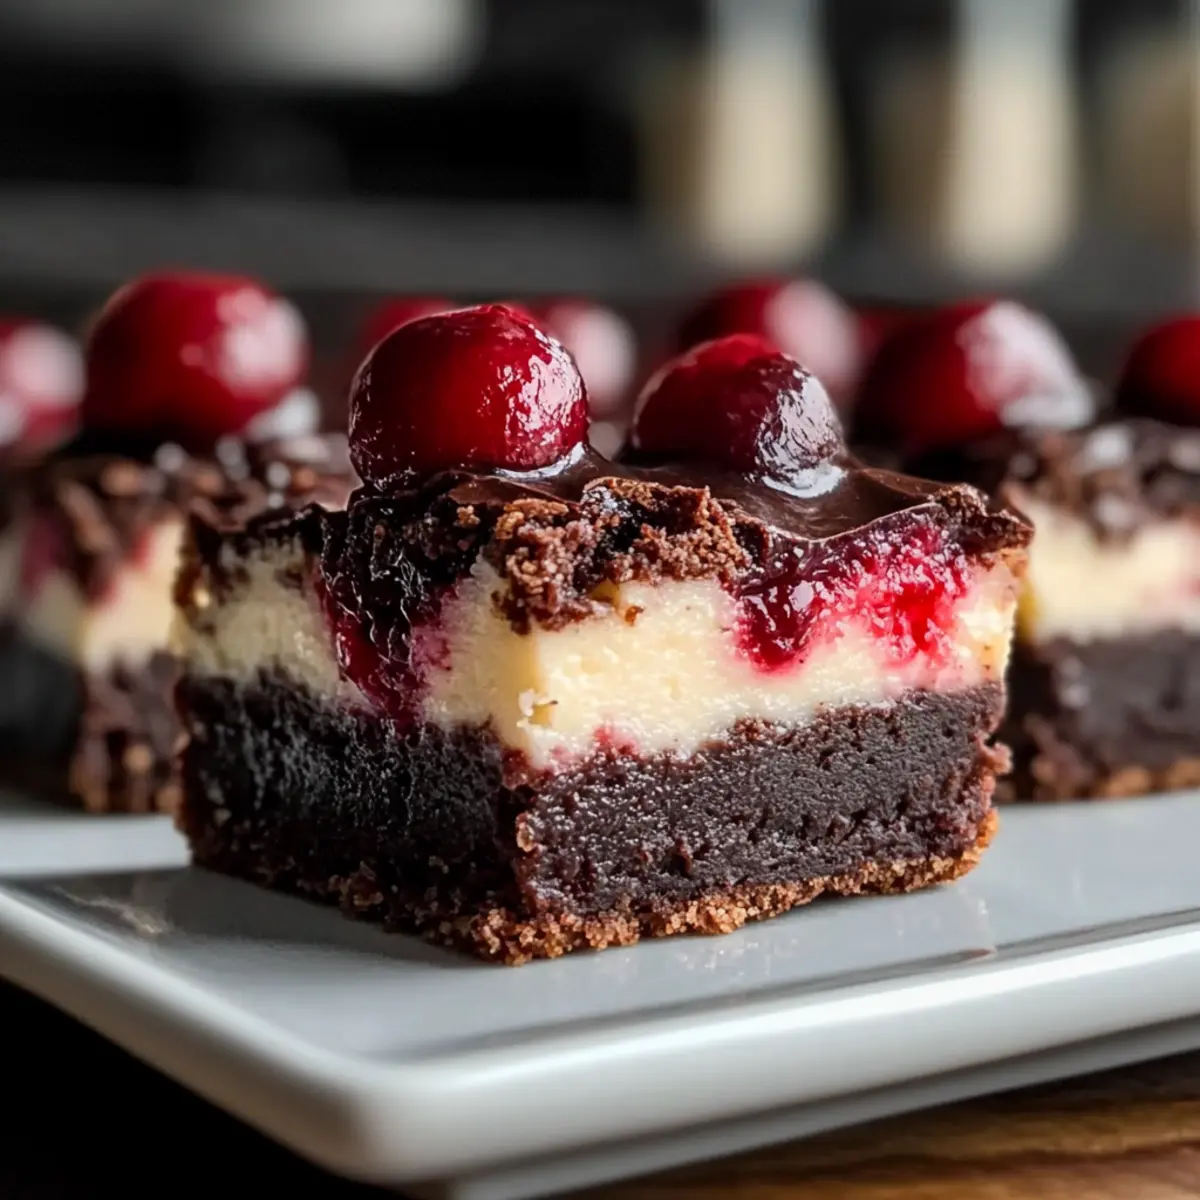
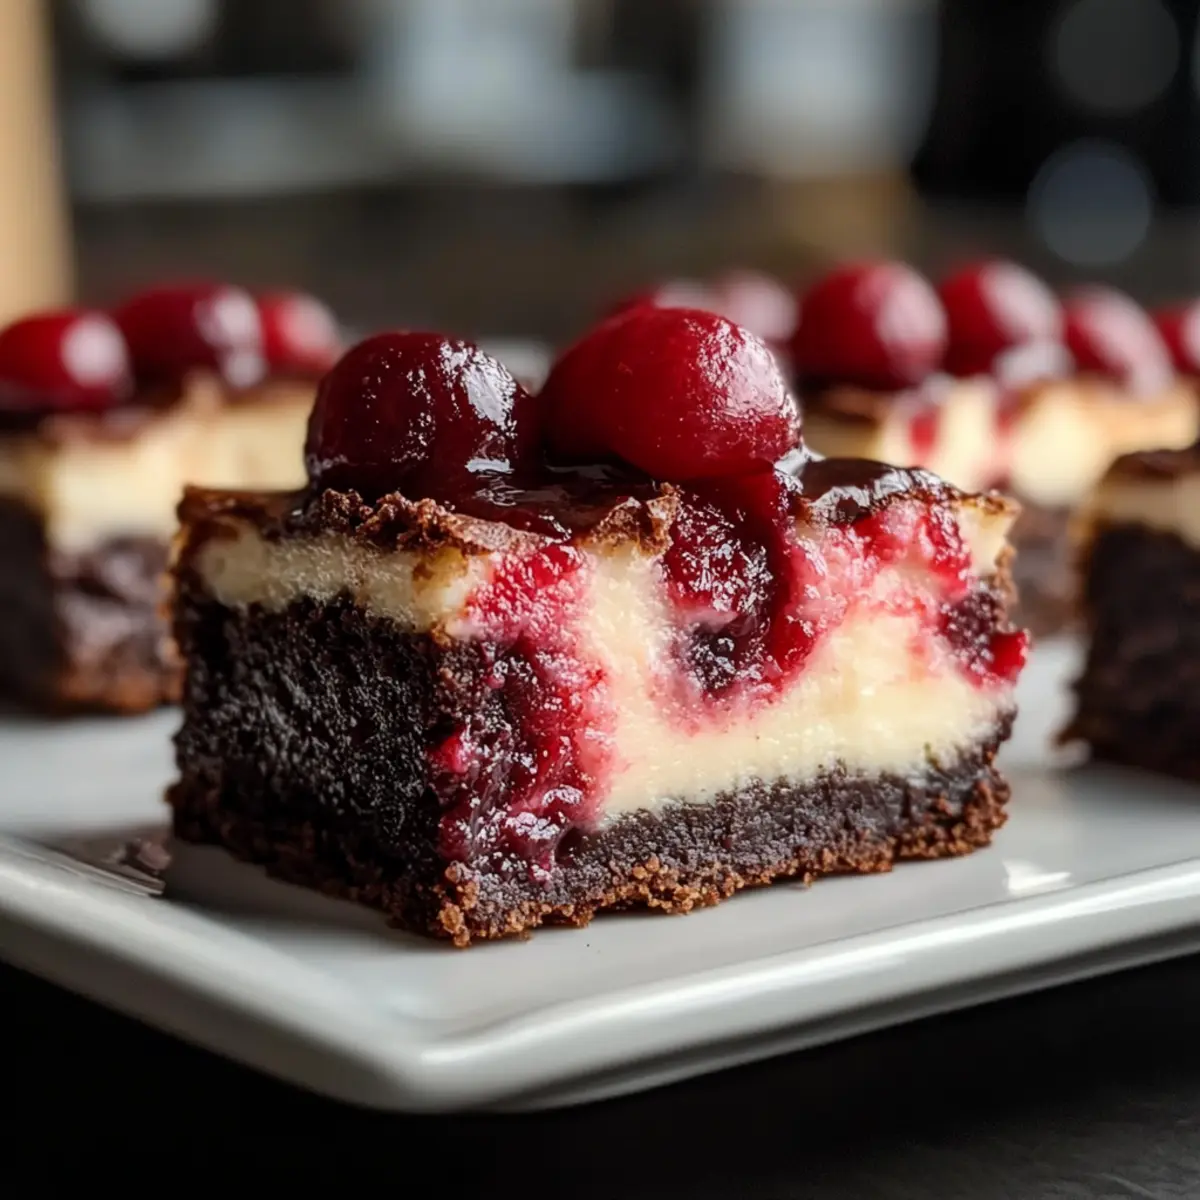
Irresistible flavor: This recipe combines the rich, fudgy texture of brownies with a creamy cheesecake layer and a burst of sweet cherry, creating a taste sensation that will leave you wanting more.
Quick and Easy: Ready in just 30 minutes, these cherry cheesecake brownie bars are perfect for any occasion, from busy weeknight desserts to special celebrations.
Customizable: Feel free to swap out the cherry filling for your favorite fruits, or try adding chocolate chips for an extra chocolatey twist.
Crowd-Pleaser: Whether you’re sharing with friends or enjoying solo, these bars are sure to impress anyone who takes a bite.
Versatile Options: If you prefer gluten-free treats, you can easily adapt the recipe with a gluten-free flour blend. For more delectable desserts, check out our Fudgy Cherry Brownies or Cheesecake Stuffed Strawberries!
Cherry Cheesecake Brownie Bars Ingredients
For the Brownie Base
- Butter – Adds richness and moisture; use unsalted butter for better flavor control.
- Sugar – Provides sweetness and texture; substitute with coconut sugar for a healthier option.
- Eggs – Bind ingredients and help achieve a nice rise; make sure they are room temperature for better mixing.
- Vanilla Extract – Adds depth of flavor; opt for pure vanilla extract for superior taste.
- All-Purpose Flour – Provides structure; swap for gluten-free 1:1 baking blend for gluten-free cherry cheesecake brownie bars.
- Cocoa Powder – Gives chocolate flavor and richness; use unsweetened cocoa for balance.
- Salt – Enhances flavor and balances sweetness.
For the Cheesecake Layer
- Cream Cheese – Creates the creamy cheesecake layer; soften before using to avoid lumps.
- Cherry Pie Filling – Adds sweetness and tartness; can be substituted with homemade fresh cherries tossed in cornstarch.
These flavorful ingredients will set the stage for an unforgettable treat that’s as fun to make as it is to eat! Enjoy the delightful combination of cherries and creamy cheesecake nestled on top of a rich brownie base, perfect for sharing or indulging all by yourself!
Step‑by‑Step Instructions for Cherry Cheesecake Brownie Bars
Step 1: Prep and Preheat
Begin by preheating your oven to 350°F (175°C). While the oven warms up, grease a 9×13-inch baking pan to ensure easy removal of the bars later. This crucial first step sets the foundation for delicious Cherry Cheesecake Brownie Bars, so don’t skip it!
Step 2: Mix the Brownie Batter
In a large mixing bowl, combine melted unsalted butter and sugar, stirring until the mixture is smooth. Next, add in the eggs and pure vanilla extract, mixing well to achieve a glossy finish. Gradually incorporate the all-purpose flour, cocoa powder, and a pinch of salt, stirring just until combined. Avoid overmixing for that fudgy texture!
Step 3: Spread the Brownie Layer
Pour the luscious brownie batter evenly into the prepared baking pan. Use a spatula to spread it out smoothly, ensuring that every corner is filled. This creates a rich foundation for the Cherry Cheesecake Brownie Bars, and you’ll want it to look nice and even before adding the cheesecake layer.
Step 4: Make the Cheesecake Layer
In a separate bowl, beat the softened cream cheese until creamy and smooth, about 2 minutes. Gradually add sugar, continuing to beat until well blended. Then mix in an egg and a touch of vanilla extract until just combined. The mixture should be creamy without lumps—perfect for that delightful cheesecake layer!
Step 5: Layer and Swirl
Carefully pour the cheesecake mixture over the brownie base, ensuring an even spread. Then take the cherry pie filling and dollop it random spots on top of the cheesecake layer. Use a skewer or knife to gently swirl the cheesecake and cherry filling together for a beautiful marbled effect. This step adds both flavor and visual appeal!
Step 6: Bake and Cool
Slide the pan into your preheated oven and bake for about 30 minutes. The edges should be set, while the center remains slightly soft. Remove from the oven, and allow the Cherry Cheesecake Brownie Bars to cool in the pan for at least 2 hours. This cooling time is vital for achieving clean slices when serving.
Cherry Cheesecake Brownie Bars Variations
Feel free to play with these ideas and elevate your dessert game for a perfect treat!
-
Fruit Swap: Replace cherry pie filling with blueberries, raspberries, or your favorite seasonal fruit. The tartness of fresh berries adds a beautiful twist!
-
Chocolate Chip Boost: Fold in chocolate chips into the brownie layer for an extra chocolatey delight. They add a wonderful melty texture that chocolate lovers will adore.
-
Nutty Crunch: Add chopped walnuts or pecans to the brownie layer for a satisfying crunch. The nutty flavor pairs beautifully with the creamy cheesecake.
-
Flavored Extracts: Experiment with almond or lemon extracts instead of vanilla in the cheesecake layer. These subtle changes can create a refreshing flavor profile.
-
Dairy-Free Option: Swap cream cheese for a dairy-free cream cheese alternative and use coconut oil instead of butter for a vegan-friendly adaptation. Enjoy the rich texture without the dairy!
-
Gluten-Free Treat: Use a gluten-free 1:1 baking blend instead of all-purpose flour to make this recipe gluten-free without sacrificing flavor.
-
Caramel Drizzle: Drizzle caramel sauce on top after baking for an indulgent twist. It adds a sweet, gooey layer that enhances the overall flavor.
-
Spicy Kick: Sprinkle a pinch of cayenne pepper or cinnamon into the brownie batter for a surprising spiciness that complements the sweetness beautifully.
These variations make it easy to customize your Cherry Cheesecake Brownie Bars! Looking for more dessert inspirations? Check out our delicious Cookie Butter Cheesecake Cups or try the delightful Crisp Mini Cheesecakes!
What to Serve with Cherry Cheesecake Brownie Bars
Elevate your dessert experience by pairing these rich sweets with delightful accompaniments that balance their sweetness.
-
Fresh Berries: The tart brightness of strawberries, raspberries, or blueberries complements the creamy cheesecake layer, adding a refreshing contrast. A simple berry salad can also add a beautiful pop of color to your dessert table.
-
Whipped Cream: Light and airy, a dollop of sweetened whipped cream adds a luscious touch, enhancing the overall creaminess while counterbalancing the richness of the brownie bars.
-
Chocolate Sauce: Drizzling warm chocolate sauce brings in extra decadence, creating a heavenly chocolate-cherry combination that will thrill dessert lovers. Serve it on the side for that perfect indulgent touch!
-
Ice Cream: A scoop of vanilla, chocolate, or cherry ice cream provides a delightful contrast in temperature and texture, making every bite a heavenly experience. Vanilla bean is particularly lovely, as it will enhance the flavors of the cherry and chocolate.
-
Nutty Crumble: A crunchy almond or pecan crumble introduces a contrasting texture. Sprinkle some over each slice to give it that delightful element of surprise with every bite!
-
Coffee or Espresso: A rich brew balances the sweetness of the bars beautifully, creating a comforting pairing that makes these brownie delicacies even more enjoyable. The slight bitterness of coffee can really enhance the chocolate flavor.
-
Chocolate-Covered Cherries: For a truly indulgent experience, serve these alongside chocolate-covered cherries. The bite of fruit encased in chocolate creates a harmonious blend of flavors that mirrors the brownie bars.
-
Mint Garnish: A sprig of fresh mint adds freshness and a pop of color to the plate, while its natural flavor can awaken the cherry, giving an exciting twist to the dish.
These pairings will transform your Cherry Cheesecake Brownie Bars into a stunning dessert spread, capturing the hearts of your guests or family with their delightful symphony of flavors!
Expert Tips for Cherry Cheesecake Brownie Bars
-
Soften Cream Cheese: Make sure your cream cheese is at room temperature to avoid lumps and achieve a silky cheesecake layer.
-
Mix Gently: Combine the brownie batter just until the ingredients are incorporated. Overmixing can lead to a tough texture—still okay if there are a few lumps!
-
Cool Completely: Allow your bars to cool fully for at least 2 hours before slicing. This not only helps with clean cuts but enhances the flavor melding of the cherry cheesecake brownie bars.
-
Layering Technique: When swirling the cherry pie filling into the cheesecake, do it gently. Avoid over-mixing to keep the distinct layers visible and appealing.
-
Storage Tips: Store leftover bars in an airtight container in the fridge for up to 5 days. For best flavor, have them the next day since they get even better!
Storage Tips for Cherry Cheesecake Brownie Bars
Fridge: Store leftover Cherry Cheesecake Brownie Bars in an airtight container for up to 5 days. They taste even better the next day as the flavors meld together!
Freezer: For longer storage, freeze these delightful bars in an airtight container or wrapped in plastic wrap for up to 3 months. Allow to thaw in the fridge overnight when ready to enjoy.
Reheating: If you prefer them warm, gently reheat in the microwave for about 10-15 seconds. This will bring back the fudgy texture without sacrificing flavor.
Make Ahead Options
These Cherry Cheesecake Brownie Bars are perfect for busy home cooks looking to save time! You can prepare the brownie layer up to 24 hours in advance and refrigerate it in the baking pan covered with plastic wrap to maintain freshness. Additionally, you can make the cheesecake layer ahead of time, storing it in an airtight container in the refrigerator for up to 3 days before assembling. To assemble, simply pour the chilled cheesecake layer over the brownie base, dollop with cherry pie filling, and swirl before baking. This way, you enjoy the delightful flavors and textures of homemade dessert with minimal effort on the day of serving!

Cherry Cheesecake Brownie Bars Recipe FAQs
What type of cherries should I use for the filling?
Absolutely! For the best results, use a cherry pie filling that has a good balance of sweetness and tartness. If you prefer a more natural option, fresh or frozen cherries tossed with cornstarch work wonderfully as they give a homemade taste. Just remember to pit the fresh cherries before using!
How should I store leftover Cherry Cheesecake Brownie Bars?
Store your Cherry Cheesecake Brownie Bars in an airtight container in the fridge for up to 5 days. They’ll continue to get tastier as the flavors meld together! For best results, consume them within 3 days. If you need to keep them longer, freezing is a great option.
Can I freeze these bars for later?
Yes, you can freeze the bars! To do this, slice them and place the individual pieces in an airtight container, separating layers with parchment paper. They can be frozen for up to 3 months. When you’re ready to enjoy, simply thaw in the fridge overnight or let them sit at room temperature for a few hours.
Why is my cheesecake layer lumpy?
Oh no! A lumpy cheesecake layer usually occurs when the cream cheese isn’t softened enough. Make sure to leave it out at room temperature for about 30 minutes before mixing to ensure it blends smoothly. If you ever find lumps, beat the mixture for a little longer until smooth—small lumps can be okay but large ones can affect the texture.
Can I make these bars gluten-free?
Very! To create delicious gluten-free Cherry Cheesecake Brownie Bars, simply swap the all-purpose flour with a gluten-free 1:1 baking blend. Make sure the blend doesn’t contain added leavening agents, as that could alter the texture of your bars.
Are there any allergy considerations?
If you’re preparing these lovely bars for guests with allergies, keep in mind that they contain common allergens like eggs and dairy. You can use egg substitutes or non-dairy cream cheese for a lactose-free version. If you’re unsure, it’s always a good idea to inquire about specific dietary needs before serving!
Decadent Cherry Cheesecake Brownie Bars for Your Sweet Cravings
Ingredients
Equipment
Method
- Preheat the oven to 350°F (175°C) and grease a 9×13-inch baking pan.
- In a large mixing bowl, combine melted unsalted butter and sugar until smooth. Add eggs and vanilla extract, mixing well. Gradually add flour, cocoa powder, and salt, stirring until combined.
- Pour the brownie batter into the prepared baking pan and spread evenly with a spatula.
- In a separate bowl, beat softened cream cheese until creamy, then add sugar and mix until blended. Add an egg and vanilla extract, mixing until just combined.
- Pour the cheesecake mixture over the brownie base and dollop cherry pie filling on top. Swirl gently with a skewer or knife for a marbled effect.
- Bake for about 30 minutes until edges are set and center is slightly soft. Cool in the pan for at least 2 hours before slicing.
Leave a Reply