
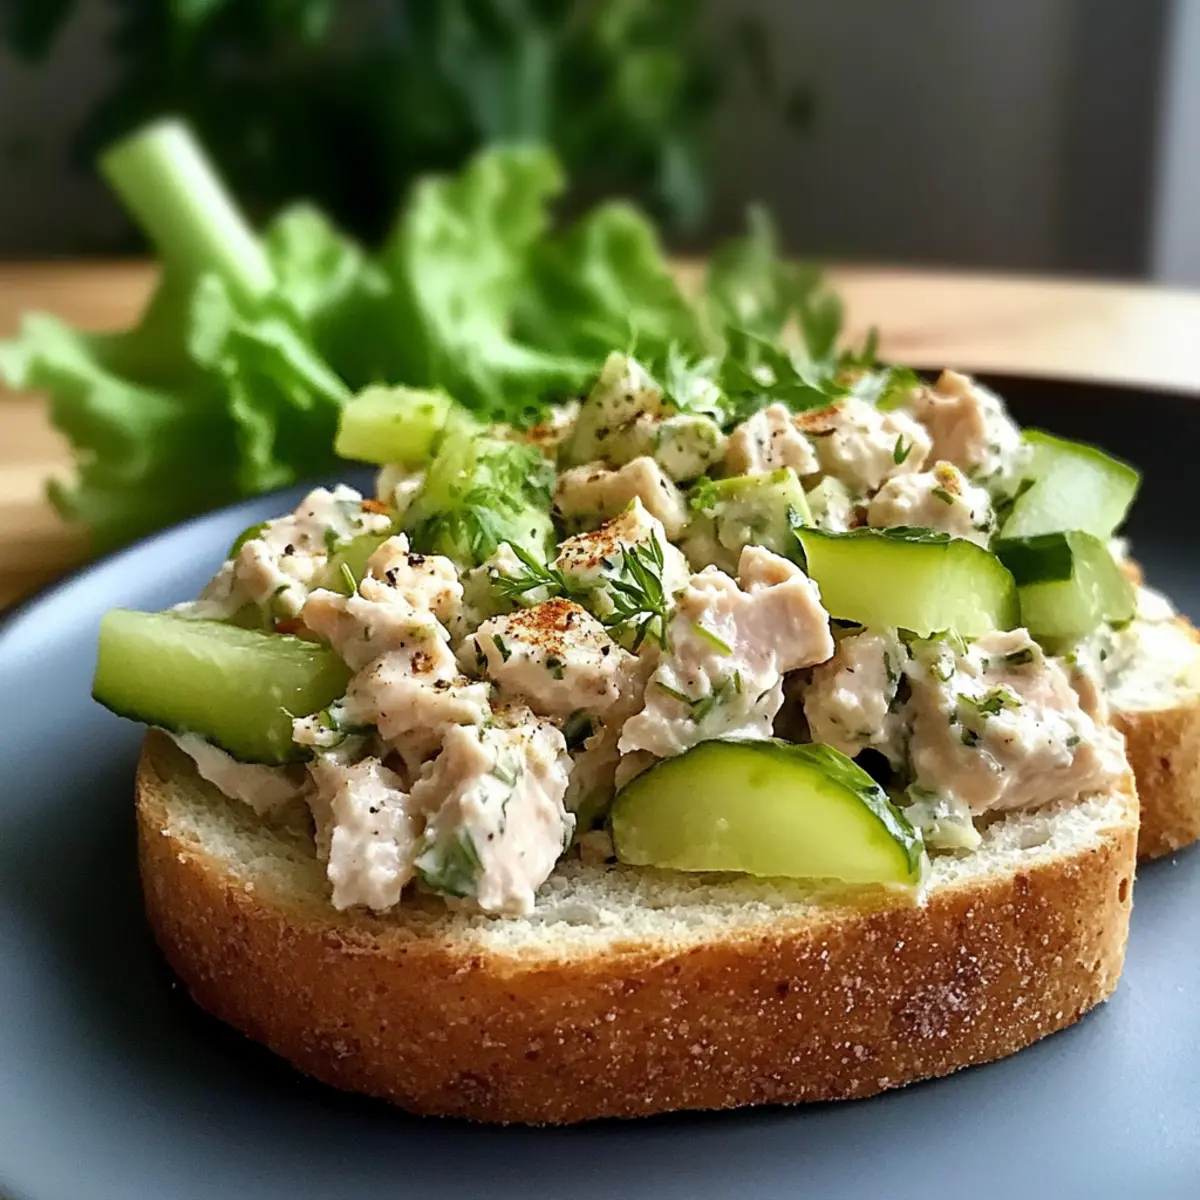
“Did you hear that crunch?” I exclaimed as the first bite of my dill pickle tuna salad sent a wave of nostalgia and flavor whizzing through my mind. This quick and tangy dish is more than just a meal; it’s a delightful combination of creamy mayo, flaky tuna, and zesty dill pickles, all coming together in minutes. Perfect for a fast lunch or heartening sandwich filling, this dill pickle tuna salad accommodates various tastes and dietary needs. Whether you’re looking for a low-carb option or simply a lighter twist on a classic favorite, this adaptable recipe has something for everyone. Ready to whip up a unique treat that’ll become a staple in your meal rotation? Let’s dive in!
Why is Dill Pickle Tuna Salad a Must-Try?
Quick and Easy: This dill pickle tuna salad comes together in just minutes, making it an ideal choice for busy days or last-minute lunches.
Tangy Kick: The crunchy pickles and zesty flavors elevate your traditional tuna salad, adding a delightful freshness to every bite.
Adaptable Recipe: Perfect for various dietary preferences, you can easily swap ingredients, from substituting mayo with Greek yogurt to using lettuce wraps instead of bread.
Nostalgic Comfort: This dish brings a sense of nostalgia, reminiscent of classic family recipes, yet it’s updated for the modern palate.
Versatile Serving Options: Whether you enjoy it on whole-grain bread, as a light salad over mixed greens, or tucked into avocado halves, you’ll find ways to make it your own.
For more ideas on light and enjoyable salads, check out our delicious Pomegranate Salad Honey or try a refreshing Mango Cucumber Salad as a side!
Dill Pickle Tuna Salad Ingredients
For the Salad
- Canned Tuna – Choose chunk light for a stronger flavor or solid white albacore for a firmer texture.
- Chopped Dill Pickles – Adds tanginess and crunch; dill relish can be used for a sweeter twist.
- Chopped Celery – Contributes a fresh crunch; substitute diced bell peppers for different flavor notes.
For the Dressing
- Mayonnaise – Provides creaminess; Greek yogurt is a great low-calorie alternative.
- Plain Yogurt – Enhances creaminess and can lighten up the dish; for a richer taste, you can omit this.
- Apple Cider Vinegar – Adds bright acidity; lemon juice works well in its place.
- Spices (to taste) – Elevate flavor with garlic powder, onion powder, or dill; don’t forget to sprinkle a little salt and pepper!
Enjoy whipping up this delightful dill pickle tuna salad, perfect for a quick lunch or tasty sandwich filling!
Step‑by‑Step Instructions for Dill Pickle Tuna Salad
Step 1: Prep Tuna & Veggies
Begin by draining the canned tuna thoroughly to remove excess liquid; pressing it gently in a fine-mesh strainer works best. Then, chop the dill pickles and celery into small pieces, ensuring they are uniform for an even mix. The bright green color of the chopped veggies will add a fresh touch to your dill pickle tuna salad.
Step 2: Mix Tuna Base
In a large mixing bowl, combine the well-drained tuna, chopped dill pickles, and celery. Using a sturdy fork, gently break apart the tuna while mixing to ensure that all ingredients are evenly distributed. The texture should be chunky yet cohesive, with the vibrant colors of the pickles and celery popping against the pale tuna.
Step 3: Make Dressing
In a separate bowl, whisk together the mayonnaise, plain yogurt, apple cider vinegar, and your chosen spices until the mixture is smooth and creamy. This dressing will bring richness and flavor to your dill pickle tuna salad. Aim for a cohesive texture, where no lumps remain, ensuring every bite is delightfully creamy.
Step 4: Combine
Pour the prepared dressing over the tuna mixture and stir gently until everything is well coated. Be careful not to over-mix; you want to keep the tuna’s flaky consistency while ensuring the dressing is evenly distributed. The vibrant dressing will enhance the dill pickle tuna salad, giving it a luscious appearance.
Step 5: Adjust Seasoning
Taste your dill pickle tuna salad and adjust the seasoning according to your preference. Add salt, pepper, or more spices as needed for an additional flavor boost. This step is crucial to personalize the dish to your liking, ensuring a balanced taste that complements the tangy pickles.
Step 6: Chill (Optional)
For best results, refrigerate the dill pickle tuna salad for at least 30 minutes before serving. This resting period allows the flavors to meld beautifully, resulting in a harmonious and tangy taste. When ready to serve, you can enjoy it straight from the fridge or let it sit at room temperature for a few minutes.
Dill Pickle Tuna Salad Variations
Feel free to mix things up and tailor this delightful dish to your unique taste!
-
Low-Carb Delight: Serve the tuna salad over mixed greens instead of bread for a refreshing, low-carb option. A bed of crisp greens makes every bite feel light and satisfying.
-
Avocado Boats: Stuff the tuna salad neatly into halved avocados for a creamy twist on presentation. The buttery texture complements the salad beautifully, making for a visually stunning dish.
-
Spicy Kick: Add diced jalapeños or a splash of hot sauce to spice things up. This gives your salad an exciting zing that makes it perfect for those who love a bit of heat.
-
Creamy Alternative: Substitute mayonnaise with Greek yogurt for a lighter and tangier flavor. Not only does it cut calories, but it also adds a protein boost that keeps you fuller longer.
-
Zesty Twist: Incorporate fresh herbs like dill, parsley, or chives to elevate the flavors. This addition brings an aromatic freshness that dances on your palate, making each bite even more delightful.
-
Crunchy Mix-Ins: Toss in some chopped bell peppers or walnuts for added texture and crunch. These components can create a delightful contrast to the creamy base, adding with each spoonful.
-
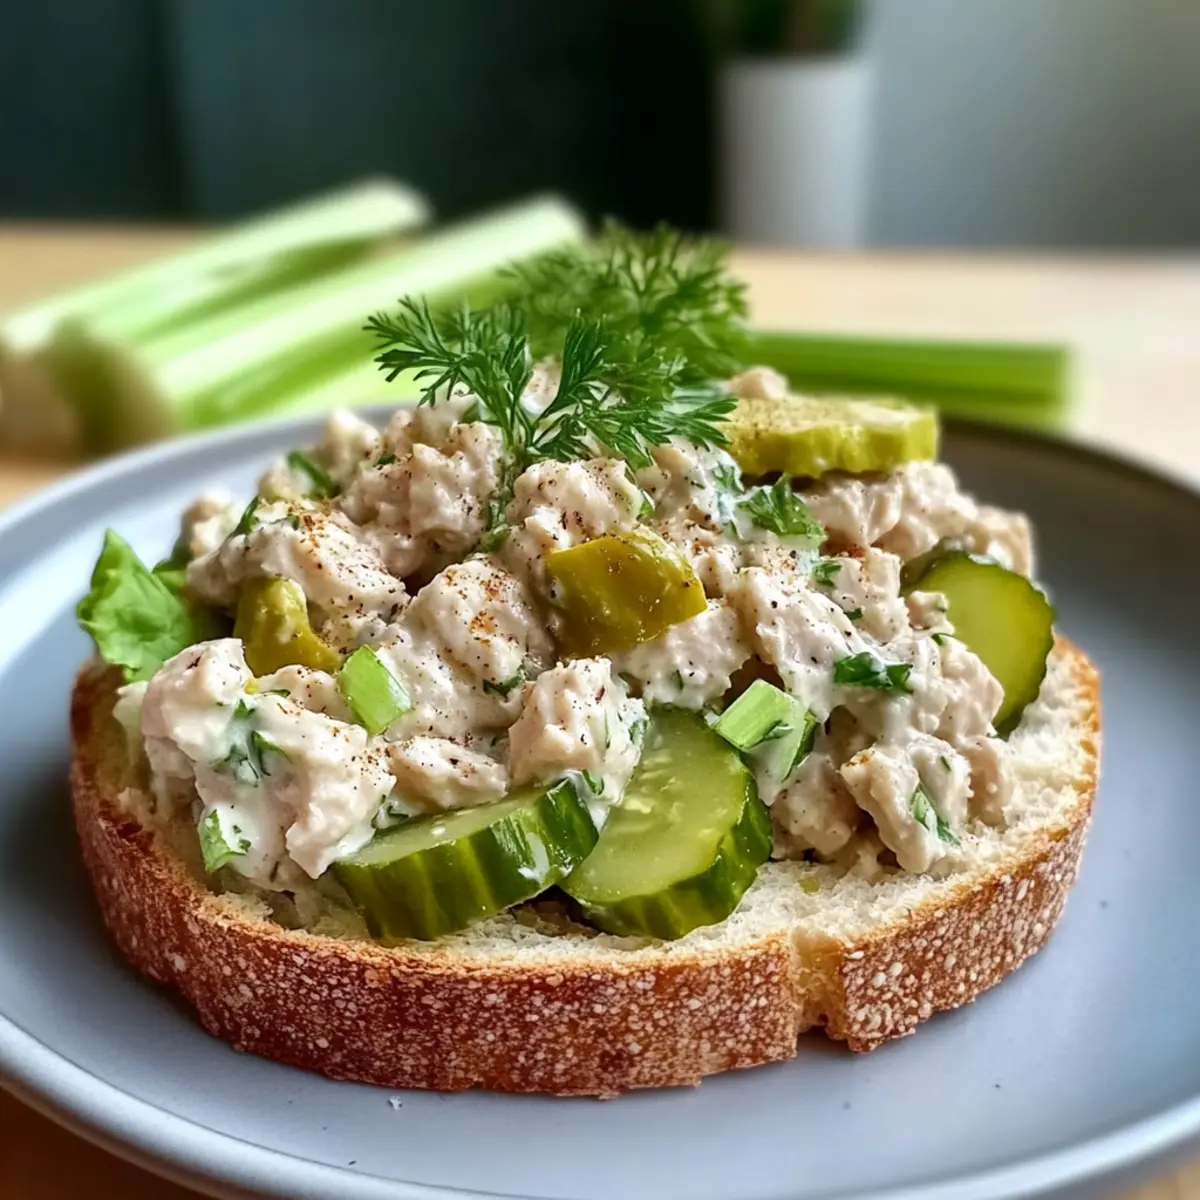
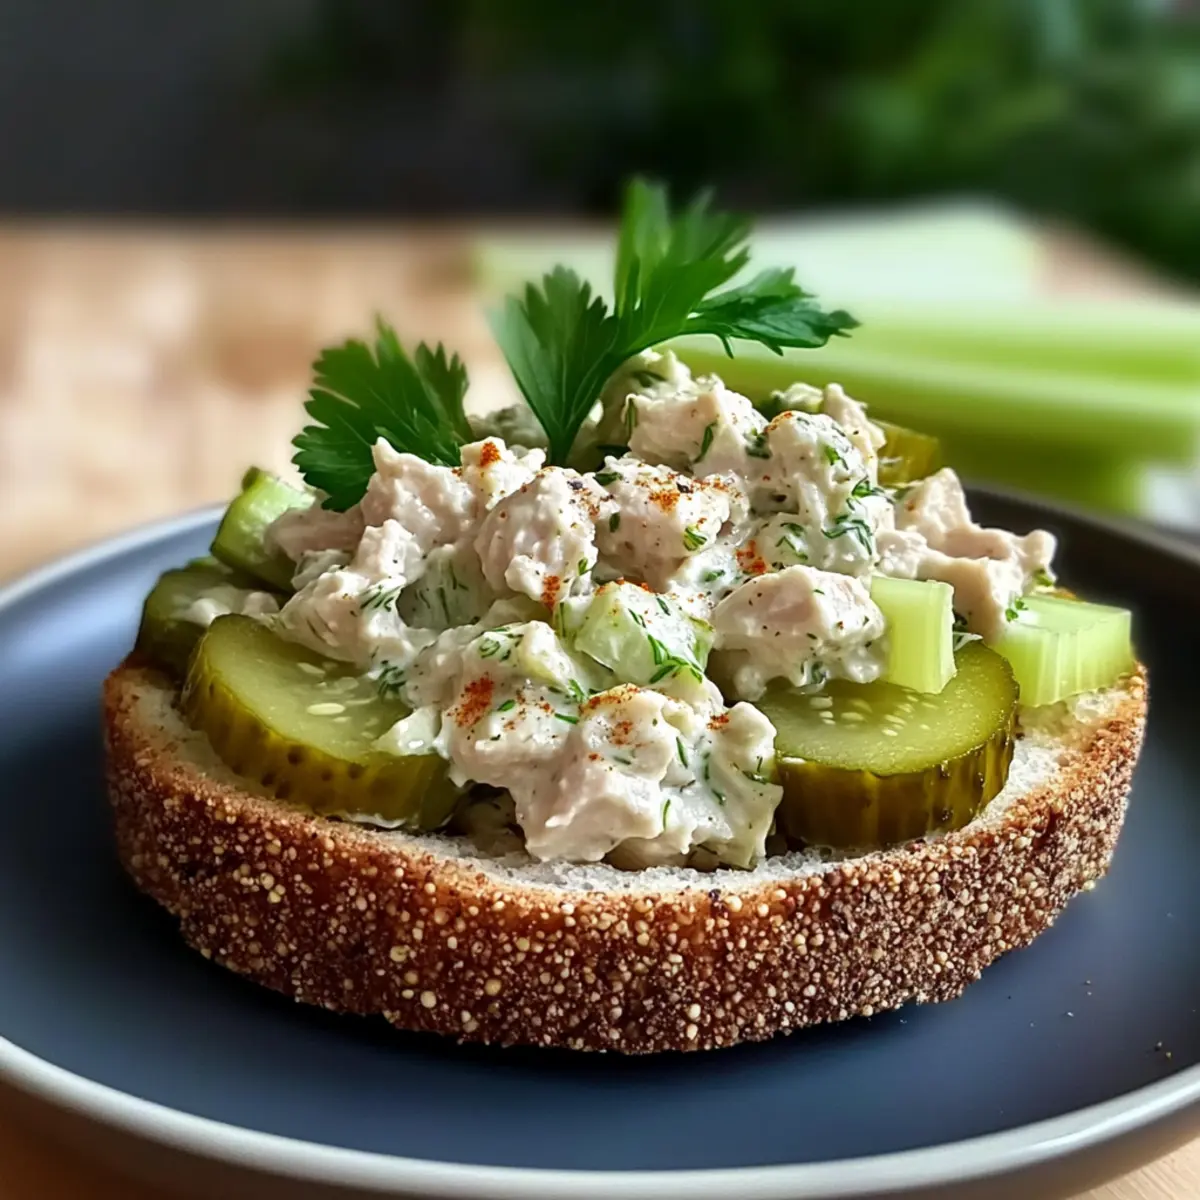
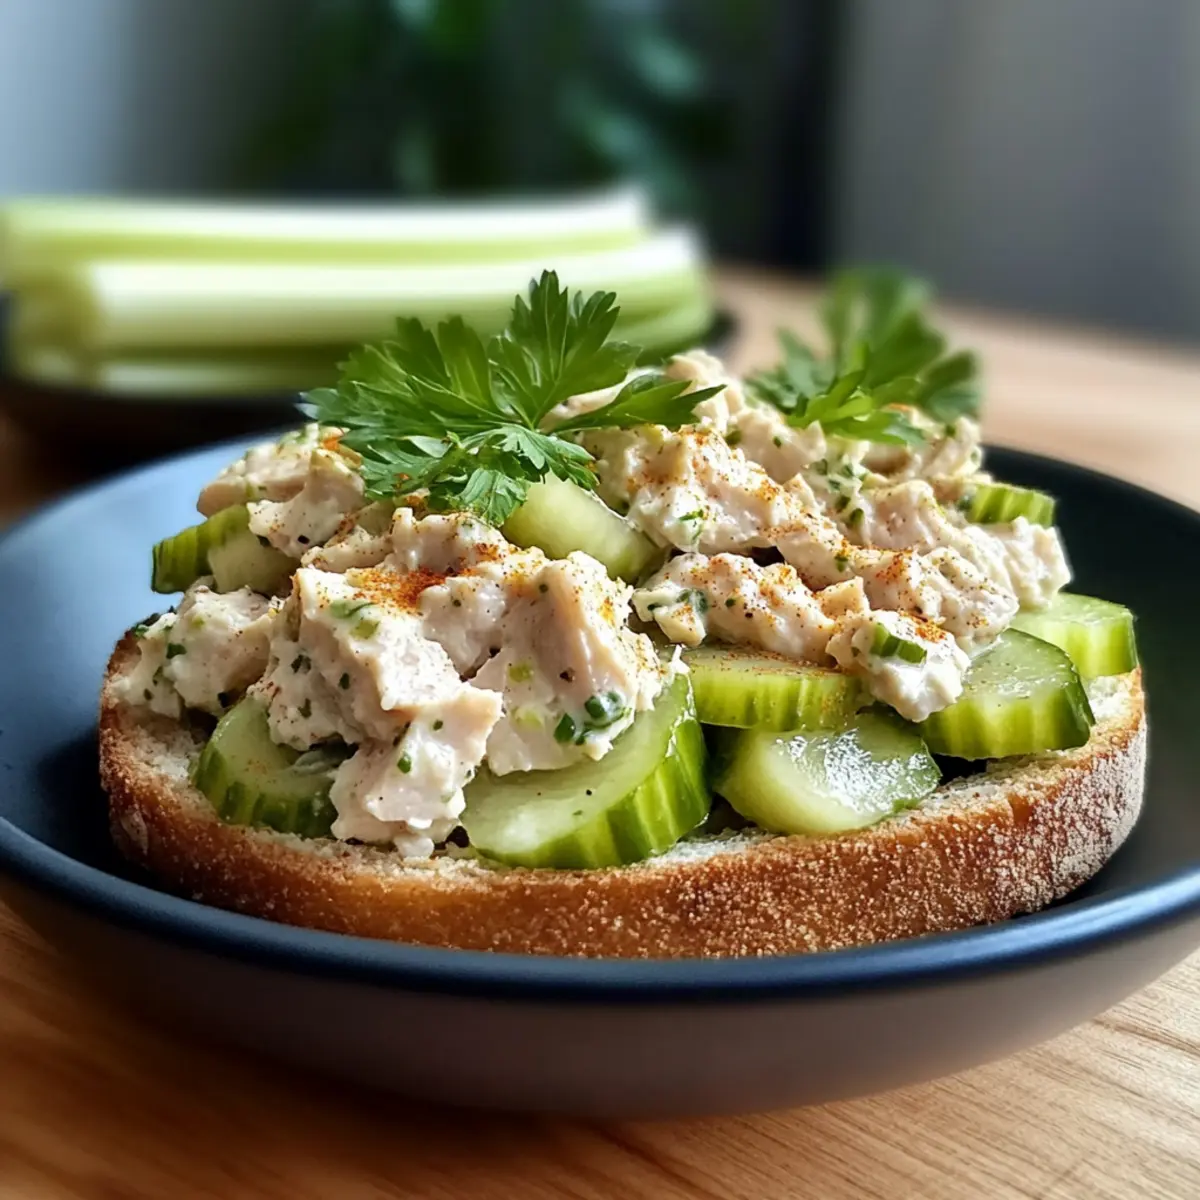
Savory Sandwich: Spread the tuna salad on toasted sourdough or whole-grain bread for a classic hearty sandwich. This classic approach is sure to warm your heart and remind you of family picnics.
For more delightful salad ideas, don’t miss our scrumptious Pomegranate Salad Honey and the refreshing Fall Salad Maple for your next meal!
Make Ahead Options
These Dill Pickle Tuna Salad preparations are a lifesaver for busy weeknights! You can chop the dill pickles and celery up to 3 days in advance, storing them in an airtight container in the refrigerator to maintain their crunch. Furthermore, you can mix the tuna base (tuna, pickles, and celery) 24 hours ahead without the dressing—this will keep the textures ideal. When ready to enjoy, simply whisk together the dressing ingredients, combine everything, and season to taste. For optimal flavor, allow the assembled salad to chill in the fridge for at least 30 minutes (or longer) before serving, so it’s just as delicious as when freshly made!
How to Store and Freeze Dill Pickle Tuna Salad
Fridge: Store your dill pickle tuna salad in an airtight container for up to 3-4 days. The flavors will develop even further, making it a delightful make-ahead option.
Freezer: This salad is best enjoyed fresh, but if you need to freeze it, do so in a sealed container for up to a month. Thaw in the fridge before consuming, but note that texture may change.
Reheating: While you usually don’t reheat tuna salad, you can bring it to room temperature for the best flavor when serving after refrigeration. Just give it a good stir!
Serving Tip: If not serving immediately, keep pickle juice on the side and add just before serving to maintain the salad’s consistency.
Expert Tips for Dill Pickle Tuna Salad
-
Drain Tuna Well: Ensure the canned tuna is thoroughly drained to avoid a watery texture in your salad. Use a fine-mesh strainer for best results.
-
Gradual Dressing Addition: Fold the dressing into the tuna mixture gradually to prevent uneven distribution and dry pockets. This ensures every bite is flavorful.
-
Pat Dry Veggies: Before adding chopped pickles and celery, pat them dry with paper towels to remove excess moisture, which can dilute flavors in your dill pickle tuna salad.
-
Season to Taste: Always taste your salad before serving and adjust the seasoning accordingly. A pinch of salt or a sprinkle of dill can elevate the flavors perfectly.
-
Chill for Flavor: For optimum taste, refrigerate your dill pickle tuna salad for at least 30 minutes before serving; this allows the flavors to meld beautifully.
What to Serve with Quick and Tangy Dill Pickle Tuna Salad?
Enhance your meal with delightful sides that complement the vibrant flavors of your dill pickle tuna salad.
-
Crispy Lettuce Wraps: Light and crunchy, these wraps offer a fresh way to enjoy the salad, keeping it low-carb and refreshing.
-
Buttery Corn on the Cob: Sweet and tender, the rich flavors of corn balance the tangy notes of the salad, adding a lovely touch of summer.
-
Zesty Pasta Salad: A colorful pasta salad adds substantial comfort, with its bright veggies and a light dressing that pairs beautifully with the tuna.
-
Homemade Potato Chips: Crispy and salty, these chips provide a satisfying crunch that complements the creamy tuna salad well.
-
Classic Coleslaw: The creamy, tangy coleslaw adds a crunchy texture and slight sweetness, making each bite a delightful contrast.
-
Chilled White Wine: A crisp, chilled Sauvignon Blanc or Pinot Grigio refreshes the palate, enhancing the salad’s bright flavors for a light lunch.
These serving options not only elevate your dining experience but also create a well-rounded meal that pleases everyone at the table!
Dill Pickle Tuna Salad Recipe FAQs
How do I choose the best canned tuna for this recipe?
Choosing the right canned tuna can enhance your dill pickle tuna salad significantly! I recommend going for chunk light tuna if you prefer a stronger flavor and a looser texture. Solid white albacore is another excellent option, offering a firmer, milder flavor that makes for a classically creamy salad. Always opt for sustainably sourced brands for the best quality!
What’s the best way to store leftover dill pickle tuna salad?
Absolutely! Store any leftover dill pickle tuna salad in an airtight container in the fridge for 3-4 days. Make sure it’s sealed tightly to prevent any odors from other foods permeating your delicious salad. The flavors will deepen and meld together over time, so don’t hesitate to make extra!
Can I freeze dill pickle tuna salad?
While this salad is best enjoyed fresh, you can freeze it if needed. Here’s how: Transfer your dill pickle tuna salad into a sealed container, leaving a little space at the top for expansion, and freeze for up to a month. When you’re ready to eat it, thaw it in the fridge overnight. However, keep in mind that the texture may change slightly due to the mayonnaise. Stir well after thawing!
What should I do if my tuna salad turns out watery?
If you find your tuna salad a bit watery, don’t worry; it happens to the best of us! To salvage it, press the tuna in a fine-mesh strainer to remove excess liquid before mixing. Additionally, make sure to pat dry your chopped pickles and celery with paper towels to avoid adding any unwanted moisture. If you’ve already mixed it, you can add some extra mayonnaise or yogurt to help balance the consistency!
Are there any dietary considerations for your dill pickle tuna salad?
Very! This dill pickle tuna salad can easily accommodate several dietary preferences. You can substitute the mayonnaise with Greek yogurt for a lighter version, perfect for lowering calories. For those with gluten sensitivities, try serving the salad in lettuce wraps instead of bread. If you’re cooking for pets, be cautious; while tuna is safe for dogs, it should be given sparingly and not in excess!
Dill Pickle Tuna Salad: Quick, Crunchy Delight for Lunch
Ingredients
Equipment
Method
- Drain the canned tuna thoroughly to remove excess liquid; press in a fine-mesh strainer.
- Chop the dill pickles and celery into small, uniform pieces.
- In a mixing bowl, combine the drained tuna, chopped dill pickles, and celery, gently breaking apart the tuna while mixing.
- In a separate bowl, whisk together the mayonnaise, plain yogurt, apple cider vinegar, and spices until smooth.
- Pour the dressing over the tuna mixture and stir gently until well coated.
- Taste and adjust seasoning with salt and pepper as needed.
- For best results, refrigerate for at least 30 minutes before serving.
Leave a Reply