
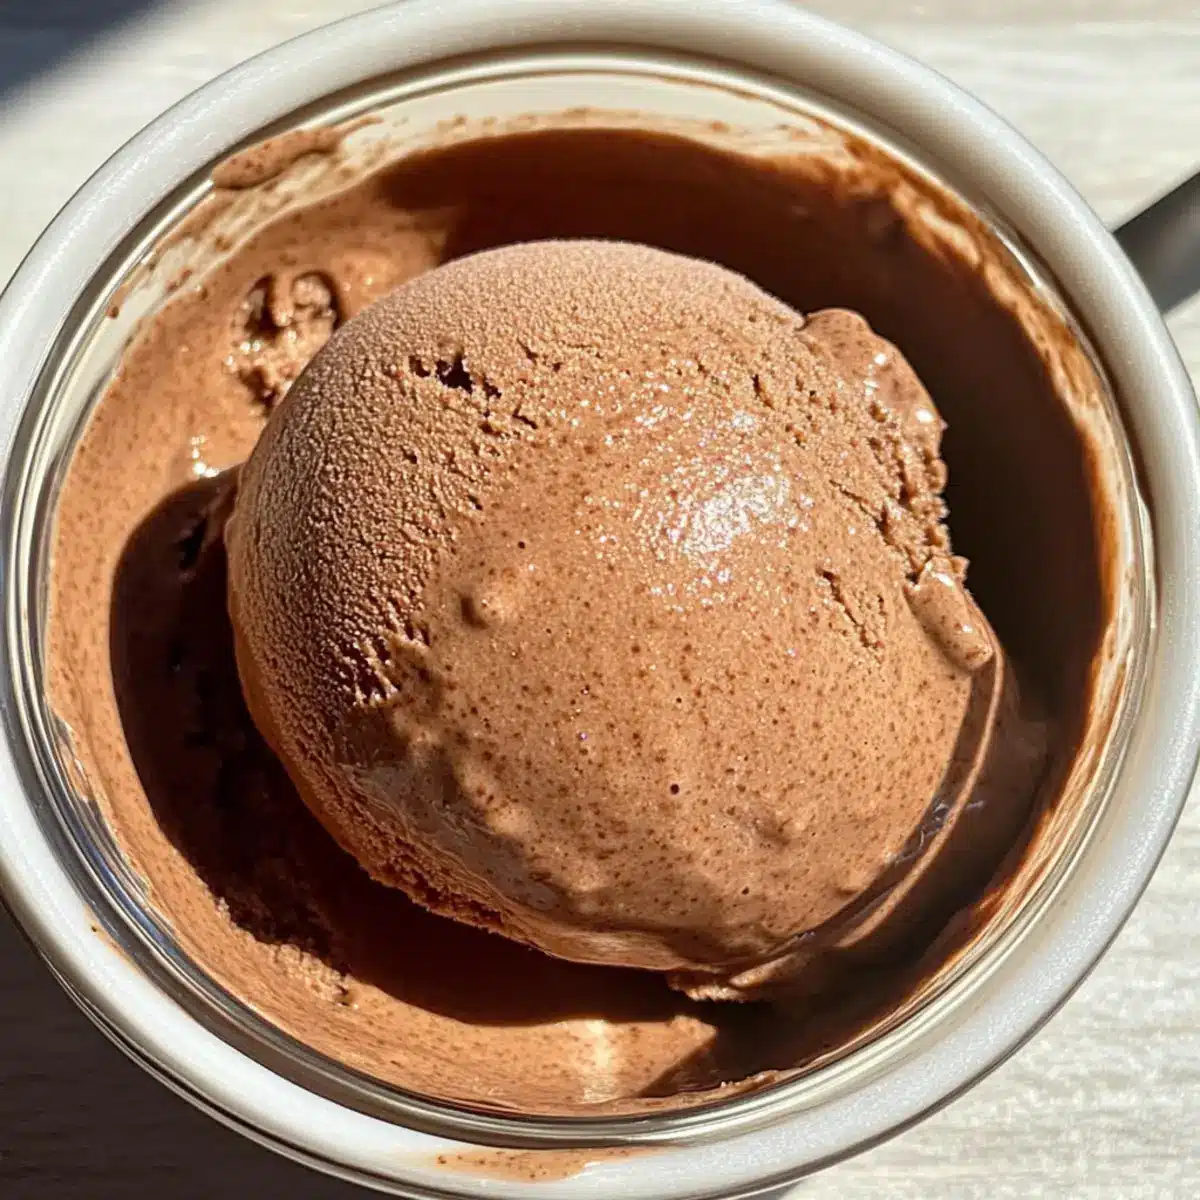
As the sun sets and the air turns cooler, I find myself longing for a sweet escape that won’t weigh me down. Enter my Healthy Chocolate Ninja Creami Ice Cream—a delightful way to indulge without the guilt! This recipe is a lifesaver for those of us navigating dairy-free or paleo lifestyles, delivering a thick, creamy texture that rivals any store-bought treat. Made with simple, wholesome ingredients like almond milk and natural dates, it’s a quick prep that promises to satisfy your chocolate cravings while being kind to your body. Plus, it’s not just healthy; it’s a fun project that you can easily whip up at home! Are you ready to make a dessert that feels indulgent but is refreshingly guilt-free?

Why is this ice cream so irresistible?
Health-Conscious Delight: This Healthy Chocolate Ninja Creami Ice Cream is dairy-free, paleo, and refined sugar-free, making it a guilt-free choice that suits various dietary preferences.
Ultimate Creaminess: With rich coconut cream and a base of almond milk, this ice cream achieves a velvety texture that’s challenging to resist.
Quick to Make: You’ll love how easy it is to whip up this dessert. Just blend, freeze, and spin, allowing you more time to enjoy your evening.
Natural Sweetness: Sweetened naturally with dates, it ensures a deliciously sweet flavor while keeping it nutritious.
Versatile and Fun: Experiment by adding nut butter swirls or different flavorings like mint for a fun twist. Serve it topped with fresh berries for a burst of color!
Crowd-Pleasing Treat: This recipe is sure to impress friends and family alike, proving that healthy treats can also be rich in flavor. If you’re also craving a delicious, wholesome snack, check out my Healthy Almond Joys for another delightful option.
Healthy Chocolate Ninja Creami Ingredients
For the Ice Cream Base
- Almond Milk – A perfect dairy-free liquid base; feel free to swap with any non-dairy milk that fits your taste.
- Coconut Cream – Provides that rich, creamy texture; for a lighter version, consider using full-fat coconut milk instead.
- Cocoa Powder – Adds a deep chocolate flavor; use unsweetened cocoa for the best results, or try carob powder for a caffeine-free twist.
- Dates – The natural sweetener that’s crucial for creaminess; make sure not to replace them as they’re essential for the texture.
- Vanilla Extract – Enhances the overall flavor; feel free to add more for an extra hint of vanilla magic.
- Salt – Balances the sweetness; include it but adjust to your personal preference for the perfect taste.
Optional Enhancers
- Collagen Peptides – Boosts creaminess and adds nutrition; can be omitted or substituted with vegan protein powder for a plant-friendly version.
- Maple Syrup – An optional added sweetener to customize your treat’s sweetness level; adjust to your liking.
This collection of wholesome ingredients transforms into a delectably creamy dessert that’ll fulfill your chocolate cravings—perfect for those seeking a Healthy Chocolate Ninja Creami experience!
Step‑by‑Step Instructions for Healthy Chocolate Ninja Creami
Step 1: Blend Ingredients
Start by placing the almond milk, coconut cream, cocoa powder, dates, vanilla extract, salt, and collagen peptides (if using) into a high-speed blender. Blend on medium-high speed for about 30 to 60 seconds or until the mixture becomes completely smooth and creamy, with no chunks of dates visible. This rich chocolate blend is the foundation of your Healthy Chocolate Ninja Creami.
Step 2: Transfer Mixture
Once your creamy mixture is smooth, carefully pour it into the Ninja Creami pint. Make sure to leave some space at the top for expansion during freezing. Use a spatula to scrape the sides of the blender to get every last drop of that delicious chocolate goodness, ensuring nothing goes to waste.
Step 3: Freeze
Seal the pint with the lid and place it upright in the freezer for a minimum of 24 hours. The mixture must be completely frozen to achieve that perfect, creamy texture when using the Ninja Creami. Ensure that it’s stored in a stable position so it doesn’t spill or tip over while freezing.
Step 4: Spin Ice Cream
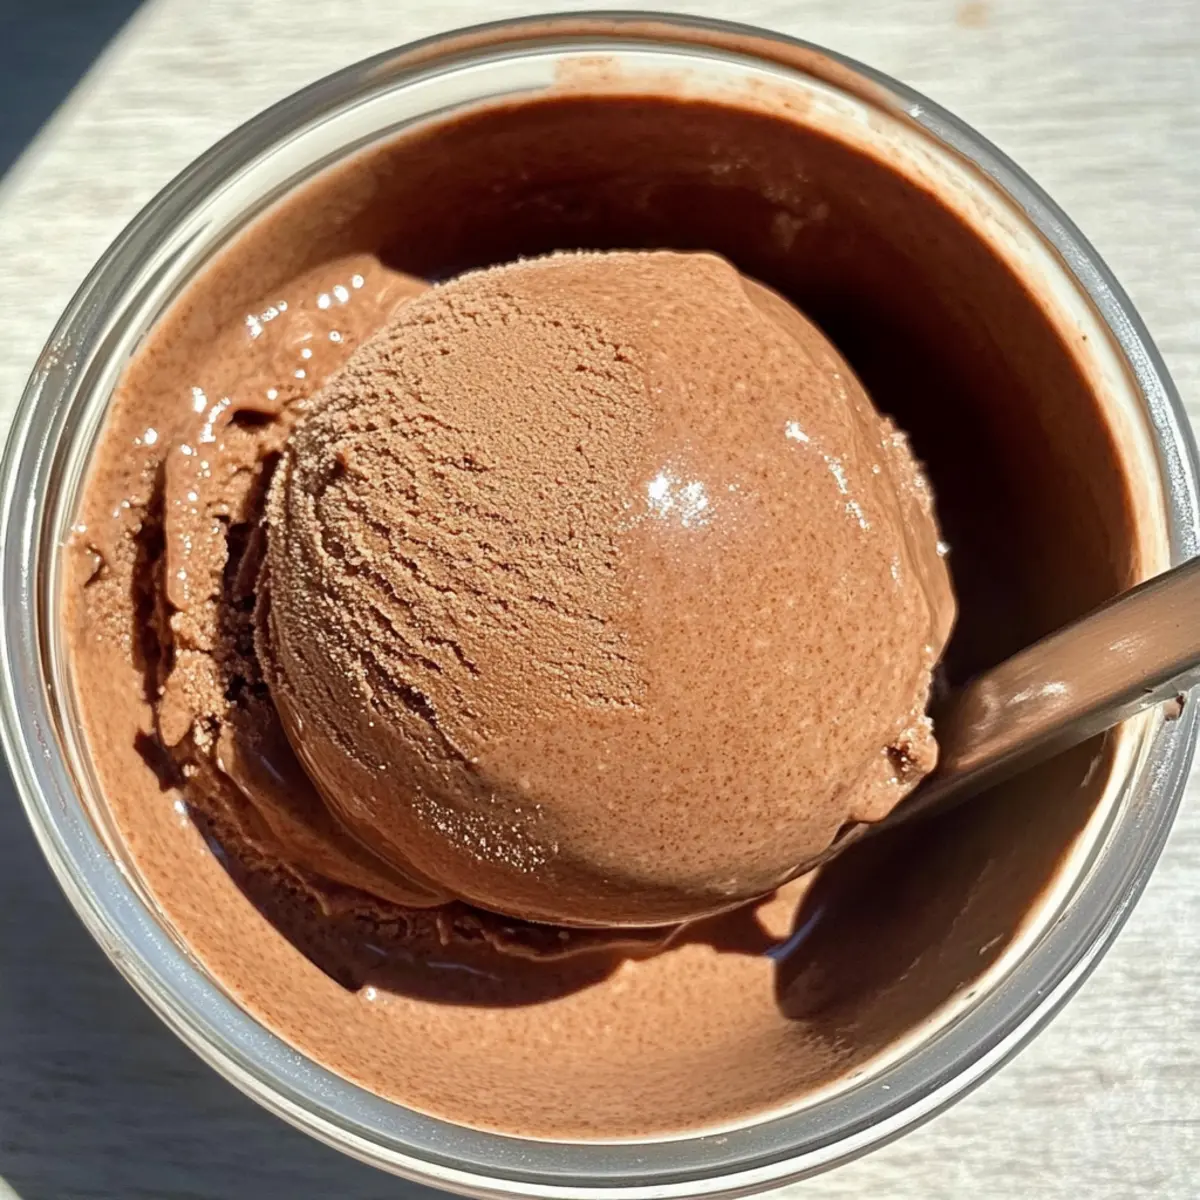
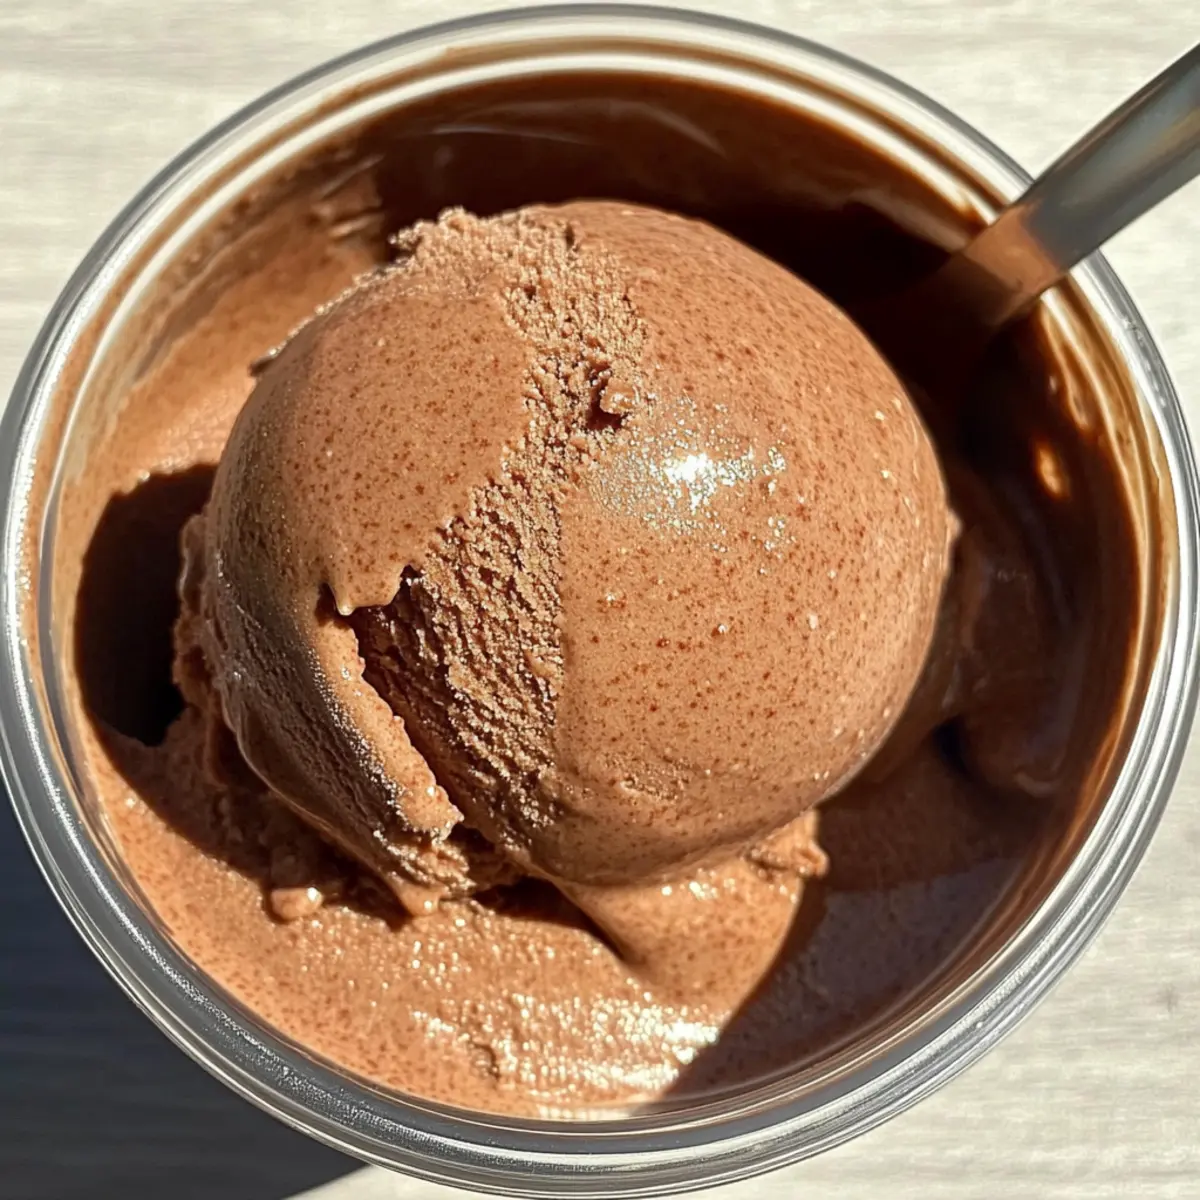
After 24 hours, remove the frozen mixture from the freezer. Insert the pint into the Ninja Creami machine and select the “Lite Ice Cream” function. Spin for about 1 to 2 minutes or until the mixture transforms into a fluffy, creamy ice cream. The texture should be dense and velvety, showcasing the indulgent chocolate flavor you love.
Step 5: Store Leftovers
If you have any leftovers, be sure to press down the ice cream in the pint to level it off before sealing with the lid. This helps to minimize air exposure and prevent freezer burn. Store your delicious Healthy Chocolate Ninja Creami ice cream in the freezer, where it can stay fresh for up to two weeks—if it lasts that long!
Healthy Chocolate Ninja Creami Variations
Customize this creamy delight to suit your taste and dietary needs!
-
Nut Butter Swirl: Add frozen nut butter for rich swirls throughout. This elevates the creaminess and adds a delicious nutty flavor.
-
Minty Fresh: Incorporate a drop of mint extract for a refreshing twist. The coolness complements the chocolate beautifully, creating a dessert reminiscent of a classic mint chocolate treat.
-
Carob Powder Substitute: For a caffeine-free option, swap cocoa with carob powder. This offers a unique flavor profile while still being deliciously sweet.
-
Dairy-Free Chocolate Chips: Mix in dairy-free chocolate chips after blending for added texture. This brings delightful bursts of chocolate in every scoop.
-
Fruity Fusion: Introduce pureed strawberries or bananas into the mixture before freezing. This adds a fruity note that balances out the chocolate decadence and enhances natural sweetness.
-
Brazil Nut Infusion: Consider adding crushed Brazil nuts for a crunchy contrast. These nuts also add healthy fats and a satisfying crunch to every bite.
-
Spicy Kick: A pinch of cayenne pepper can be an exciting twist. It’s an unexpected yet delightful way to complement the rich chocolate flavor with a bit of heat.
-
Almond Joy Style: Mix in shredded coconut and add toasted almonds for a nod to the classic Almond Joy candy. Pair this with your Healthy Almond Joys recipe for an indulgent treat!
What to Serve with Healthy Chocolate Ninja Creami Ice Cream
Looking to create a delightful dessert experience that brings simplicity and joy to your table?
-
Fresh Berries: The tartness of strawberries or raspberries cuts through the creaminess, adding a burst of flavor and color.
-
Nutty Granola: Crunchy granola not only provides a satisfying texture contrast but also adds wholesome ingredients to elevate your treat.
-
Coconut Whipped Cream: A dollop of this airy topping enhances the creamy chocolate goodness and adds an extra layer of richness.
-
Dark Chocolate Shavings: Sprinkle these on top for a sophisticated presentation, plus a delightful crunch with each creamy spoonful.
-
Almond Butter Swirls: Drizzling warm almond butter over your ice cream introduces a nutty flavor that perfectly complements the chocolate.
-
Mint Leaves: Fresh mint garnishes not only brighten the plate but also add a refreshing note that balances the richness beautifully.
-
Iced Herbal Tea: Serve with a chilled herbal tea for a light, refreshing drink that’s perfect for cleansing the palate between bites.
-
Dairy-Free Chocolate Sauce: A drizzle of this homemade chocolate sauce adds an extra decadent touch, enhancing both flavor and indulgence.
-
Vegan Vanilla Cookies: Pair with these chewy cookies for a delightful ice cream sandwich that’s sure to please both kids and adults alike!
How to Store and Freeze Healthy Chocolate Ninja Creami
Fridge: Keep any leftover ice cream in the Ninja Creami pint with the lid on for up to 3 days. This will keep it fresh for your next craving without compromising flavor.
Freezer: To maintain the best taste and texture, store the ice cream in the freezer for up to 2 weeks. Be sure to press down the ice cream to minimize air exposure and prevent freezer burn.
Reheating: If the ice cream becomes too hard after freezing, let it sit at room temperature for 5-10 minutes before serving. This will soften it just enough for easy scooping while maintaining the delicious flavor of your Healthy Chocolate Ninja Creami.
Expert Tips for Healthy Chocolate Ninja Creami
-
High-Powered Blender: Ensure your blender is strong enough to fully puree the dates; this makes a smooth, creamy base for your Healthy Chocolate Ninja Creami.
-
Don’t Skip Dates: They are essential for achieving the perfect texture. Replacing them with other sweeteners can lead to a grainy ice cream.
-
Freezing Time Matters: Freeze the pint for at least 24 hours. Shortening this time can leave you with a soft mixture instead of delightful ice cream.
-
Adjust Sweetness Wisely: If you prefer a sweeter treat, taste your mixture before freezing and add maple syrup accordingly. Just remember, the flavors mellow while freezing.
-
Mix-Ins: Consider adding nut butter or dairy-free chocolate chips after blending but before freezing to create tasty texture surprises in your Healthy Chocolate Ninja Creami.
-
Storage Tips: Press down the ice cream before sealing the pint to lock in freshness and prevent freezer burn; this way, every scoop remains delicious!
Make Ahead Options
Preparing this Healthy Chocolate Ninja Creami Ice Cream ahead of time is a fantastic way to simplify your dessert plans! You can blend the base ingredients (almond milk, coconut cream, cocoa powder, dates, vanilla extract, and salt) up to 24 hours in advance and refrigerate the mixture in an airtight container. This prep not only saves time but also enhances the flavors as they meld together overnight. When you’re ready to serve, just pour it into your Ninja Creami pint, freeze for a minimum of 24 hours, then spin it into ice cream! To keep the quality intact, make sure to level the ice cream before sealing any leftovers in the pint; this helps prevent freezer burn and maintain that creamy texture. Enjoy the convenience of a homemade treat that’s just as delicious as freshly made!
Healthy Chocolate Ninja Creami Recipe FAQs
How do I select ripe dates for my ice cream?
Absolutely! Look for dates that feel soft and plump, with no dark spots all over. Medjool dates are a fantastic choice for their sweetness and creamy texture. If they’re sticky to the touch, they’re likely perfectly ripe and ready to blend into your ice cream!
What is the best way to store Healthy Chocolate Ninja Creami ice cream?
For optimal freshness, keep the ice cream in the Ninja Creami pint with the lid on. It can last in the freezer for up to 2 weeks. Be sure to press down the ice cream before sealing the lid, as this can help reduce air exposure and prevent freezer burn, keeping those flavors rich and delicious!
Can I freeze the Healthy Chocolate Ninja Creami ice cream?
Yes, you can! After spinning, any leftover ice cream can be stored in the freezer for about 2 weeks. If you anticipate needing it longer than that, transfer it to an airtight container. Just remember to press it down to eliminate air pockets before sealing!
What should I do if my blender doesn’t fully blend the dates?
If you’re having trouble blending the dates into a smooth mixture, here’s a helpful approach: Start by chopping the dates into smaller pieces before adding them to the blender. This step helps your blender catch them better. If you still experience issues, consider letting them soak in warm water for about 10 minutes before blending, which can soften them further.
Are there any potential allergens in this ice cream recipe?
The Healthy Chocolate Ninja Creami recipe is dairy-free and suitable for paleo and vegan diets, but it does contain nuts if you’re using almond milk. Be cautious if you or someone else has nut allergies. You can easily swap almond milk for oat or soy milk for a nut-free version while still enjoying that creamy texture!
Can I modify the sweetness of the Healthy Chocolate Ninja Creami?
Very! Taste your blend before freezing to see if it meets your sweetness preference. If you prefer it sweeter, feel free to add a bit of maple syrup—just remember that flavors tend to mellow in the freezing process. It’s always easier to add a little extra rather than deal with an overly sweet mix!
Decadent Healthy Chocolate Ninja Creami You’ll Love
Ingredients
Equipment
Method
- Start by placing the almond milk, coconut cream, cocoa powder, dates, vanilla extract, salt, and collagen peptides (if using) into a high-speed blender. Blend on medium-high speed for about 30 to 60 seconds or until the mixture becomes completely smooth and creamy, with no chunks of dates visible.
- Once your creamy mixture is smooth, carefully pour it into the Ninja Creami pint. Leave some space at the top for expansion during freezing.
- Seal the pint with the lid and place it upright in the freezer for a minimum of 24 hours.
- After 24 hours, remove the frozen mixture from the freezer. Insert the pint into the Ninja Creami machine and select the "Lite Ice Cream" function. Spin for about 1 to 2 minutes or until the mixture transforms into a fluffy, creamy ice cream.
- If you have any leftovers, be sure to press down the ice cream in the pint to level it off before sealing with the lid.
Leave a Reply