
Do you ever find yourself with a sweet craving but no time to bake? I’ve been there, and that’s why I’m thrilled to share my Creamy 20-Minute No Bake Cheesecake recipe! This delightful dessert is a game changer, allowing you to whip up a luscious cheesecake without turning on the oven. It’s not just quick; it’s also incredibly versatile! You can easily customize it with your favorite toppings—think fresh fruits, drizzles of chocolate, or even a hint of citrus zest to brighten each bite. Perfect for last-minute gatherings or a cozy night in with loved ones, this cheesecake is a surefire crowd-pleaser that looks as impressive as it tastes. Ready to dive into this creamy delight? Let’s get started!
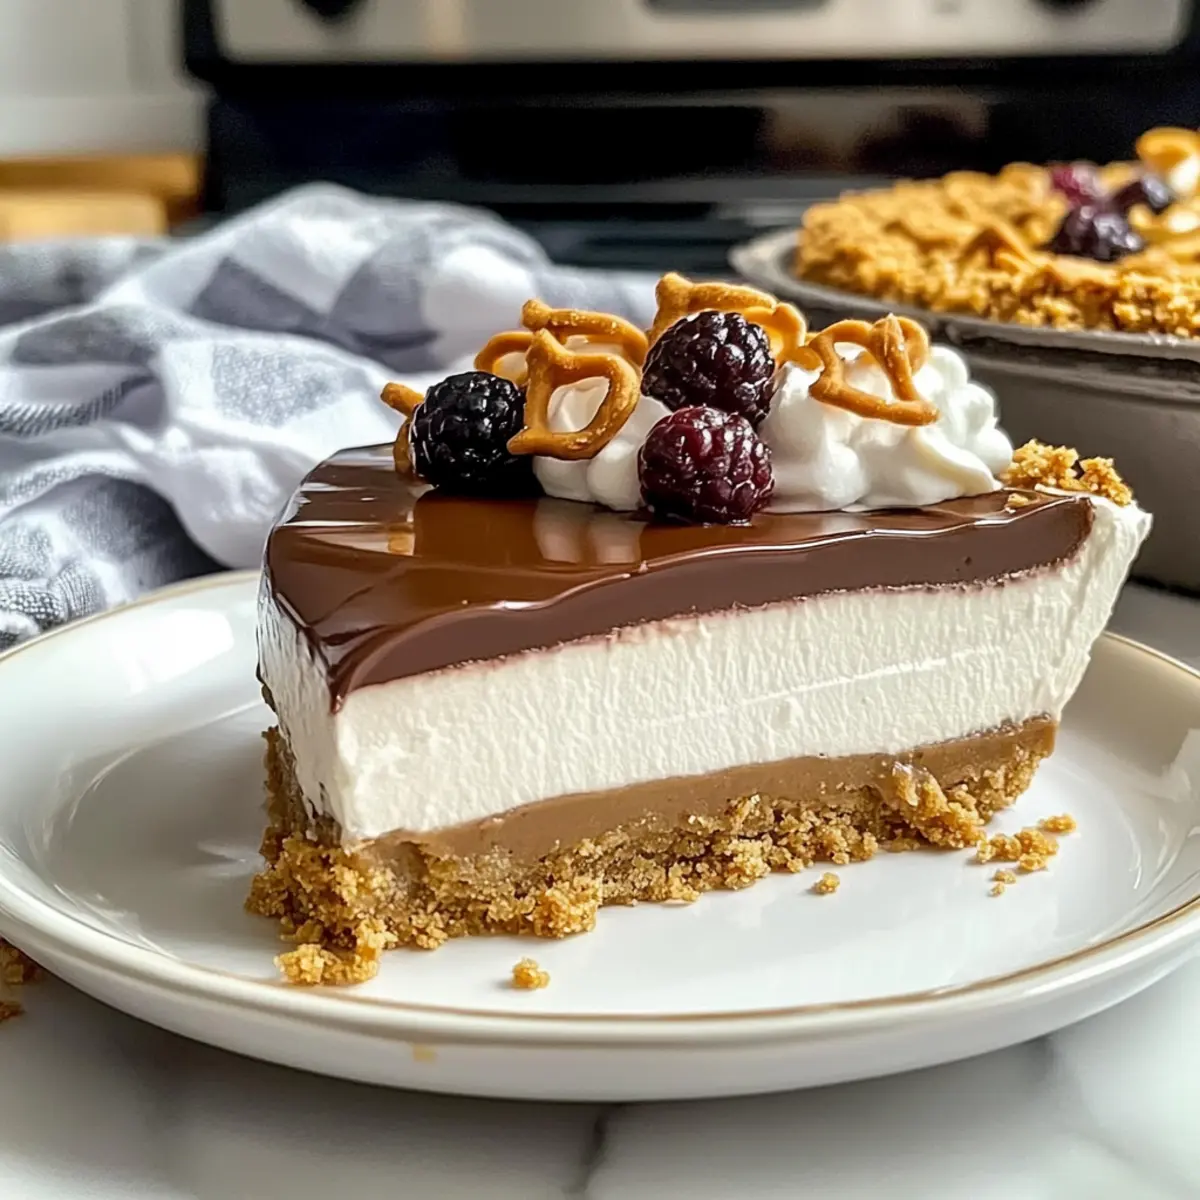
Why Is This Cheesecake a Must-Try?
Quick and Easy: Prepare this cheesecake in just 20 minutes, perfect for those spontaneous dessert cravings!
No Baking Required: Enjoy a rich, creamy texture without the hassle of heating up your oven.
Customizable: With endless topping variations, like fresh berries or a drizzle of chocolate, you can tailor it to suit any occasion or palate.
Gluten-Free Option: Easily swap in gluten-free graham cracker crumbs for a delicious dessert everyone can enjoy.
Crowd-Pleasing Delight: Impress your family and friends with a stunning dessert that looks as fabulous as it tastes. Serve this with a side of fresh toppings just like my Cheesecake Stuffed Strawberries for a delightful treat!
20-Minute No Bake Cheesecake Ingredients
Unlock the deliciousness with these simple components!
For the Crust
• Graham Cracker Crumbs – Essential for the crust, use store-bought or make your own; opt for gluten-free if needed.
• Sugar – Sweetens the crust; coconut sugar can provide a healthier alternative.
• Melted Butter – Binds the crust ingredients; try coconut oil for a lighter texture.
For the Filling
• Cream Cheese – The star of the cheesecake; make sure it’s at room temperature for a smooth blend.
• Powdered Sugar – Adds the perfect sweetness; sugar alternatives can work for a lower-calorie option.
• Vanilla Extract – Enhances overall flavor; pure vanilla is highly recommended for the best results.
• Heavy Cream – Whipped to stiff peaks for that airy texture; coconut cream is a great dairy-free alternative.
Now you have all you need to create your mouthwatering 20-Minute No Bake Cheesecake! Get ready to impress your loved ones with this delightful dessert.
Step‑by‑Step Instructions for 20-Minute No Bake Cheesecake
Step 1: Prepare the Crust
In a medium bowl, combine the graham cracker crumbs, sugar, and melted butter until the mixture resembles wet sand. Press this mixture firmly into the bottom of a 9-inch springform pan to create an even layer. For best results, refrigerate the crust for about 10 minutes, allowing it to set while you prepare the filling.
Step 2: Make the Filling
In a large mixing bowl, beat the room temperature cream cheese with a hand mixer until smooth and creamy. Gradually add the powdered sugar and vanilla extract, mixing until well-combined and fluffy. This step is crucial for your 20-Minute No Bake Cheesecake, as it ensures a rich and velvety filling that’s free of lumps.
Step 3: Whip the Cream
In a separate bowl, use a hand mixer to whip the heavy cream until it reaches stiff peaks. This process should take about 3-5 minutes. Be careful not to over-whip. Once fluffy, gently fold the whipped cream into the cream cheese mixture using a spatula, which helps to maintain the lightness and airiness of the filling.
Step 4: Assemble the Cheesecake
Once the whipped cream is fully incorporated, pour the cheesecake filling over the chilled crust. Use a spatula to spread it evenly and smooth out the top. The filling should look creamy and luscious, ready to chill further. This is what makes your 20-Minute No Bake Cheesecake both simple and impressive!
Step 5: Chill to Set
Cover the cheesecake with plastic wrap and refrigerate for at least 6 hours, or ideally overnight, to allow it to set completely. The cheesecake will firm up nicely, developing its silky texture as it chills. This time is essential for achieving that perfect slice you desire during serving.
Step 6: Serve and Enjoy
After chilling, carefully release the cheesecake from the springform pan and slice it into wedges. Feel free to get creative with toppings—fresh berries, drizzles of chocolate, or even toasted coconut! Each slice of your delicious 20-Minute No Bake Cheesecake is ready to impress family and friends alike.
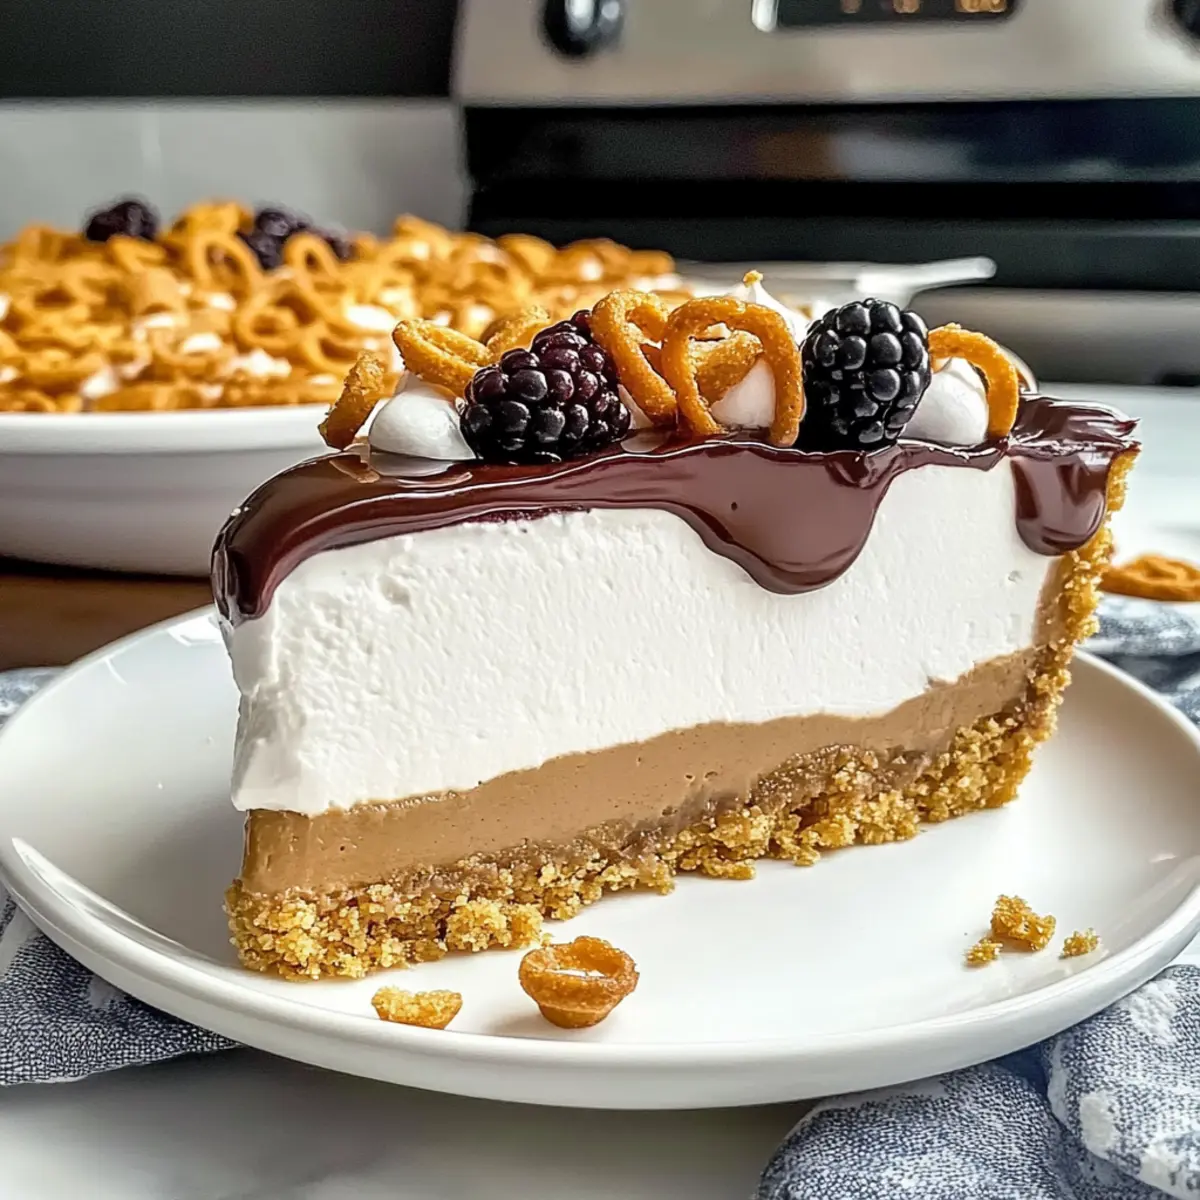
Expert Tips for 20-Minute No Bake Cheesecake
-
Room Temperature Essential: Always use cream cheese at room temperature to achieve a smooth, lump-free filling for your 20-Minute No Bake Cheesecake.
-
Gentle Folding Technique: When combining the whipped cream with the cream cheese mixture, be gentle. This helps retain airiness for that fluffy texture.
-
Chill Time Matters: Don’t rush the chilling process! Allow the cheesecake to set for at least 6 hours, or overnight for best results.
-
Springform Pan Usage: If using a traditional pie pan, remember it may require a longer chilling time, and slicing might get tricky.
-
Mind Your Toppings: When adding toppings, consider their moisture content. Fresh fruit should be added just before serving to prevent sogginess.
What to Serve with Creamy 20-Minute No Bake Cheesecake
Looking to elevate your dessert experience? Pair your delightful cheesecake with these delicious companions!
-
Fresh Berries: The sweetness of strawberries, blueberries, or raspberries balances the creamy texture of the cheesecake, adding a refreshing burst of flavor.
-
Whipped Cream: A dollop of freshly made whipped cream enhances the richness of each slice, giving it a luxurious touch that’s simply irresistible.
-
Chocolate Sauce: Drizzle warm, melted chocolate over the cheesecake for an indulgent treat. The velvety chocolate complements the creamy filling perfectly, creating a delightful contrast.
-
Toasted Coconut: Sprinkle some toasted coconut on top for a crunchy texture and subtle tropical flavor. It adds an unexpected yet delightful twist!
-
Citrus Zest: Grate a bit of lemon or orange zest over each slice for a zesty kick. This brightens the flavors and enhances the richness of the cheese.
-
Coffee or Espresso: Serve alongside a warm cup of coffee or espresso to balance the sweetness and complement the dessert’s creamy richness. The bitter notes of coffee harmonize wonderfully with the cheesecake.
-
Fruit Compote: A homemade berry or peach compote adds a tangy sweetness that pairs beautifully with the creamy filling. It’s a great way to introduce a fresh, vibrant element.
-
Mini Pastries: Pair with mini pastries or eclairs to create a dessert platter. The assortment of textures and flavors makes for a delightful presentation.
How to Store and Freeze 20-Minute No Bake Cheesecake
Fridge: Store leftover 20-Minute No Bake Cheesecake in an airtight container for up to 5 days. This helps keep the creamy texture intact while preventing any fridge odors from mingling.
Freezer: For longer storage, freeze individual slices wrapped in plastic wrap and foil for up to 1 month. This makes it easy to enjoy a slice whenever the craving hits!
Thawing: When ready to enjoy a frozen slice, transfer it to the fridge and let it thaw overnight. This keeps it deliciously creamy.
Reheating: Note that this cheesecake is best served cold. Simply slice, and you’re ready to indulge—no reheating necessary!
20-Minute No Bake Cheesecake Variations
Feel free to let your creative juices flow and customize this delectable cheesecake just the way you like it!
-
Gluten-Free Crust: Substitute traditional graham crackers with gluten-free graham cracker crumbs for a safe and scrumptious option. A delightful treat that’s kind to all guests!
-
Fruit Fiesta: Top your cheesecake with a vibrant mix of fresh berries like strawberries, blueberries, and raspberries for a refreshing pop of color and flavor. This burst of fruity goodness elevates each bite.
-
Chocolate Drizzle: Add a decadent touch by drizzling melted chocolate over the top before serving. It’s a rich twist that’ll satisfy every chocolate lover’s craving.
-
Citrus Surprise: Brighten the cheesecake with a hint of lemon or orange zest in the filling. This citrus infusion brings a fresh zing that balances the creaminess beautifully.
-
Nutty Crunch: Toss in some toasted nuts like pecans or almonds on top for a delightful crunch. This texture adds an exciting layer of flavor to every slice.
-
Savory Enhancer: A subtle sprinkle of sea salt on top can elevate the sweet flavors and add depth. It’s a sophisticated touch that surprises everyone.
-
Caramel Delight: For an indulgent treat, add a layer of caramel sauce over the top. It transforms your cheesecake into an irresistible caramel dream!
-
Coffee Infusion: Stir in some espresso powder into the filling for a mocha-flavored cheesecake. A cozy twist that adds warmth and comfort to your dessert.
Don’t forget to serve your delicious cheesecake with a side of fresh toppings like my Cookie Butter Cheesecake or enjoy it alongside a warm slice of French Onion Bake for a delightful contrast. Happy baking!
Make Ahead Options
These Creamy 20-Minute No Bake Cheesecake are perfect for meal prep, allowing you to save time on busy days! You can prepare the crust up to 24 hours in advance; simply combine the graham cracker crumbs, sugar, and melted butter, then press it into your springform pan and refrigerate. The filling can also be made up to 3 days ahead—just whip the cream, fold it into the cream cheese mixture, and store it in an airtight container in the fridge. When ready to serve, pour the filling over the chilled crust, smooth it out, and let it set for at least 6 hours or overnight. This way, you’ll enjoy a luscious dessert without the last-minute rush!
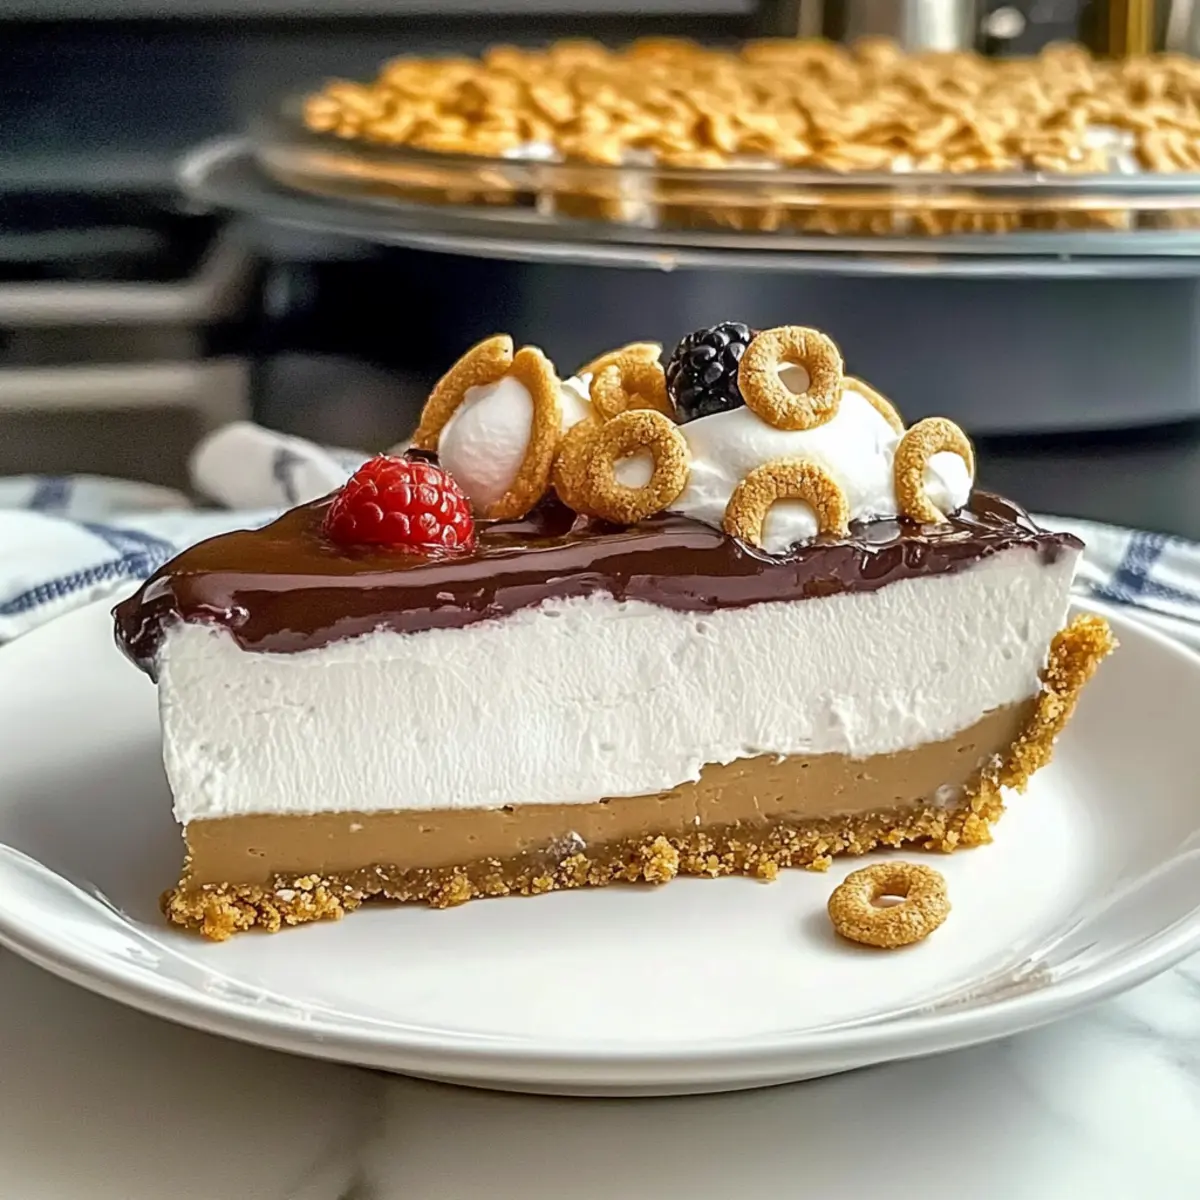
Creamy 20-Minute No Bake Cheesecake Recipe FAQs
How do I choose the right graham cracker crumbs?
Absolutely! For the best flavor and texture, opt for finely crushed graham cracker crumbs. You can either buy them pre-packaged or make your own by blending plain graham crackers in a food processor. If you need a gluten-free option, look for gluten-free graham cracker crumbs available in most grocery stores.
What is the best way to store leftover cheesecake?
Very good question! Store any leftover creamy 20-Minute No Bake Cheesecake in an airtight container in the refrigerator for up to 5 days. Make sure to cover it well to maintain its creamy texture and flavor. If you anticipate leftovers, this method will keep it fresh and delicious for your next sweet craving.
Can I freeze the cheesecake, and how?
Yes, you can freeze it for future enjoyment! First, slice the cheesecake into individual portions. Wrap each slice tightly in plastic wrap and then in aluminum foil to avoid freezer burn. This allows you to easily grab a slice whenever your cravings arise. The cheesecake can be frozen for up to 1 month. When you’re ready to indulge, simply transfer a slice to the fridge and let it thaw overnight.
What if my cheesecake filling isn’t as fluffy?
Don’t worry! If your filling seems a bit dense, it might be due to over-mixing or under-whipping the cream. Aim to whip the heavy cream until it forms stiff peaks—this usually takes about 3-5 minutes but can depend on your mixer. When you incorporate the whipped cream into the cream cheese mixture, use a gentle folding motion to help retain the airiness.
Can I make this cheesecake dairy-free?
Absolutely! For a creamy 20-Minute No Bake Cheesecake that’s dairy-free, substitute the cream cheese with a vegan cream cheese alternative. Additionally, use coconut cream in place of heavy cream to achieve a light, fluffy texture. Just make sure to follow the same steps, and your cheesecake will be just as delicious and enticing!
Are there any health-conscious substitutions I can make?
Great question! You can swap regular sugar for coconut sugar or another sweetener of your choice if you’re aiming for a healthier option. Use a low-fat cream cheese for a lighter filling, and consider incorporating fresh fruits on top instead of sugary sauces for a refreshing, natural sweetness. Each tweak makes your creamy 20-Minute No Bake Cheesecake a bit healthier while still being delightful!
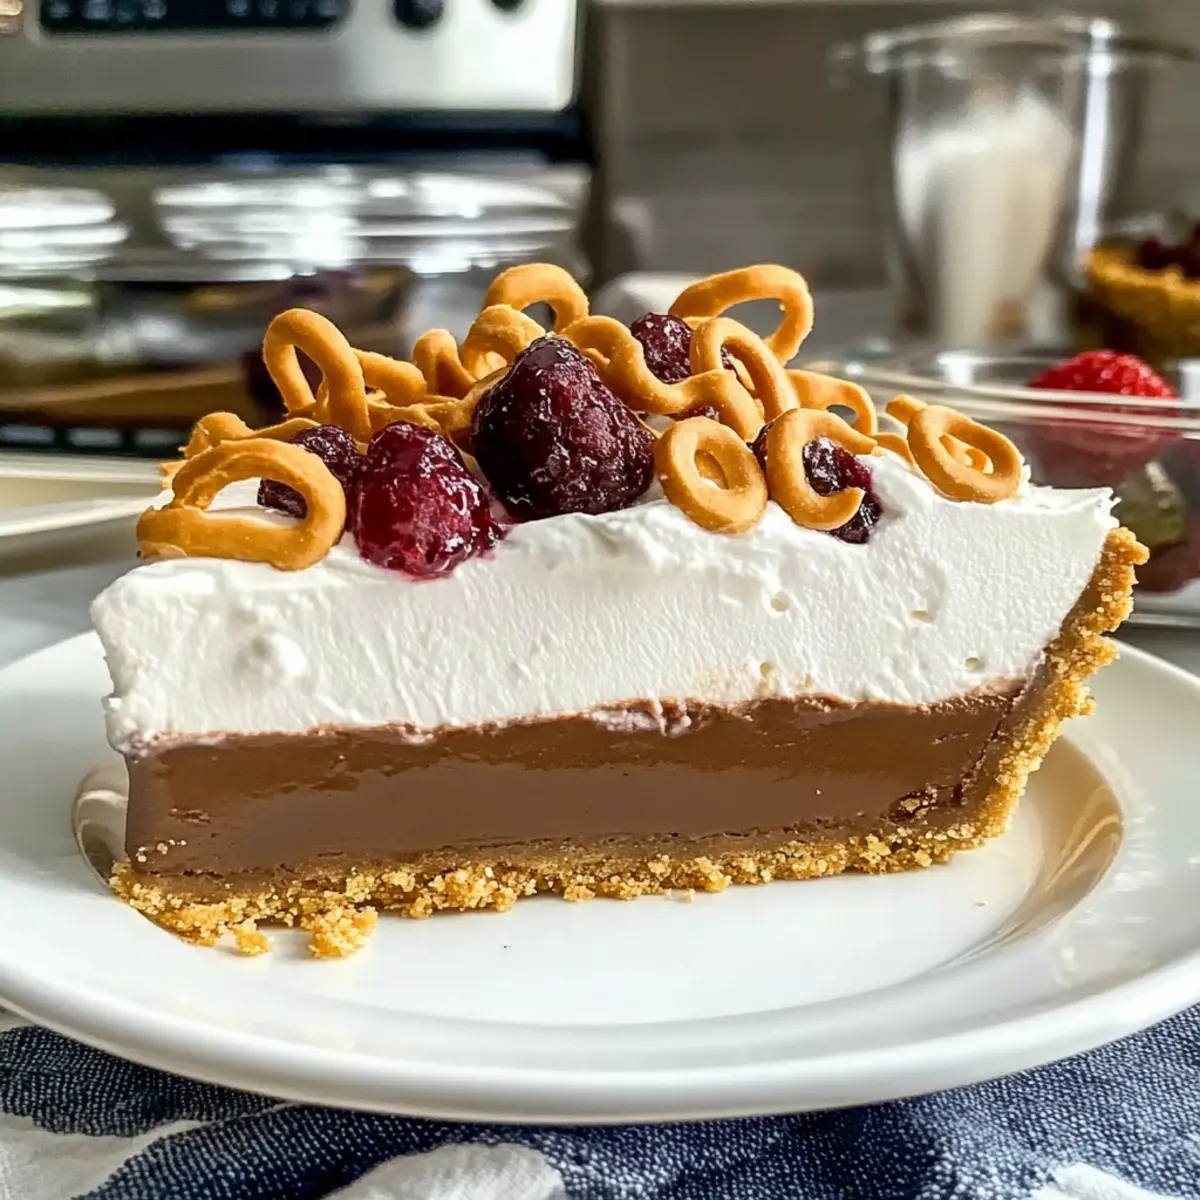
Creamy 20-Minute No Bake Cheesecake You'll Crave Again!
Ingredients
Equipment
Method
- In a medium bowl, combine the graham cracker crumbs, sugar, and melted butter until it resembles wet sand. Press into the bottom of a 9-inch springform pan and refrigerate for 10 minutes.
- In a large mixing bowl, beat the room temperature cream cheese with a hand mixer until smooth. Gradually add powdered sugar and vanilla, mixing until fluffy.
- In a separate bowl, whip the heavy cream to stiff peaks, then gently fold into the cream cheese mixture.
- Pour the cheesecake filling over the chilled crust and spread evenly. Chill covered for at least 6 hours or overnight.
- After chilling, release from the springform pan, slice, and serve with desired toppings.
Leave a Reply