
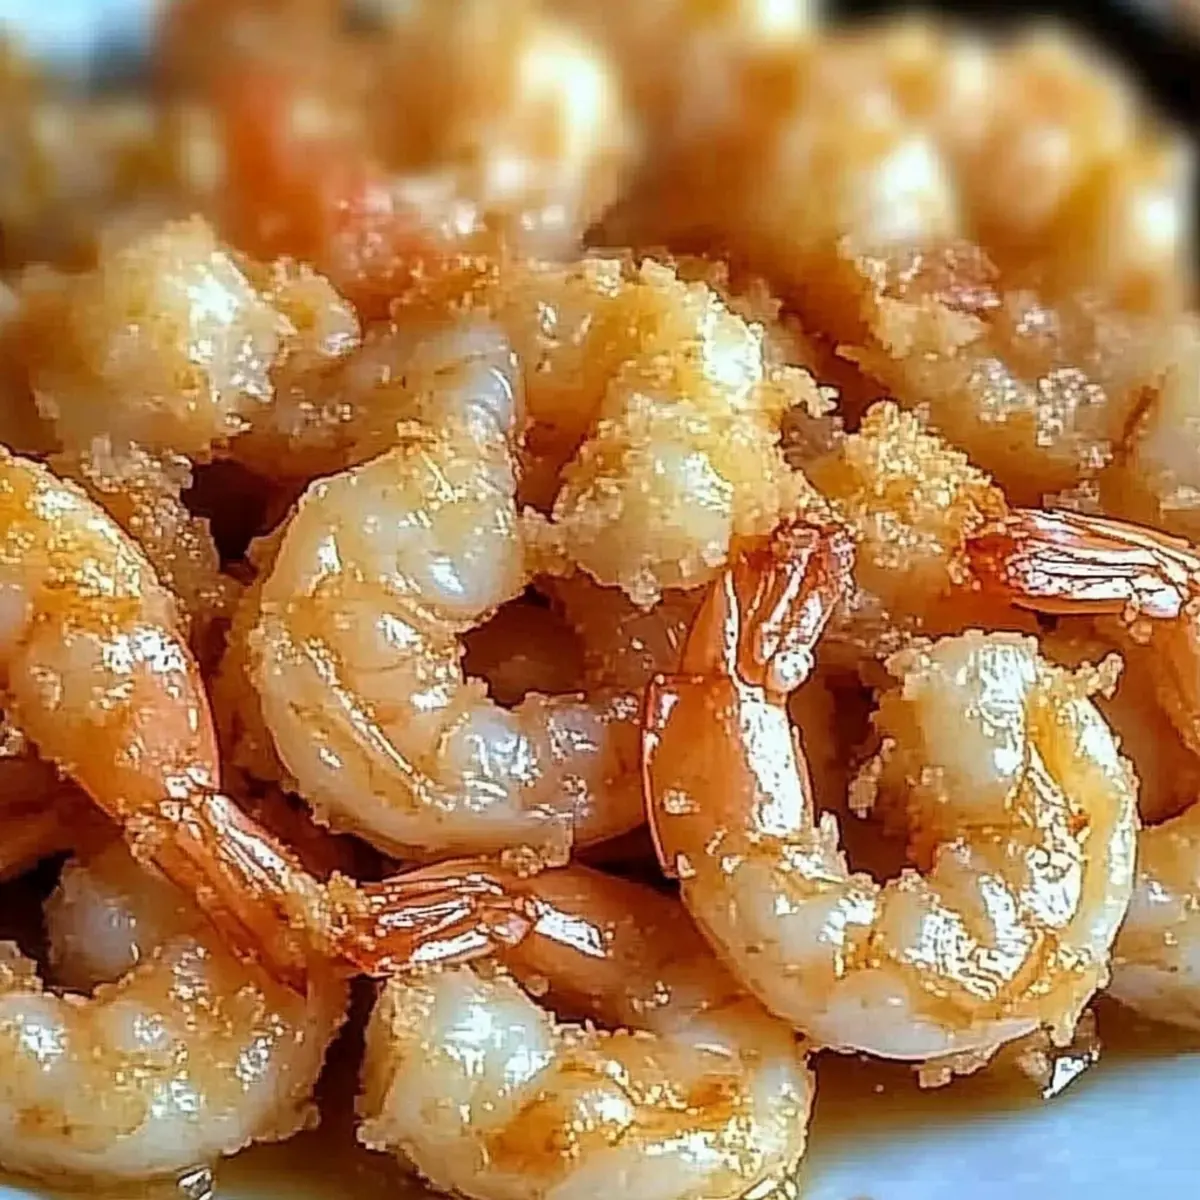
As I gathered ingredients on a sunny afternoon, the thought of crispy Chinese Coconut Shrimp danced in my mind, instantly brightening my mood. This dish is a delightful medley of tropical sweetness and satisfying crunch, making it not just a meal but a treasure worth savoring. With effortless preparation, this recipe is perfect for busy weeknights or impressing guests at your next gathering. You’ll love how quickly you can whip together this seafood sensation that elevates both your culinary game and your taste buds. Plus, it’s an exciting way to bring the flavors of coastal Asia straight to your kitchen. Are you ready to discover the magic of this crispy, flavorful delight?
Why Is This Recipe So Special?
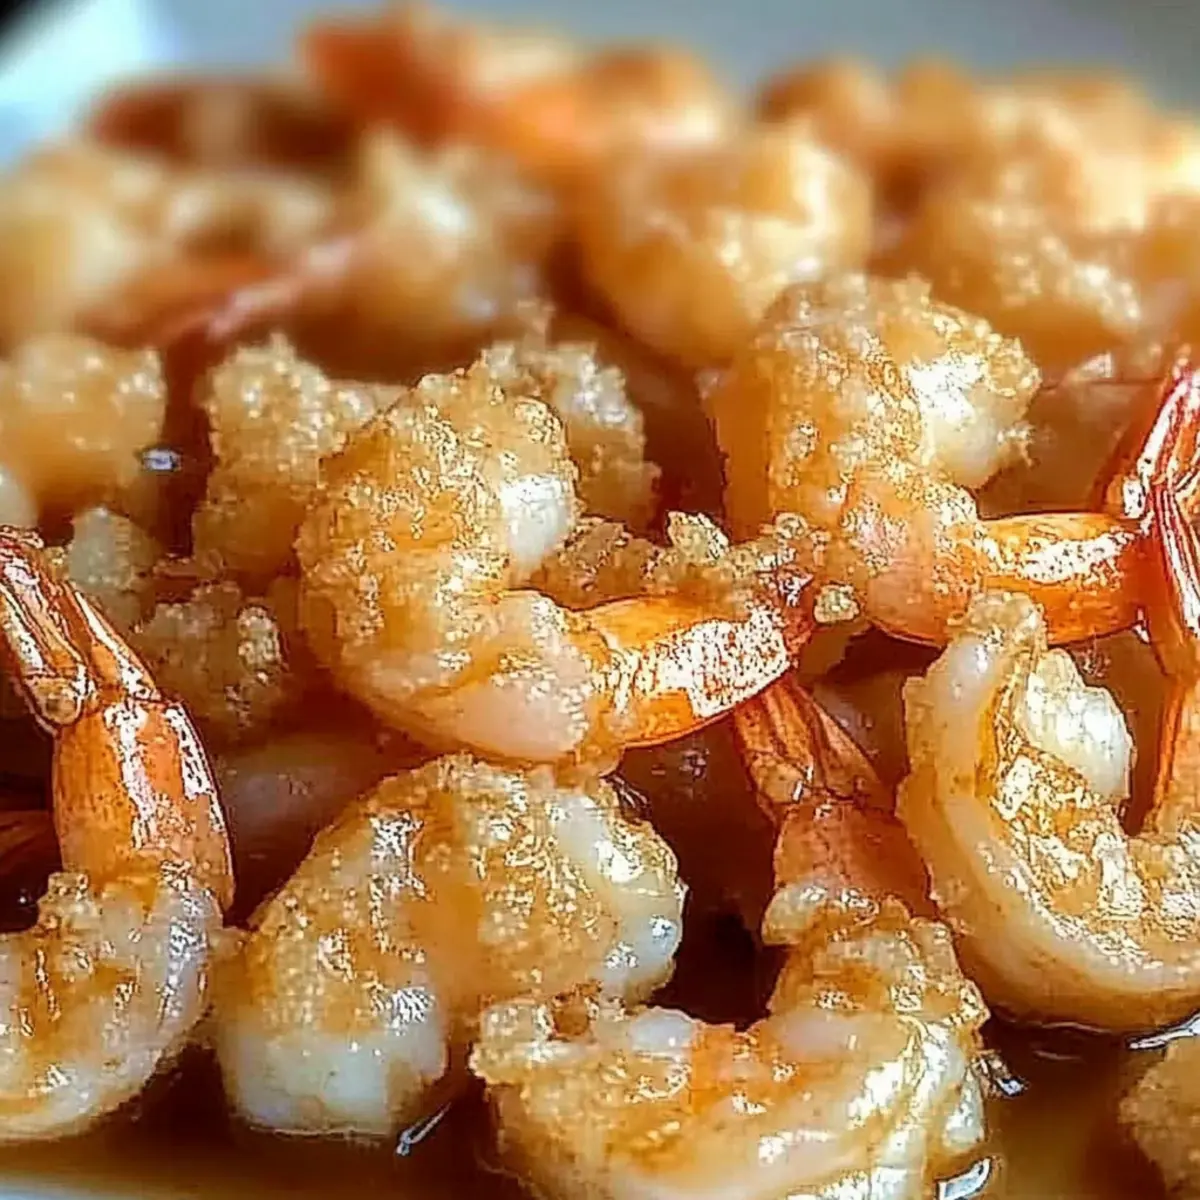
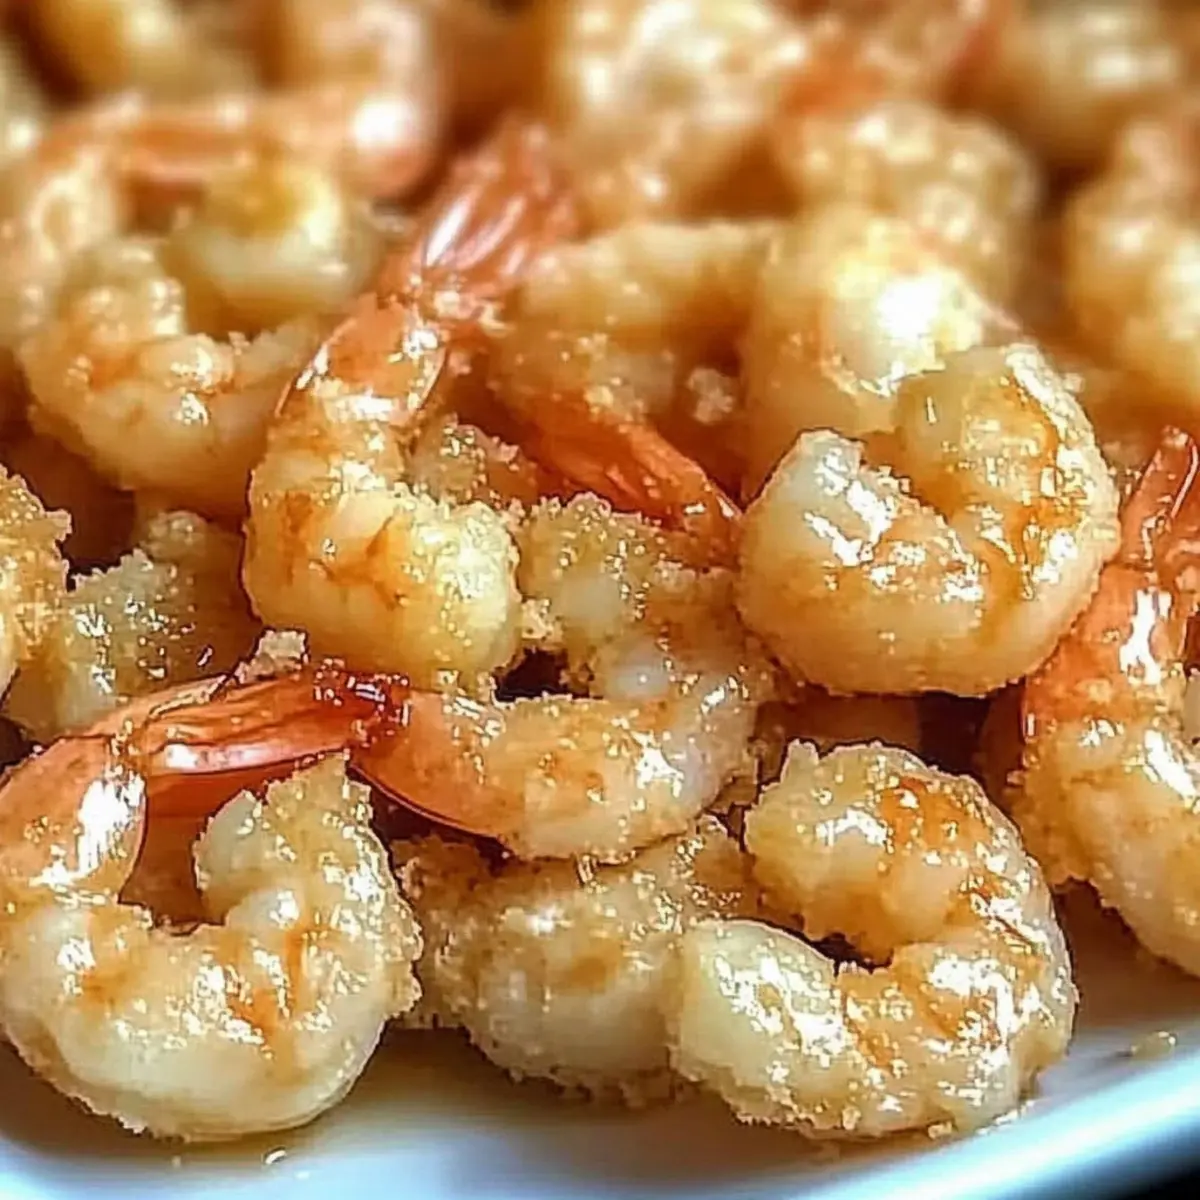
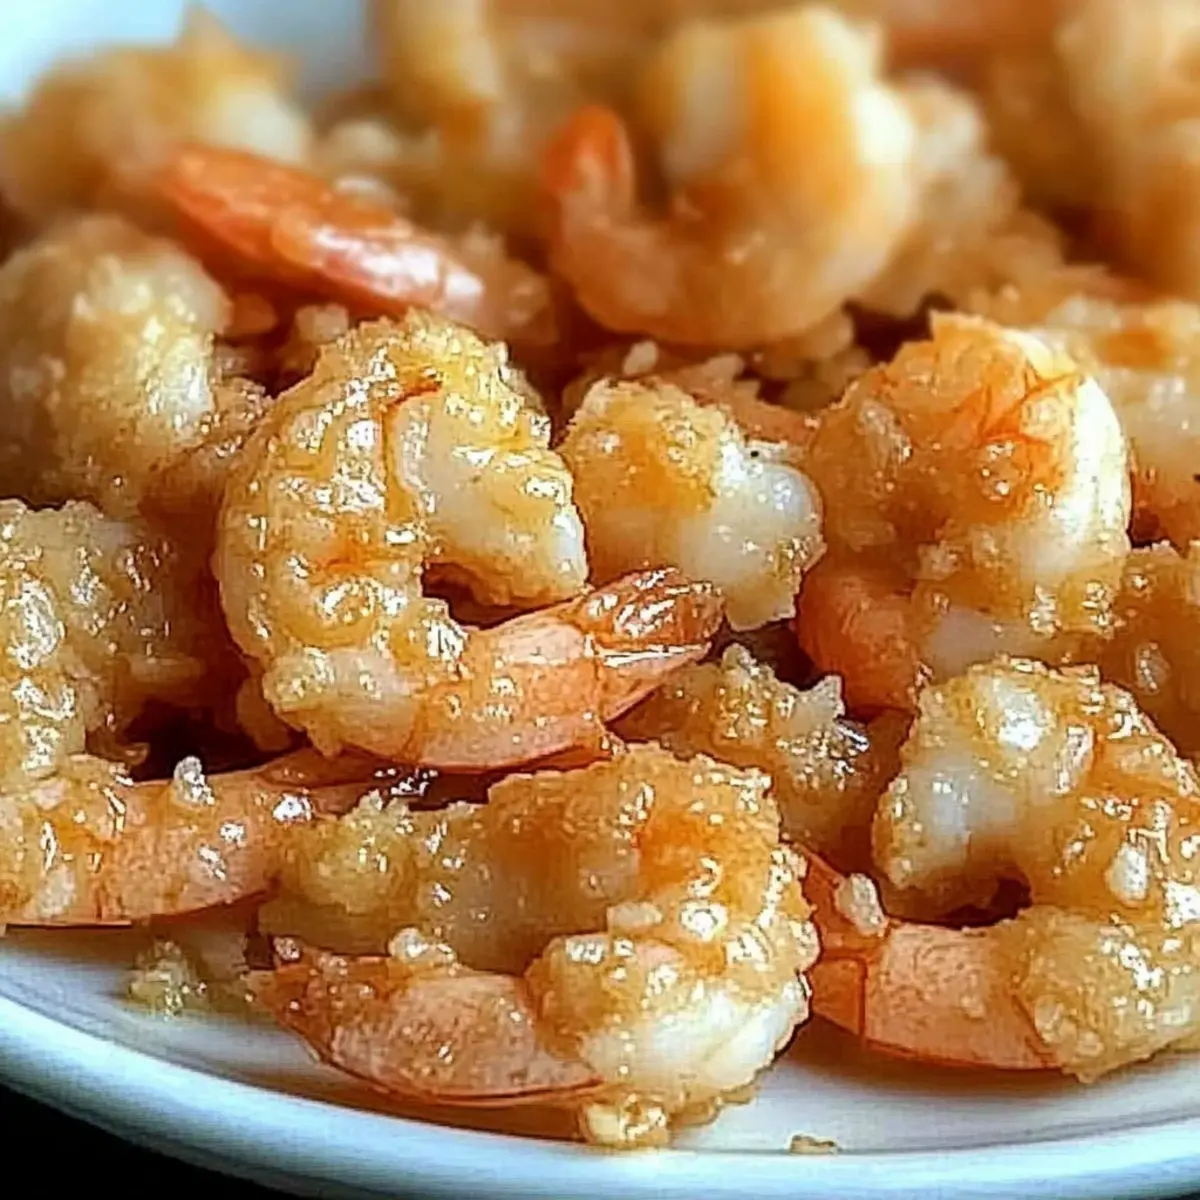
Crunchy, Savory Delight: Each bite of these Chinese Coconut Shrimp brings a satisfying crunch that perfectly contrasts the juicy shrimp inside.
Tropical Sweetness: The coconut flakes add just the right touch of tropical sweetness, making your taste buds sing.
Easy Preparation: With simple steps and minimal ingredients, you can enjoy a flavor-packed meal in no time—perfect for busy weeknights!
Crowd-Pleaser: Serve them at your next gathering, and watch as friends and family rave about this impressive appetizer!
Versatile Options: Feel free to swap shrimp for chicken or tofu, or add spices to customize your flavor profile. For more tropical flavors, consider pairing with a side of Hawaiian Pineapple Coconut or some delicious Sweet Coconut Cream.
Healthy Choice: High in protein and low in carbs, this dish fits seamlessly into a nutritious diet, especially when using gluten-free ingredients.
Chinese Coconut Shrimp Ingredients
• Delight in the tropical flavors with these key ingredients!
For the Shrimp
- Shrimp – Use fresh or frozen, peeled and deveined shrimp for the best results.
For the Coating
- Coconut Flakes – These add tropical sweetness and a delightful crunch; choose unsweetened for a more balanced flavor.
- Egg – This acts as a binding agent; feel free to substitute with a flax egg for a vegan alternative.
- Panko Breadcrumbs – For an audibly crispy exterior, use gluten-free panko if needed.
- Salt and Pepper – Essential for enhancing flavor; adjust to your taste for an optimal experience.
Step‑by‑Step Instructions for Chinese Coconut Shrimp
Step 1: Preheat the Oven
Begin by preheating your oven to 400°F (200°C). This ensures that when you bake the Chinese Coconut Shrimp, they achieve that perfect golden color and crispiness. Make sure to set your timer so you can prepare the shrimp without rushing, allowing for an even cooking process.
Step 2: Prepare the Shrimp
Take your fresh or thawed shrimp and place them on a clean surface. Pat each shrimp dry with a paper towel to remove excess moisture, which helps the coconut coating adhere better during baking. After drying, set the shrimp aside while you set up the breading station.
Step 3: Whisk the Egg
In a medium bowl, crack and whisk one egg until it is well combined. The egg serves as a vital binder for the crispy coating. Whisk until the yolk and white are fully incorporated, resulting in a smooth and even texture. Set this bowl aside to move on to preparing the coating.
Step 4: Mix the Coating Ingredients
On a separate plate, combine unsweetened coconut flakes and panko breadcrumbs. Add a pinch of salt and pepper to enhance the flavor, mixing the ingredients well to ensure even distribution. This delightful mixture will create that crunchy exterior you’re after for the Chinese Coconut Shrimp.
Step 5: Coat the Shrimp
Take each shrimp and dip it first into the whisked egg, ensuring it’s fully coated. Let any excess egg drip off before proceeding to the next step. Then, dredge the egg-coated shrimp in the coconut-panko mixture, pressing gently to ensure an even and thorough coating on all sides.
Step 6: Arrange on the Baking Sheet
Line a baking sheet with parchment paper for easier cleanup and to prevent sticking. Place each coated shrimp on the baking sheet, making sure to leave space between them for optimal airflow. This ensures that your Chinese Coconut Shrimp bake evenly, achieving that desirable crispiness.
Step 7: Bake until Golden
Slide the baking sheet into your preheated oven and bake for 15-20 minutes. Halfway through, flip the shrimp to ensure both sides are equally golden and crispy. Watch closely during the last few minutes—aim for a lovely golden-brown color that indicates your Chinese Coconut Shrimp are ready.
Step 8: Cool and Serve
Once baked, carefully remove the shrimp from the oven and allow them to cool slightly on the baking sheet for about five minutes. This brief cooling period will help maintain their crispiness. Plate your delicious Chinese Coconut Shrimp and serve with sweet chili sauce or mango salsa to enhance your tropical culinary experience.
What to Serve with Chinese Coconut Shrimp
Pairing delicious sides and drinks can elevate your meal to new heights. Enjoy your taste adventure with these complementary options!
- Sweet Chili Sauce: This zesty blend adds a delightful heat that perfectly contrasts the crispy coconut shrimp, enhancing every bite.
- Mango Salsa: Fresh and vibrant, mango salsa introduces a fruity, tangy element that balances the savory flavors beautifully.
- Coconut Rice: A creamy, fragrant option that echoes the tropical elements in the shrimp, creating a cohesive dining experience.
- Crunchy Asian Slaw: Light and refreshing, this slaw provides a lovely crunch and a splash of color, adding a fresh note to your plate.
- Stir-Fried Vegetables: A medley of bell peppers, broccoli, and snap peas brings vibrant color and a satisfying crunch, making it a lively side.
- Chilled Coconut Water: Refreshing and hydrating, this drink complements the meal with its subtle sweetness and aligns perfectly with the dish’s flavors.
- Crispy Potstickers: For extra indulgence, pair with potstickers as they offer a juicy filling and a satisfying crunch, rounding out your Asian-inspired feast.
- Fruit Sorbet: A light dessert to cleanse the palate, fruit sorbet offers a sweet, icy treat that ties the tropical theme together delightfully.
Make Ahead Options
These Chinese Coconut Shrimp are an excellent option for meal prep, allowing you to enjoy a quick, tropical meal on busy weeknights! You can coat the shrimp in the egg and coconut mixture up to 24 hours in advance; simply place them in an airtight container in the refrigerator to maintain their freshness. When you’re ready to enjoy your crispy shrimp, bake them directly from the fridge, adjusting the bake time by a couple of minutes if needed. This prevents last-minute stress and guarantees you’ll still achieve that irresistible crunch. Just remember, the sooner you bake them after coating, the better the quality will be—so you can savor these culinary delights, just as delicious as when freshly made!
Expert Tips for Chinese Coconut Shrimp
Drying Shrimp: Pat the shrimp dry before coating; moisture can prevent the coconut mixture from sticking properly.
Avoid Overcooking: Keep a close eye while baking; shrimp should turn opaque and firm, but can quickly become rubbery if overcooked.
Flavor Boost: For an extra zing, try marinating the shrimp in lime juice and spices before dipping in egg and coating.
Uniform Coating: Ensure every shrimp is fully coated in both egg and the coconut mixture for consistent crunch and flavor throughout the Chinese Coconut Shrimp.
Experiment with Dipping: Serve with sweet chili sauce or mango salsa for a delightful contrast to the crispy shrimp.
How to Store and Freeze Chinese Coconut Shrimp
Fridge: Store leftover Chinese Coconut Shrimp in an airtight container in the refrigerator for up to 2 days. This helps retain its flavor and moisture.
Freezer: For longer storage, freeze the shrimp in a single layer on a baking sheet, then transfer to a freezer-safe bag. They can be frozen for up to 3 months.
Reheating: To reheat, place frozen shrimp on a baking sheet and bake at 400°F (200°C) for about 10-15 minutes or until heated through. This keeps them crispy.
Thawing: If thawing, do so in the refrigerator overnight before reheating to ensure even warming without sacrificing texture.
Variations & Substitutions for Chinese Coconut Shrimp
Feel free to personalize your Chinese Coconut Shrimp with these delightful twists that will tickle your taste buds!
-
Chicken or Tofu: Swap shrimp for chicken tenders or firm tofu for a different protein option. Both alternatives still yield a tasty and satisfying dish.
-
Spice It Up: Add a dash of cayenne pepper or a sprinkle of garlic powder to the coconut mixture for an extra kick. These spices do wonders in lifting that flavor profile!
-
Pineapple Addition: Mix in finely chopped fresh pineapple with the coconut coating for a fruity twist. The added sweetness and moisture complement the shrimp beautifully.
-
Sweetness Level: If you prefer a sweeter taste, incorporate some brown sugar into the coconut-panko mixture. Just a tablespoon can enhance the tropical flavors remarkably!
-
Coconut Cream Drench: For an indulgent variation, dunk your shrimp in coconut cream before coating. This adds richness and a velvety touch to every bite.
-
Baking vs. Frying: Try pan-frying the shrimp instead of baking for an extra crunchy texture. Just remember to adjust the cooking time accordingly!
-
Herbal Infusion: Experiment with fresh herbs by adding chopped cilantro or basil to the coating mix. This vibrant addition breathes freshness into your shrimp.
For an extra touch of tropical delight, consider pairing this dish with sunny flavors like a classic Hawaiian Pineapple Coconut treat or indulge in some lovely Sweet Coconut Cream for dessert!
Chinese Coconut Shrimp Recipe FAQs
What type of shrimp should I use for this recipe?
Absolutely! For the best results, use fresh or frozen, peeled, and deveined shrimp. Fresh shrimp offers a sweet flavor and tender texture, while frozen shrimp is convenient and works wonderfully when properly thawed. Just remember to pat them dry before coating!
How can I store leftover Chinese Coconut Shrimp?
To store, place any leftovers in an airtight container and keep them in the refrigerator. They’ll stay fresh for up to 2 days. If you’re reheating them, I recommend using the oven for a few minutes to restore that delightful crispiness instead of the microwave.
Can I freeze Chinese Coconut Shrimp? How?
Of course! For freezing, first place the coated shrimp in a single layer on a baking sheet. Freeze them until solid, which takes about 1-2 hours. Once frozen, transfer the shrimp to a freezer-safe bag and store for up to 3 months. When you’re ready to enjoy them again, simply bake from frozen at 400°F (200°C) for about 10-15 minutes until heated through.
What if the coconut coating isn’t sticking to the shrimp?
If your coconut mixture isn’t adhering well, make sure your shrimp are thoroughly patted dry before coating. Moisture can prevent the coating from sticking properly. Additionally, try dipping the shrimp back in the egg wash before re-dredging them in the coconut-panko mix for a more secure coat.
Is this dish suitable for people with allergies?
If you’re catering to specific dietary needs, ensure your guests are aware of the ingredients used. Coconut is the primary feature here, so those allergic to it should avoid this dish. You can make it gluten-free by using gluten-free panko. For egg allergies, try a flax egg as a substitute to hold the coating together.
How can I make this recipe more flavorful?
Very! You can elevate the flavors by marinating the shrimp in lime juice and spices before coating them. A dash of cayenne pepper will add a bit of heat, or you can mix in garlic powder for an extra aromatic touch.
Crispy Chinese Coconut Shrimp: A Tropical Seafood Treat
Ingredients
Equipment
Method
- Preheat your oven to 400°F (200°C).
- Pat the shrimp dry with a paper towel.
- Whisk the egg in a medium bowl until well combined.
- Mix coconut flakes and panko breadcrumbs on a plate, adding salt and pepper.
- Coat each shrimp in the whisked egg, then dredge in the coconut-panko mixture.
- Arrange coated shrimp on a parchment-lined baking sheet with space between them.
- Bake for 15-20 minutes, flipping halfway, until golden brown.
- Cool the shrimp for about five minutes before serving.
Leave a Reply