
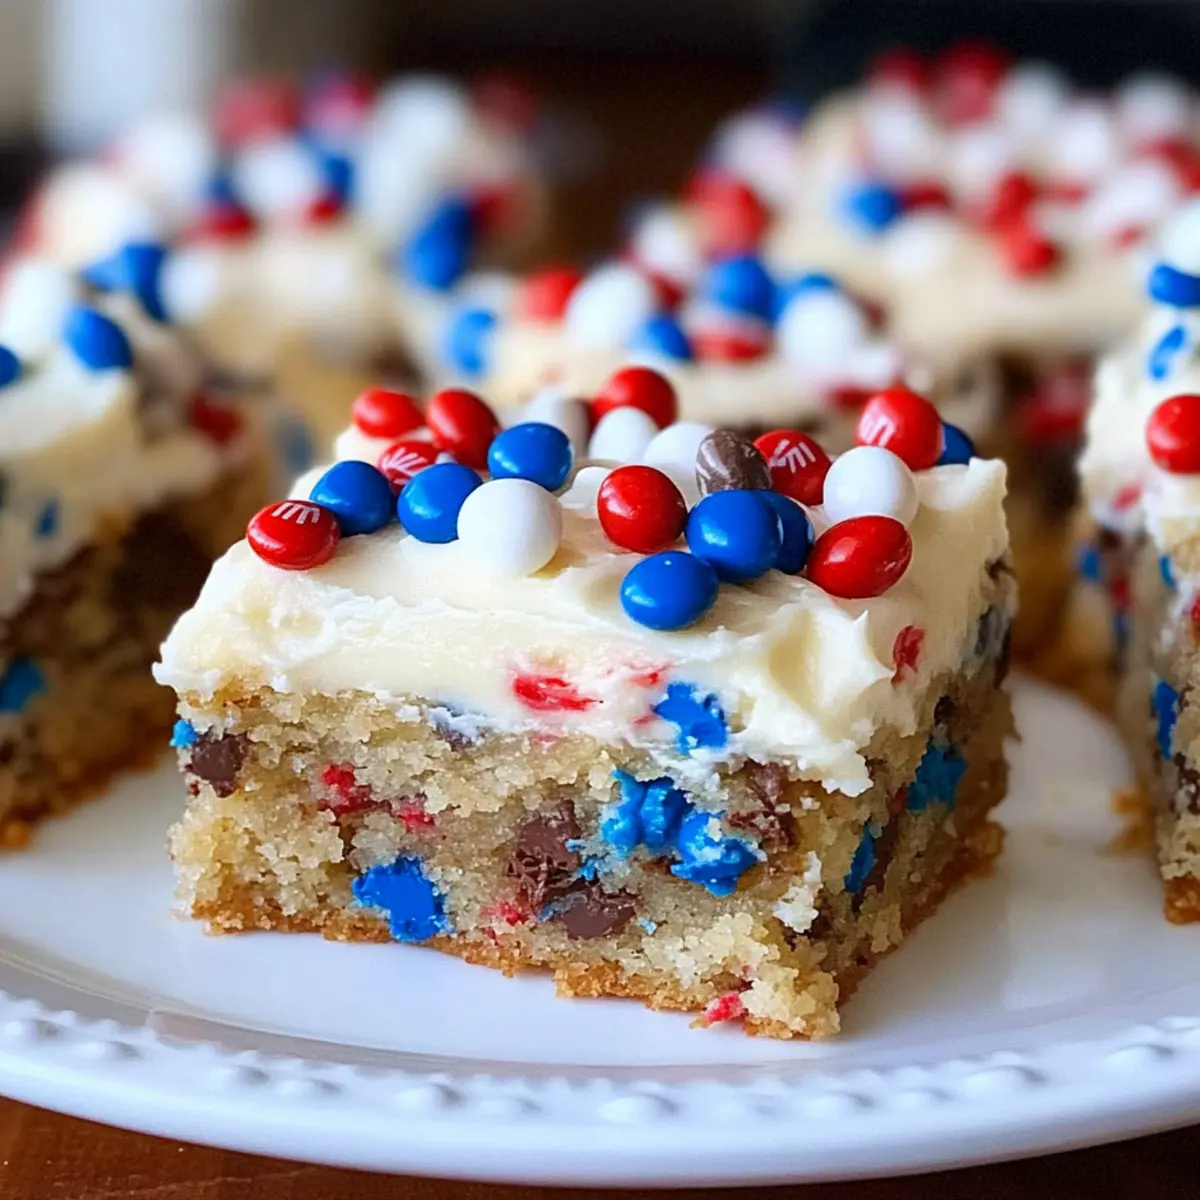
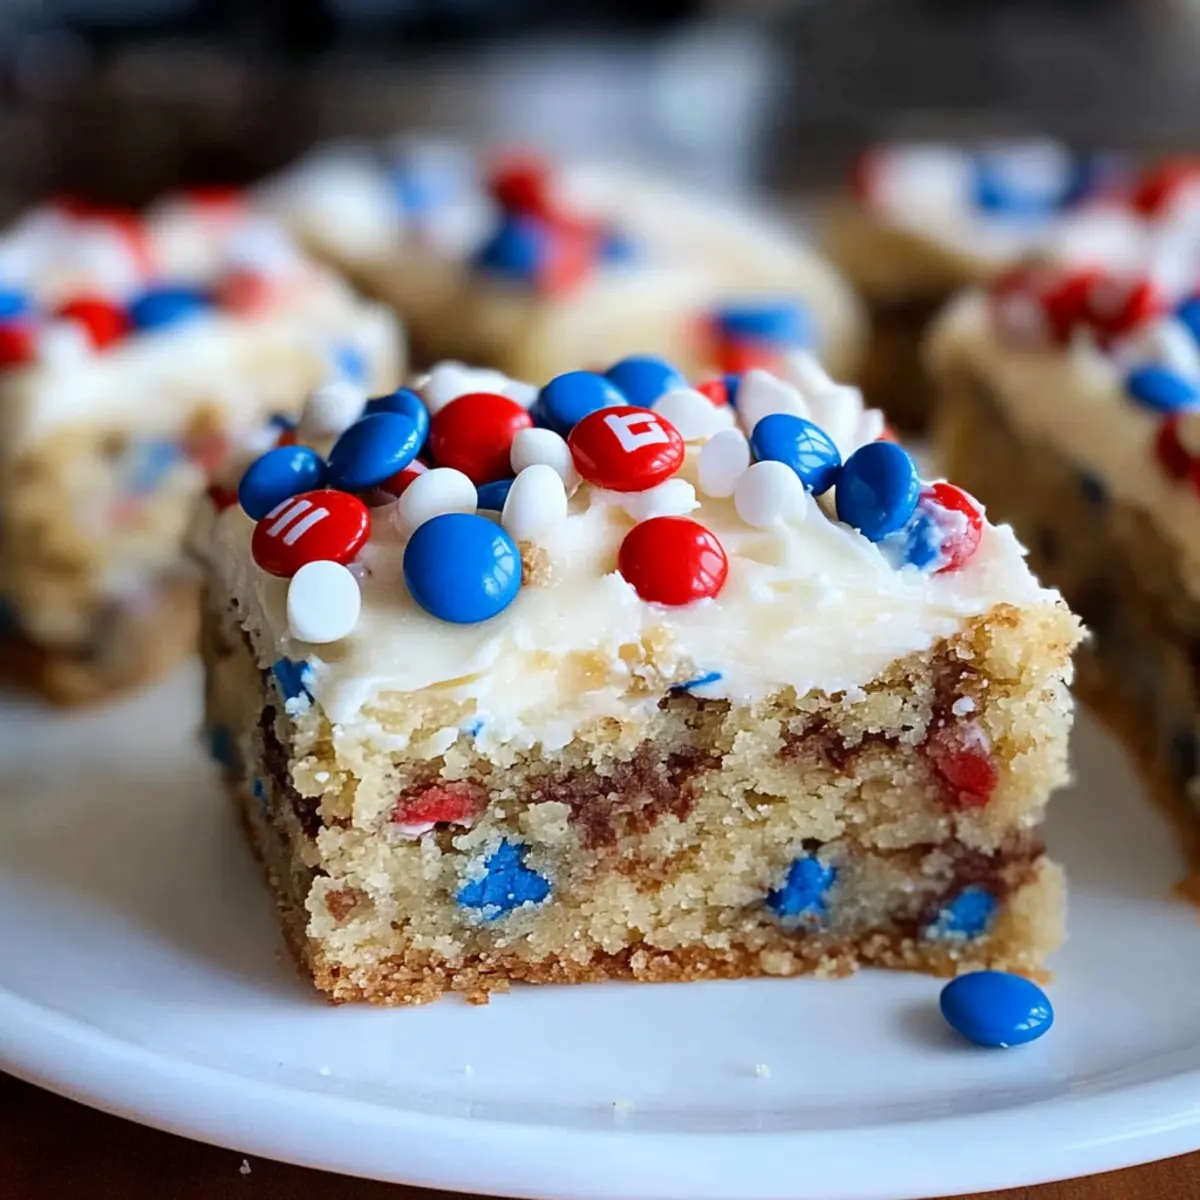
As I pulled the warm tray of Red White and Blue Chocolate Chip Cookie Bars from the oven, the aroma enveloped the kitchen, instantly lifting my spirit. These delightful bars are the perfect blend of chewy, buttery goodness layered with creamy vanilla buttercream—ideal for any summer celebration or patriotic gathering. With colorful M&Ms and festive sprinkles, they not only look amazing but also promise to be quick to whip up and a guaranteed hit among guests. Hearty and satisfying, these cookie bars offer a fun twist on a classic treat—perfect for those who want to swap fast food for homemade magic. Are you ready to impress your friends and family with this mouthwatering dessert? Let’s dive into the recipe!
Why Are These Cookie Bars a Must-Try?
Festive Appeal: These Red White and Blue Chocolate Chip Cookie Bars are not just delicious; they are a showstopper at any gathering! Buttery Chewiness: With a rich, chewy texture, every bite is a delightful experience. Quick and Easy: Perfect for busy schedules, you can whip these up in no time, saving you from that fast food rut! Delightful Customization: Get creative by swapping colorful M&Ms for other candies or even dried fruits. Serve them at barbecues or festive parties alongside refreshing lemonade for a truly memorable treat. Don’t miss out on the chance to impress your guests with this sweet sensation!
Red White and Blue Chocolate Chip Cookie Bars Ingredients
For the Cookie Base
• Unsalted Butter – Adds richness and moisture; substitute with margarine for dairy-free options.
• Granulated Sugar – Provides sweetness and helps the cookie to spread; no direct substitutes recommended.
• Brown Sugar – Contributes moisture and enhances flavor depth; replace with dark brown sugar for a deeper taste.
• Eggs – Bind ingredients and provide structure; for a vegan option, use flaxseed meal mixed with water.
• Vanilla Extract – Enhances the overall flavor profile; consider using almond extract for a different twist.
• Baking Soda – A leavening agent that helps cookies rise; ensure it’s fresh for best results.
• All-Purpose Flour – Creates the dough structure; substitute with a 1:1 gluten-free flour blend for a gluten-free version.
• Salt – Balances sweetness and enhances flavors; use sea salt for a different texture.
• Mini Chocolate Chips – Add bursts of chocolate flavor; substitute with dark chocolate chips for a richer experience.
• Vanilla Milk Chips/White Chocolate Chips – Adds sweetness and complements chocolate; substitute with any sweet chocolate option available.
For the Vanilla Buttercream Frosting
• Powdered Sugar – Used for the vanilla buttercream; can be adjusted for sweetness by adding more butter.
• Heavy Cream – Provides creaminess for the frosting; half-and-half can be used as an alternative.
For the Decoration
• Colorful M&Ms – Brighten up the bars and add crunch; feel free to swap with seasonal candies for a unique look.
• Sprinkles – Enhance the festive vibe; choose sprinkles that match your celebration theme.
Dive into this delightful and colorful recipe for Red White and Blue Chocolate Chip Cookie Bars, sure to impress at any summer gathering!
Step‑by‑Step Instructions for Red White and Blue Chocolate Chip Cookie Bars
Step 1: Preheat and Prepare
Begin by preheating your oven to 350°F (175°C). Prepare a 9×13 inch baking pan by lining it with foil, allowing some overhang, and lightly spraying it with cooking spray. This will prevent your Red White and Blue Chocolate Chip Cookie Bars from sticking, ensuring easy removal later.
Step 2: Mix Dry Ingredients
In a medium bowl, whisk together 2 1/4 cups of all-purpose flour, 1 teaspoon of baking soda, and 1/2 teaspoon of salt. This combination will add structure and flavor to the cookie base. Once mixed, set this dry mixture aside while you prepare the wet ingredients, ensuring they’re ready to combine smoothly.
Step 3: Cream Butter and Sugars
In a large mixing bowl, beat 1 cup of unsalted butter with 1 cup of granulated sugar and 1/2 cup of packed brown sugar using a hand mixer on medium speed for about 2 minutes, until the mixture is light and creamy. This step is crucial for creating the rich, buttery texture that your cookie bars will boast.
Step 4: Add Eggs and Vanilla
Add 2 large eggs and 2 teaspoons of vanilla extract to the creamed mixture. Continue to beat on medium speed for another minute until everything is fully combined. The mix should be smooth and fluffy, indicating that your wet ingredients are well incorporated, forming the base for your cookie bars.
Step 5: Combine Wet and Dry Ingredients
Gradually mix the reserved dry ingredients into the butter mixture using a spatula, stirring until just combined. Be careful not to overmix; a few flour streaks are okay. Fold in 1 cup of mini chocolate chips and 1 cup of vanilla milk chips, ensuring an even distribution for a delightful chocolatey flavor in every bite.
Step 6: Spread the Dough
Pour the cookie dough into the prepared pan, using a spatula to spread it evenly across the bottom. Ensure it reaches the corners and sides of the pan for uniform baking. The dough should look thick and rich, ready to transform into delicious cookie bars once baked.
Step 7: Bake
Place the pan in the preheated oven and bake for 30–35 minutes, or until the edges are lightly golden and a toothpick inserted in the center comes out clean. Keep an eye on the bars as they bake; the goal is a soft, chewy center surrounded by golden edges, embodying the perfect texture.
Step 8: Cool Before Frosting
Once baked, remove the pan from the oven and allow the cookie bars to cool in the pan for at least 30 minutes. This cooling period is essential before moving on to frosting; it will help ensure that the vanilla buttercream adheres properly and doesn’t melt.
Step 9: Prepare the Frosting
While the bars cool, prepare the vanilla buttercream by beating 1/2 cup of unsalted butter, 3 cups of powdered sugar, 2 tablespoons of heavy cream, 1 teaspoon of vanilla extract, and a pinch of salt in a bowl. Mix on medium speed until creamy and smooth, about 2–3 minutes, creating a luscious topping for your cookie bars.
Step 10: Frosting and Decorating
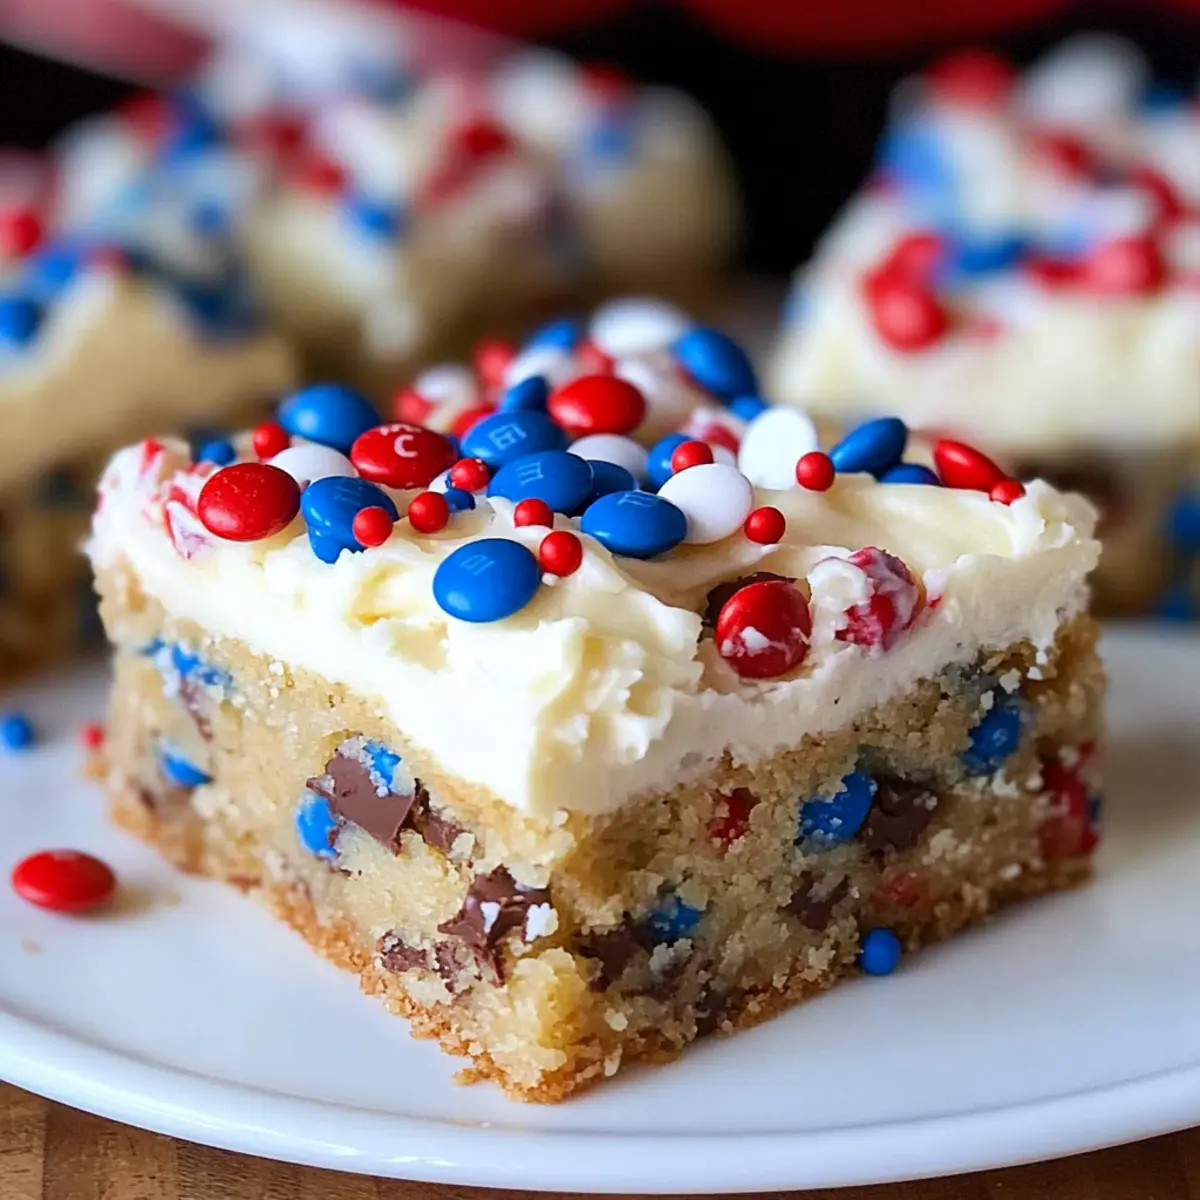
Once the cookie bars are cool, spread the buttercream evenly over the top using an offset spatula. While the frosting is still soft, generously sprinkle them with colorful M&Ms and festive sprinkles, allowing the decorations to adhere nicely before the frosting sets.
Step 11: Cut and Serve
Using a sharp knife, cut your cooled and frosted Red White and Blue Chocolate Chip Cookie Bars into small squares or rectangles. Serve them fresh at your next gathering, making sure to showcase their vibrant colors and delicious flavors, perfect for celebrating any occasion!
Make Ahead Options
These Red White and Blue Chocolate Chip Cookie Bars are perfect for busy home cooks looking to streamline their meal prep! You can prepare the cookie dough up to 24 hours in advance by mixing it and then covering it tightly with plastic wrap before refrigerating. The vanilla buttercream frosting can also be made up to 3 days ahead; simply store it in an airtight container in the fridge. When you’re ready to bake, let the dough sit at room temperature for about 15 minutes to soften slightly before spreading it in the pan. After baking and cooling, frost the bars, add your colorful toppings, and they’ll taste just as fresh as if you made them that day—saving you time and stress for your next gathering!
Red White and Blue Chocolate Chip Cookie Bars Variations
Feel free to personalize these delightful cookie bars to match your taste and occasions—they’re your canvas for creativity!
- Seasonal Swaps: Substitute colorful M&Ms for seasonal candies like pastel eggs for Easter, or use pumpkin spice chips for a fall twist.
- Frosting Fun: Swap the vanilla buttercream for a cream cheese frosting for a tangy kick, perfect for summer gatherings.
- Fruit Addition: Replace chocolate chips with dried fruits like cherries or cranberries for a fruity explosion in every bite.
- Nutty Texture: Add chopped nuts like pecans or walnuts for a satisfying crunch and nutty flavor contrast.
- Spice It Up: Mix in a teaspoon of cinnamon or nutmeg for a warm, cozy flavor profile that dances through each square.
- Colorful Frosting: Use colored frosting to match your holiday or event theme, adding an extra festive flair to your treats.
- Gourmet Touch: Drizzle melted dark chocolate or a caramel sauce over the frosted bars for a decadent finishing touch.
- Dairy-Free Delight: Use coconut cream in place of heavy cream for frosting, and substitute vegan butter for a completely dairy-free treat.
Experiment and enjoy every colorful bite, whether you’re hosting a BBQ or looking to surprise your loved ones! For a delightful change of pace, try my Blueberry Lemon Zest Cottage Cheese Bites as a refreshing snack!
What to Serve with Red White and Blue Chocolate Chip Cookie Bars
Pair your festive cookie bars with delightful side dishes and drinks to elevate your gathering!
-
Refreshing Lemonade: A zesty and light drink that perfectly counters the sweetness of the cookie bars, keeping your palate refreshed on warm summer days.
-
Vanilla Ice Cream: Scoop some rich, creamy ice cream for a nostalgic twist. The melt-in-your-mouth texture complements the chewy cookie bars beautifully.
-
Fruit Salad: A mix of fresh berries and melons adds a burst of color and freshness that balances the indulgence of the cookie bars, making for a light and vibrant side.
-
Patriotic Fruit Skewers: Alternate red strawberries, blue blueberries, and white marshmallows on skewers for a fun and festive addition that echoes the cookie bars’ theme.
-
Cold Milk: The classic pairing of warm cookie bars and a tall glass of cold milk is hard to beat! It enhances the chocolatey goodness and makes every bite irresistible.
-
Sparkling Water with Lime: For those wanting a refreshing thirst-quencher, sparkling water adds a fashionable twist and a bit of zing to your dessert table.
-
Chocolate-Covered Strawberries: These indulgent treats echo the chocolate chips in your bars and add a romantic elegance, making your dessert spread irresistibly inviting.
-
Patriotic Cake Pops: Little cake pops decorated in red, white, and blue provide another sweet choice for guests, creating an assortment of flavors and a visually stunning dessert table.
Expert Tips for Red White and Blue Chocolate Chip Cookie Bars
-
Accurate Measurements: Use the scoop and level method for flour to avoid dense cookie bars; precise measurements are key to achieving the right texture.
-
Room Temperature Ingredients: Ensure the butter and eggs are at room temperature for a smoother batter and better incorporation, leading to wonderfully chewy bars.
-
Cooling Time: Allow your cookie bars to cool completely before frosting; this prevents the buttercream from melting away and ensures a lovely presentation.
-
Fresh Baking Soda: Always check the freshness of your baking soda; expired soda won’t provide the lift you need for a perfect rise in these cookie bars.
-
Decorating Timing: Add your colorful M&Ms and sprinkles immediately after frosting while it’s still soft, ensuring they stick beautifully for a festive touch.
How to Store and Freeze Red White and Blue Chocolate Chip Cookie Bars
Room Temperature: Store your cookie bars in an airtight container at room temperature for up to 4 days. This keeps them chewy and delicious without drying out.
Fridge: For longer freshness, place the cookie bars in the refrigerator for up to a week. Be sure to wrap them in plastic wrap to prevent them from absorbing odors.
Freezer: Freeze the cookie bars in a single layer in a freezer-safe container for up to 3 months. For best results, wrap each bar in plastic wrap and place them in a zip-top bag.
Reheating: To enjoy them warm, simply microwave a frozen bar for 15-20 seconds. This reawakens that chewy texture while sublimely softening the creamy frosting!
Red White and Blue Chocolate Chip Cookie Bars Recipe FAQs
What is the best way to select ripe ingredients for my cookie bars?
Absolutely! For the unsalted butter, choose one that’s creamy and smooth with no odd odors. Granulated and brown sugars should be free of lumps, indicating freshness. When it comes to eggs, check that they’re not cracked, ensuring you get the best binding for your cookies.
How should I store my cookie bars, and how long will they last?
For optimal freshness, store your Red White and Blue Chocolate Chip Cookie Bars in an airtight container at room temperature for up to 4 days. If you’re looking to keep them longer, transferring them to the fridge will keep them good for up to a week. Just make sure to wrap them in plastic wrap to protect them from absorbing any fridge odors!
Can I freeze these cookie bars, and what is the best method to do so?
Absolutely! To freeze your cookie bars, allow them to cool completely. Wrap each bar tightly in plastic wrap, then place them in a freezer-safe zip-top bag. They can be stored in the freezer for up to 3 months. When you’re ready to enjoy a bar, simply microwave it for 15-20 seconds for a fresh-out-of-the-oven feel.
What are some common troubleshooting tips for my cookie bars?
If your cookie bars turn out too dry, it may be due to over-measuring your flour. Always use the scoop and level method for accuracy. If they spread too much during baking, ensure your butter isn’t too warm and that you’ve used fresh baking soda. Those details help create the perfect chewy texture!
Are there any dietary considerations I should keep in mind?
Very! If you’re baking for someone with allergies, make sure to inform them that this recipe contains gluten and dairy. For a dairy-free option, substitute the butter with margarine, and use dairy-free chocolate chips. If you’re looking to keep things vegan, replace the eggs with a flaxseed meal mixture—combine 1 tablespoon of flaxseed meal with 3 tablespoons of water, letting it sit for a few minutes until it thickens.
Can I customize the decorations for different occasions?
Absolutely! One of the joys of this recipe is its adaptability. You can swap the M&Ms for seasonal-themed candies or match the frosting’s colors to your holiday theme. Feel free to mix in fun additions like crushed nuts or dried fruits for a personalized touch!
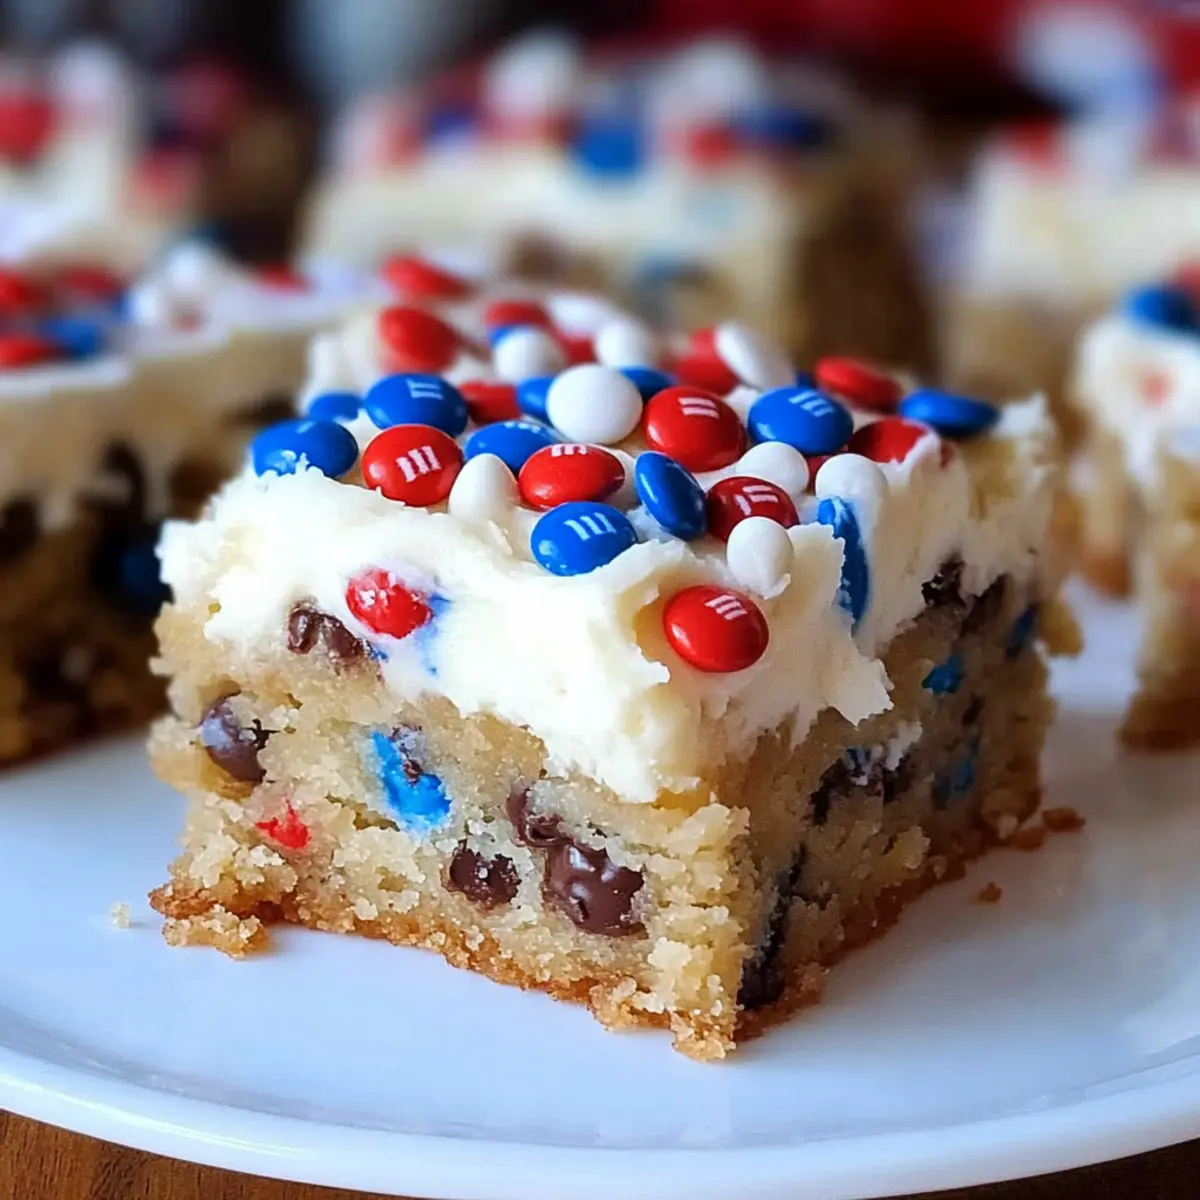
Festive Red White and Blue Chocolate Chip Cookie Bars Bliss
Ingredients
Equipment
Method
- Preheat your oven to 350°F (175°C) and prepare a 9x13 inch baking pan by lining it with foil and spraying with cooking spray.
- In a medium bowl, whisk together the flour, baking soda, and salt.
- In a large mixing bowl, beat the unsalted butter with granulated sugar and brown sugar until light and creamy.
- Add eggs and vanilla extract to the creamed mixture and beat until fully combined.
- Gradually mix the dry ingredients into the butter mixture using a spatula, then fold in mini chocolate chips and vanilla milk chips.
- Spread the cookie dough evenly into the prepared pan.
- Bake for 30-35 minutes until the edges are golden and a toothpick comes out clean.
- Cool the cookie bars in the pan for at least 30 minutes.
- Prepare the vanilla buttercream by beating unsalted butter, powdered sugar, heavy cream, vanilla extract, and a pinch of salt.
- Spread the buttercream over cooled cookie bars, then sprinkle with M&Ms and sprinkles.
- Cut the cookie bars into squares or rectangles and serve.
Leave a Reply