
As I arranged the vibrant layers of my Red, White & Blue Cheesecake Trifle, I couldn’t help but feel a wave of nostalgia wash over me. This no-bake dessert is not only a stunning centerpiece for any gathering but also a delightful tribute to summer celebrations. With its fluffy angel food cake, luscious cheesecake cream, and a medley of fresh strawberries and blueberries, this trifle is both easy to assemble and a guaranteed crowd-pleaser. Plus, it’s perfect for anyone looking to ditch fast food in favor of a homemade indulgence that’s lighter yet satisfying. Whether you’re gearing up for a festive Fourth of July or a casual summer get-together, this trifle will be the star of the show. Ready to create a dessert that’s as fun to make as it is to eat? Let’s dive into the recipe!
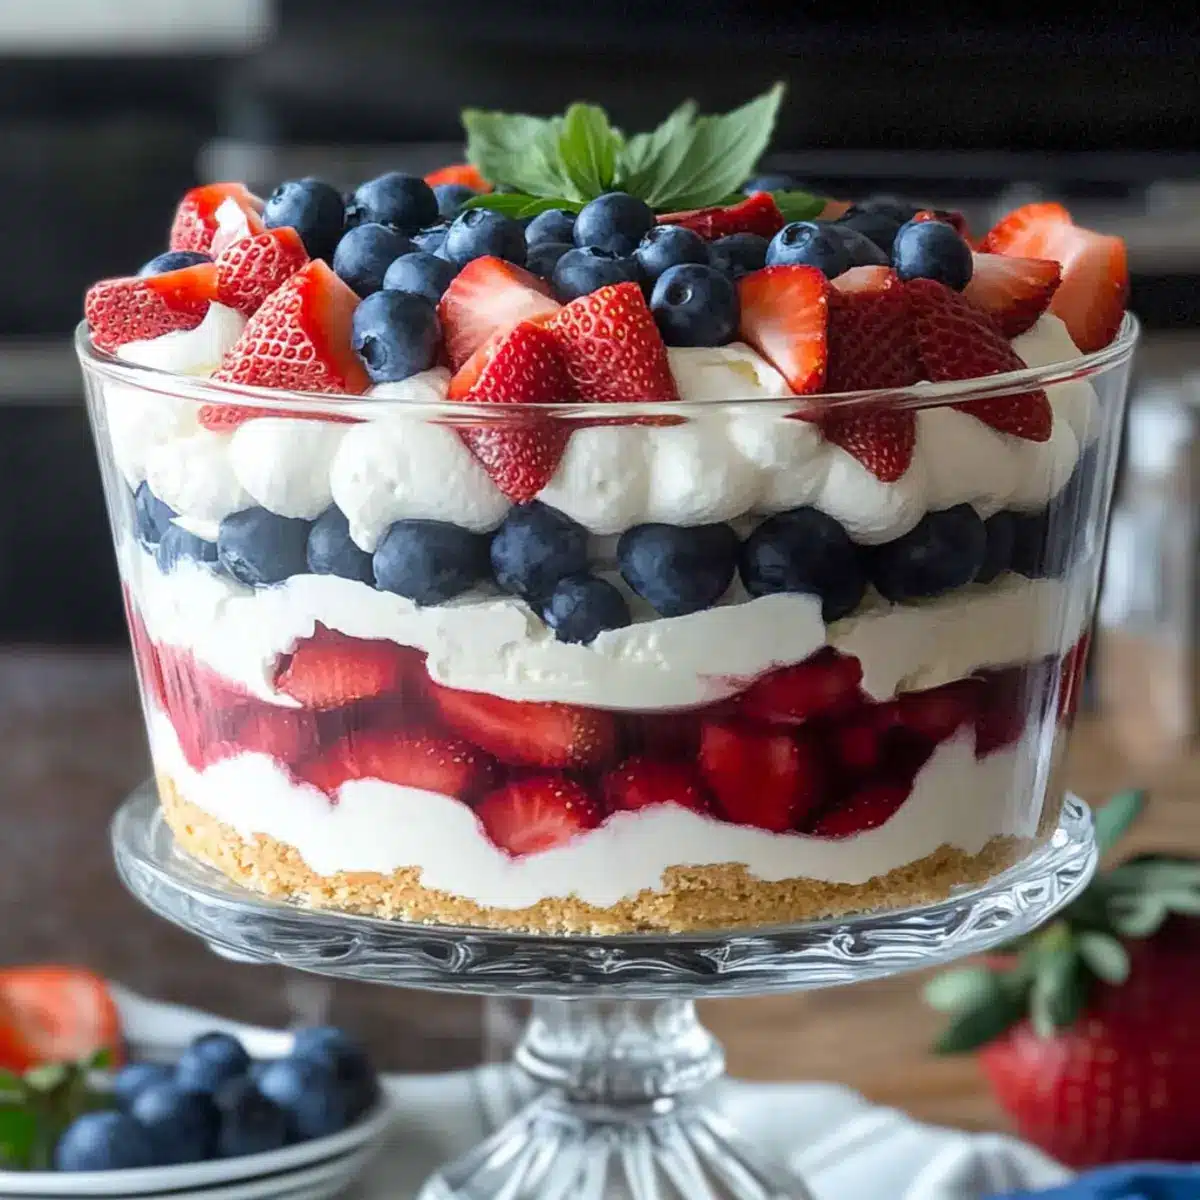
Why Is This Trifle a Must-Try?
Stunning Visual Appeal: The layers of vibrant berries and fluffy cake create a breathtaking centerpiece that will impress your guests.
No-Bake Convenience: This recipe requires minimal effort—perfect for busy schedules or when you want dessert without the fuss of baking.
Indulgent yet Light: Enjoy the creamy cheesecake texture combined with fresh fruit, making it a guilt-free treat that satisfies sweet cravings without feeling heavy.
Versatile Variations: Feel free to experiment with different berries or cake bases; whether you choose a Cottage Cheese Blueberry variation or stick with traditional fruits, the options are endless!
Crowd-Pleaser: This trifle is guaranteed to be a hit at any gathering, bringing smiles and compliments with every delicious spoonful.
So, gather your ingredients and get ready to enjoy this delightful Red, White & Blue Cheesecake Trifle!
Red, White & Blue Cheesecake Trifle Ingredients
• To create this stunning dessert, gather the following ingredients:
For the Cake Base
- Storebought Angel Food Cake or Pound Cake – A great foundation for your trifle; can substitute with homemade cake for a fresher taste.
For the Cream Filling
- Heavy Whipping Cream (2 cups) – This adds a rich texture; can substitute with coconut cream for a non-dairy option.
- Vanilla Extract (1 ½ tsp) – Elevates the flavor profile; leave out for pure flavor simplicity.
- Powdered Sugar (¾ cup) – Sweetens the cream nicely; adjust amount based on desired sweetness for your Red, White & Blue Cheesecake Trifle.
- Whipped Cream Cheese (12 oz) – Adds creaminess and stability; can swap with regular cream cheese, but whipping is necessary for consistency.
For the Fruit Layers
- Blueberries (26 oz) – Introduces a vibrant blue color and fresh taste; no substitutions recommended for color, as other berries may alter the visual appeal.
- Strawberries (20 oz, sliced lengthwise) – Lends sweetness and color; opt for fresh strawberries, not frozen, for the best texture.
- Blackberries (6-8) – Provides a pop of color and a hint of tartness; you can omit or substitute with raspberries if necessary.
For Garnish
- Mint (garnish) – Adds a refreshing touch and visual appeal; optional, but highly recommended for that extra flair.
Now that you have all the ingredients ready, let’s move on to crafting this delicious Red, White & Blue Cheesecake Trifle!
Step‑by‑Step Instructions for Red, White & Blue Cheesecake Trifle
Step 1: Prepare Ingredients
Start by cutting the angel food cake into 1½-inch cubes. Make sure to slice the strawberries lengthwise to expose their beautiful red flesh, enhancing the trifle’s visual appeal. Gather your berries and cake in a designated workspace, ensuring everything is ready for easy assembly of your stunning Red, White & Blue Cheesecake Trifle.
Step 2: Make Cream Filling
In a large mixing bowl, whisk together 2 cups of heavy whipping cream, 1½ teaspoons of vanilla extract, and ¾ cup of powdered sugar. Continue whisking until the mixture begins to thicken but remains soft and fluffy. Gently fold in 12 ounces of whipped cream cheese until the cream is smooth and creamy, creating the decadent filling that will elevate your trifle.
Step 3: Assembly Start
To begin assembling the Red, White & Blue Cheesecake Trifle, pipe a generous layer of the cream filling into the bottom of your trifle dish. Arrange the cake cubes around the perimeter of the dish, standing them upright to create an attractive outer layer. This base will provide a sturdy structure for the incredible layers to come.
Step 4: Layer Strawberries
Place sliced strawberries pointy side down between the cake cubes, creating a vibrant red hue. This not only fills in gaps but also enhances flavor contrast in every delightful spoonful. Aim for an even layer, making sure to showcase the beauty of the strawberries, which will add both color and sweetness to your trifle.
Step 5: Add Blueberries
Fill the center of the trifle dish with a luscious layer of blueberries, stacking them high for visual impact. The vibrant blue color will stand out beautifully against the red strawberries and pale cake. Make sure this layer is abundant, as it adds both flavor and a patriotic touch to your Red, White & Blue Cheesecake Trifle.
Step 6: Repeat Layers
Continue layering the trifle by piping in another layer of the cheesecake cream, followed by a new layer of angel food cake cubes and strawberries. Alternate between the cream, cake, and berry layers until you reach the rim of the dish. Each layer should be distinct, showcasing the bright colors and textures of the ingredients.
Step 7: Finish Top Layer
Spread a final layer of cream filling on top of the last layer of cake, smoothing it out for a beautiful presentation. Create an appealing mound in the center of this layer using a mix of blackberries and blueberries, which not only adds color but also a hint of tartness. Garnish with fresh mint leaves for a touch of elegance.
Step 8: Chill Before Serving
Cover the assembled Red, White & Blue Cheesecake Trifle with plastic wrap and refrigerate it for at least two hours before serving. This chilling period allows the flavors to meld beautifully, ensuring that the layers remain intact and you achieve the perfect texture for a delectable dessert experience.
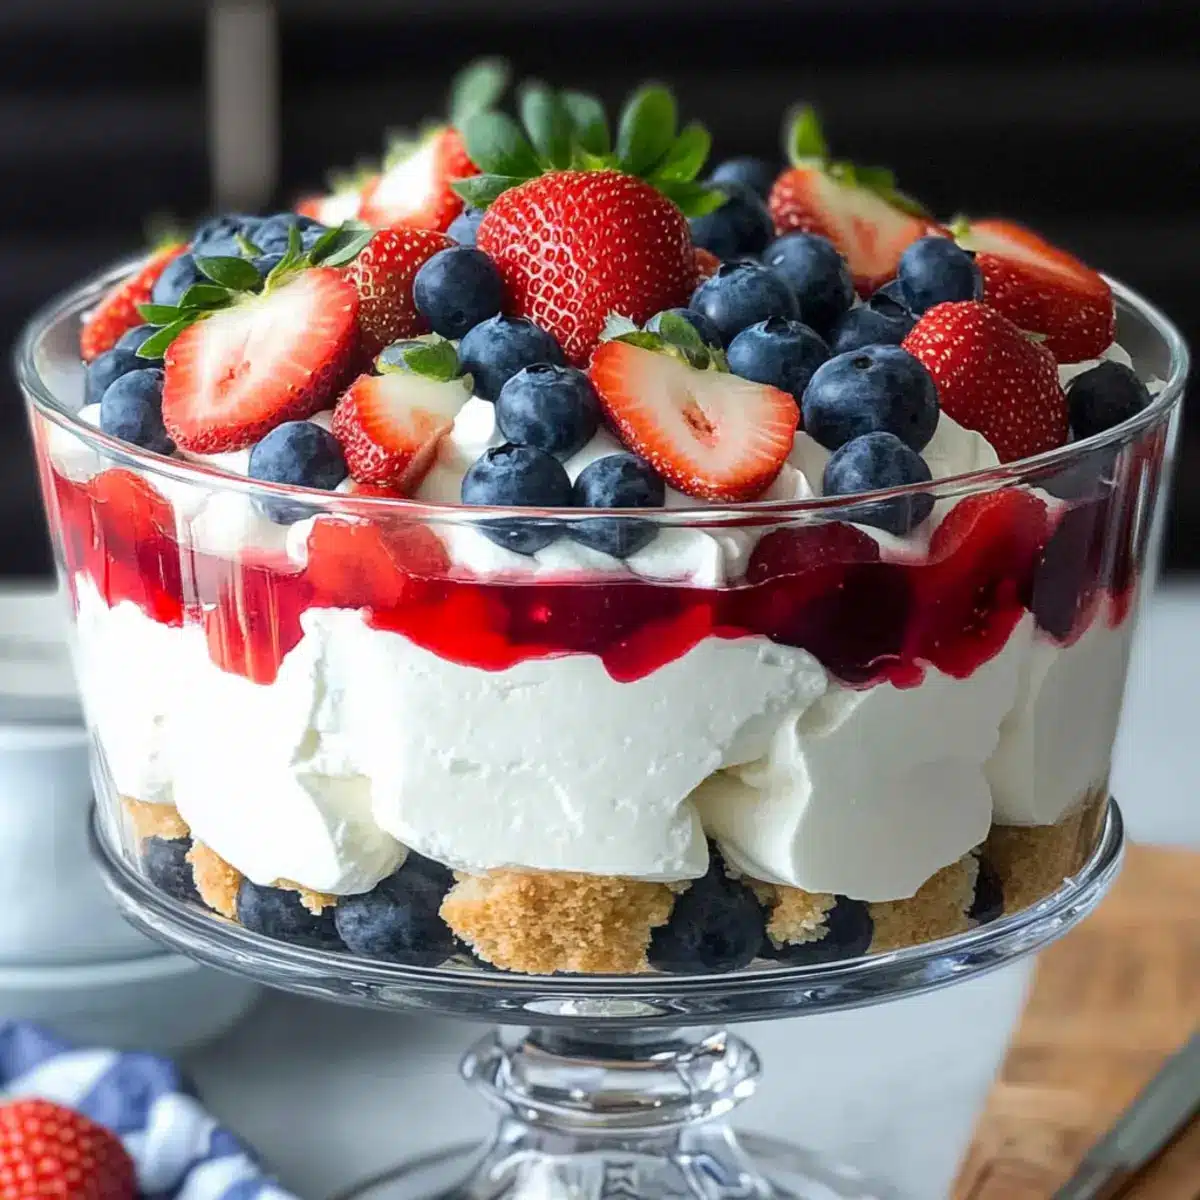
Expert Tips for a Perfect Trifle
- Cream Consistency: Avoid overwhipping the cream. Aim for a texture that’s fluffy yet holds its shape, resembling loose pudding for the best Red, White & Blue Cheesecake Trifle experience.
- Layering Visuals: For a stunning presentation, ensure berry layers are visible from the outside. This keeps the colors bright and prevents flavor overflow into the middle layers.
- Choose Fresh Ingredients: Use fresh strawberries instead of frozen for the best texture. Fresh ingredients enhance both taste and appearance, making your trifle shine.
- Aspect Ratio: Layer your ingredients evenly, adjusting the amount of each component, so flavors meld without one overpowering another. A balanced trifle is a treat for both the eyes and the palate.
- Chill Time Matters: Let your trifle chill for at least two hours before serving. This allows flavors to meld together and keeps the layers beautifully intact while enhancing the overall taste.
Make Ahead Options
Preparing your Red, White & Blue Cheesecake Trifle in advance is a fantastic way to save time for busy occasions! You can make the cream filling and layer the cake cubes with strawberries and blueberries up to 24 hours in advance. For best results, store the trifle covered in the refrigerator to keep the texture fresh and vibrant. Assemble the trifle as instructed, ensuring the fruit layers remain on the outer edges to prevent sogginess. When you’re ready to serve, just add the final layer of cream and garnish with mint for that fresh touch. Enjoy this effortless yet stunning dessert, knowing it’s just as delightful as if you made it the same day!
What to Serve with Red, White & Blue Cheesecake Trifle
Elevate your festive gathering with delightful accompaniments that complement every luscious layer of your trifle.
-
Classic Vanilla Ice Cream: The creamy sweetness of vanilla ice cream contrasts beautifully with the tangy cheesecake cream, enhancing the dessert experience.
-
Fresh Fruit Salad: A colorful medley of seasonal fruits keeps things light and refreshing while adding more fruity notes that pair perfectly with the trifle.
-
Grilled Peaches: The warm, caramelized flavor of grilled peaches brings an unexpected twist, making for a deliciously complex aftertaste.
-
Sparkling Lemonade: A fizzy, citrus drink adds a refreshing zing that balances the richness of the cheesecake and cream without overwhelming your palate.
-
Whipped Cream: For the true cream lovers, an extra dollop of whipped cream on top of each serving adds even more indulgence and visual appeal.
-
Berry Tart: Celebrate the berry theme further with a citrusy berry tart, enhancing the fresh fruit flavors while providing a flaky texture contrast.
-
Chocolate Dipped Strawberries: A sweet and fruity treat, these decadent chocolate strawberries can elevate your dessert table to a new level of indulgence, making every bite a celebration.
These delightful options not only enhance the visual and flavor profile of your gathering but also create an inviting atmosphere where everyone can relish the joy of homemade desserts.
How to Store and Freeze Red, White & Blue Cheesecake Trifle
Fridge: Store any leftover Red, White & Blue Cheesecake Trifle in an airtight container in the refrigerator for up to 2-3 days to maintain freshness.
Freezer: While not recommended due to cream texture, if necessary, freeze individual portions in airtight containers for up to 1 month. Thaw in the fridge overnight before serving.
Reheating: There’s no need to reheat this no-bake dessert; simply enjoy it chilled for the best experience.
Best Enjoyed Fresh: For optimal flavor and texture, consume your trifle within the first couple of days; each layer is best when everything is fresh!
Red, White & Blue Cheesecake Trifle Variations
Feel free to get creative and tailor this delightful dessert to your taste buds!
- Creamy Coconut: Replace heavy whipping cream with coconut cream for a tropical twist without dairy. The creamy richness adds an unexpected flair!
- Gluten-Free Delight: Use gluten-free cake for a lighter version that welcomes everyone. Pair it with naturally gluten-free berries to satisfy all dietary needs.
- Berry Medley: Substitute blueberries or strawberries with raspberries or cherries for a unique twist. Each berry brings its own character, creating lovely surprises in every bite!
- Chocolate Drizzle: For a decadent treat, drizzle melted chocolate over the fruit layers. This adds a hint of richness that perfectly complements the sweetness of the cheesecake.
- Lemon Zest: Incorporate lemon zest into the cream filling for a refreshing citrus burst that brightens the dessert. Tangy undertones elevate flavor and add a pop of brightness!
- Yogurt Layer: Swirl in a layer of Greek yogurt between fruity layers for a protein boost and tangy flavor. This not only enhances the taste but also lightens up the trifle.
- Individual Cups: Assemble portions in clear cups for easier servings at gatherings. This also allows a beautiful presentation of the layers!
Get inspired by variations like Cottage Cheese Blueberry or even a delectable Blueberry Grilled Cheese if you’re craving something unique!
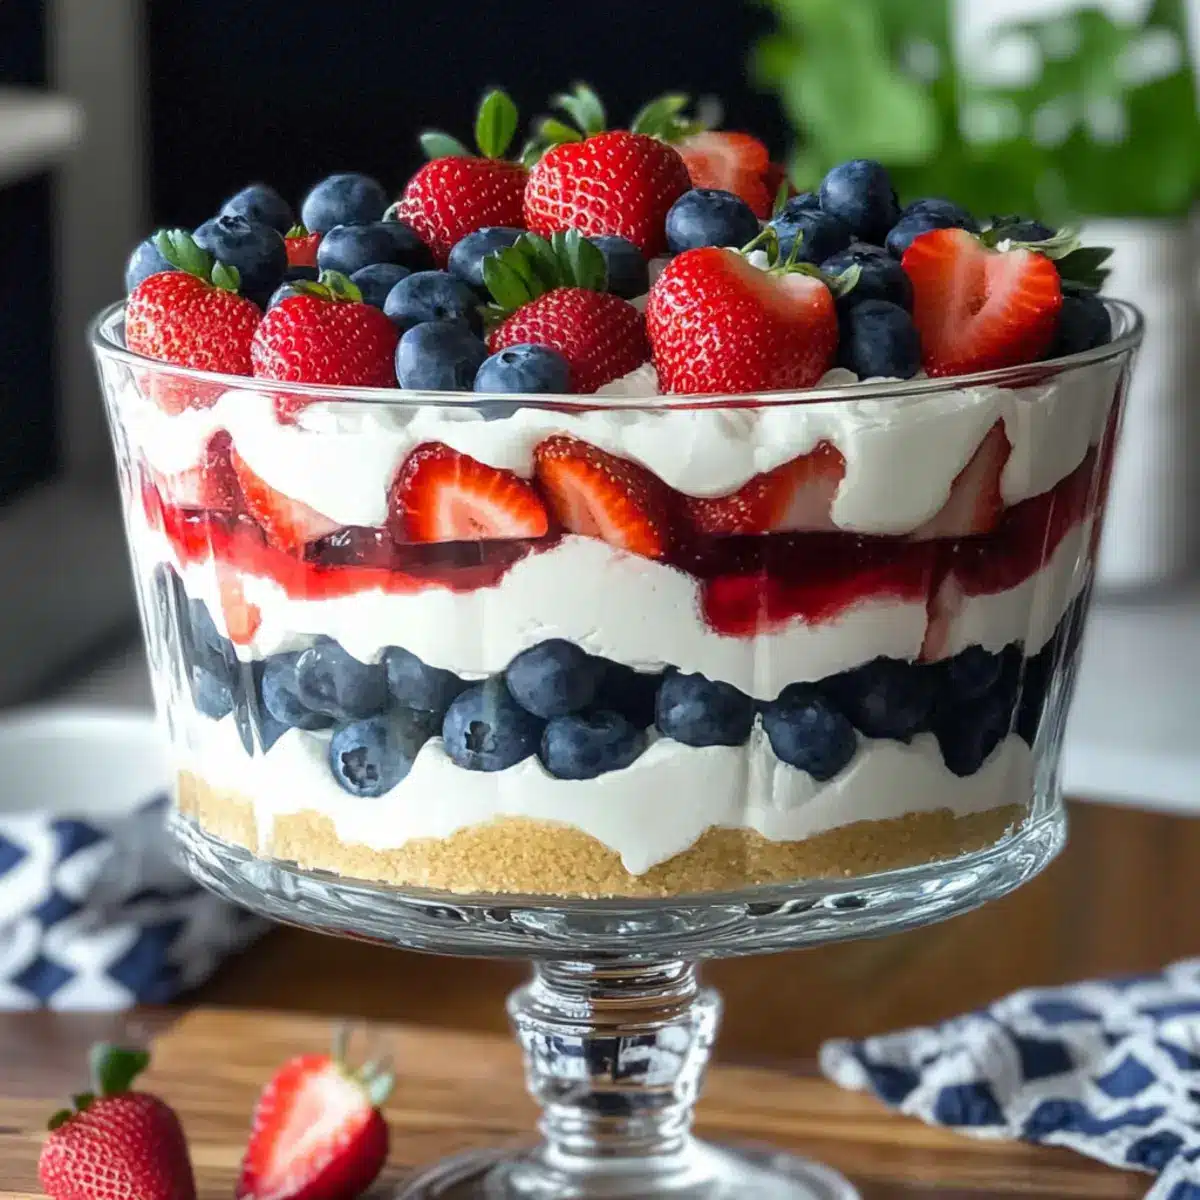
Red, White & Blue Cheesecake Trifle Recipe FAQs
How do I select ripe blueberries and strawberries?
Absolutely! When choosing blueberries, look for ones that are firm, plump, and free of dark spots or wrinkles. For strawberries, select those that are bright red, firm to the touch, and have a sweet fragrance. Avoid strawberries with green or white patches, as they might not be fully ripe.
How should I store my Red, White & Blue Cheesecake Trifle?
To store your trifle, cover it with plastic wrap or transfer it to an airtight container, placing it in the refrigerator. It will stay fresh for 2-3 days. Keeping it cold is key to maintaining its creamy texture and vibrant layers.
Can I freeze the Red, White & Blue Cheesecake Trifle?
While I don’t usually recommend freezing this dessert, you can freeze individual portions in airtight containers for up to 1 month. When you’re ready to enjoy, thaw in the fridge overnight. Keep in mind that the cream’s texture may change after freezing, so it’s best enjoyed fresh!
What are common issues I might face when making this trifle?
Very! One common issue is overwhipping the cream, which can lead to a stiff consistency. Aim for a soft yet stable texture, similar to loose pudding. If this happens, gently fold in a little more heavy cream to adjust the texture. Additionally, if the berries are mixed within the layers, they may lose their fresh flavor—just ensure they mainly decorate the outer layers for visual appeal!
Are there any dietary considerations I should keep in mind?
Absolutely! If you’re serving this to guests with dietary restrictions, confirm ingredients like cream cheese and heavy cream are suitable. For a gluten-free option, substitute the angel food cake with a gluten-free cake. Also, note that this dessert is high in calories, so consider portion sizes for those mindful of their intake.
Can pets safely enjoy any parts of this trifle?
It’s best to avoid sharing this dessert with pets, as ingredients like sugar, whipped cream, and even some fruits could upset their stomach or be unsafe. Instead, treat your furry friends to a pet-friendly snack while you enjoy your delicious Red, White & Blue Cheesecake Trifle!
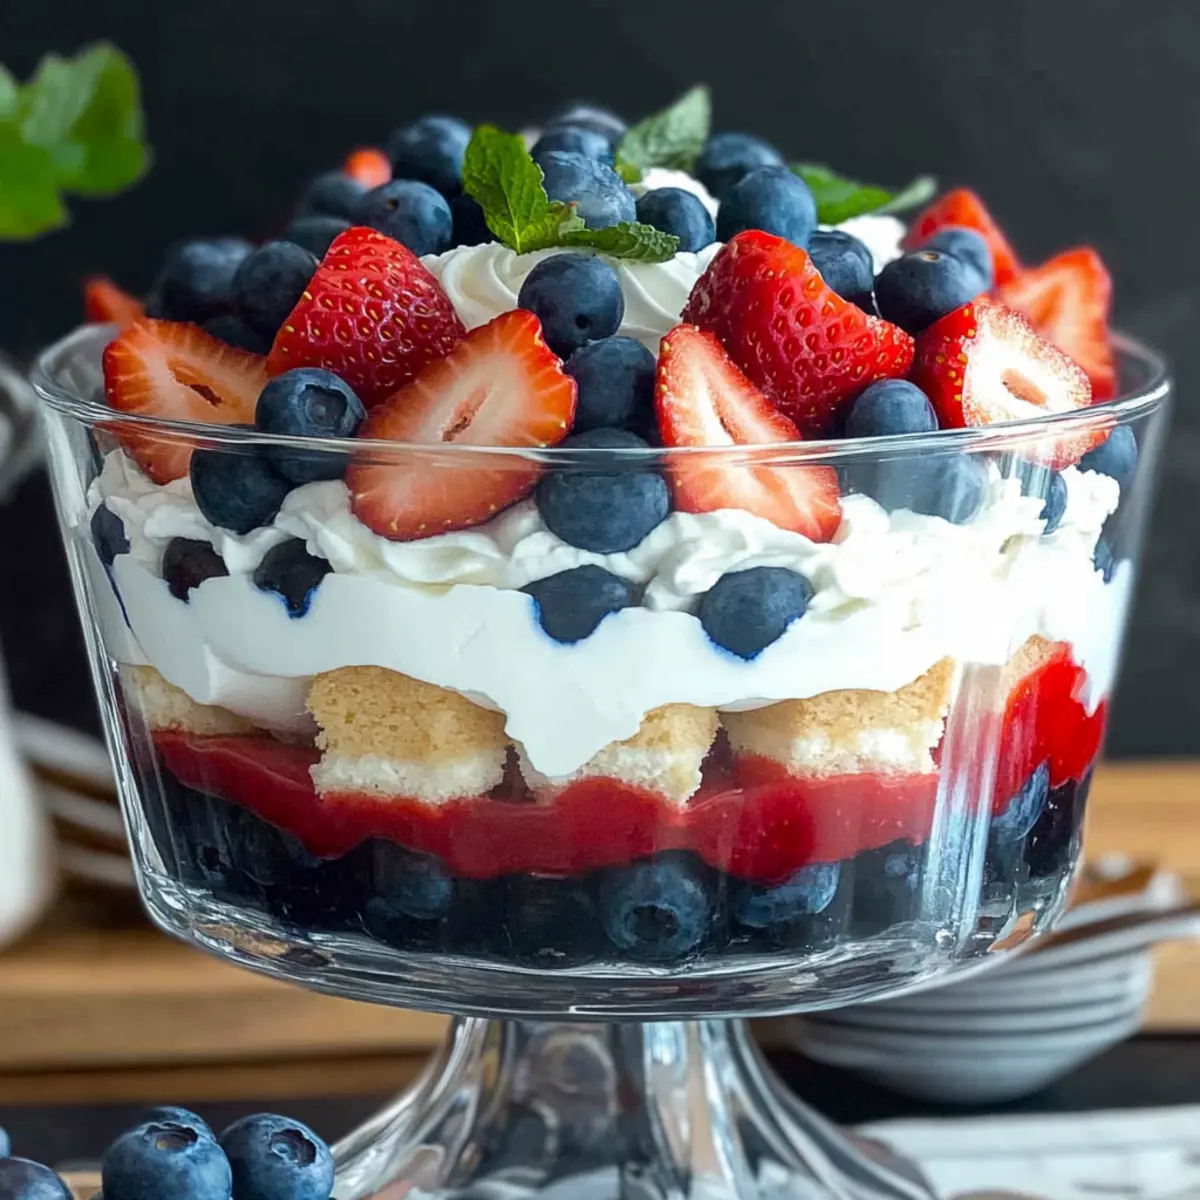
Red, White & Blue Cheesecake Trifle: A Patriotic Delight
Ingredients
Equipment
Method
- Prepare the angel food cake by cutting it into 1½-inch cubes and slice strawberries lengthwise.
- In a large mixing bowl, whisk together heavy whipping cream, vanilla extract, and powdered sugar until the mixture thickens.
- Pipe a layer of cream filling into the bottom of your trifle dish and arrange the cake cubes around the perimeter.
- Place sliced strawberries pointy side down between the cake cubes for visual appeal.
- Fill the center of the trifle with a layer of blueberries stacked high.
- Repeat layers of cream filling, cake, and berries until you reach the rim of the dish.
- Spread a final layer of cream filling on top and garnish with blackberries, blueberries, and mint leaves.
- Cover and refrigerate for at least two hours before serving.
Leave a Reply