
As I stood in the kitchen, the warmth of the oven enveloped me, bringing back fond memories of family gatherings and dessert-filled celebrations. Today, I’m excited to share my Quick and Easy Mini Cheesecake recipe, a delightful treat that whips up in just 30 minutes! These mini wonders are perfect for any occasion, whether a casual weeknight indulgence or the star of your next festive gathering. With minimal prep and the flexibility to customize flavors, you can please every member of your crew. Plus, they’re adaptable to both sweet cravings and dietary needs, offering classic, chocolatey, berry swirl, and even vegan options. Have you ever thought about how delightful it would be to enjoy creamy cheesecake without the fuss?
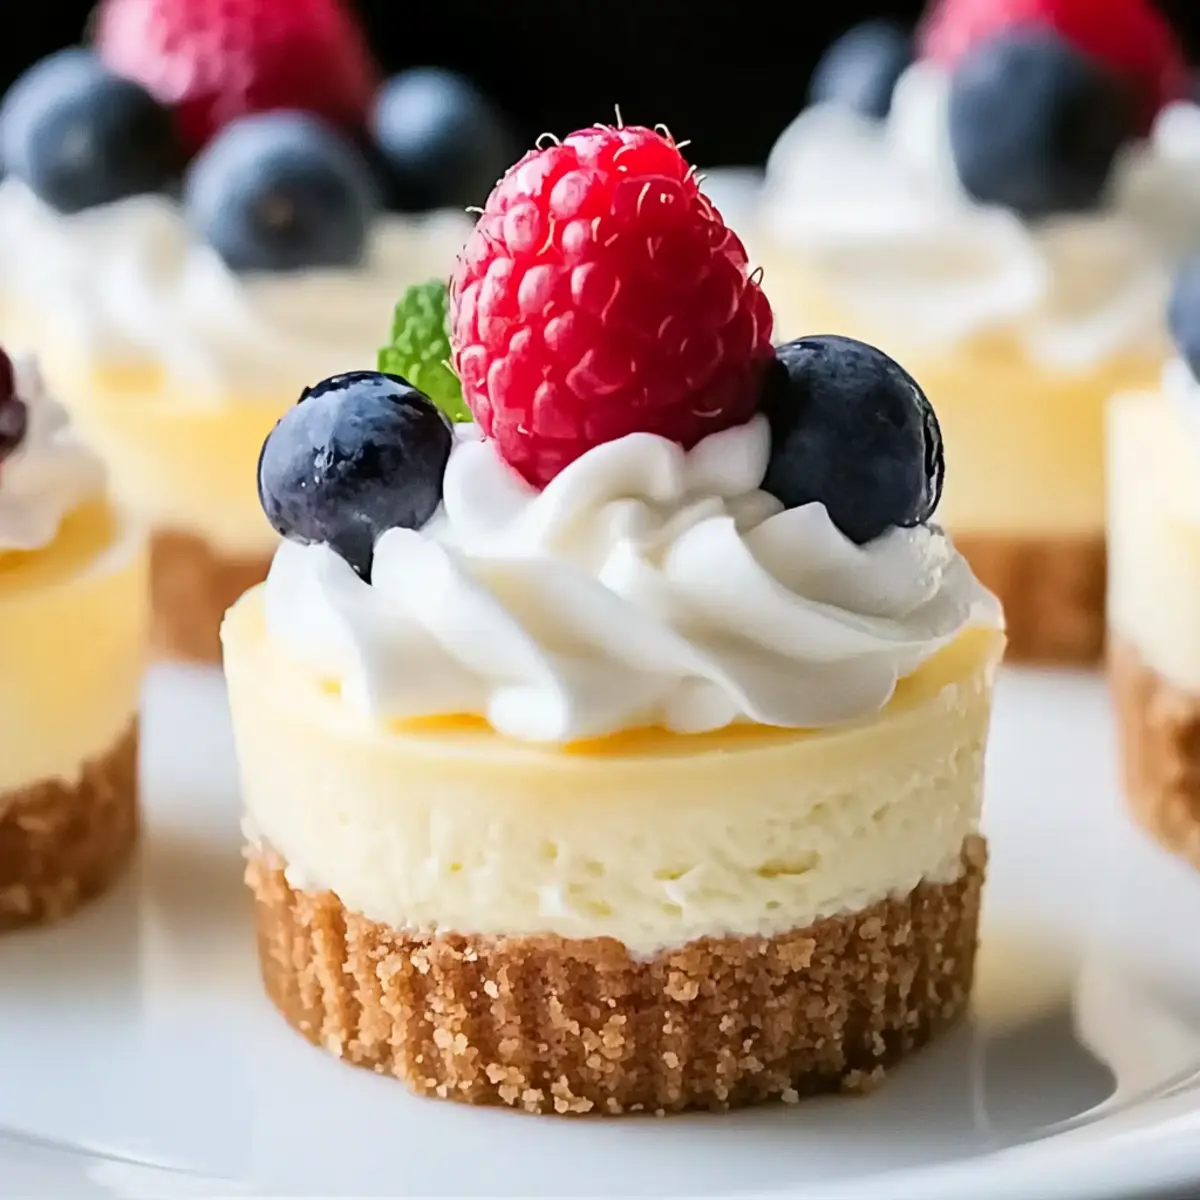
Why are mini cheesecakes so irresistible?
Quick prep time: You can whip these up in just 30 minutes! Flexible flavors: Customize with your favorite variations, from classic to vegan options. Crowd-pleaser: Perfect for gatherings, they’ll wow family and friends alike. No-bake alternative: For a refreshing twist, try our no-bake cheesecake ideas. Dazzling presentation: Garnish these delightful bites with fresh berries or a drizzle of chocolate sauce for an extra touch. Explore even more sweet ideas like Crisp Mini Cheesecakes and Cookie Butter Cheesecake for more dessert inspiration!
Mini Cheesecake Ingredients
• These essential ingredients will make your mini cheesecakes a hit!
For the Crust
- Graham Cracker Crumbs – Provides the perfect base; consider using crushed cookies like Oreos for a different twist.
- Unsalted Butter – Binds the crust wonderfully; coconut oil serves well for a dairy-free option.
For the Filling
- Cream Cheese – The soul of the cheesecake; high-quality cream cheese ensures a smooth and creamy texture.
- Granulated Sugar – Sweetens the filling beautifully; coconut sugar can offer a healthier alternative.
- Vanilla Extract – Adds a delicious layer of flavor; almond extract can give a unique twist!
- Large Eggs – Helps bind the mixture for a rich filling; flax eggs work as a vegan alternative for this mini cheesecake.
For Topping (Optional)
- Whipped Cream – Adds a luxurious touch on top; use coconut whipped cream for a dairy-free delight.
- Fresh Fruit – Liven up your presentation with berries or sliced fruit for a refreshing contrast.
With these ingredients, you’ll be well on your way to creating the most delightful mini cheesecakes that everyone will adore!
Step‑by‑Step Instructions for Mini Cheesecake
Step 1: Preheat the Oven
Begin by preheating your oven to 350°F (175°C). While the oven warms up, prepare a muffin pan by lining each cup with paper liners. This will ensure that your mini cheesecakes are easy to remove once they are baked, providing a lovely presentation for your delightful treats.
Step 2: Prepare the Crust
In a medium mixing bowl, combine the graham cracker crumbs with melted unsalted butter until the mixture resembles wet sand. Using a tablespoon, press the crumb mixture firmly into the bottom of each muffin cup. Bake the crusts for 5 minutes until they are slightly golden, then remove and let them cool to room temperature, creating a sturdy base for your mini cheesecake.
Step 3: Make the Cheesecake Filling
In another mixing bowl, beat together the softened cream cheese and granulated sugar using an electric mixer on medium speed until smooth and creamy, about 2-3 minutes. Then, gently blend in the vanilla extract and large eggs, mixing just until combined. Avoid overmixing to prevent air bubbles, ensuring your mini cheesecakes turn out perfectly creamy.
Step 4: Fill the Mini Cheesecakes
Carefully divide the cheesecake batter evenly among the cooled crusts in the muffin pan, filling each cup almost to the top. The batter should be smooth and even. Place the muffin pan in the preheated oven and bake for 15-17 minutes, or until the edges are set but the centers still jiggle slightly; they will firm up as they cool.
Step 5: Cool and Chill
Once baked, remove the mini cheesecakes from the oven and allow them to cool at room temperature for about 30 minutes. After they are cool, transfer the pan to the refrigerator and chill for at least 4 hours. This step will help the flavors develop and give your mini cheesecakes that rich, creamy texture everyone loves.
Step 6: Serve and Enjoy
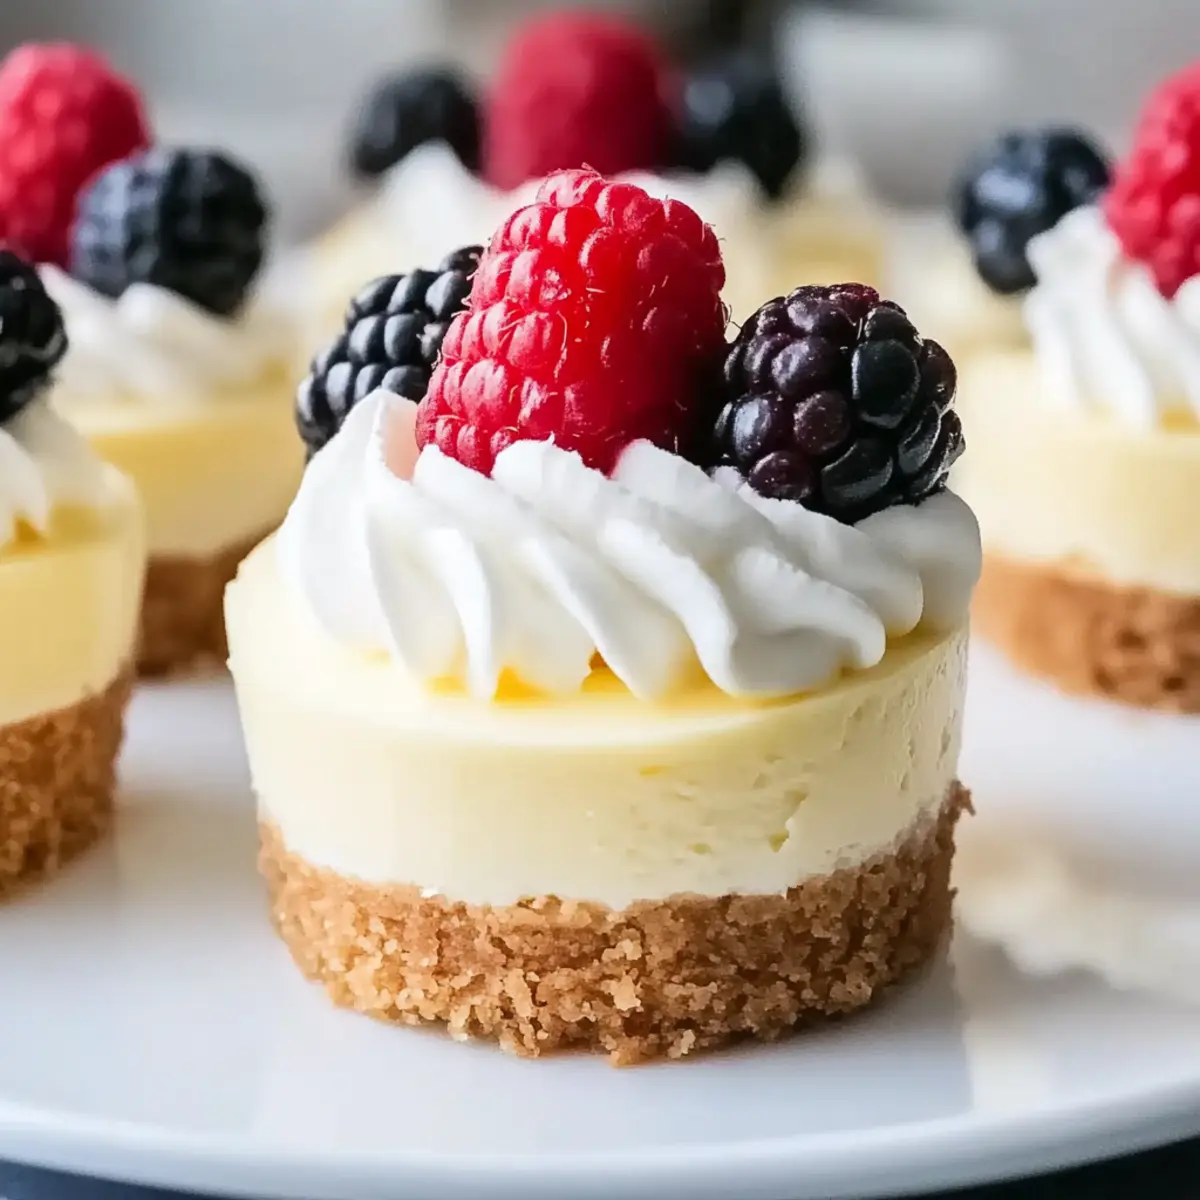
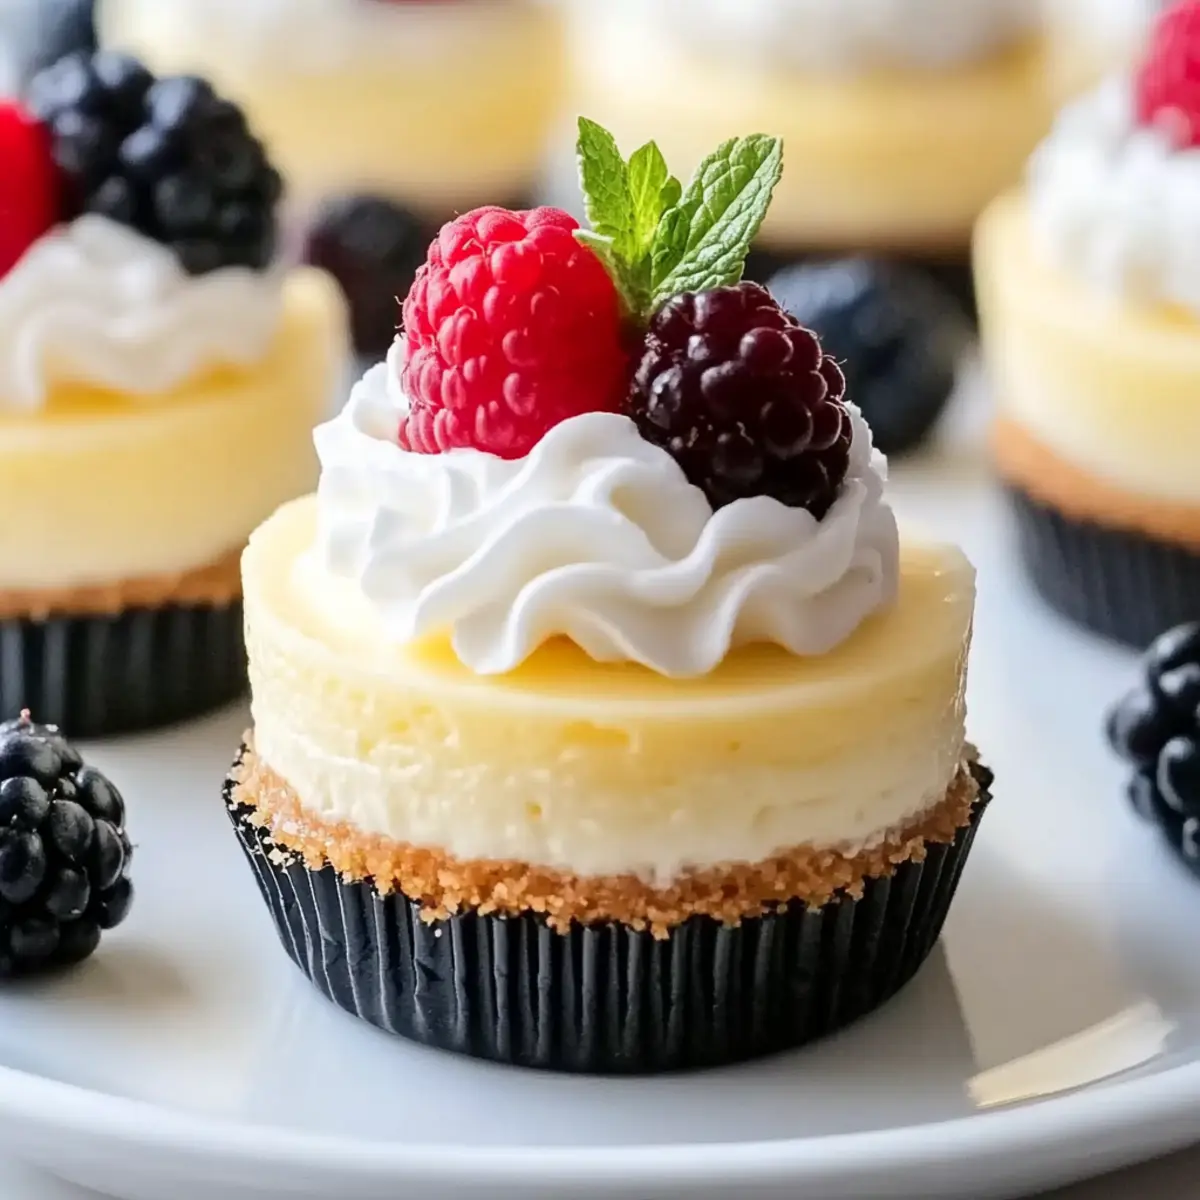
After chilling, carefully remove the mini cheesecakes from the muffin pan by peeling back the paper liners. For an extra touch, top each mini cheesecake with whipped cream or fresh fruit. These delightful mini cheesecakes are now ready to be served at your next gathering or enjoyed as a lovely snack!
Storage Tips for Mini Cheesecake
Fridge: Store mini cheesecakes in an airtight container for up to 5 days to keep them fresh and creamy.
Freezer: For longer storage, individually wrap each mini cheesecake in plastic wrap and place them in a freezer-safe bag. They can last up to 3 months in the freezer.
Thawing: To enjoy frozen mini cheesecakes, simply transfer them to the fridge the night before serving to gently thaw without compromising their texture.
Reheating: While mini cheesecakes are best served chilled, if you prefer a warmed version, let them sit at room temperature for about 15 minutes before serving.
Mini Cheesecake Variations & Substitutions
Feel free to play with flavors and textures to make these mini cheesecakes truly your own! Each variation offers a delightful twist to embrace your palate.
-
Chocolate Delight: Swap ¼ cup of cream cheese with cocoa powder for a rich, indulgent chocolate flavor. It’s a luscious take that will please chocolate lovers!
-
Berry Swirl: Gently fold in berry puree, like raspberry or strawberry, into the cheesecake batter before baking. This adds a vibrant color and fresh taste that bursts with every bite.
-
Vegan Option: For a dairy-free treat, replace cream cheese with blended soaked cashews and coconut cream. This creates an incredibly creamy texture while keeping it plant-based.
-
Mint Chocolate Chip: Mix in peppermint extract and mini chocolate chips to create a refreshing minty twist that’s perfect for a festive occasion or a fun dessert!
-
Coconut Craze: Substitute cream cheese with coconut yogurt for a tropical flair. Top with toasted coconut flakes to enhance the delightful coconut essence.
-
Nutty Flavor: Add crushed nuts like pecans or almonds into the crust for a crunchy texture. This not only enhances flavor but adds an extra satisfying bite.
-
Lemon Zest: Incorporate lemon zest into the filling for a citrusy brightness. An added squeeze of lemon juice will enhance that refreshing tangy flavor!
Enhance your dessert repertoire with other delightful sweets such as Cheesecake Stuffed Strawberries that pair beautifully with these mini cheesecakes. Whatever variation you choose, your loved ones are in for a real treat!
Make Ahead Options
These Mini Cheesecakes are perfect for meal prep, making them an ideal choice for busy cooks! You can prepare the crust and filling up to 24 hours in advance. Simply bake the crusts and let them cool, then prepare the filling (be sure to refrigerate it to maintain quality). When you’re ready to finish, pour the filling into the cooled crusts and bake as instructed. After cooling to room temperature, chill them for at least 4 hours before serving. If you want even more convenience, you can freeze the baked mini cheesecakes for up to 3 months, thaw them overnight in the fridge, and enjoy them just as delicious as fresh!
Expert Tips for Mini Cheesecake
-
Room Temperature Ingredients: Ensure all ingredients, especially cream cheese and eggs, are at room temperature to avoid lumps in your cheesecake mixture.
-
Beat Gently: Avoid overmixing the filling; mix just until combined to prevent air bubbles that can lead to cracks in your mini cheesecakes.
-
Water Bath Method: Consider using a water bath during baking to maintain moisture and achieve a smoother, creamier texture for your mini cheesecakes.
-
Chill Properly: Don’t skip the chilling step! Refrigerate your mini cheesecakes for at least 4 hours to achieve the ideal consistency and flavor.
-
Flavorful Variations: Experiment with different flavors by adding chocolate, fruit purees, or extracts to create customized mini cheesecakes that suit your taste!
-
Keep an Eye on Baking Time: Bake until the edges are set while the centers still jiggle slightly, ensuring perfectly creamy mini cheesecakes.
What to Serve with Mini Cheesecake?
As you dive into the creamy delight of mini cheesecakes, consider these inspiring accompaniments to elevate your dessert experience.
-
Fresh Berries: Bright, juicy berries like strawberries or blueberries add a vibrant touch and a refreshing burst of flavor that balances the richness of the cheesecake.
-
Chocolate Drizzle: A rich drizzle of chocolate sauce brings an indulgent flair to your mini cheesecakes, truly transforming them into a special treat.
-
Mint Sprigs: Fresh mint adds a pop of color and a hint of refreshing flavor, enhancing the overall presentation while pleasing the palate.
-
Coffee or Espresso: Serve alongside a steaming cup of coffee or espresso for a delightful pairing. The flavors complement each other beautifully, making each bite even more satisfying.
-
Whipped Cream: A dollop of fluffy whipped cream creates a luscious finishing touch. You can even flavor it with vanilla or a hint of citrus for added flair.
-
Ice Cream: Serve your mini cheesecakes with a scoop of vanilla or berry ice cream for a delectable contrast in temperature and texture.
-
Caramel Sauce: A light drizzle of caramel sauce can add a toasted sweetness that enhances the flavor profile, making each bite a little more decadent.
-
Fruit Compote: A dollop of berry or citrus compote gives a splash of tartness, creating a beautiful balance with the cheesecake’s creamy sweetness.
These pairings will not only enhance the delightful experience of your mini cheesecakes but also create a memorable dessert that your family and friends will adore!
Mini Cheesecake Recipe FAQs
What is the best way to select ripe ingredients for mini cheesecakes?
Absolutely! For the perfect mini cheesecake, use room temperature cream cheese and eggs; it ensures a smooth, lump-free filling. Look for cream cheese that is fresh with no dark spots. For fruits, select ripe, vibrant berries without signs of mushiness or over-ripeness.
How should I store mini cheesecakes, and how long will they last?
You can store mini cheesecakes in an airtight container in the refrigerator for up to 5 days. Ensure they are entirely cool before sealing to maintain their creamy texture. If you’re planning to enjoy them later, they’ll keep in the freezer for up to 3 months. Just wrap each cheesecake individually and place them in a freezer-safe bag.
Can I freeze mini cheesecakes? If so, how?
Yes, you can absolutely freeze mini cheesecakes! First, allow them to cool completely. Then, individually wrap each mini cheesecake in plastic wrap, ensuring a tight seal. Place the wrapped cheesecakes into a freezer-safe bag or container. When you’re ready to enjoy, just transfer them to the fridge to thaw overnight.
What if my mini cheesecakes crack during baking?
No worries! Cracking can happen if the temperature is too high or if the filling is overmixed. To mitigate this, avoid overmixing your batter; mix just until combined. Consider using a water bath during baking, as it helps regulate temperature and adds moisture, resulting in a creamier texture.
Are there any dietary considerations for making mini cheesecakes?
Certainly! If you’re making mini cheesecakes for someone with dietary restrictions, you can easily adapt the recipe. Use dairy-free cream cheese and coconut whipped cream for a vegan option. For gluten-free alternatives, select gluten-free graham cracker crumbs or crushed nut-based cookies for the crust. Enjoy every bite worry-free!
Can pets eat mini cheesecakes?
It’s essential to keep mini cheesecakes away from pets! Ingredients like cream cheese and sugar aren’t suitable for pets, especially dogs and cats, and can lead to digestive issues. Instead, you might consider a homemade pet-friendly treat if you’re in the mood to spoil your furry friends!
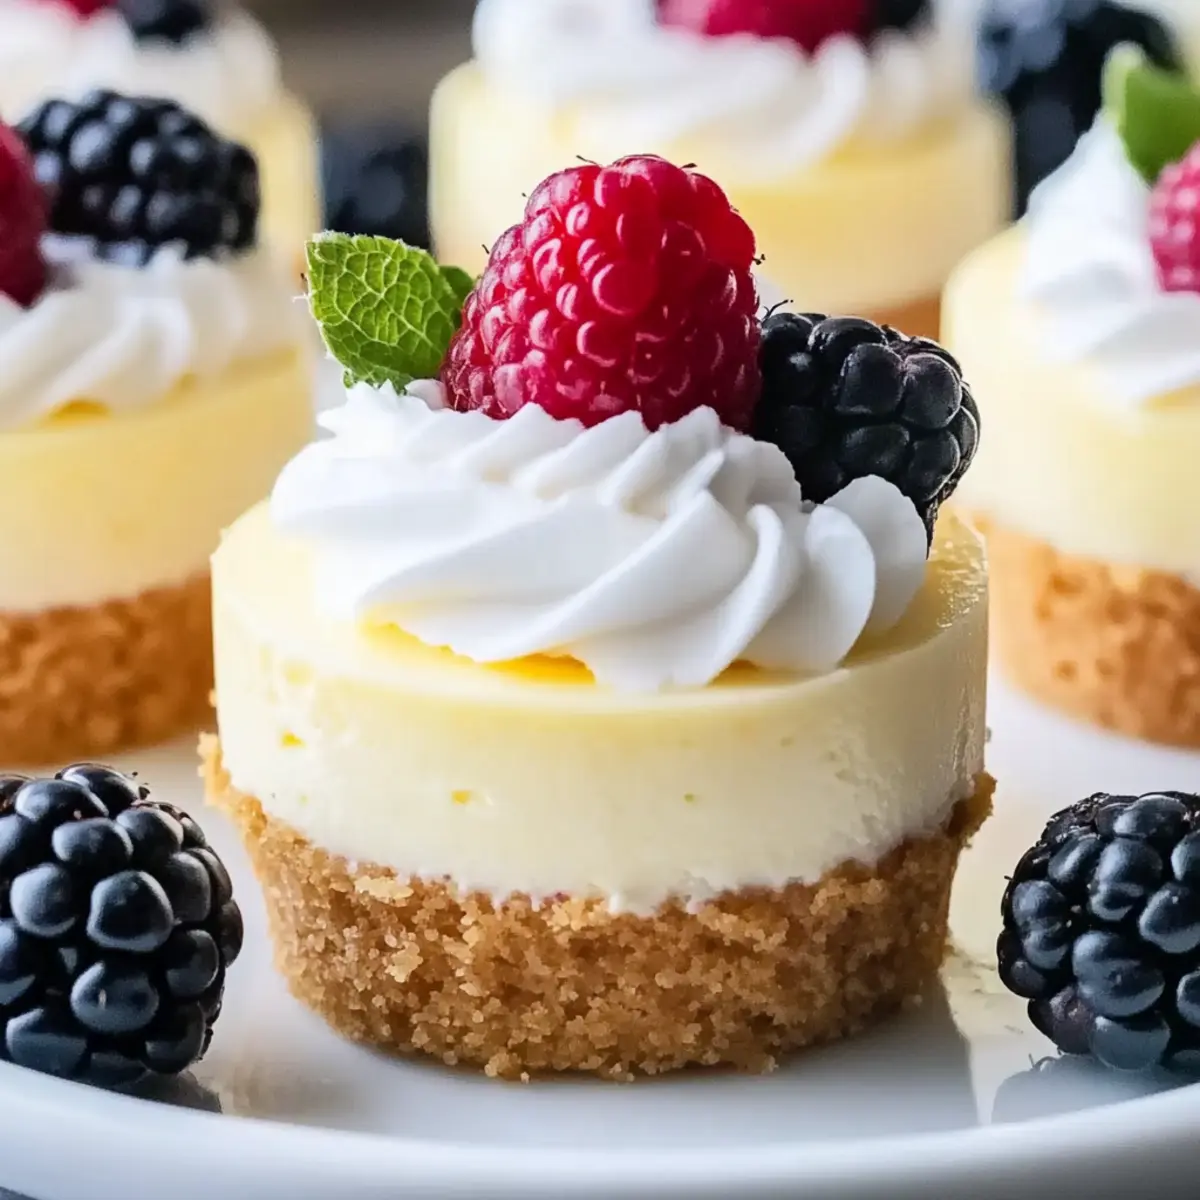
Irresistible Mini Cheesecake: Quick, Creamy, and Customizable
Ingredients
Equipment
Method
- Preheat your oven to 350°F (175°C). Line a muffin pan with paper liners.
- Combine the graham cracker crumbs with melted unsalted butter and press into the muffin cups. Bake for 5 minutes and cool.
- Beat softened cream cheese and granulated sugar until smooth. Blend in vanilla extract and eggs until combined.
- Divide the cheesecake batter among the cooled crusts and bake for 15-17 minutes. Centers should jiggle slightly.
- Cool mini cheesecakes at room temperature for about 30 minutes, then refrigerate for at least 4 hours.
- Once chilled, remove from muffin pan and top with whipped cream or fresh fruit before serving.
Leave a Reply