
The moment I unwrapped my last batch of Mexican Fiesta Pinwheels, I could almost hear my taste buds cheer. These vibrant, rolled delights are the ultimate no-cook appetizer, ready to steal the show at any gathering! Packed with creamy goodness and crisp vegetables, they not only look stunning but also cater to those craving a light yet satisfying bite. With a quick prep time and endless ingredient options, you can whip them up anytime inspiration strikes or unexpected guests arrive. Whether it’s a lively game day or a cozy family gathering, these easy appetizers are sure to impress. Curious about how to make these tasty pinwheels your own? Let’s dive in!
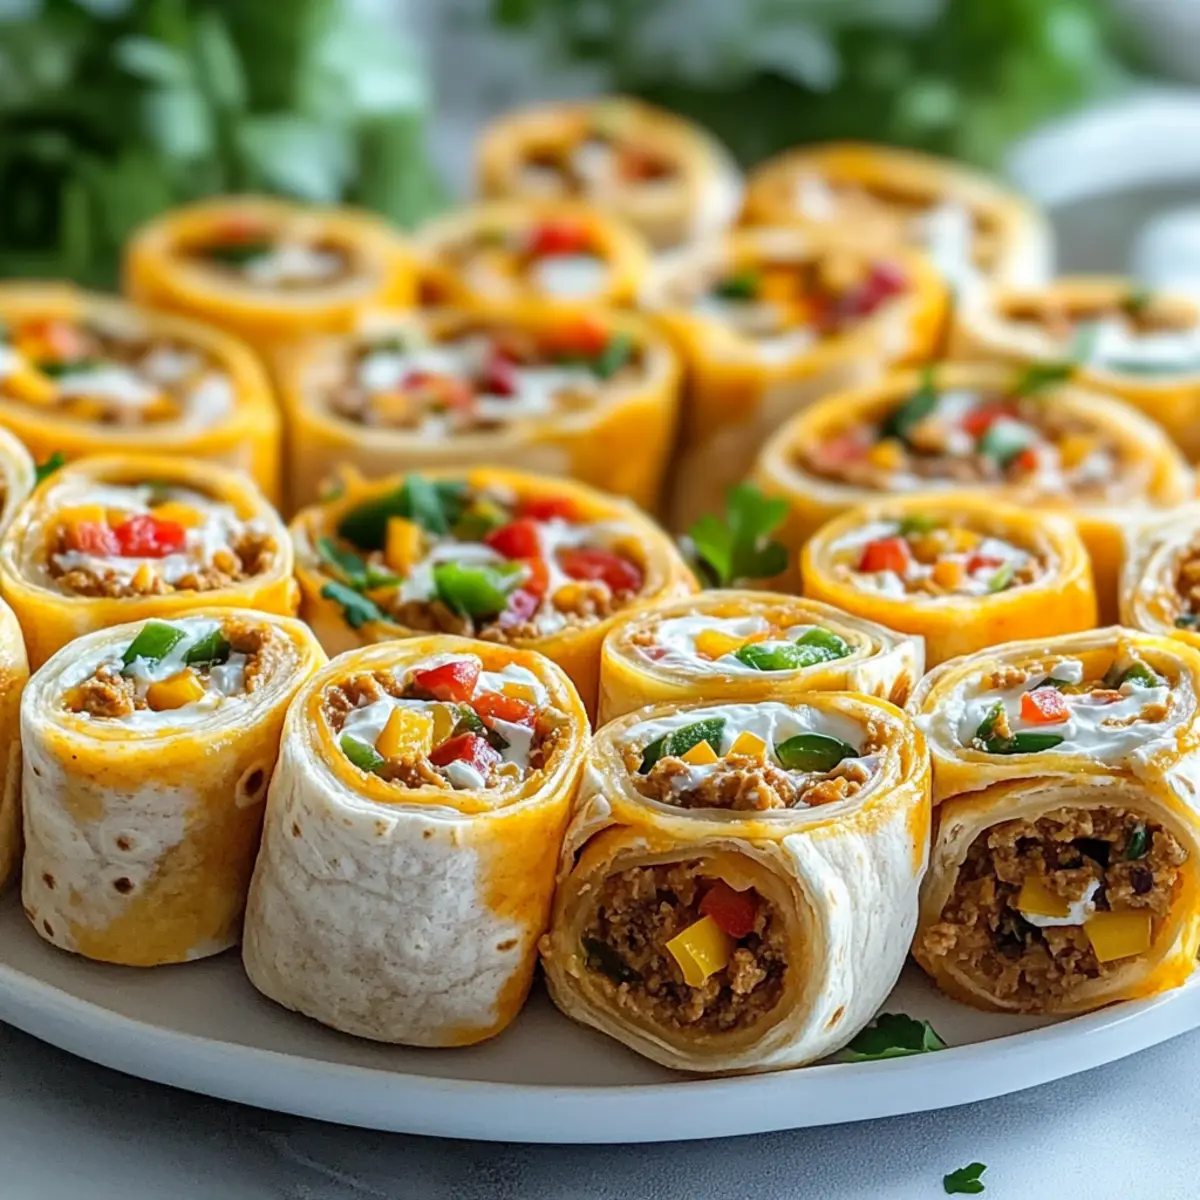
Why Are These Pinwheels a Must-Try?
Effortless Preparation: With no cooking required, these pinwheels come together in minutes, making them a go-to snack for busy hosts.
Customizable Flavors: Use your favorite veggies and spices—swap in spinach or add spice with jalapeños to create your own flavor masterpiece!
Vibrant Presentation: Each bite reveals a beautiful swirl of colors and textures, making them a feast for the eyes as well as the palate.
Great for Any Occasion: Perfect for everything from laid-back lunches to festive parties, these pinwheels will please crowds of all ages.
Pair it Up: Serve them alongside your favorite dips like guacamole for a delicious treat that feels indulgent yet light. Check out Mexican Eggs Benedict for more fun flavor combinations!
Mexican Fiesta Pinwheels Ingredients
For the Filling
• Cream Cheese – Provides a creamy base and rich flavor; substitute with low-fat cream cheese to maintain taste.
• Garlic Powder – Enhances the flavor profile; adjust quantity for a milder taste.
• Chili Powder – Adds warmth and spice; feel free to use smoked paprika for a different dimension.
• Bell Peppers – Adds crunch and sweetness; swap for spinach or arugula for a fresh twist.
For the Wrap
• Tortillas – Soft tortillas are preferred for easy rolling; try whole wheat or spinach tortillas for added nutrition and flavor.
Optional Add-Ins
• Cooked Chicken – Adds protein and heartiness; omit for a vegetarian option.
• Jalapeños – Incorporate for an extra kick of spice; consider adjusting to taste for guests.
• Additional Veggies (like shredded carrots or zucchini) – Offers flexibility to cater to various dietary preferences; packed with nutrients.
Feel free to get creative with these Mexican Fiesta Pinwheels by playing with your favorite ingredients—the possibilities are endless!
Step‑by‑Step Instructions for Mexican Fiesta Pinwheels
Step 1: Prep Cream Cheese
Begin by taking your cream cheese out of the refrigerator and allowing it to sit at room temperature for about 10 to 15 minutes. This softening step ensures easy spreading, preventing any tearing of your tortillas later on. Once it’s creamy and easily spreadable, you’re ready to mix in the exciting flavors for your Mexican Fiesta Pinwheels.
Step 2: Mix Fillings
In a medium bowl, combine the softened cream cheese with garlic powder, chili powder, and the diced bell peppers. Use a spatula to thoroughly mix the ingredients until they’re well blended, creating a colorful and zesty filling. Taste the mixture and adjust the seasoning if necessary, ensuring every bite of your pinwheels is bursting with flavor.
Step 3: Spread and Roll
Lay a soft tortilla flat on a clean surface or cutting board. With a spatula, evenly spread a generous layer of the cream cheese filling across the tortilla, leaving a small border around the edges. Starting from one end, roll the tortilla tightly, ensuring the filling is well-encased. This rolling technique is key to creating beautiful Mexican Fiesta Pinwheels that hold together perfectly.
Step 4: Slice
Once the rolled tortilla is secure, use a sharp knife to slice it into bite-sized pinwheels, about 1 to 2 inches thick. Clean cuts will reveal the colorful swirl of filling inside, making them visually stunning. Repeat this slicing process for each tortilla you prepare, ensuring to keep the pinwheels neatly arranged for serving.
Step 5: Serve
Arrange your vibrant Mexican Fiesta Pinwheels on a decorative platter, making them the centerpiece of your appetizer spread. For an extra touch, serve them alongside spicy salsa or guacamole, inviting everyone to dip and enjoy. These easy-to-make snacks are ready to shine at your next gathering, offering a delightful combination of flavors and textures.
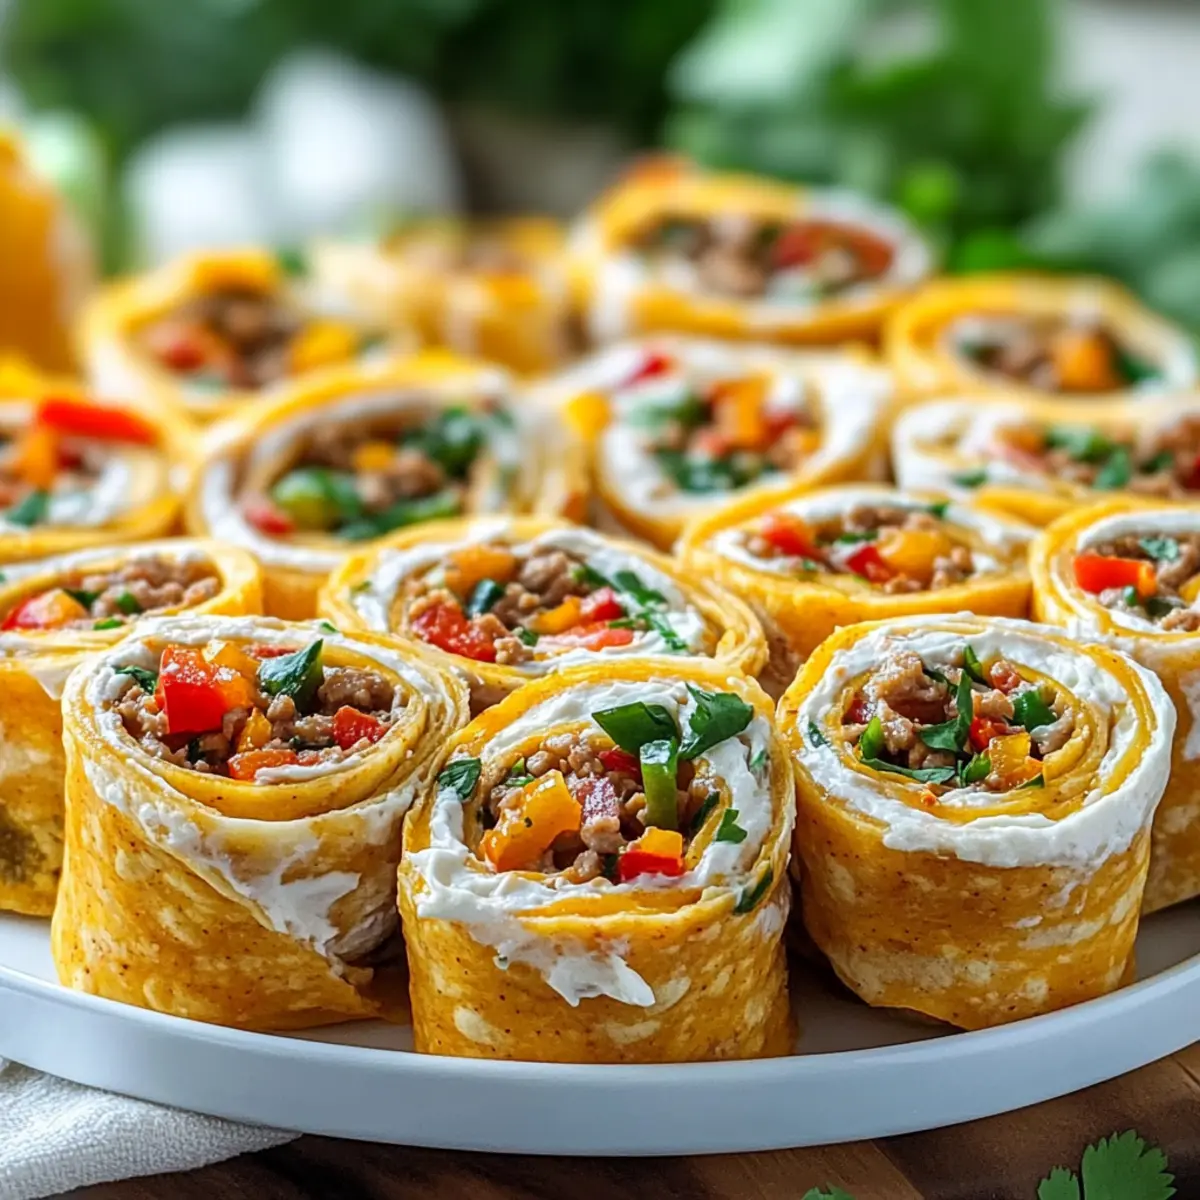
What to Serve with Zesty Mexican Fiesta Pinwheels?
These vibrant, rolled delights are perfect for elevating your next gathering into a flavorful feast!
- Guacamole: A creamy dip that complements the zesty flavors, adding a fresh, green twist to every bite.
- Spicy Salsa: The acidity and heat cut through the richness of the pinwheels, highlighting their vibrant ingredients beautifully.
- Crispy Tortilla Chips: Perfect for dipping, they provide an excellent crunchy contrast to the soft pinwheels.
- Mexican Street Corn Salad: This colorful, fresh side dish has a touch of sweetness that balances the savory flavors of the pinwheels.
- Zesty Cucumber Salad: Light and refreshing, this salad offers a crisp texture that enhances the experience of enjoying pinwheels.
- Margaritas: These classic cocktails packed with citrus notes make a perfect pairing for a festive feel and kick of brightness!
- Lemon-Lime Sparkler: A refreshing non-alcoholic option, this fizzy drink adds a zesty punch that matches the pinwheels’ lively flavors.
- Fruit Platter: A mix of sweet fruits provides a light contrast to the savory flavors, refreshing your palate after every bite.
- Chili Lime Roasted Chickpeas: For a crunch and a spicy kick, these make a delightful nibble alongside the creamy pinwheels.
- Chocolate Flan: End the meal on a sweet note; its creamy texture and rich chocolate flavor create a nice closure after zesty bites.
Expert Tips for Mexican Fiesta Pinwheels
-
Spread Smartly: Use softened cream cheese for easier spreading; this prevents tears in the tortillas and ensures a delightful bite each time.
-
Colorful Crunch: Feel free to mix up the veggies! Incorporate shredded carrots or zucchini to keep things crunchy and nutritious while dazzling your guests with color.
-
Flavor Balance: Adjust seasonings like garlic and chili powder to match your taste preference; too much spice can overwhelm the creamy filling.
-
Slice with Care: Always use a sharp knife to slice your pinwheels for clean cuts; this makes them not only easier to eat but enhances their visual appeal.
-
Make Ahead: You can prepare these Mexican Fiesta Pinwheels a day in advance; keep them tightly wrapped in the fridge and slice just before serving for optimal freshness.
Make Ahead Options
These Mexican Fiesta Pinwheels are a fantastic choice for meal prep, allowing you to enjoy delicious bites at your convenience! You can prepare the filling up to 24 hours in advance by mixing the cream cheese, garlic powder, chili powder, and diced bell peppers. Simply cover the mixture and refrigerate it. The tortillas can also be spread and rolled ahead of time; just wrap them tightly in plastic wrap after rolling and store them in the fridge for up to 3 days. For the best quality, slice the pinwheels just before serving to keep them fresh and visually appealing. This way, you’ll have perfect, flavor-packed appetizers ready to impress your guests without any last-minute stress!
How to Store and Freeze Mexican Fiesta Pinwheels
Fridge: Keep any leftover Mexican Fiesta Pinwheels in an airtight container for up to 3 days. This helps maintain their freshness and prevents them from absorbing odors.
Room Temperature: If you’re serving them at a gathering, pinwheels can be left out at room temperature for about 2 hours. After that, for food safety, they should be refrigerated.
Freezer: Avoid freezing pinwheels, as the texture can change upon thawing, making them less enjoyable to eat. The cream cheese and veggies may become soggy.
Reheating: If you prefer warm pinwheels, you can warm them in a microwave for a few seconds—just be careful not to overheat, as this can affect their texture.
Mexican Fiesta Pinwheels Variations
Feel free to personalize these delightful pinwheels and make them your own; after all, cooking is all about expressing creativity!
- Gluten-Free: Use gluten-free tortillas to cater to those avoiding gluten without losing flavor or fun.
- Dairy-Free: Substitute cream cheese with a dairy-free alternative like cashew cream or almond yogurt, maintaining that creamy texture.
- Protein-Packed: Add shredded turkey or diced tofu for a heartier option that works beautifully with the flavors.
- Herb-Infused: Mix in fresh herbs like cilantro or dill to give an aromatic twist that brightens every bite.
- Spicy Kick: Incorporate more diced jalapeños or switch to spicy cream cheese for those who crave a little heat.
- Veggie Boost: Add roasted red peppers or chopped olives for a Mediterranean spin that still honors the original flavor palette.
Explore these variations and don’t forget to serve your pinwheels alongside a delicious guacamole dip or a salsa, much like those you’d find at a lively gathering! You might also enjoy trying out similar flavors with these fun recipes like Street Corn Chicken or even bringing some festive flair to brunch with Mexican Eggs Benedict.
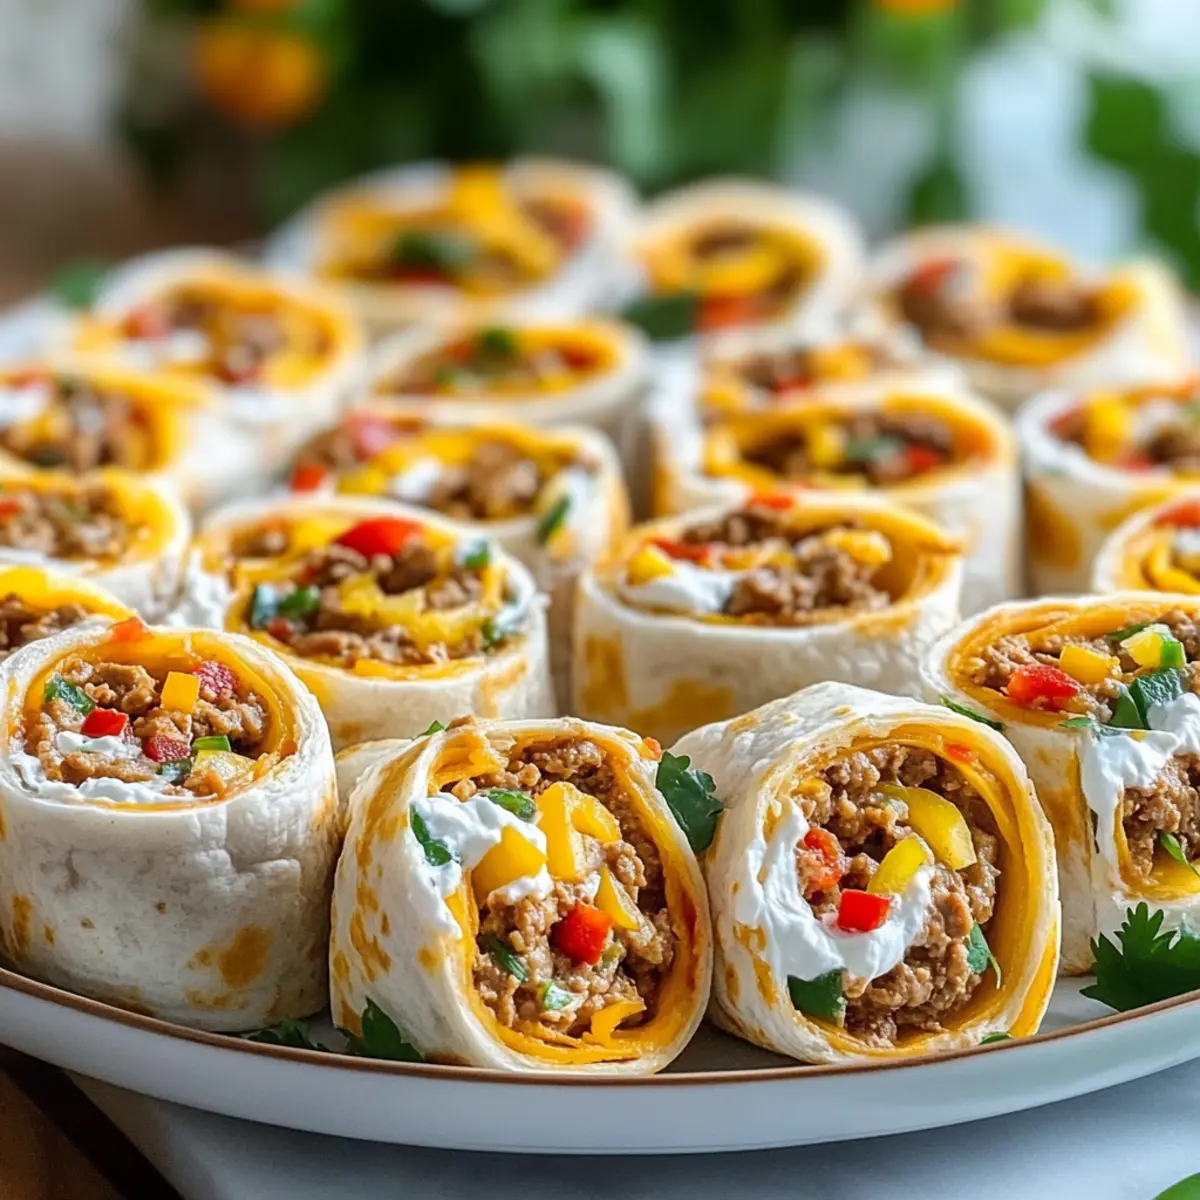
Mexican Fiesta Pinwheels Recipe FAQs
How do I select ripe vegetables for my pinwheels?
When choosing vegetables like bell peppers for your Mexican Fiesta Pinwheels, look for those that have vibrant, shiny skin without any dark spots or blemishes. A firm texture indicates freshness, while wrinkled or soft spots suggest they may be past their prime. For bell peppers, bright colors indicate ripeness—go for red, yellow, or orange varieties for the sweetest flavor!
What is the best way to store leftover pinwheels?
Store any leftover Mexican Fiesta Pinwheels in an airtight container in the refrigerator for up to 3 days. This keeps them fresh and retains their texture. Be sure to place a layer of parchment paper between layers of pinwheels to prevent them from sticking together. They can also be covered tightly with plastic wrap if you don’t have a container.
Can I freeze Mexican Fiesta Pinwheels?
It’s best to avoid freezing these pinwheels as the texture will suffer during thawing. Freezing can cause the cream cheese to become watery and the vegetables to lose their crunch. If you really need to freeze them, wrap each pinwheel tightly in plastic wrap and place them in a freezer-safe bag for up to 1 month. When you’re ready to enjoy, let them thaw in the refrigerator, then serve with your favorite dips.
What should I do if my pinwheels are falling apart when I slice them?
If your pinwheels are falling apart, it could be due to a couple of reasons. First, make sure the cream cheese is soft enough to spread evenly. If it’s too firm, it can cause the tortilla to tear when rolled. Secondly, ensure you are rolling the tortilla tightly and evenly to create a secure seal. Also, using a sharp knife helps achieve cleaner cuts. If you’re still facing issues, consider using larger tortillas or slightly increasing the filling ingredients for better structure.
Are Mexican Fiesta Pinwheels suitable for people with dietary restrictions?
Absolutely! These pinwheels can easily be made vegetarian or gluten-free. For a gluten-free option, simply use gluten-free tortillas. If you’re concerned about dairy, non-dairy cream cheese substitutes can work well. Always double-check the ingredient labels to avoid allergens, such as nuts or specific spices, as you customize the mix-ins and fillings.
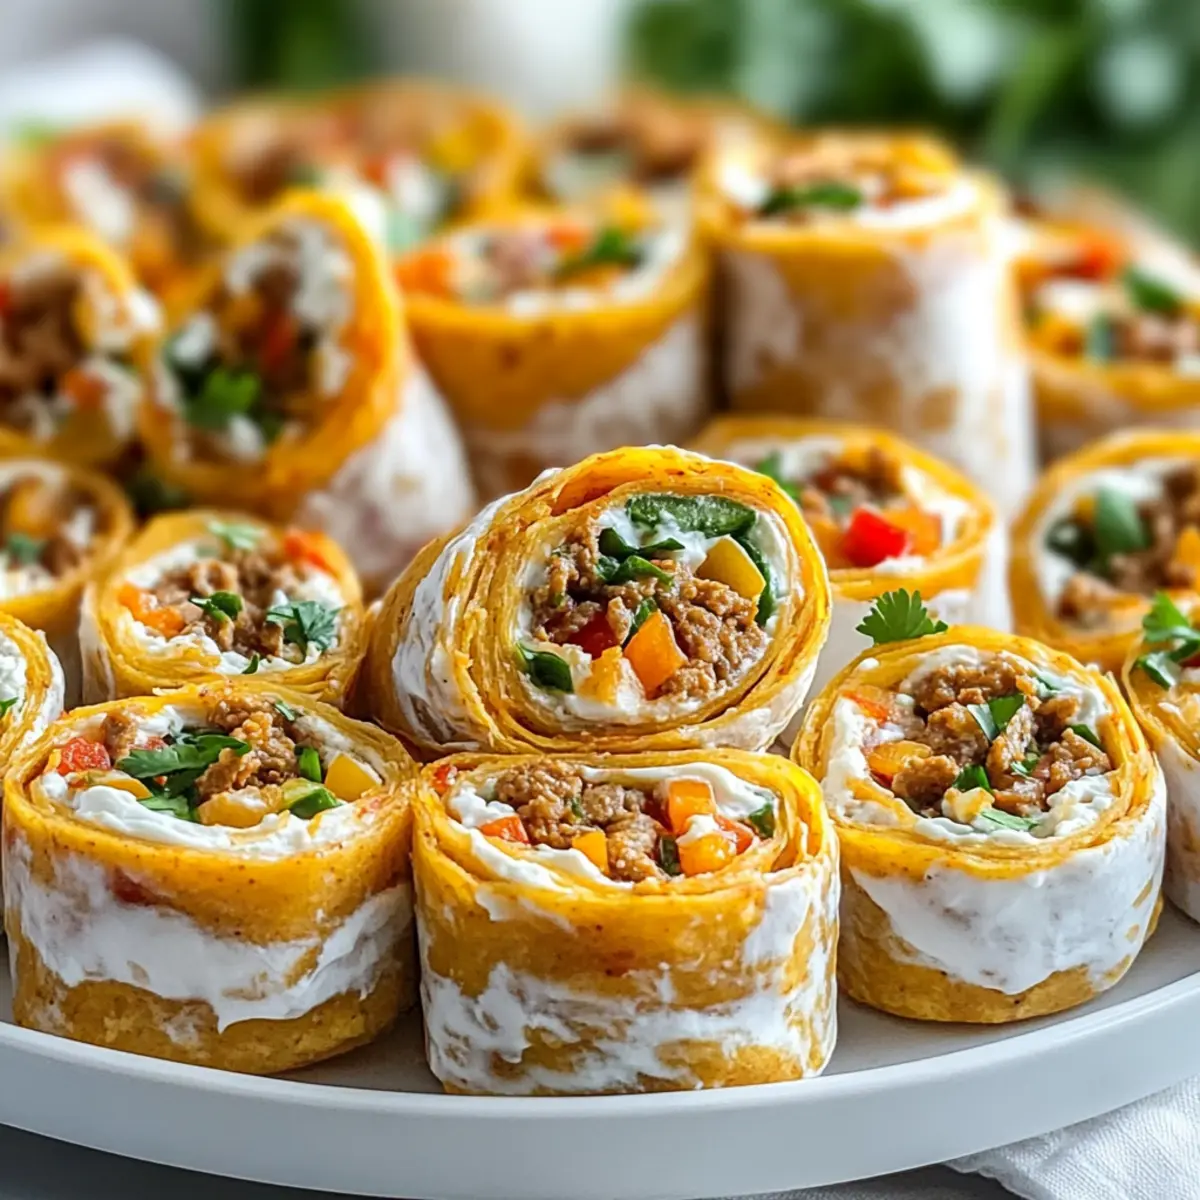
Zesty Mexican Fiesta Pinwheels for Effortless Entertaining
Ingredients
Equipment
Method
- Begin by taking your cream cheese out of the refrigerator and allowing it to sit at room temperature for about 10 to 15 minutes.
- In a medium bowl, combine the softened cream cheese with garlic powder, chili powder, and the diced bell peppers. Mix thoroughly.
- Lay a soft tortilla flat on a clean surface. Evenly spread a generous layer of the cream cheese filling across the tortilla. Roll tightly.
- Once rolled, use a sharp knife to slice into bite-sized pinwheels, about 1 to 2 inches thick.
- Arrange the pinwheels on a decorative platter and serve with dips like salsa or guacamole.
Leave a Reply