
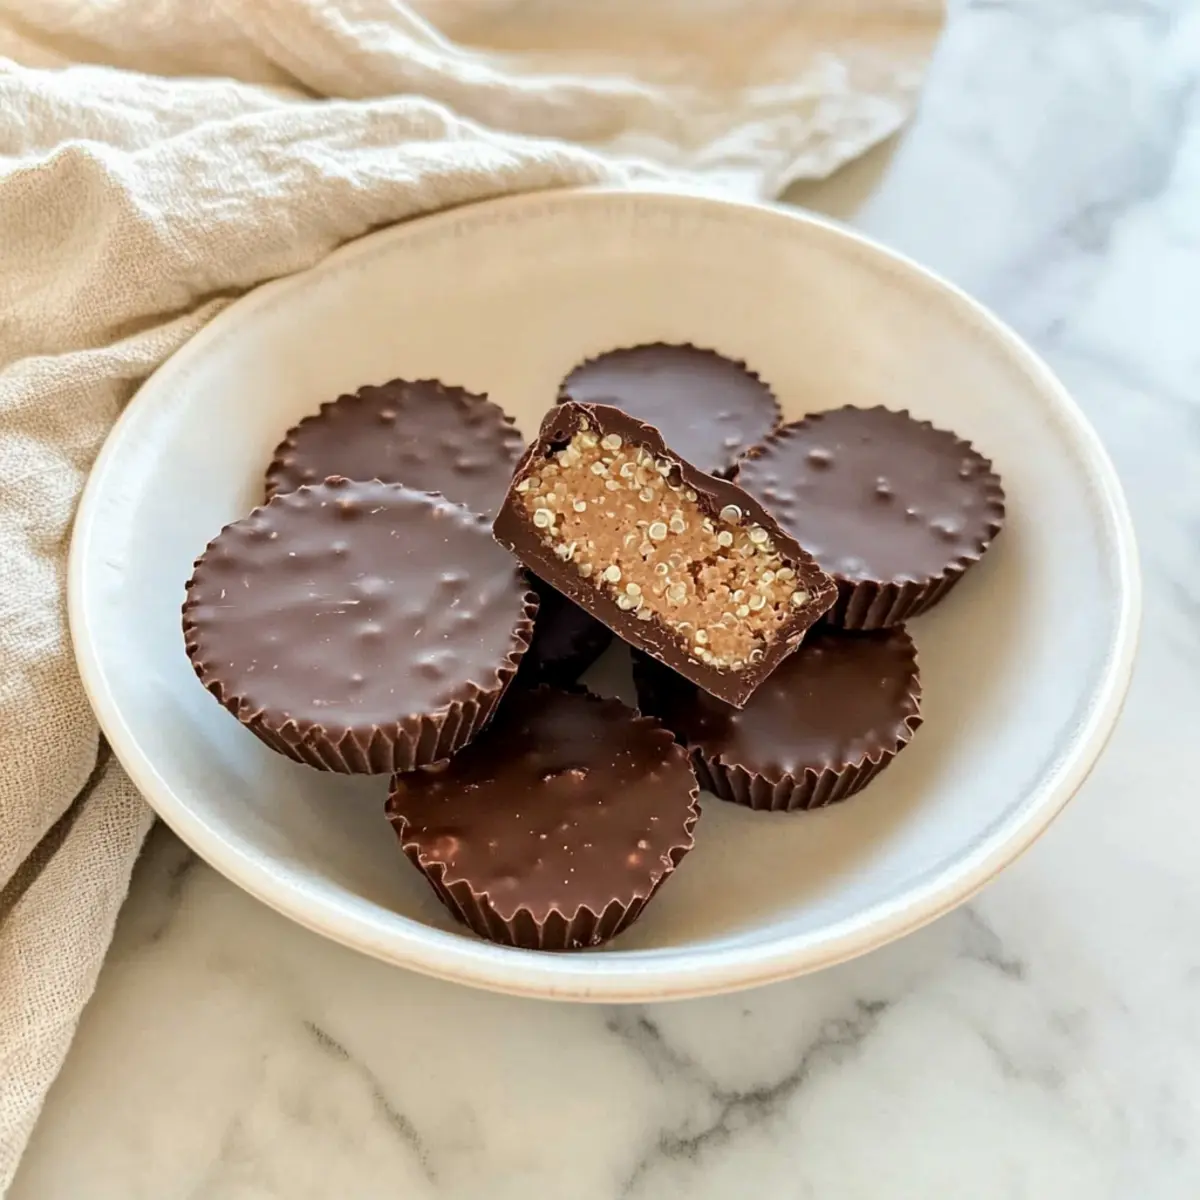
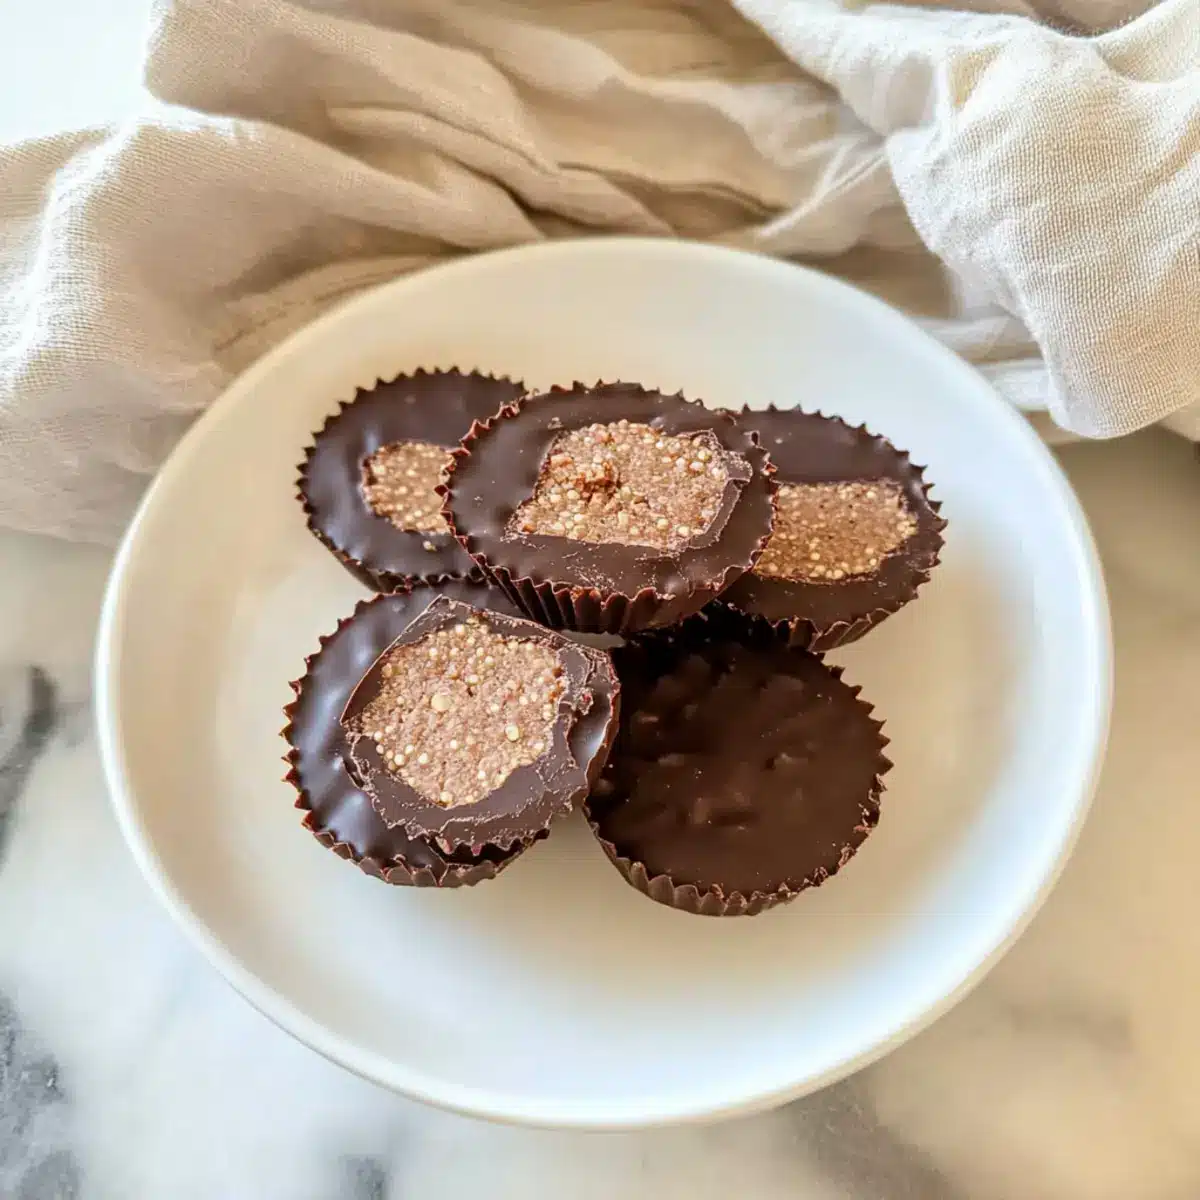
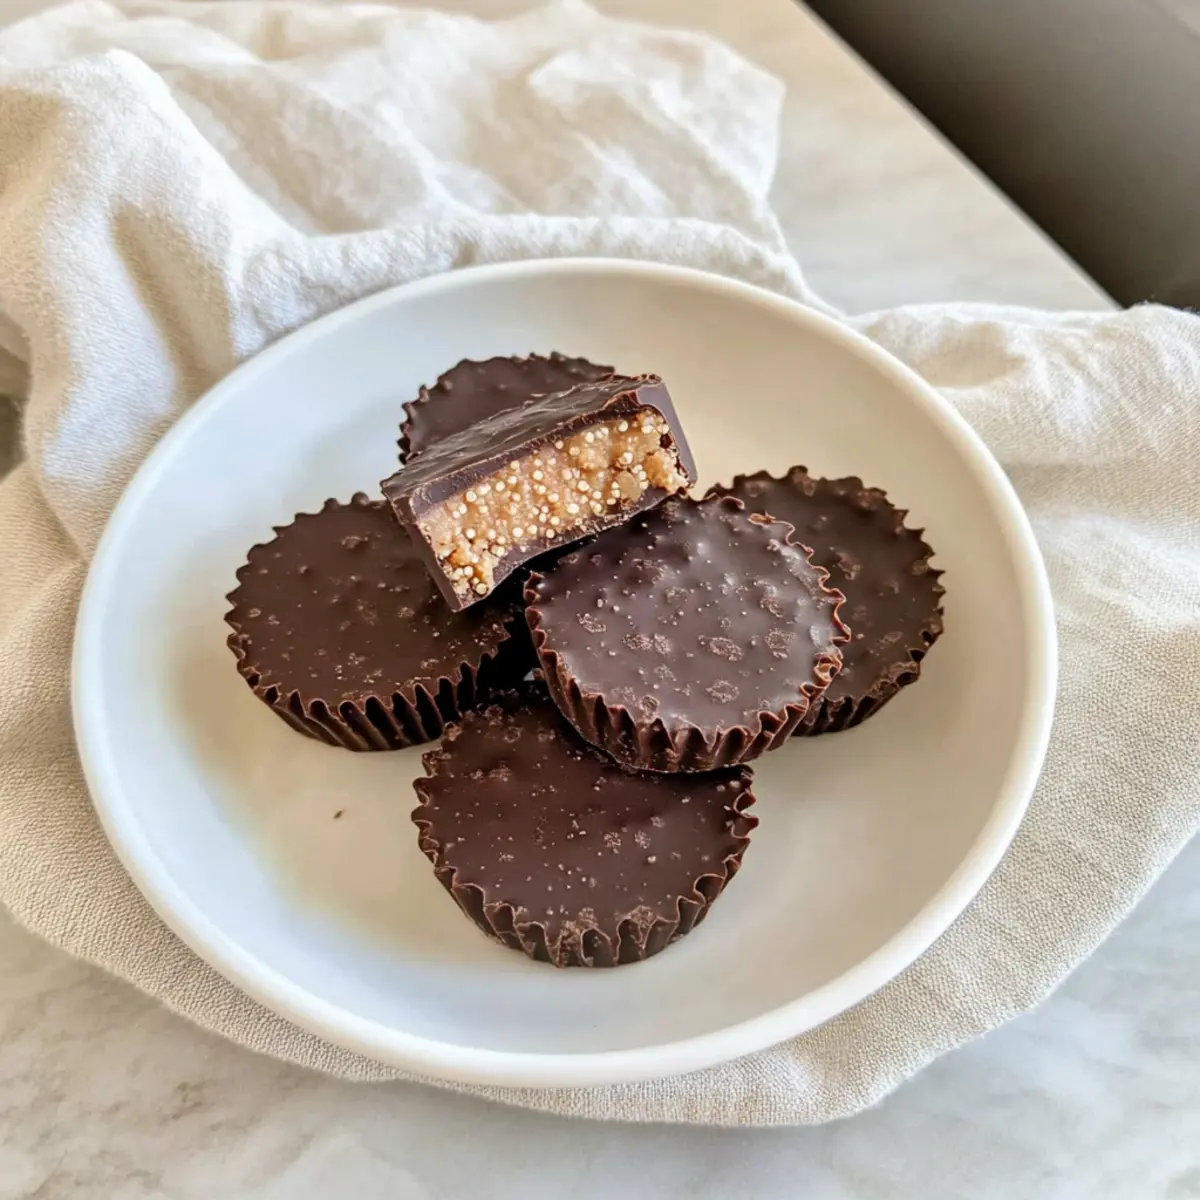
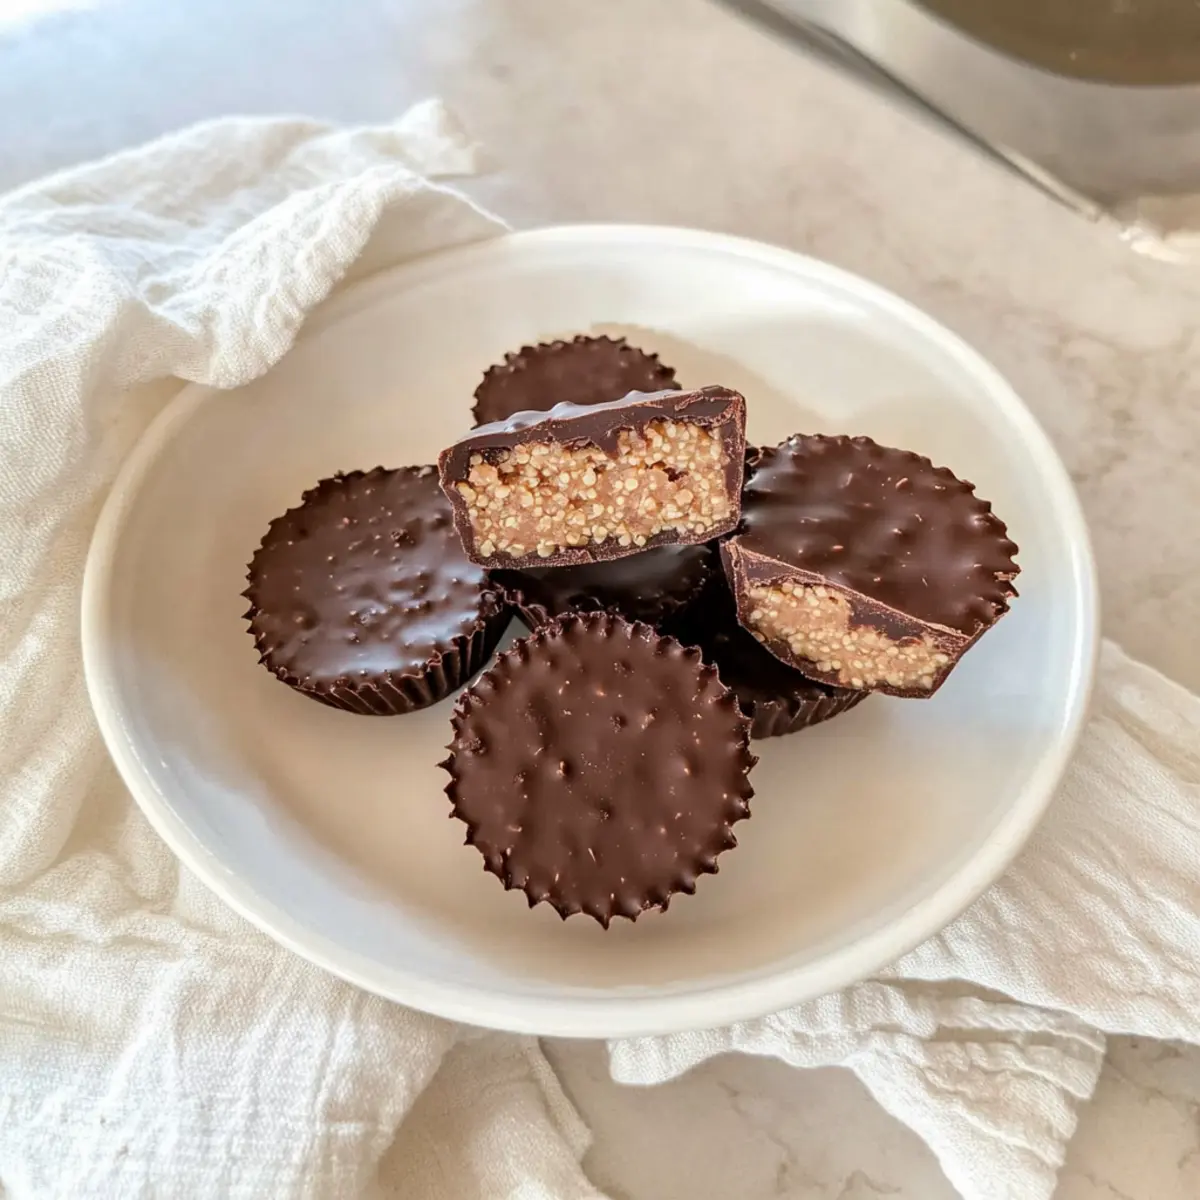
As I reached into the pantry for a sweet treat, a lightbulb moment struck me: why not whip up some Quinoa Crunch Peanut Butter Cups? These little delights are not just any dessert; they’re a vegan and gluten-free masterpiece that you can prepare without ever turning on the oven! Whipping up these delicious no-bake cups doesn’t just save time; it also means satisfying my craving for something crunchy and indulgent without all the guilt. Not to mention, the combination of creamy peanut butter, rich dark chocolate, and that perfect crunch from puffed quinoa makes each bite a little celebration. Curious how to make this heavenly treat? Let’s dive into the details!
Why are Quinoa Crunch Cups irresistible?
Flavor Explosion: The Quinoa Crunch Peanut Butter Cups are a symphony of flavors, combining creamy peanut butter and rich dark chocolate that will have your taste buds dancing.
No Oven Required: Enjoy the ease of creating a no-bake dessert that eliminates the hassle of heating your kitchen, perfect for hot summer days or quick snacks.
Healthy Indulgence: They’re not just tasty—they’re vegan and gluten-free! Each cup is packed with protein and healthy fats that allow you to indulge without the guilt.
Easy Variations: Switch it up with almond butter or different chocolates for personalized treats that cater to your cravings.
Crowd-Pleaser: These delightful cups are a hit at gatherings or simply a sweet surprise for yourself. You might even want to try pairing them alongside a refreshing glass of almond milk for an extra treat! If you’re in the mood for more delightful desserts, check out our Chocolate Peanut Butter or Butter Cheesecake Cups for more inspiration!
Quinoa Crunch Peanut Butter Cups Ingredients
• Get ready to whip up these delightful no-bake treats!
For the Chocolate Layer
- Dark Chocolate – Use dairy-free dark chocolate for a vegan option that’s rich and sweet.
- Coconut Oil – Adds smoothness; avocado oil can work as a great substitute.
For the Peanut Butter Filling
- Peanut Butter (lightly salted) – Provides creaminess and a nutty flavor; opt for no added sugars for a healthier choice.
- Maple Syrup – Acts as a natural sweetener; honey or agave syrup can offer a tasty alternative.
- Coconut Flour – Thickens the filling; almond flour is a suitable substitute, giving a slightly different texture.
For the Crunch Factor
- Puffed Quinoa – Delivers that satisfying crunch; feel free to replace it with rice crisps if quinoa is out of reach.
Enjoy diving into the world of Quinoa Crunch Peanut Butter Cups! Each ingredient plays a vital role in creating these delectable delights.
Step‑by‑Step Instructions for Quinoa Crunch Peanut Butter Cups
Step 1: Melt the Chocolate
In a medium microwave-safe bowl, combine dark chocolate chips and coconut oil. Microwave the mixture in 30-second intervals, stirring in between, until fully melted and smooth—about 1 to 2 minutes. Be careful not to overheat, as you want a shiny, creamy chocolate base for your Quinoa Crunch Peanut Butter Cups.
Step 2: Mix the Crunch Layer
Once your chocolate mixture is ready, stir in 2 tablespoons of peanut butter and the puffed quinoa until everything is well combined. The crunchy texture will create a delightful contrast in your treat. Set the mixture aside for a moment to cool slightly while you prepare the filling.
Step 3: Prepare the Peanut Butter Filling
In a separate small bowl, add 1/3 cup peanut butter and mix in maple syrup until evenly blended. Gradually add coconut flour, stirring until slightly thickened. This creamy filling will complement the crunchy base perfectly in your Quinoa Crunch Peanut Butter Cups, offering a rich, nutty flavor.
Step 4: Assemble the Cups
Place about 1/2 tablespoon of the chocolate mixture into silicone cupcake liners, spreading it evenly across the bottom. This layer will form the base of your cups. Make sure the mixture is level, so it supports the filling correctly when assembled.
Step 5: Shape the Peanut Butter Filling
Take a teaspoon of the peanut butter mixture and roll it into a small ball, then flatten it slightly. Place this ball gently atop the chocolate layer in each liner. The chewy peanut butter filling adds a delicious richness, ensuring that every bite of your Quinoa Crunch Peanut Butter Cups is scrumptious.
Step 6: Top with More Chocolate
Spoon additional chocolate mixture over the peanut butter filling, ensuring it is completely covered. This final layer creates a luscious finish for your cups. Tap the liners lightly on the counter to eliminate air bubbles and ensure a smooth surface, then prepare for freezing.
Step 7: Freeze Until Firm
Transfer the filled liners to the freezer and let them chill for about 30 to 60 minutes or until the chocolate is firm. This step solidifies the layers and allows the flavors to meld beautifully, resulting in delightful Quinoa Crunch Peanut Butter Cups that are easy to pop out of their liners.
Step 8: Unmold and Enjoy
Once the cups have set, remove them from the silicone liners gently. Store your Quinoa Crunch Peanut Butter Cups in an airtight container in the freezer or refrigerator until you’re ready to enjoy them. They make a delightful treat that’s both nutritious and satisfying!
Quinoa Crunch Peanut Butter Cups Variations
Customize your Quinoa Crunch Peanut Butter Cups for a delightful twist on this sweet treat! Get creative with these variations to suit your taste.
- Nut-Free: Use sunbutter instead of peanut butter for a delicious nut-free alternative that still keeps the creamy goodness.
- Cocoa Hazelnut: Swap peanut butter for hazelnut spread for a rich, chocolatey flavor that takes your cups to the next level.
- Protein Boost: Stir in your favorite protein powder into the peanut butter filling for an extra nutritional kick while enjoying your dessert.
- Spicy Kick: Add a pinch of cayenne pepper to the chocolate mixture to spice things up for a unique flavor experience that warms the palate.
- Frozen Treat: Pour your mixtures into popsicle molds instead of cupcake liners and freeze for a refreshing summer treat!
- Coconut Crunch: Mix toasted shredded coconut into the puffed quinoa for added flavor and texture that enhances every bite.
- Choco-Matcha: Drizzle melted matcha white chocolate on top for a beautiful swirl that adds a unique flavor and aesthetic.
- Layered Delight: Create layers in a jar with your peanut butter cups and yogurt for a fun and casual dessert fit for sharing!
These variations will not only elevate your Quinoa Crunch Peanut Butter Cups but will also keep your dessert adventures exciting! For a chocolatey spin, you might also enjoy our delightful Chocolate Peanut Butter, or if you crave cheesecake, don’t miss the Butter Cheesecake Cups. Each bite leads to new discoveries—let’s get creative!
Make Ahead Options
These Quinoa Crunch Peanut Butter Cups are a fantastic choice for meal prep! You can prepare the chocolate layer and the peanut butter filling up to 3 days in advance, storing each component separately in the refrigerator. To keep the texture fresh and delicious, it’s best to assemble the cups just before serving. When you’re ready to enjoy, simply layer the chocolate and peanut butter filling as instructed and freeze for about 30 to 60 minutes. This way, you’ll have a delightful treat waiting for you—perfect for busy weeknights when you’re craving something sweet without the last-minute rush!
Storage Tips for Quinoa Crunch Peanut Butter Cups
Fridge: Store your Quinoa Crunch Peanut Butter Cups in an airtight container in the refrigerator for up to 30 days. This keeps them fresh while remaining easy to access for a quick snack.
Freezer: For longer storage, these cups can be kept in the freezer for up to 60 days. Make sure they’re wrapped tightly to prevent freezer burn, and enjoy as needed!
Reheating: While these no-bake treats are best enjoyed chilled, if you prefer a soft texture, let them sit at room temperature for a few minutes before indulging.
Expert Tips for Quinoa Crunch Peanut Butter Cups
-
Melt Chocolate Slowly: Always heat your chocolate in 30-second intervals to avoid burning. Stir frequently for a perfectly smooth texture in your Quinoa Crunch Peanut Butter Cups.
-
Choose the Right Peanut Butter: Opt for natural peanut butter without added sugars or oils for the best flavor and health benefits. Avoid overly processed versions that can alter the taste of your cups.
-
Use Quality Chocolate: Select high-quality dark chocolate for richer flavor. It’s worth it for those scrumptious bites and the creamy layer that makes these cups divine!
-
Freeze for Best Results: Allow the cups to freeze for a full hour for easier removal from silicone liners. This ensures a firmer texture and enhances the delightful crunch!
-
Experiment with Crunch: Feel free to swap out puffed quinoa for rice crisps if you’re looking for a different texture. Both options add a fabulous crunch to your treats!
-
Don’t Rush the Filling: Ensure your peanut butter filling is adequately thick before layering on top of the chocolate. This helps maintain the structure of your Quinoa Crunch Peanut Butter Cups.
What to Serve with Quinoa Crunch Peanut Butter Cups
Elevate your dessert experience with delightful pairings that complement the creamy and crunchy magic of this no-bake treat.
- Almond Milk: A chilled glass of almond milk offers a creamy contrast while keeping the entire dessert vegan-friendly.
- Fresh Berries: Juicy strawberries or raspberries add a refreshing burst of flavor, balancing the richness of the peanut butter cups.
- Coconut Whipped Cream: Serve a dollop alongside for a luscious topping that enhances the creamy texture while staying dairy-free.
Imagine enjoying your Quinoa Crunch Peanut Butter Cups with a bowl of mixed fresh fruits on the side. The sweetness of the fruits complements the rich chocolate, creating a delightful medley that feels indulgent yet wholesome.
- Chocolate Drizzle: A homemade chocolate sauce enhances the treat, making for a visually stunning dessert that’s sure to impress.
- Chai Tea: The warm spices in chai tea create a cozy contrast and provide a perfect warming drink alongside your sweet indulgence.
- Nuts and Seeds: A simple sprinkle of crushed nuts or seeds adds a delightful crunch, enhancing the overall texture experience while offering a nutritional boost.
Remember, these pairings can be adapted based on your personal taste. The beauty of these treats lies in their versatility!
Quinoa Crunch Peanut Butter Cups Recipe FAQs
How do I choose the right dark chocolate for my Quinoa Crunch Peanut Butter Cups?
Absolutely! Look for dairy-free dark chocolate with at least 70% cocoa content for a rich flavor that complements the peanut butter. This ensures you’re getting all the depth without added milk ingredients, making your dessert entirely vegan-friendly.
What is the best way to store Quinoa Crunch Peanut Butter Cups?
You can store your homemade treats in an airtight container in the fridge for up to 30 days or in the freezer for up to 60 days. For freezer storage, wrap them individually with plastic wrap or place them in a zip-lock bag to prevent freezer burn, allowing you to enjoy them whenever a sweet craving hits!
Can I freeze these Quinoa Crunch Peanut Butter Cups?
Absolutely! To freeze, arrange the cups in a single layer on a parchment-lined baking sheet and place them in the freezer until solid. Once set, transfer them to an airtight container. They’ll stay fresh for about 3 months, making them a perfect make-ahead treat.
What should I do if my chocolate mixture isn’t smooth?
No worries! If your chocolate mixture doesn’t melt smoothly, it may have overheated. If that happens, try adding a teaspoon of coconut oil to the mixture and reheat it gently in 10-second intervals, stirring well until the desired consistency is reached. Always melt chocolate slowly to avoid this situation in the future!
Are there any dietary considerations for pets regarding these cups?
Very! While these Quinoa Crunch Peanut Butter Cups are a delicious treat for humans, it’s crucial to keep them away from pets. Chocolate is toxic to dogs and other pets, so ensure you store your dessert securely out of their reach. If you’re looking for pet-friendly treats, consider making some simple peanut butter biscuits without any harmful additives.
Can I substitute ingredients for allergy considerations?
Yes! If you’re dealing with allergies, you can substitute almond butter for peanut butter. For a nut-free option, sunflower seed butter works wonderfully. Make sure to check products for any potential allergens. Always keep in mind the ingredient labels of your substitutes to ensure they align with your dietary needs.
Delicious Quinoa Crunch Peanut Butter Cups You'll Love
Ingredients
Equipment
Method
- In a medium microwave-safe bowl, combine dark chocolate chips and coconut oil. Microwave in 30-second intervals, stirring until fully melted and smooth, about 1 to 2 minutes.
- Stir in 2 tablespoons of peanut butter and the puffed quinoa until well combined. Set the mixture aside to cool slightly.
- In a separate small bowl, add 1/3 cup peanut butter and mix in maple syrup until evenly blended. Gradually add coconut flour, stirring until slightly thickened.
- Place about 1/2 tablespoon of the chocolate mixture into silicone cupcake liners, spreading it evenly to form the base.
- Roll a teaspoon of the peanut butter mixture into a small ball, flatten it slightly, and place it atop the chocolate layer in each liner.
- Spoon additional chocolate mixture over the peanut butter filling, ensuring it is completely covered. Tap the liners to eliminate air bubbles.
- Transfer the filled liners to the freezer and let them chill for about 30 to 60 minutes until firm.
- Once set, remove the cups from the silicone liners and store in an airtight container in the freezer or refrigerator.
Leave a Reply