
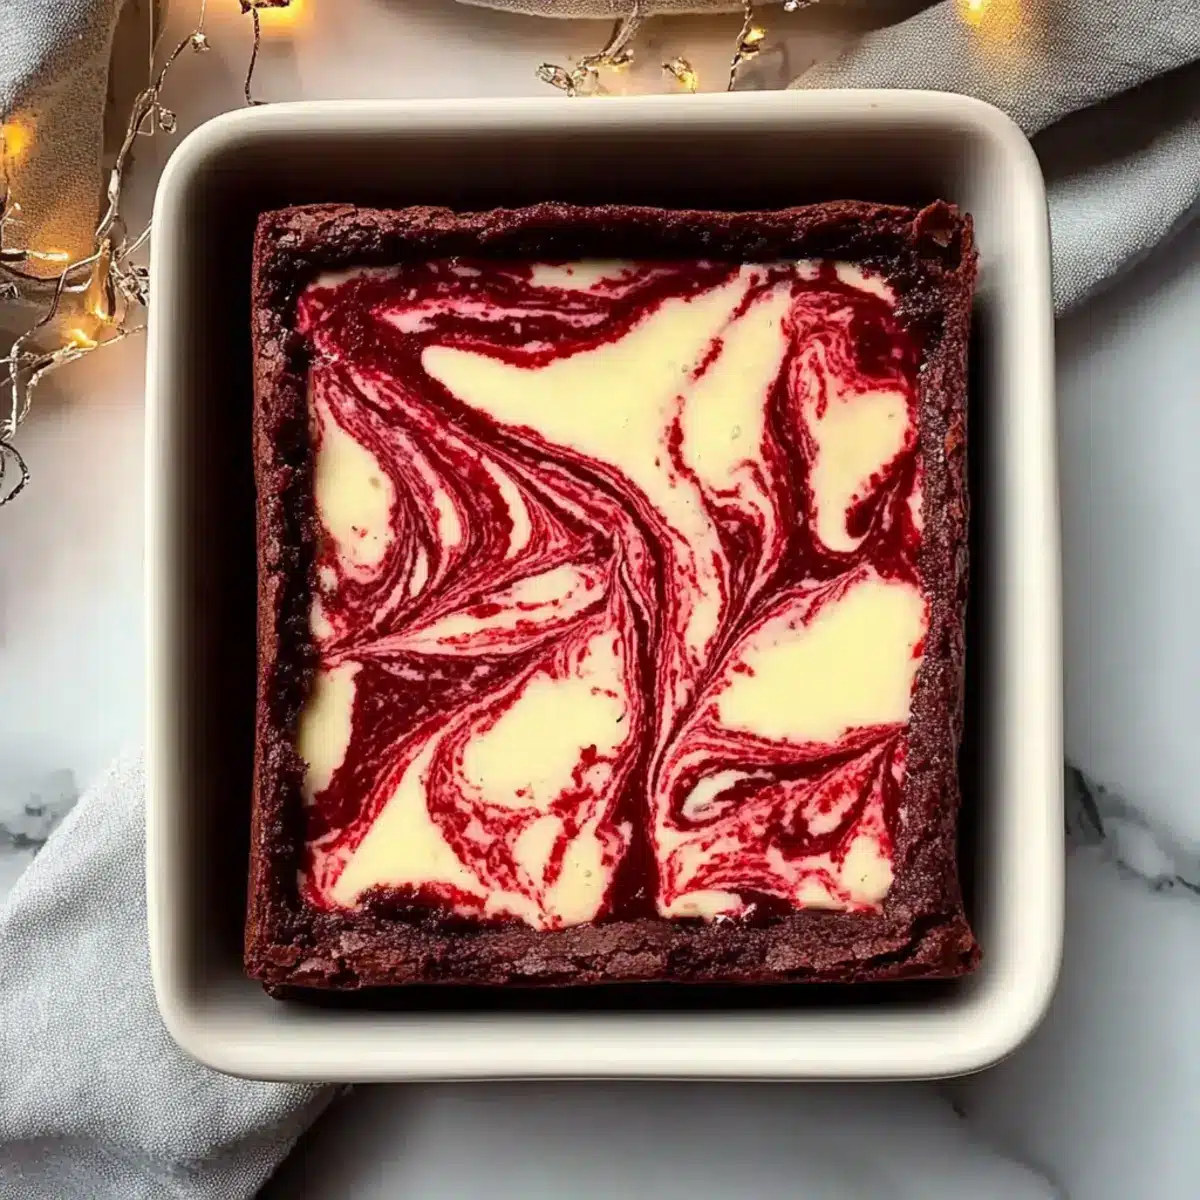
There’s nothing quite like the magic that happens when you bake, and that moment of unveiling a treat straight from the oven can feel like a mini triumph. Allow me to introduce you to a dessert that combines indulgence and nostalgia: Classic Red Velvet Brownies with Cheesecake Layer. These luscious brownies bring a beautiful, vibrant hue and a texture so fudgy, they practically melt in your mouth. With minimal effort, this recipe transforms everyday ingredients into show-stopping delights, perfect for gatherings or cozy nights in. What makes them truly irresistible is the creamy cheesecake layer that contrasts beautifully with the rich brownie base, creating a dessert experience that will leave you wanting more. Ready to impress your loved ones and satisfy your sweet tooth? Let’s dive into baking these delightful red velvet brownies that are sure to become a new favorite!
Why Are These Brownies So Special?
Decadence Delivered: These Classic Red Velvet Brownies with Cheesecake Layer elevate dessert to new heights with their striking color and indulgent flavors.
Fudgy Texture: Each bite combines a rich, fudgy brownie base with a velvety cream cheese swirl, creating a delightful contrast that keeps you coming back for more.
Easy to Make: This recipe is perfect for bakers of all skill levels, requiring minimal time and effort for maximum impact.
Versatile Delight: They’re just as fitting for special occasions or potlucks as they are for a quiet night at home—a guaranteed crowd-pleaser!
Upgrade Your Surroundings: Pair these brownies with a scoop of vanilla ice cream or a glass of cold milk for an unbeatable dessert experience, much like my Cheesecake Stuffed Strawberries or Fudgy Cherry Brownies.
Get ready to impress your friends and family with a sweet treat that looks as good as it tastes!
Red Velvet Brownies with Cheesecake Layer Ingredients
Indulge in these delightful ingredients that come together to create the perfect sweet treat!
For the Brownie Base
- Unsalted Butter – Provides richness and moisture; opt for high-quality butter for the best flavor.
- Granulated Sugar – Sweetens the brownies and helps give them structure; no alternatives needed.
- Vanilla Extract – Adds a delicious depth of flavor; keep it in for irresistibility.
- Cocoa Powder – The chocolate base that gives brownies their rich color and flavor; dark cocoa can be used for a deeper taste.
- Salt – Enhances all the flavors; don’t skip this essential ingredient!
- Red Food Coloring – Gives these brownies their signature red velvet appearance; it’s what makes them truly special.
- White Vinegar – Reacts with baking soda for moisture; apple cider vinegar is a suitable alternative.
- Eggs – Binds the ingredients and adds richness; ensure they’re at room temperature for better mixing.
- All-Purpose Flour – Provides structure to the brownies; regular flour works best here.
For the Cheesecake Layer
- Full-Fat Cream Cheese – Forms the luscious cheesecake layer; block cream cheese yields the best texture.
- Additional Sugar – Sweetens the cheesecake to balance the richness; adjust to your taste preference.
- Egg – Helps to bind the cheesecake layer; make sure it’s room temperature for optimal blending.
With these key ingredients, you’re on your way to creating mouthwatering Red Velvet Brownies with Cheesecake Layer that friends and family will rave about!
Step‑by‑Step Instructions for Classic Red Velvet Brownies with Cheesecake Layer
Step 1: Preheat Your Oven
Begin by preheating your oven to 375°F (190°C). Prepare an 8×8-inch baking dish by greasing it with butter or lining it with parchment paper to ensure easy removal after baking. This step is crucial for achieving the perfect brownie texture, so be sure you have everything ready before proceeding.
Step 2: Melt the Butter
In a medium saucepan over low heat, melt ½ cup of unsalted butter. Once melted, remove from heat and stir in 1 cup of granulated sugar until fully combined. The mixture should look shiny and homogenous. This process not only melds the flavors but also helps create that fudgy texture we love in these Classic Red Velvet Brownies.
Step 3: Add Cocoa and Color
To your butter and sugar mixture, add 1 teaspoon of vanilla extract, ¼ cup of cocoa powder, ½ teaspoon of salt, and a generous 1 tablespoon of red food coloring. Finally, add 1 teaspoon of white vinegar. Stir these ingredients together until you achieve a rich, deep burgundy color that signals the start of your delicious brownie creation.
Step 4: Incorporate the Eggs
In a separate bowl, beat 2 large eggs that are at room temperature until they are slightly frothy. Now, add the beaten eggs to your chocolate mix and stir vigorously until everything is well blended and smooth. This will help your brownies rise beautifully while maintaining that moist, fudgy texture characteristic of red velvet treats.
Step 5: Add Flour
Gently fold in 1 cup of all-purpose flour into the mixture. Be careful not to overmix—stop as soon as the flour is incorporated. Reserve ¼ cup of the brownie batter for later, as this will create a stunning swirl with the cheesecake layer. Your brownie base should be thick and luscious at this point.
Step 6: Prepare the Cheesecake Layer
In a separate bowl, beat together 8 ounces of softened full-fat cream cheese and ½ cup of additional sugar until smooth and creamy. Add 1 egg (also at room temperature) and 1 teaspoon of vanilla extract. Mix until you achieve a velvety consistency, making sure all ingredients are fully blended for the cheesecake layer to be rich and indulgent.
Step 7: Layer the Mixture
Spread the brownie batter evenly across the bottom of your prepared baking dish, creating a solid base. Next, pour the cheesecake mixture over the brownie layer, smoothing it out gently with a spatula to ensure an even distribution. Then, use the reserved brownie batter to dollop on top of the cheesecake layer.
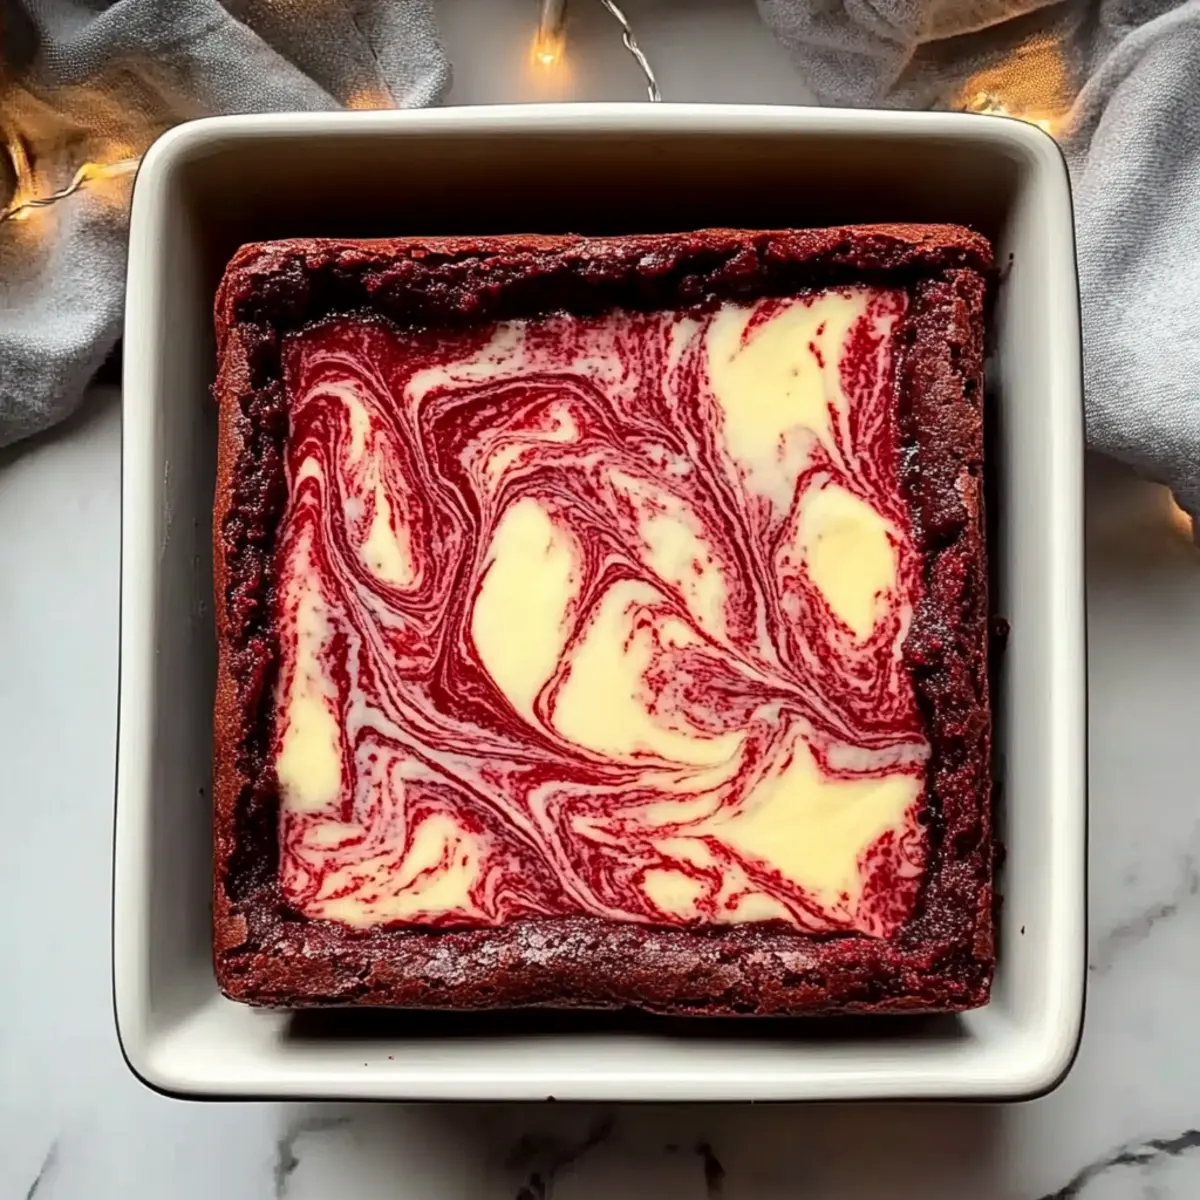
Step 8: Swirl Together
With a knife or a skewer, gently swirl the brownie batter into the cheesecake layer. Aim for a marbled effect but avoid over-swirling, which can blend the layers too much. This beautiful design will create tantalizing visuals and flavor contrasts when baked, drawing everyone in for a taste of your Classic Red Velvet Brownies with Cheesecake Layer.
Step 9: Bake Until Just Right
Place the baking dish in your preheated oven and bake for 30-35 minutes. Look for the top to be set while the center may still jiggle slightly when you gently shake the pan. A toothpick inserted in the center should come out with moist crumbs, indicating that your brownies are perfectly baked without being dry.
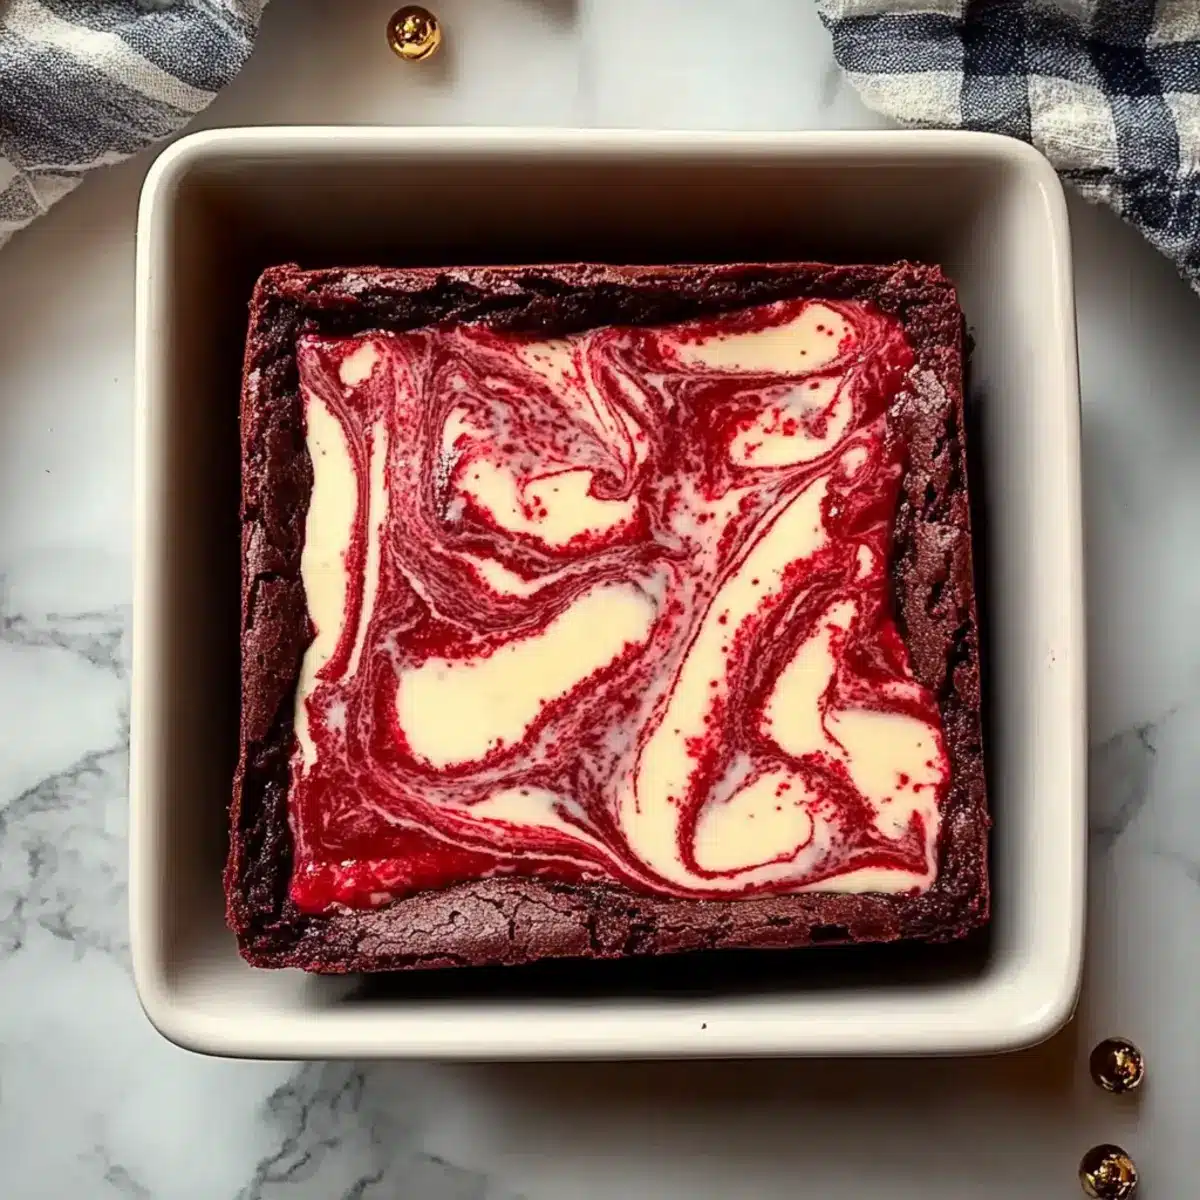
Step 10: Cool and Serve
Once baked, remove the brownies from the oven and let them cool in the pan for 1-2 hours. For the best results, refrigerate them for at least an hour before cutting into squares. This chilling time will help them firm up and make slicing much easier, leaving you with clean, decadent squares of red velvet goodness to enjoy!
Expert Tips for Red Velvet Brownies
-
Room Temperature Ingredients: Ensure eggs and cream cheese are at room temperature to achieve a smooth, cohesive batter for your Red Velvet Brownies with Cheesecake Layer.
-
Avoid Overmixing: Mix until ingredients are just combined; overmixing can lead to cakey brownies instead of the desired fudgy texture.
-
Cool Completely: Let the brownies cool entirely in the pan before slicing. This will result in cleaner edges and a more appealing presentation.
-
Toothpick Test: Check for doneness by inserting a toothpick in the center; it should come out with a few moist crumbs, not wet batter.
-
Storage for Freshness: For optimal flavor, store in an airtight container in the fridge up to 5 days, allowing the flavors to meld for a richer taste.
Storage Tips for Red Velvet Brownies with Cheesecake Layer
Fridge: Store cut brownies in an airtight container for up to 5 days; they’ll often taste even better after a day or two as the flavors meld beautifully.
Freezer: Freeze individual squares wrapped tightly in plastic wrap and placed in a freezer-safe container for up to 3 months; thaw overnight in the fridge for the best texture.
Reheating: If you prefer them warmed, microwave a square for about 15-20 seconds until just heated; this enhances the fudginess of the brownies and the creaminess of the cheesecake layer.
Red Velvet Brownies with Cheesecake Layer Variations
Feel free to get creative and customize your Red Velvet Brownies for a unique twist that suits your taste!
- Dairy-Free: Substitute cream cheese with a plant-based cream cheese for a dairy-free version without compromising on flavor.
- Gluten-Free: Swap all-purpose flour for a 1:1 gluten-free baking blend and ensure all other ingredients are gluten-free for a safe treat.
- Chocolate Lovers: Omit red food coloring and add an extra 2 tablespoons of cocoa powder for a rich chocolate brownie instead.
- Nutty Twist: Incorporate chopped nuts, such as pecans or walnuts, into the brownie batter for added texture and flavor.
- Zesty Surprise: Add a teaspoon of orange or lemon zest to the cheesecake layer for a refreshing citrus kick that brightens the dessert.
- Spicy Kick: Sprinkle in a pinch of cayenne or chili powder to the brownie mix for a surprising, gentle heat that contrasts beautifully with the sweetness.
- Extra Crumbly: Use crumbled cookie pieces, such as Oreo or graham cracker, within the cheesecake layer for added crunch and flavor complexity.
- Decadent Sweets: Layer some chocolate or caramel sauce between the brownie and cheesecake layers for an ultra-indulgent experience.
With these variations, your Red Velvet Brownies with Cheesecake Layer can be tailored to suit every craving, much like my Chicken with Buttered Noodles that can be easily customized or the delightful Cookie Butter Cheesecake that always satisfies! Get ready to enjoy baking with a personal twist!
What to Serve with Classic Red Velvet Brownies with Cheesecake Layer
Treat your loved ones to a delightful spread that perfectly complements the luxurious flavors of these brownies.
-
Vanilla Ice Cream: The creamy coldness of vanilla ice cream contrasts beautifully with the warm, fudgy brownies, enhancing every bite.
-
Fresh Berries: Add a burst of freshness with strawberries, raspberries, or blueberries to balance the rich sweetness of the brownies. The acidity of the berries creates a refreshing contrast that elevates the dessert experience.
-
Coffee or Espresso: A warm cup of coffee or a shot of espresso can accentuate the rich flavors of chocolate and cream cheese, making it an indulgent treat.
-
Chocolate Milkshake: For the ultimate indulgence, pair your brownies with a thick chocolate milkshake; the combination is a sweet tooth’s dream come true!
-
Whipped Cream: A dollop of freshly whipped cream adds an airy lightness to each bite, making the decadent brownies feel even more special.
-
Mint Tea: Serve with soothing mint tea for a refreshing palate cleanser, helping to balance the sweetness and leave you craving just one more bite.
-
Chocolate Sauce Drizzle: For extra decadence, drizzle warm chocolate sauce on top; it’s the cherry on top for this rich dessert.
Dive into these pairings to create an unforgettable dessert experience that your friends and family will rave about!
Make Ahead Options
These Classic Red Velvet Brownies with Cheesecake Layer are perfect for busy home cooks looking to save time without sacrificing flavor! You can prepare the brownie base up to 24 hours in advance; simply mix and spread it in the baking dish, then cover tightly with plastic wrap and refrigerate. The cheesecake layer can also be made ahead and stored in the fridge for up to 2 days; just keep it in an airtight container. When you’re ready to bake, spread the cheesecake mixture over the brownie batter, dollop the reserved brownie batter on top, and swirl to your heart’s content. This allows you to enjoy fresh, decadent brownies with minimal effort on the day of serving!
Red Velvet Brownies with Cheesecake Layer Recipe FAQs
How should I choose the right butter for this recipe?
Absolutely! For the best flavor, I recommend using unsalted butter, like Kerrygold. This allows you to control the saltiness of your brownies. Make sure it’s softened for easy blending with sugar.
How can I store leftover brownies?
Very! After cutting your brownies, store them in an airtight container in the refrigerator for up to 5 days. They may even taste better after a day or two, as the flavors meld together beautifully.
Can I freeze the brownies, and if so, how?
Yes, definitely! To freeze, wrap each square tightly in plastic wrap, then place them in a freezer-safe container. They can be stored for up to 3 months. To enjoy, simply thaw them overnight in the fridge for the best texture.
What if my cheesecake layer isn’t smooth?
No worries! If your cheesecake layer appears lumpy, it might be because the cream cheese wasn’t softened enough. Make sure to let it sit at room temperature for about 30 minutes before mixing. Additionally, beat it well with sugar and the egg until you achieve a creamy consistency.
Are there any dietary considerations for allergies?
Definitely! Keep in mind that these delicious brownies contain common allergens like eggs and dairy. If you’re making them for someone with a specific allergy, consider using dairy-free cream cheese and egg substitutes like flaxseed meal or applesauce. Always double-check ingredient labels for safety!
Decadent Red Velvet Brownies with Cheesecake Layer Delight
Ingredients
Equipment
Method
- Preheat your oven to 375°F (190°C). Prepare an 8x8-inch baking dish by greasing it with butter or lining it with parchment paper.
- Melt ½ cup of unsalted butter in a medium saucepan over low heat. Stir in 1 cup of granulated sugar until fully combined.
- Add 1 teaspoon of vanilla extract, ¼ cup of cocoa powder, ½ teaspoon of salt, 1 tablespoon of red food coloring, and 1 teaspoon of white vinegar to the mixture. Stir until rich and deep burgundy.
- Beat 2 large eggs in a separate bowl until slightly frothy, then add to the brownie mixture and stir until smooth.
- Gently fold in 1 cup of all-purpose flour, being careful not to overmix. Reserve ¼ cup of brownie batter for later.
- In another bowl, beat together 8 ounces of softened cream cheese and ½ cup of additional sugar until smooth. Add 1 egg and 1 teaspoon of vanilla extract, mixing until velvety.
- Spread the brownie batter evenly in the prepared baking dish. Pour the cheesecake mixture over it, smoothing it out.
- Dollop the reserved brownie batter on top and swirl together gently with a knife.
- Bake for 30-35 minutes until the top is set. A toothpick inserted in the center should come out with moist crumbs.
- Cool in the pan for 1-2 hours, then refrigerate for at least an hour before slicing.
Leave a Reply