
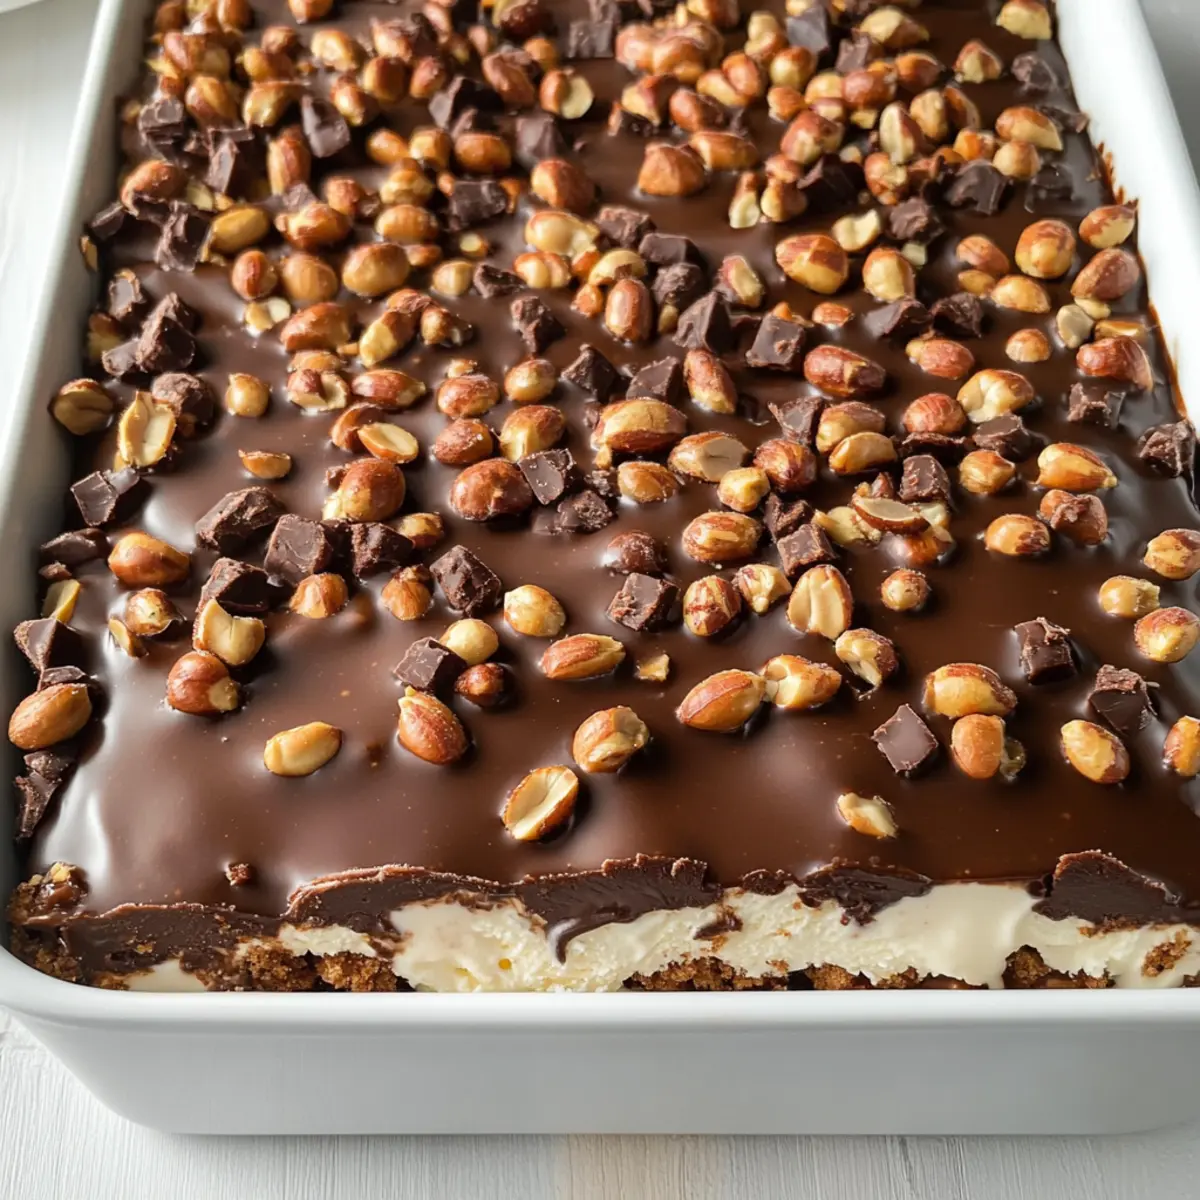
There’s something magical about desserts that don’t ask for your oven’s attention. When I first tried making the Buster Bar Ice Cream Cake, I was instantly transported back to summer evenings, savoring that iconic treat. This delightful no-bake dessert layers smooth vanilla ice cream, rich fudge, and crunchy red-skinned peanuts, capturing the joy of creating something special without the fuss. With just five ingredients, this easy indulgence is perfect for gatherings and can be customized to suit your taste buds—think different ice cream flavors or fun toppings! Not only is it a crowd-pleaser, but it’s also a fantastic way to beat the heat without spending hours in the kitchen. Curious how to whip up this creamy delight for your next celebration? Let’s dive into the recipe!
Why is this cake a must-try?
Simplicity at Its Best: This no-bake Buster Bar Ice Cream Cake is super easy to make, with only five ingredients.
Customizable Options: Feel free to swap out ice cream flavors or add toppings like caramel sauce for a twist on the classic.
Great for Gatherings: Perfect for summer parties or family gatherings, everyone will love this nostalgic treat.
Rich and Indulgent: The combination of smooth ice cream, gooey fudge, and crunchy peanuts creates layers of flavor and texture that are downright irresistible.
Time-Saving Delight: With minimal prep time, you can whip this up in no time and spend more moments enjoying it with loved ones.
Check out our Coconut Cream Pancakes for another easy dessert idea!
Buster Bar Ice Cream Cake Ingredients
For the Base Layer
- Chocolate Graham Crackers – The foundation of this cake; you can also use crushed Oreos for a deeper chocolate flavor.
For the Ice Cream Layers
- Vanilla Ice Cream – This creamy core brings the cake to life; feel free to try chocolate or strawberry for a fun twist.
For the Topping and Mix-Ins
- Hot Fudge Sauce – Adds luscious sweetness; homemade or store-bought works well for a quick no-bake treat.
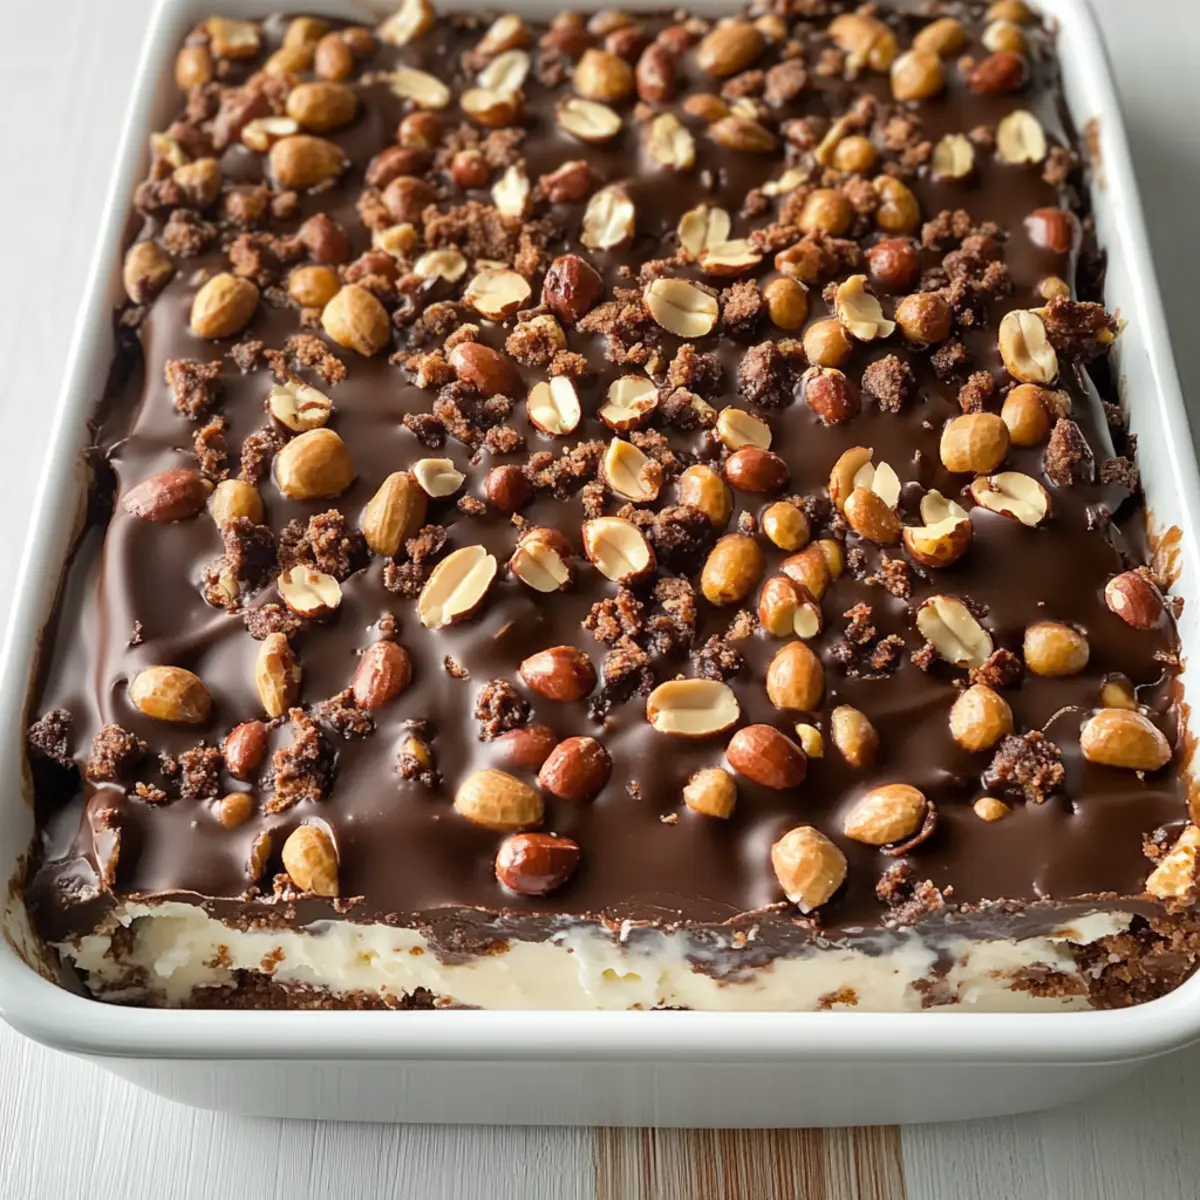
- Red Skin Peanuts – They provide satisfying crunch and nutty flavor; almonds or walnuts make great substitutes if you’re looking for a change.
- Magic Shell Chocolate Coating – Creates an impressive hard shell; you can use melted chocolate mixed with coconut oil as an alternate topping.
Step‑by‑Step Instructions for Buster Bar Ice Cream Cake
Step 1: Soften the Ice Cream
Begin by taking your vanilla ice cream out of the freezer, allowing it to soften at room temperature for about 10-15 minutes. This makes it easier to spread later. You’re aiming for a creamy consistency that’s just soft enough to work with, without melting. Keep an eye on it, so it doesn’t become overly runny.
Step 2: Prepare the Base Layer
Line the bottom of a 9×13 inch baking dish with chocolate graham crackers, making sure to adjust and fit them snugly for complete coverage. If needed, break some crackers into pieces to fill gaps. This will serve as the sturdy base for your Buster Bar Ice Cream Cake, providing texture and flavor that harmonize beautifully with the layers above.
Step 3: Add the Ice Cream Layer
Once your ice cream is softened, scoop half of it over the cracker layer. Use a spatula or the back of a spoon to spread it evenly across the graham crackers. Aim for a smooth, even surface that reaches all corners of the dish. This layer will act as a cozy cushion, setting the stage for that delicious fudge.
Step 4: Drizzle the Hot Fudge Sauce
Take your hot fudge sauce and pour it gently over the ice cream layer. Use a spatula to spread it thinly and evenly across the surface. Let it pool slightly at the edges but ensure you maintain a thin, even layer. The chocolate should glisten, enticing you with its rich aroma as it begins melding with the ice cream beneath.
Step 5: Sprinkle the Peanuts
Next, sprinkle half of the red skin peanuts over the fudge layer, ensuring an even distribution. This adds an irresistible crunch that perfectly complements the smoothness of the fudge and ice cream. Press them down slightly to help them adhere to the layers beneath, creating a unified texture that will be delightful in every bite.
Step 6: Smooth the Remaining Ice Cream
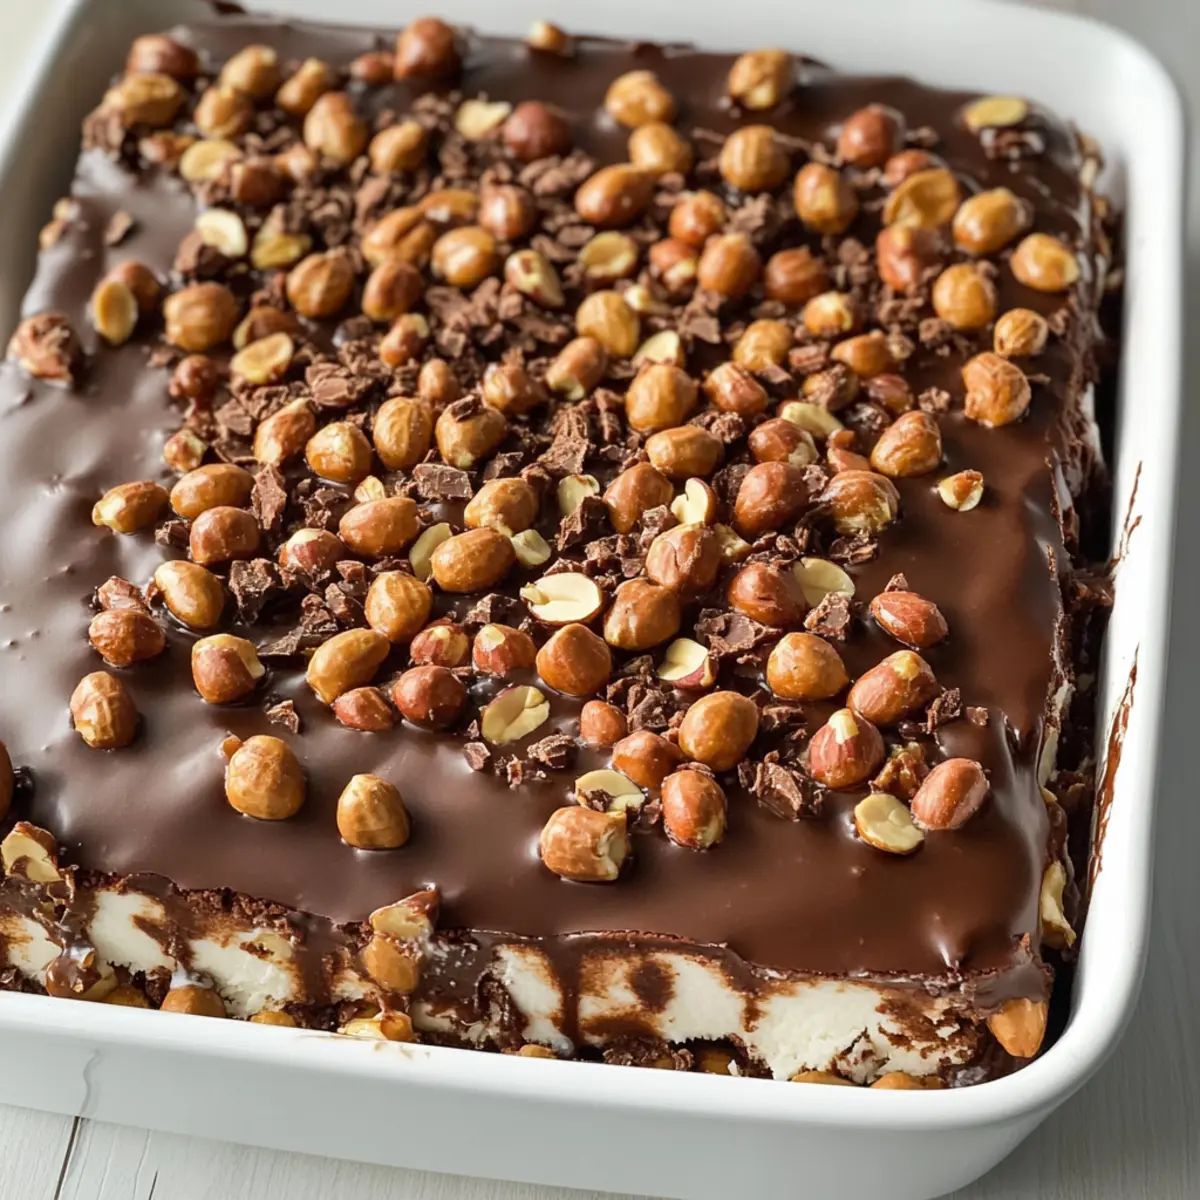
Scoop the remaining half of your softened vanilla ice cream and spread it gently over the peanuts, sealing everything in. Use your spatula to smooth the top layer down, aiming for a flat and even surface that covers the peanuts completely. This layer keeps the flavor profile balanced, creating that irresistible creamy texture throughout the Buster Bar Ice Cream Cake.
Step 7: Final Toppings
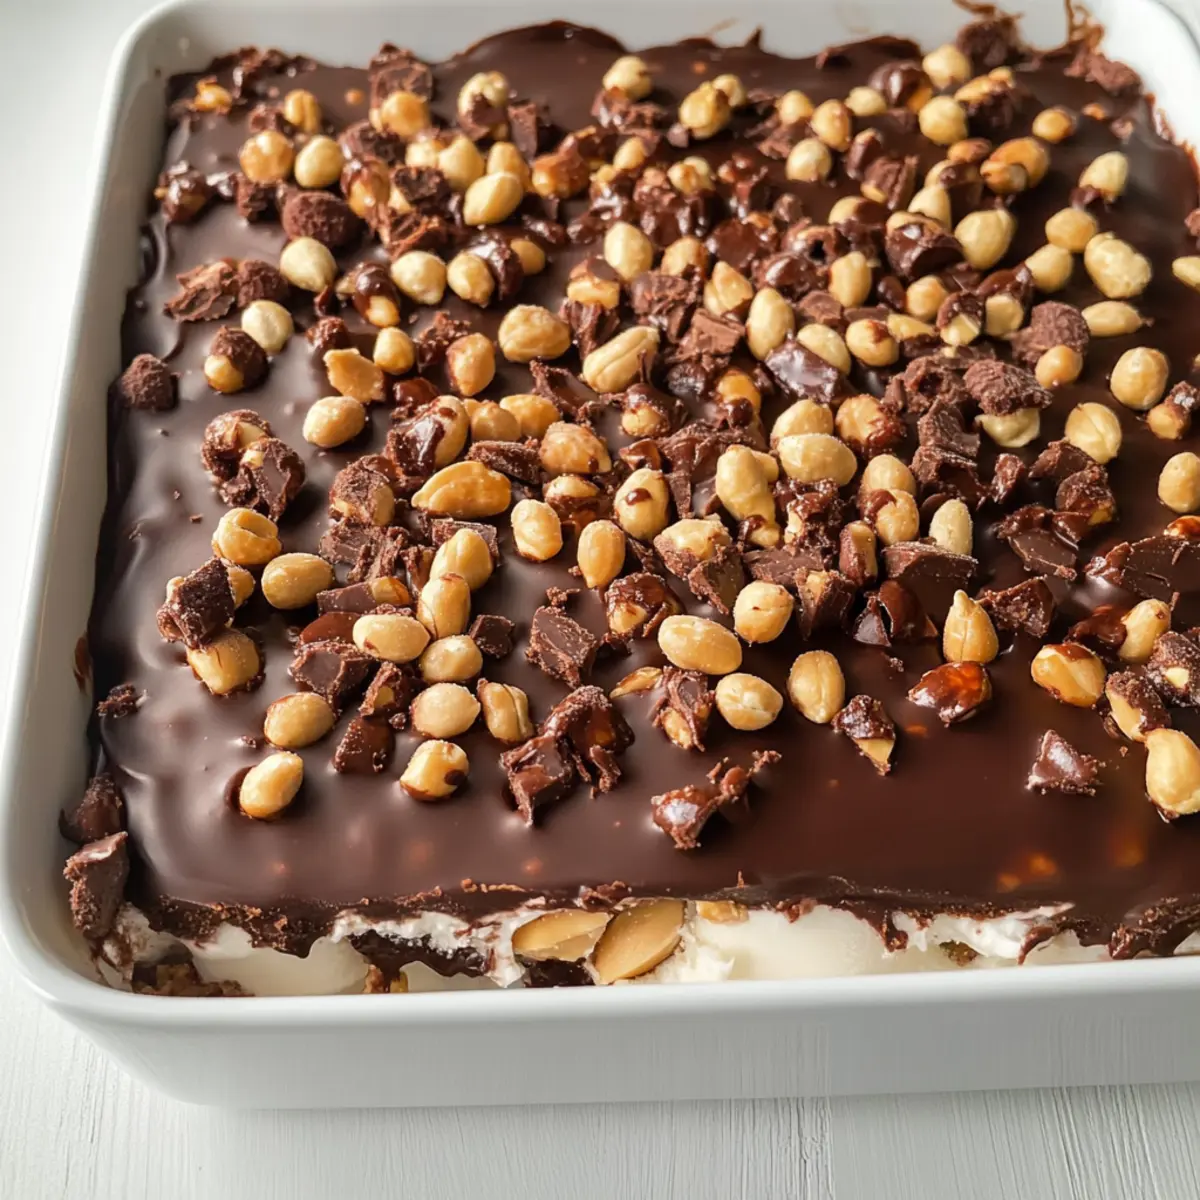
Sprinkle the remaining peanuts on top of the last ice cream layer for an appealing finish. Drizzle the Magic Shell chocolate coating generously over everything, ensuring it reaches the edges. This creates a beautiful hard chocolate shell that will crack slightly when served, heightening the anticipation for the luscious layers hidden below.
Step 8: Freeze Until Firm
Cover the dish with plastic wrap or a lid, then place it in the freezer for at least 3 hours, allowing it to firm up completely. During this time, the flavors will meld beautifully, and the texture will be ideal for slicing. Once firm, it will hold its shape, making it perfect for serving at any gathering or warm summer day.
Step 9: Slice and Serve
When you’re ready to serve the Buster Bar Ice Cream Cake, remove it from the freezer and let it sit for a couple of minutes for easier slicing. Use a sharp knife to cut it into squares or rectangles. Each slice should reveal the beautiful layers and textures, offering a delightful treat that is sure to impress your family and friends!
How to Store and Freeze Buster Bar Ice Cream Cake
Fridge: Store leftovers in an airtight container for up to 3 days, if you anticipate eating it soon.
Freezer: For long-term storage, wrap the Buster Bar Ice Cream Cake tightly in plastic wrap and foil, ensuring it’s well-covered to prevent freezer burn. It’s best enjoyed within 1-2 months.
Reheating: There’s no need to reheat this dessert! Simply remove it from the freezer, let it sit at room temperature for a few minutes for easier slicing, and serve chilled.
Slice and Serve: Cut into squares right from the freezer, and serve immediately for a refreshing treat that captures all the delightful textures and flavors of this ice cream cake.
Expert Tips for Buster Bar Ice Cream Cake
-
Soften Just Right: Allow the vanilla ice cream to soften until spreadable but not too melted. This ensures smooth layering without creating a mess.
-
Proper Layering: For the base, ensure chocolate graham crackers are tightly packed to create a solid foundation. Gaps can lead to a less sturdy cake.
-
Chill Time Is Key: Freeze the cake for at least 3 hours to achieve the perfect sliceability. Rushing this step may result in a messy serve!
-
Garnish for Appeal: Consider adding a sprinkle of extra peanuts or a drizzle of fudge right before serving for an eye-catching presentation.
-
Storage Savvy: Wrap the cake tightly in plastic wrap to prevent freezer burn, allowing you to enjoy your Buster Bar Ice Cream Cake for longer without losing flavor.
Make Ahead Options
Buster Bar Ice Cream Cake is a fantastic choice for meal prep, allowing you to enjoy this decadent dessert with minimal last-minute effort! You can prepare the entire cake up to 24 hours in advance by assembling it as instructed and storing it in the freezer. To maintain its delicious quality, wrap the baking dish tightly with plastic wrap to prevent freezer burn. When you’re ready to serve, simply slice the cake straight from the freezer, letting it sit for a couple of minutes for easier cutting. This way, you’ll have a crowd-pleasing treat ready to go, perfect for those busy weeknights or spontaneous gatherings!
Buster Bar Ice Cream Cake Variations
Feel free to let your creativity run wild with this delightful cake! Explore these tasty options to personalize your dessert experience.
-
Chocolate Ice Cream: Swap out vanilla ice cream for chocolate to intensify the flavor and offer a rich, decadent twist.
-
Nut-Free: Replace red skin peanuts with sunflower seeds or omit them entirely for a nut-free version that everyone can enjoy.
-
Caramel Drizzle: Add a layer of caramel sauce between the ice cream layers for an extra sweet surprise that complements the chocolate perfectly.
-
Seasonal Flavors: Experiment with ice cream flavors like pumpkin spice in the fall or peppermint during the holidays for a festive touch.
-
Fruit Medley: Layer in some chopped strawberries or bananas to brighten up the cake, adding both color and freshness as a fruity treat.
-
Spicy Kick: For a unique twist, add crushed red chile flakes to your chocolate coating for a delightful sweet and spicy contrast.
-
Dairy-Free Option: Use coconut or almond milk ice cream in place of vanilla ice cream for a delicious dairy-free alternative that everyone can enjoy.
And for more amazing desserts, don’t miss out on our scrumptious Heaven Earth Cake or those delightful Coconut Cream Pancakes!
What to Serve with Buster Bar Ice Cream Cake
Whether you’re hosting a summer gathering or celebrating a special occasion, complementing your dessert with the right sides makes all the difference.
- Fresh Fruit Salad: A mix of sweet berries and citrus brightens up the meal, offering a refreshing contrast to the richness of the ice cream cake.
- Grilled Peaches: The warm, caramelized sweetness of grilled peaches pairs beautifully with the cold, creamy layers of the cake for an elevated experience.
- Chocolate Chip Cookies: Serve alongside for those chocolate lovers who crave a chewy and crunchy texture to balance out the soft ice cream layers.
- Whipped Cream: A dollop of freshly whipped cream adds lightness and enhances the dessert’s sweetness, making each bite extra delightful.
- Iced Coffee: This refreshing beverage cools you down while the caffeine kick pairs perfectly with the indulgence of the Buster Bar Ice Cream Cake.
- Mini Banana Splits: Enhance your dessert table with mini banana splits topped with nuts and chocolate sauce, echoing the flavors of the Buster Bar.
- Mango Sorbet: A scoop of tangy mango sorbet cleanses the palate and brings a tropical twist to your dessert spread.
- Chocolate Milkshake: A creamy, decadent milkshake mirrors the ice cream’s essence, creating an unforgettably sweet pairing that’s sure to please!
Buster Bar Ice Cream Cake Recipe FAQs
How do I choose ripe ingredients for my Buster Bar Ice Cream Cake?
Absolutely! For the ice cream, opt for a brand that feels creamy and has a good reputation for taste. When selecting chocolate graham crackers, look for ones that are intact and not cracked, ensuring they will hold up well as the base layer. If you’re using nuts, make sure they are fresh—check for any dark spots, which can indicate they’re past their prime.
How should I store my Buster Bar Ice Cream Cake, and how long will it last?
The Buster Bar Ice Cream Cake can be stored in the freezer. Be sure to wrap it tightly in plastic wrap or foil to avoid freezer burn, allowing you to enjoy the layers for up to 1-2 months. If you plan to consume it within a few days, you can keep it in an airtight container in the refrigerator for up to 3 days. Just remember to re-cover it after each serving!
Can I freeze the Buster Bar Ice Cream Cake?
Very! It’s wonderfully freezer-friendly. After preparing the cake, cover it tightly with plastic wrap and aluminum foil to shield it from the cold. You can freeze it for up to 1-2 months. When you’re ready to enjoy it, simply remove it from the freezer and let it sit at room temperature for a couple of minutes before slicing. This makes the cake easier to cut while keeping all the textures intact.
What should I do if my ice cream melts too much while assembling?
If you find your ice cream has melted more than intended, don’t worry! Just place it back into the freezer for about 30 minutes to firm up again. Once it’s at a spreadable consistency, resume the layering process. For best results, try to soften the ice cream only for 10-15 minutes on the counter next time, so it’s easier to work with without becoming too soft.
Are there any dietary considerations I should be aware of for this recipe?
Definitely! If you’re catering to dietary restrictions, you can easily make this Buster Bar Ice Cream Cake gluten-free by using gluten-free chocolate graham crackers and checking the ingredients on the hot fudge sauce and ice cream. Moreover, replace dairy ice cream with a dairy-free variety if you’re catering to lactose intolerance or vegan preferences. Always double-check for any nut allergies when using red skin peanuts or substitute with seeds if necessary!
Irresistible Buster Bar Ice Cream Cake for Easy Summer Treats
Ingredients
Equipment
Method
- Soften the vanilla ice cream at room temperature for 10-15 minutes.
- Line the bottom of a 9x13 inch baking dish with chocolate graham crackers.
- Scoop half of the softened ice cream over the cracker layer and spread evenly.
- Drizzle the hot fudge sauce over the ice cream layer.
- Sprinkle half of the red skin peanuts over the fudge layer.
- Smooth the remaining half of the vanilla ice cream over the peanuts.
- Sprinkle the remaining peanuts on top and drizzle with Magic Shell chocolate coating.
- Cover and freeze for at least 3 hours until firm.
- Slice into squares and serve immediately.
Leave a Reply