
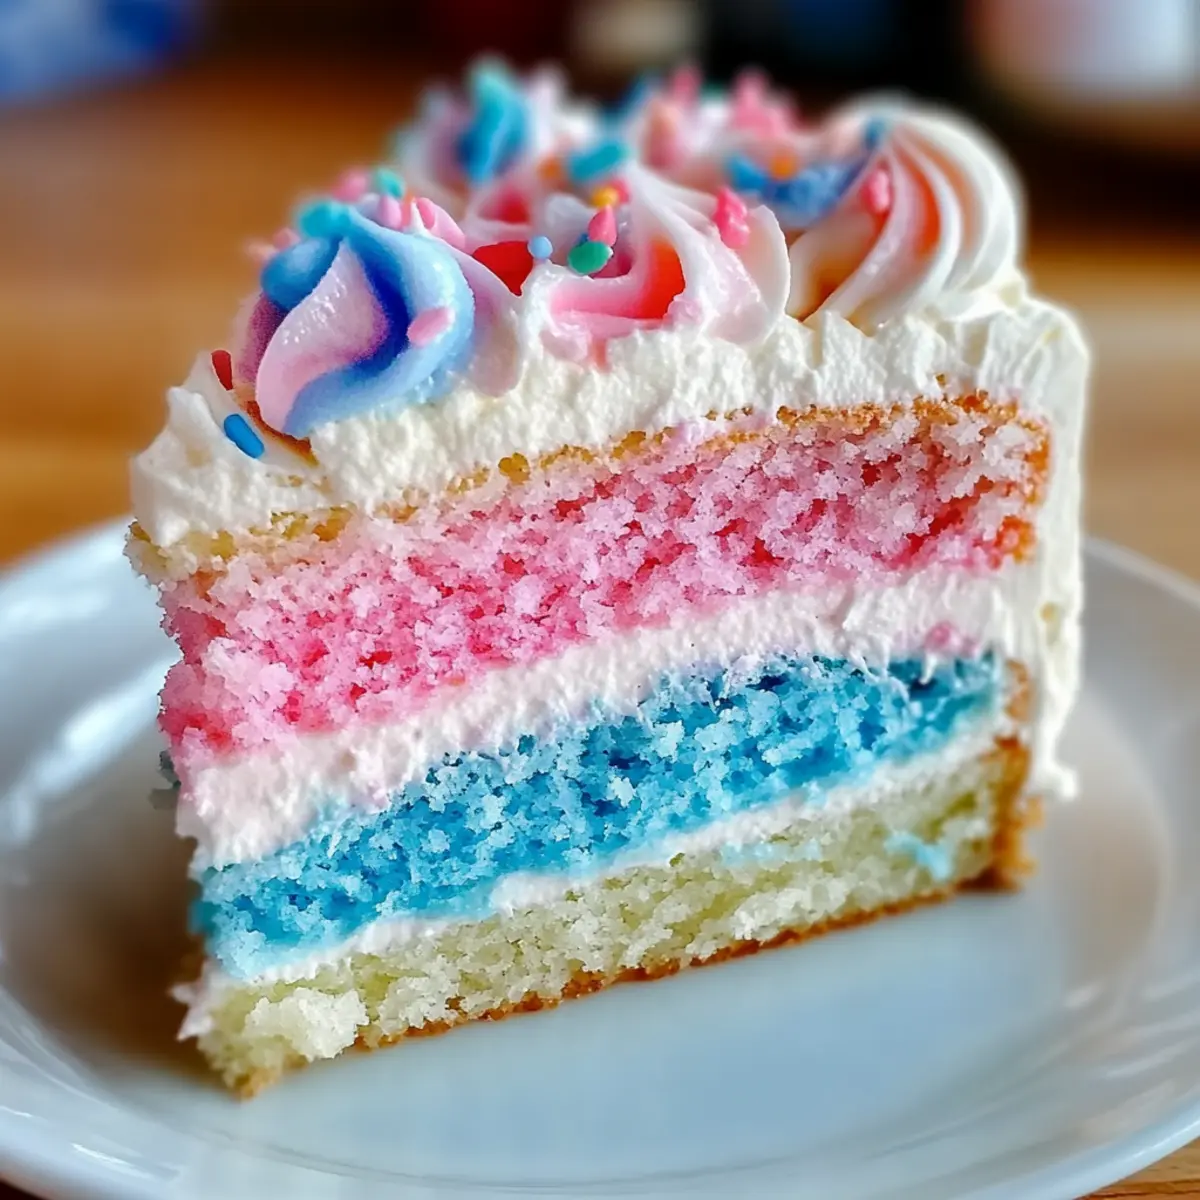
The moment I saw a birthday party with that towering, colorful cake, I knew I had found my next baking adventure. Introducing my Best Cotton Candy Cake Recipe, a delightful twist on classic celebrations that effortlessly transports you back to carefree carnival days. With fluffy layers infused with cotton candy flavor and a swirl of pastel buttercream, this whimsical dessert is not just eye-catching but also incredibly simple to make. One of the best perks? It’s a guaranteed crowd-pleaser that both kids and adults will love, and you can customize it to suit various dietary preferences! Whether you’re hosting a birthday bash or just looking to add a little magic to your day, this cake promises to brighten any occasion. Curious about how to make this enchanting treat? Let’s dive into the recipe!
Why is this cake a must-try?
Nostalgic Delight: This Cotton Candy Cake Recipe brings back the cherished memories of childhood carnivals, making every slice a trip down memory lane.
Easy to Create: With straightforward steps, anyone can whip up this whimsical cake without any professional baking skills.
Customization Galore: It’s perfectly suited for various dietary needs; simply swap ingredients to delight guests of all preferences.
Crowd-Pleasing: Whether for birthdays, parties, or just a delightful treat, this cake is sure to impress guests of all ages. Pair it with a Strawberry Shortcake Ice for a fun twist!
Visual Impact: Its vibrant colors and eye-catching decoration make it not just a cake, but a showstopper on any dessert table.
Versatile Variations: Want to try something different? Transform it into a Cotton Candy Drip Cake or mini cupcakes for an exciting twist!
Cotton Candy Cake Ingredients
For the Cake
• All-Purpose Flour – Provides structure to the cake; can substitute with a gluten-free flour blend.
• Sugar – Sweetens the cake; brown or coconut sugar can be used for a different flavor profile.
• Baking Powder – Acts as a leavening agent; ensure it’s fresh for best results.
• Salt – Enhances overall flavor; a pinch goes a long way!
• Butter – Gives richness and moisture; dairy-free butter works for a vegan version.
• Milk – Adds moisture; swap whole milk for almond milk for a dairy-free option.
• Vanilla Extract – Offers a rich flavor base; pure vanilla extract is recommended for deeper taste.
• Cotton Candy Extract – Infuses the cake with its signature flavor; adjust to taste or substitute with bubblegum extract.
• Eggs – Contributes to structure and moisture; use room temperature eggs for a lighter cake.
For the Frosting
• Powdered Sugar – Sweetens and thickens the frosting; consider alternative sweeteners for a low-sugar option.
• Heavy Cream – Adds creaminess; can be replaced with coconut cream for a non-dairy alternative.
• Food Coloring – Used to achieve vibrant frosting colors (pink and blue); gel colors are best for intense hues.
For Decoration
• Cotton Candy – Freshly added for decoration just before serving to maintain its fluffiness.
• Sprinkles and Edible Glitter – Optional decorations that enhance the visual appeal of your festive cake.
With this Cotton Candy Cake Recipe, you’ll not only create a delightful dessert but also evoke the fun and joy of celebrations past!
Step‑by‑Step Instructions for Cotton Candy Cake Recipe
Step 1: Preheat the Oven
Begin by preheating your oven to 350°F (175°C). While it warms up, grab three 8-inch round cake pans and generously grease them with butter, then dust with flour to prevent sticking. This preparation ensures that your Cotton Candy Cake bakes evenly and releases easily.
Step 2: Mix Dry Ingredients
In a large mixing bowl, whisk together 2 ½ cups of all-purpose flour, 1 ½ cups of sugar, 1 tablespoon of baking powder, and a pinch of salt. Make sure the ingredients are well-combined, as this dry mixture forms the foundation of your cake’s structure. This also helps to evenly distribute the leavening agent for a fluffy texture.
Step 3: Combine Wet Ingredients
Next, add ½ cup of softened butter, 1 cup of milk, 2 teaspoons of vanilla extract, and 2 teaspoons of cotton candy extract to the bowl with your dry ingredients. Mix these together using an electric mixer on medium speed for about 2–3 minutes until the batter becomes creamy and well-blended, with a smooth consistency ready for the eggs.
Step 4: Incorporate Eggs
Now, crack in 4 large eggs, one at a time, mixing on low speed after each addition. This step should take about 1–2 minutes. The batter will transform into a glossy and rich mixture. Ensuring that the eggs are at room temperature is crucial for a lighter Cotton Candy Cake.
Step 5: Divide and Bake
Divide the batter evenly among the three prepared cake pans, smoothing the tops with a spatula for a uniform layer. Place the pans in the preheated oven and bake for 25–30 minutes. Keep an eye out; the cakes are ready when a toothpick inserted into the center comes out clean and the tops are lightly golden.
Step 6: Cool the Cakes
Once baked, remove the cakes from the oven and let them cool in the pans for about 10 minutes. Then, carefully transfer them to wire racks to cool completely. Allowing the cakes to cool fully is essential to prevent the frosting from melting later on when you assemble your Cotton Candy Cake.
Step 7: Prepare Frosting
While the cakes cool, prepare the frosting by beating 1 cup of softened butter in a mixing bowl until fluffy. Gradually add 4 cups of powdered sugar, 2 tablespoons of heavy cream, and 1 teaspoon of vanilla extract. Beat on medium speed until the frosting is smooth and creamy, achieving the perfect consistency for spreading.
Step 8: Color the Frosting
Divide the frosting into two bowls for coloring. Add pink food coloring to one bowl and blue food coloring to the other, mixing until you reach the desired vibrant shades. This colorful frosting will beautifully represent the whimsical nature of your Cotton Candy Cake.
Step 9: Layer and Frost
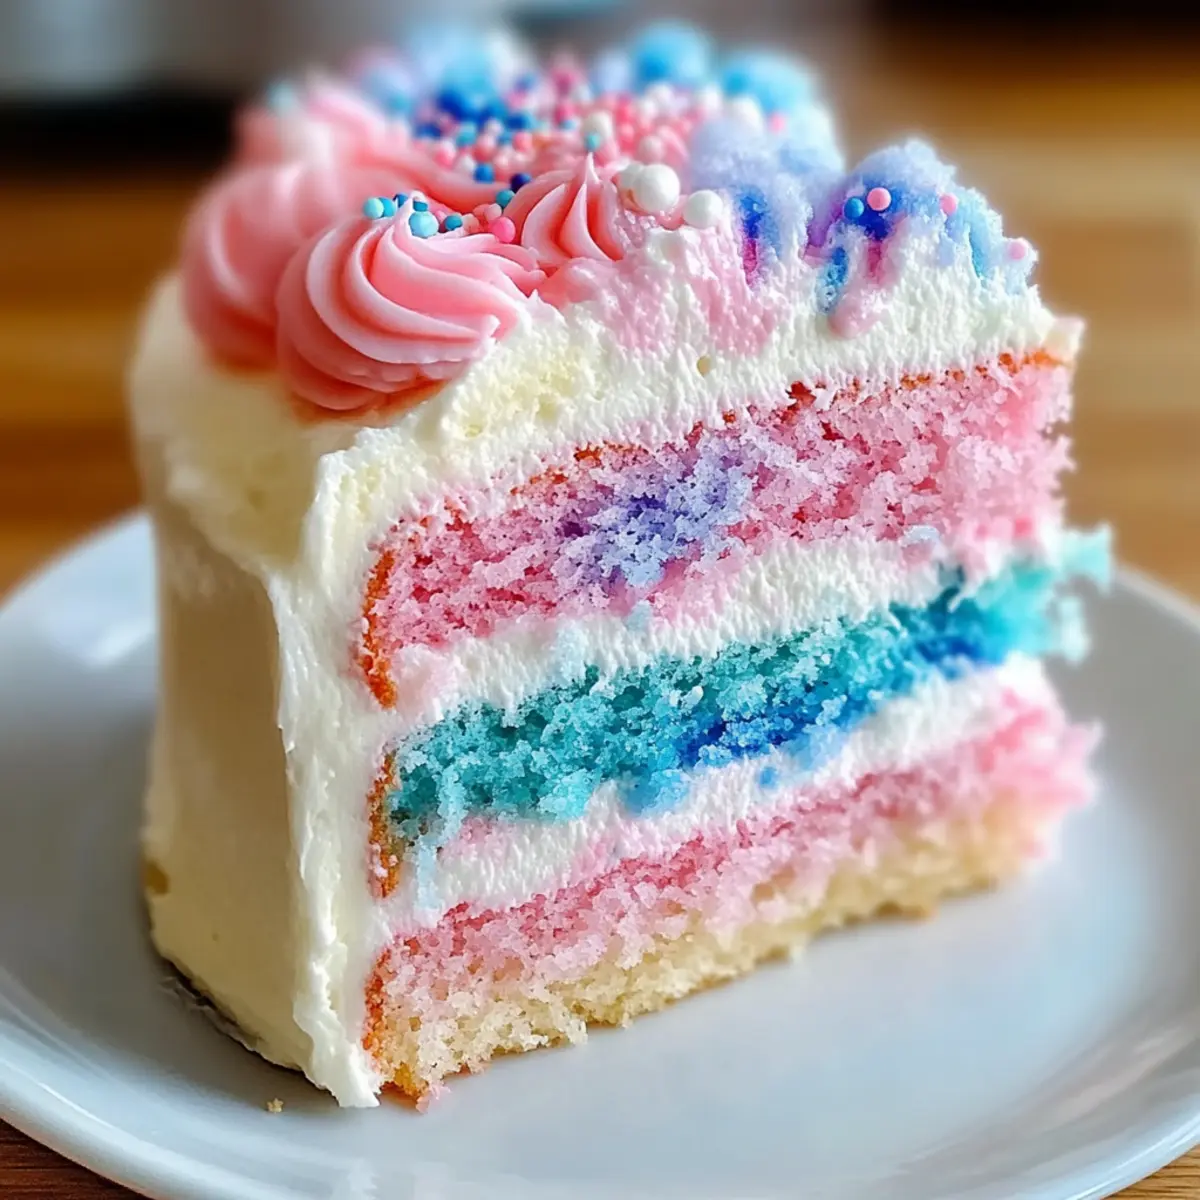
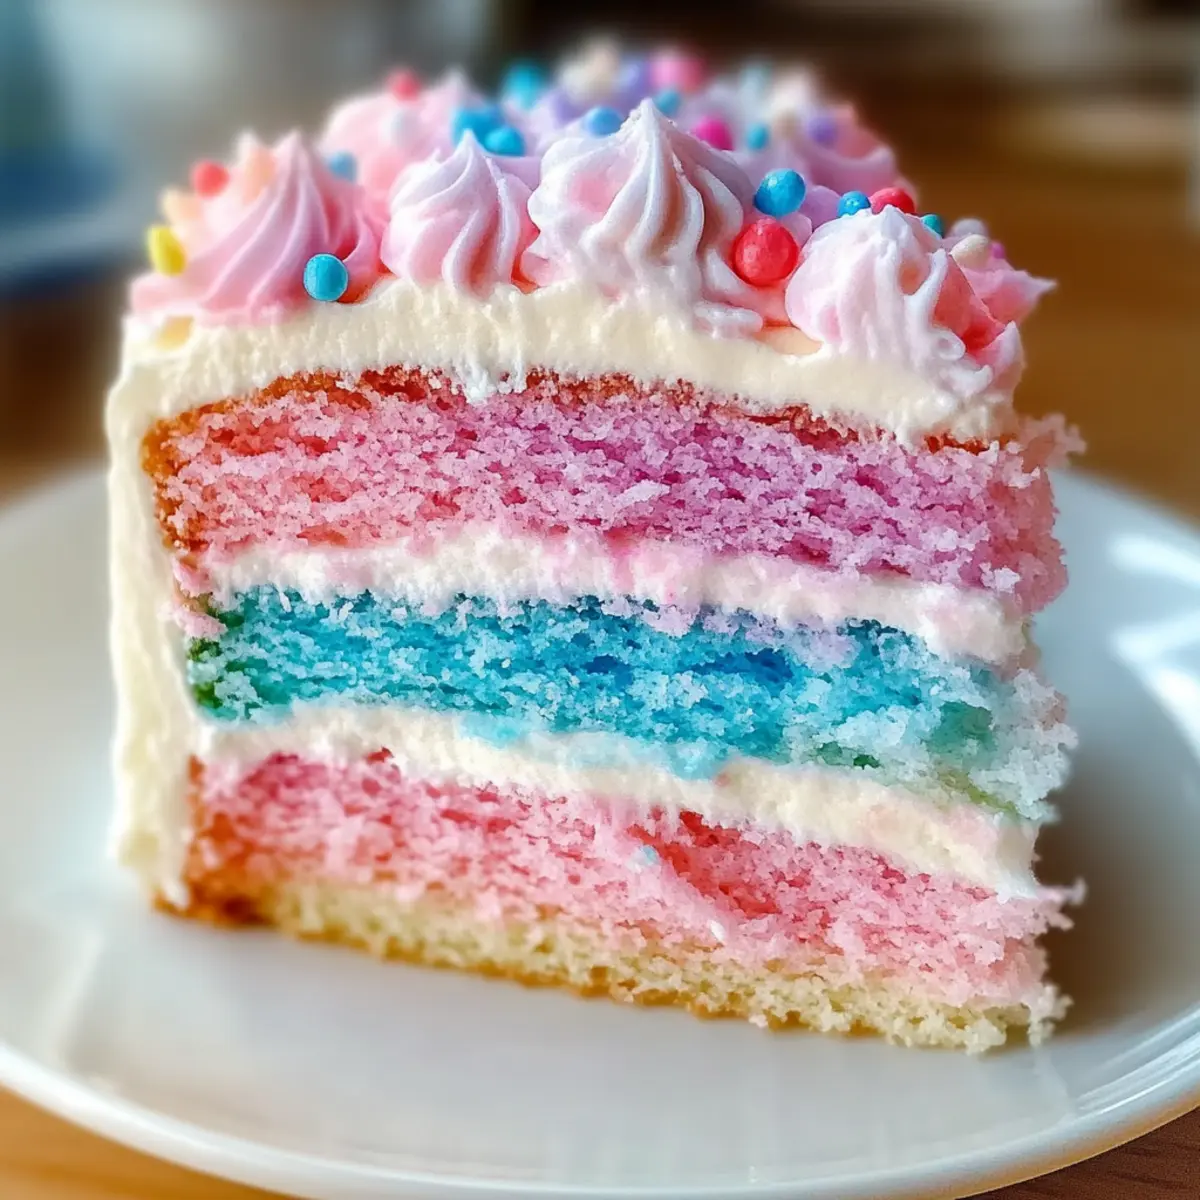
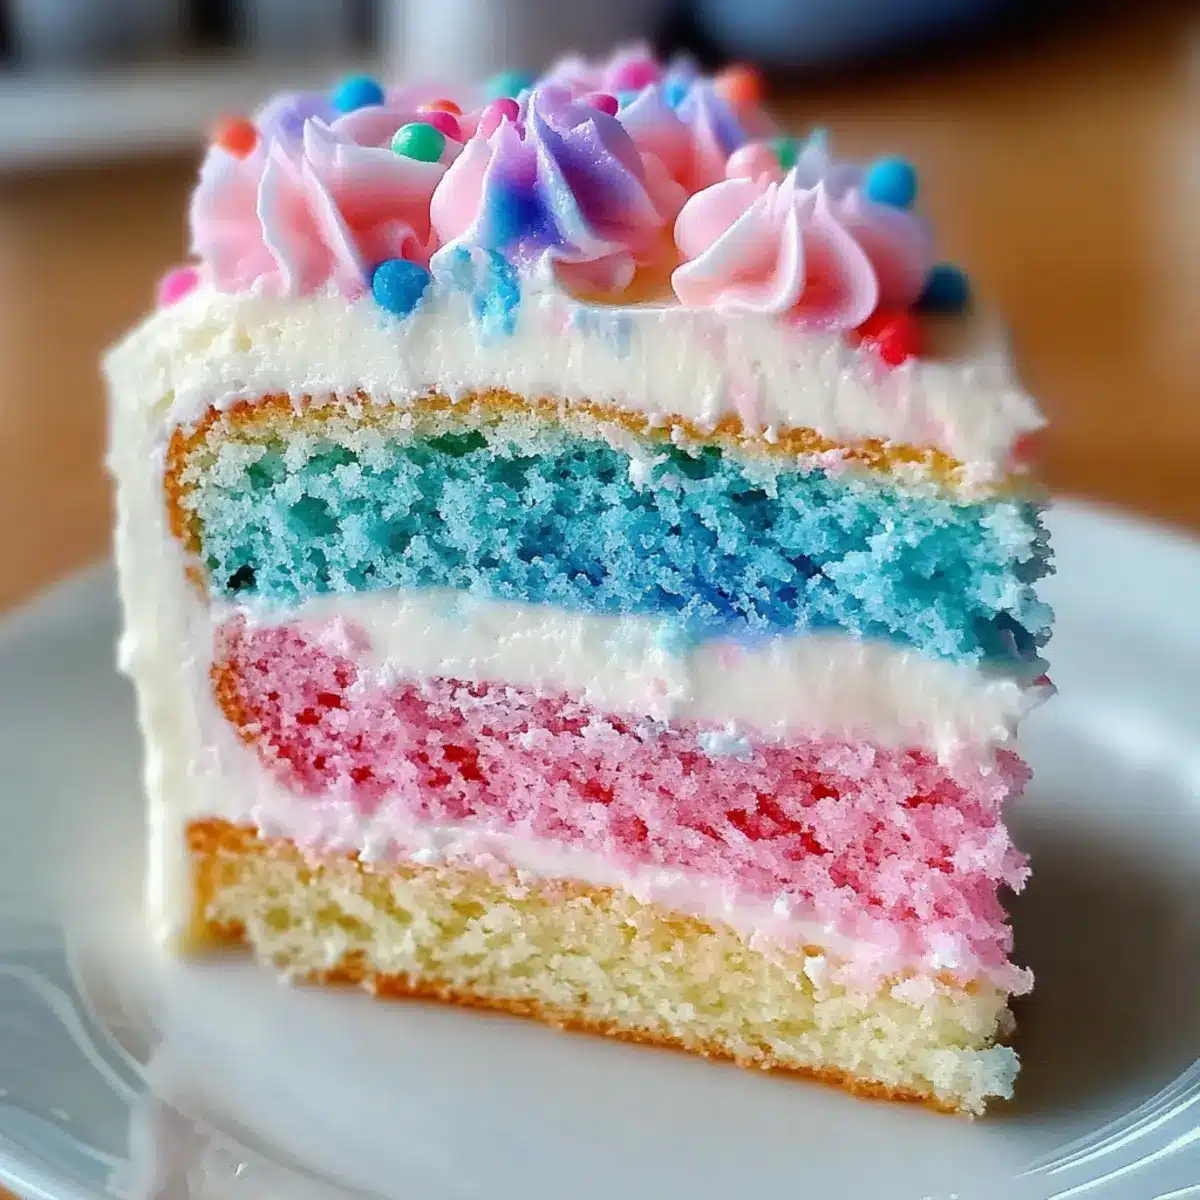
Place the first cooled cake layer on a serving plate and spread a generous layer of pink frosting on top. Add the second layer, then repeat with the blue frosting. Finish with the final layer and frost the entire cake with swirls of pink and blue frosting. The contrasting colors create an eye-catching visual appeal.
Step 10: Final Touches
For the final flourish, gently add cotton candy on top of the cake just before serving to keep it fluffy and inviting. You can also sprinkle some colorful sprinkles and edible glitter around the cake for extra festivity. Your magnificent Cotton Candy Cake is now ready to steal the show at any celebration!
What to Serve with Best Cotton Candy Cake
Indulge in a colorful celebration where the delightful sweetness of this whimsical cake deserves a myriad of delicious companions.
-
Strawberry Shortcake Ice: This refreshing treat adds a fruity burst that complements the cake’s sweetness beautifully. Perfect for warm days!
-
Fluffy Vanilla Meringue Cookies: Their light, airy texture contrasts wonderfully with the cake, providing a delightful crunch in every bite.
-
Bright Fruit Salad: A medley of fresh, juicy fruits adds a vibrant, refreshing balance and a splash of color to your dessert table.
-
Mint Lemonade: This zesty, cool drink provides a refreshing palate cleanser that keeps the festive spirit alive and exciting.
-
Chocolate Dipped Marshmallows: These sweet treats enhance the carnival vibe, appealing to both kids and adults, pairing perfectly with the cake’s flavors.
-
Rainbow Spritz Cookies: Echoing the carnival theme, these colorful cookies are a delightful addition that brings nostalgia to every bite.
-
Sparkling Water with Fruit Garnish: A sophisticated yet simple drink option provides a refreshing lift, enhancing your joyful celebration with a hint of elegance.
-
Party Popcorn: Lightly glazed and colorful, this crunchy snack offers a playful twist when enjoyed alongside slices of cake, perfect for sharing fun memories.
-
Cotton Candy Flavored Milkshake: This indulgent choice mirrors the cake’s flavors in a creamy way that will thrill any sweet tooth. Try it for a full cotton candy experience!
Cotton Candy Cake Recipe Variations
Feel free to get creative with this delightful cake and make it your own!
- Gluten-Free: Substitute all-purpose flour with a gluten-free flour blend to cater to gluten-sensitive guests.
- Dairy-Free: Use coconut milk and dairy-free butter to create a vegan version that still delivers on flavor and texture.
- Flavor Infusion: Swap cotton candy extract for bubblegum or strawberry for a fun twist on traditional flavors.
- Mini Treats: Transform your cake batter into adorable mini cupcakes, perfect for parties or lunchboxes!
- Chocolate Layer: Add cocoa powder to your batter for a chocolatey twist; it’s a delightful surprise beneath the fluffy frosting.
- Cotton Candy Drip Cake: Drizzle melted candy or a flavored syrup on top for an eye-catching addition that’s sure to impress.
- Extra Crunch: Add crushed graham crackers or finely chopped nuts between the cake layers for a delicious, unexpected crunch.
- Festive Garnish: Sprinkle colorful edible glitter along with cotton candy on top for a truly magical presentation that captivates both kids and adults.
Each variation can add a unique spin, whether you’re preparing a vibrant birthday party or just satisfying your sweet tooth. Need more inspiration? Don’t forget to pair it with a light and refreshing Strawberry Shortcake Ice for the ultimate festive celebration.
Make Ahead Options
These delightful Cotton Candy Cake Recipe components are perfect for busy home cooks looking to save time! You can prepare the cake layers up to 24 hours in advance; just bake them and let them cool completely before wrapping them tightly in plastic wrap to maintain freshness. The frosting can also be made and stored in the refrigerator for up to 3 days—just give it a quick mix to restore its fluffy texture before frosting the cake. Prepare the cotton candy decoration no more than a few hours before serving to prevent it from wilting. This way, when it’s time to celebrate, you’ll simply layer, frost, and create a magically colorful cake with minimal effort!
Expert Tips for Cotton Candy Cake
• Room Temperature Eggs: Use eggs at room temperature to ensure your cake is light and fluffy—this is key in your Cotton Candy Cake Recipe.
• Avoid Overmixing: Be careful not to overmix the batter after adding the dry ingredients; this helps maintain a delightful fluffiness.
• Cool Completely: Always let the cakes cool completely before frosting to prevent the buttercream from melting and losing its shape.
• Fresh Ingredients: Check the freshness of your baking powder for best results; stale leavening agents can lead to dense cakes.
• Gel Food Coloring: Opt for gel food coloring for vibrant and intense hues in your frosting, ensuring your cake is as visually appealing as it is delicious.
• Store Wisely: Keep cotton candy on top for just before serving to avoid melting, ensuring your cake retains its whimsical charm.
How to Store and Freeze Cotton Candy Cake
-
Fridge: Store your Cotton Candy Cake in an airtight container for up to 5 days to keep it fresh and moist. This also prevents the buttercream from drying out.
-
Room Temperature: If you plan to consume the cake within 2-3 days, it can be left covered at room temperature. Just make sure it’s in a cool, dry place to maintain its fluffiness.
-
Freezer: For longer storage, wrap individual slices of cake in plastic wrap and foil, then freeze for up to 3 months. Thaw in the fridge overnight when you’re ready to indulge.
-
Reheating: If you prefer to serve the cake slightly warm, you can pop a slice in the microwave for about 10-15 seconds, just until it softens—perfect for an extra cozy treat!
Cotton Candy Cake Recipe FAQs
What is the best way to select ripe ingredients for this cake?
Absolutely! When choosing your ingredients, opt for fresh eggs and high-quality butter for the best flavor. Eggs should be room temperature to help achieve a fluffy texture. For milk, whole or almond milk work wonders—make sure they’re not past their expiration date! The freshness of the baking powder is also crucial; expired baking powder can lead to a dense cake.
How should I store leftover Cotton Candy Cake?
Very! You can store your Cotton Candy Cake in an airtight container in the refrigerator for up to 5 days to maintain its moistness. If you choose to keep it at room temperature, ensure it’s covered and in a cool, dry spot for about 2-3 days. Just remember that this cake is best enjoyed fresh!
Can I freeze Cotton Candy Cake for later?
Of course! To freeze, wrap individual slices of the cake tightly in plastic wrap and then in foil. This way, they can stay fresh for up to 3 months! When you’re ready to enjoy it, simply thaw the slices in the fridge overnight. For a cozy treat, you can warm a slice in the microwave for 10-15 seconds.
What should I do if my cake layers aren’t baking evenly?
Don’t worry! Uneven baking can occur for a few reasons, such as incorrect oven temperature or not having the pans prepped properly. Make sure your oven is calibrated correctly; using an oven thermometer can help. Also, check that your cake pans are the same size and lined evenly with baking spray or flour to ensure even baking.
Are there any dietary considerations for this recipe?
Absolutely! This Cotton Candy Cake can easily be modified to suit various dietary preferences. For a gluten-free version, simply substitute the all-purpose flour with a gluten-free blend. You can also use dairy-free butter and almond milk for a vegan option. Just keep in mind any allergies your guests may have, especially with the cotton candy and extracts!
How can I prevent my cotton candy decoration from melting?
Great question! To keep your cotton candy fluffy and prevent it from melting, add it to the top of the cake just before serving. Humidity can cause melting as well, so it’s best to keep the cake in a cool, dry place. If you anticipate leftovers, store the cotton candy separately!
Magical Cotton Candy Cake Recipe for Sweet Celebrations
Ingredients
Equipment
Method
- Preheat the Oven to 350°F (175°C) and prepare three 8-inch round cake pans.
- Mix Dry Ingredients: Whisk together flour, sugar, baking powder, and salt.
- Combine Wet Ingredients: Add butter, milk, vanilla, and cotton candy extract to dry ingredients.
- Incorporate Eggs: Beat in eggs one at a time until well blended.
- Divide and Bake: Pour batter into pans and bake for 25-30 minutes.
- Cool the Cakes: Let cakes cool in pans for 10 minutes then transfer to racks.
- Prepare Frosting: Beat butter, add powdered sugar, heavy cream, and vanilla until creamy.
- Color the Frosting: Split frosting, add food coloring to achieve desired shades.
- Layer and Frost: Alternate frosting layers between cakes and frost the entire cake.
- Final Touches: Decorate with cotton candy and sprinkles before serving.
Leave a Reply