
Nothing compares to the joy of pulling a perfectly set Classic Cheesecake out of the oven, the warm aroma wrapping around you like a comforting hug. With its buttery graham cracker crust and creamy filling, it’s a dessert that effortlessly captures the essence of special moments, from intimate family gatherings to festive celebrations. What I adore most about this cheesecake is how simple yet versatile it can be—ideal for a quick weeknight dessert or dressed up with fresh berries and a drizzle of chocolate for a show-stopping occasion. Plus, you can easily lighten it up by swapping in low-fat cream cheese without sacrificing that amazing flavor. Are you ready to indulge in a slice of happiness that you can proudly serve? Let’s get baking!
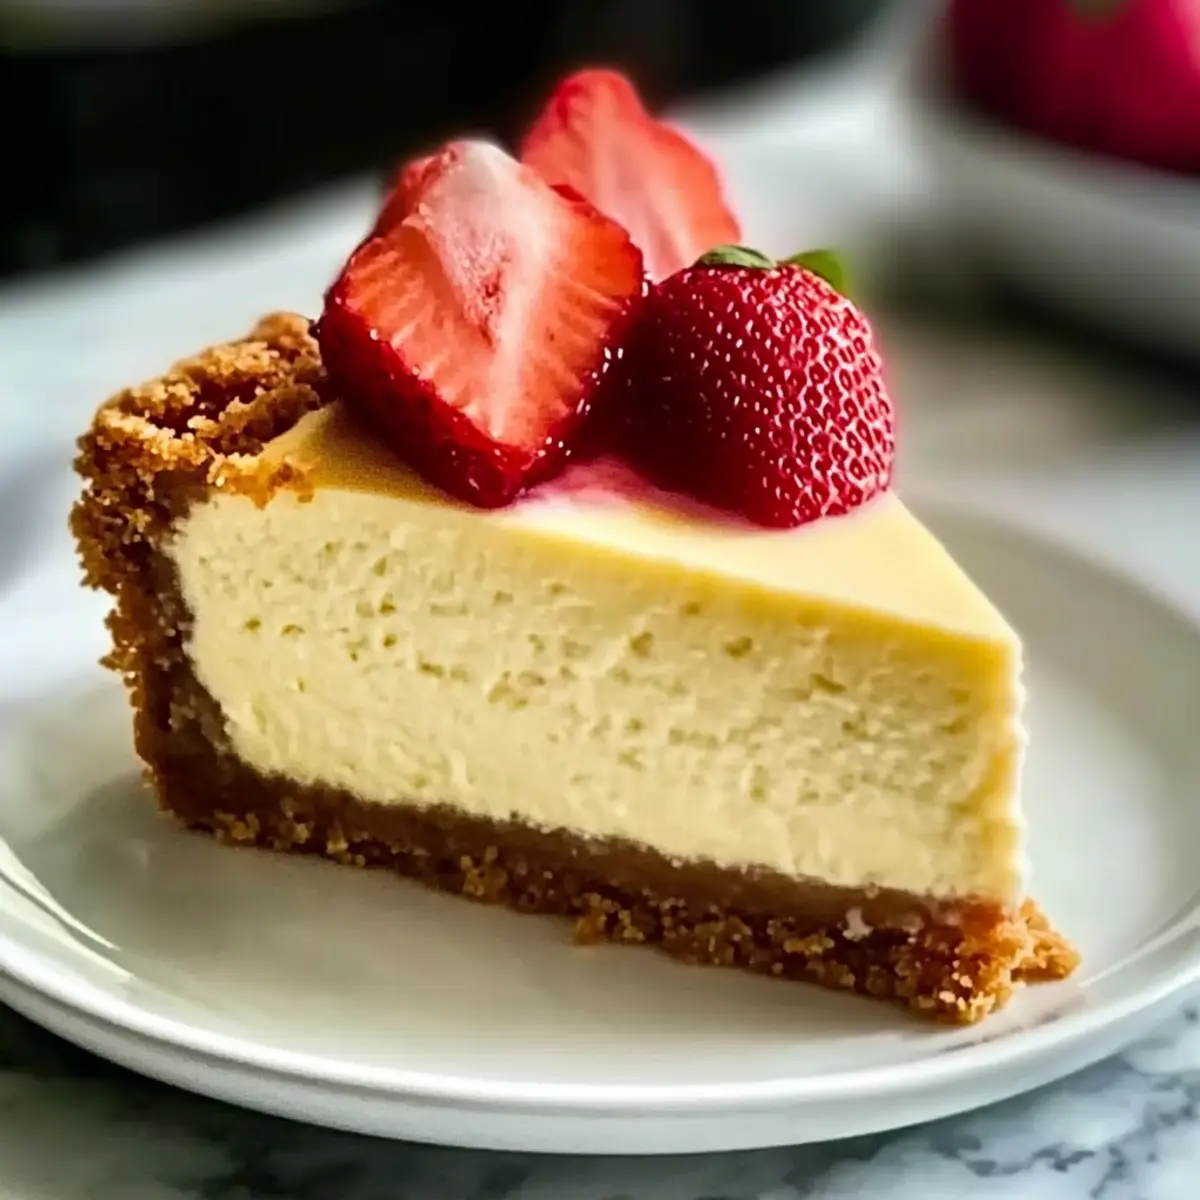
Why is This Cheesecake a Must-Try?
Classic cheesecakes are a timeless favorite, bringing smiles to any gathering. Easy to make, this recipe allows even novice bakers to impress friends and family. Versatile options for toppings, like fresh berries or chocolate sauce, enhance the cheesecake’s appeal, making each slice a unique treat. Looking for more cheesecake inspiration? Try my Crisp Mini Cheesecakes or the delightful Cheesecake Stuffed Strawberries. Indulgent yet adaptable, you can easily swap ingredients for a lighter version without losing that creamy goodness.
Classic Cheesecake Ingredients
For the Crust
• Graham Cracker Crumbs – The base for the crust provides structure and flavor.
• Sugar – Adds sweetness to both the crust and filling; substitute with brown sugar for a deeper flavor.
• Melted Butter – Binds crust ingredients together and adds richness; can be substituted with coconut oil for a dairy-free option.
For the Filling
• Cream Cheese – The main ingredient in the filling, contributing creaminess and tang; low-fat options can be used for a lighter cheesecake.
• Vanilla Extract – Enhances flavor; can be replaced with almond extract for a different taste.
• Eggs – Provide structure and stability to the filling; avoid overmixing to prevent cracks.
• Sour Cream – Topping that adds tanginess and a glossy finish; can be substituted with Greek yogurt for a healthier option.
This Classic Cheesecake brings together ingredients that create an unforgettable dessert experience!
Step‑by‑Step Instructions for Classic Cheesecake
Step 1: Preheat the Oven
Begin by preheating your oven to 325°F (160°C). This ensures your Classic Cheesecake bakes evenly and achieves that perfect creamy texture. While the oven warms up, gather your ingredients and equipment, including a 9-inch springform pan and mixing bowls.
Step 2: Prepare the Graham Cracker Crust
In a mixing bowl, combine graham cracker crumbs, 1/4 cup of sugar, and melted butter until the mixture resembles wet sand. Press this mixture firmly into the bottom of your springform pan using the back of a measuring cup, creating an even layer. Bake the crust in the preheated oven for about 10 minutes, until slightly golden and fragrant, then let it cool.
Step 3: Make the Cheesecake Filling
In a separate bowl, beat the softened cream cheese with an electric mixer until smooth and creamy, about 2 minutes. Gradually mix in 1 cup of sugar and the vanilla extract, blending well to combine. Take your time here to create a silky filling that will be the star of your Classic Cheesecake.
Step 4: Incorporate the Eggs
Add the eggs one at a time, mixing well after each addition, just until combined. Be careful not to overmix, as this can create cracks in your cheesecake. The filling should be smooth, thick, and homogeneous by the end of this step, providing a rich foundation for your cheesecake.
Step 5: Bake the Cheesecake
Pour the filling over the cooled graham cracker crust and use a spatula to smooth the top. Place the cheesecake in the oven and bake for 50-60 minutes. You’ll know it’s ready when the edges are firm and the center has a slight jiggle. Avoid opening the oven door during baking to maintain a consistent temperature.
Step 6: Cool the Cheesecake
After baking, turn off the oven and crack the oven door, allowing the cheesecake to cool gradually for about 1 hour. This step reduces the risk of cracks forming as it cools. Once cooled, remove the cheesecake from the oven and let it come to room temperature on your kitchen counter.
Step 7: Add the Sour Cream Topping
Once your Classic Cheesecake has cooled completely, take 1 cup of sour cream and gently spread it evenly over the top of the cheesecake. This adds a beautiful gloss and a delicious tang. Allow the cheesecake to set in the fridge for at least 4 hours, or overnight, for the best flavor and texture before serving.
Step 8: Serve and Enjoy
When ready to serve, carefully release the sides of the springform pan and slice the cheesecake using a hot, clean knife for perfect edges. Consider topping each slice with fresh berries or a drizzle of chocolate for an extra special touch. Your classic cheesecake is now ready to delight your family and friends!
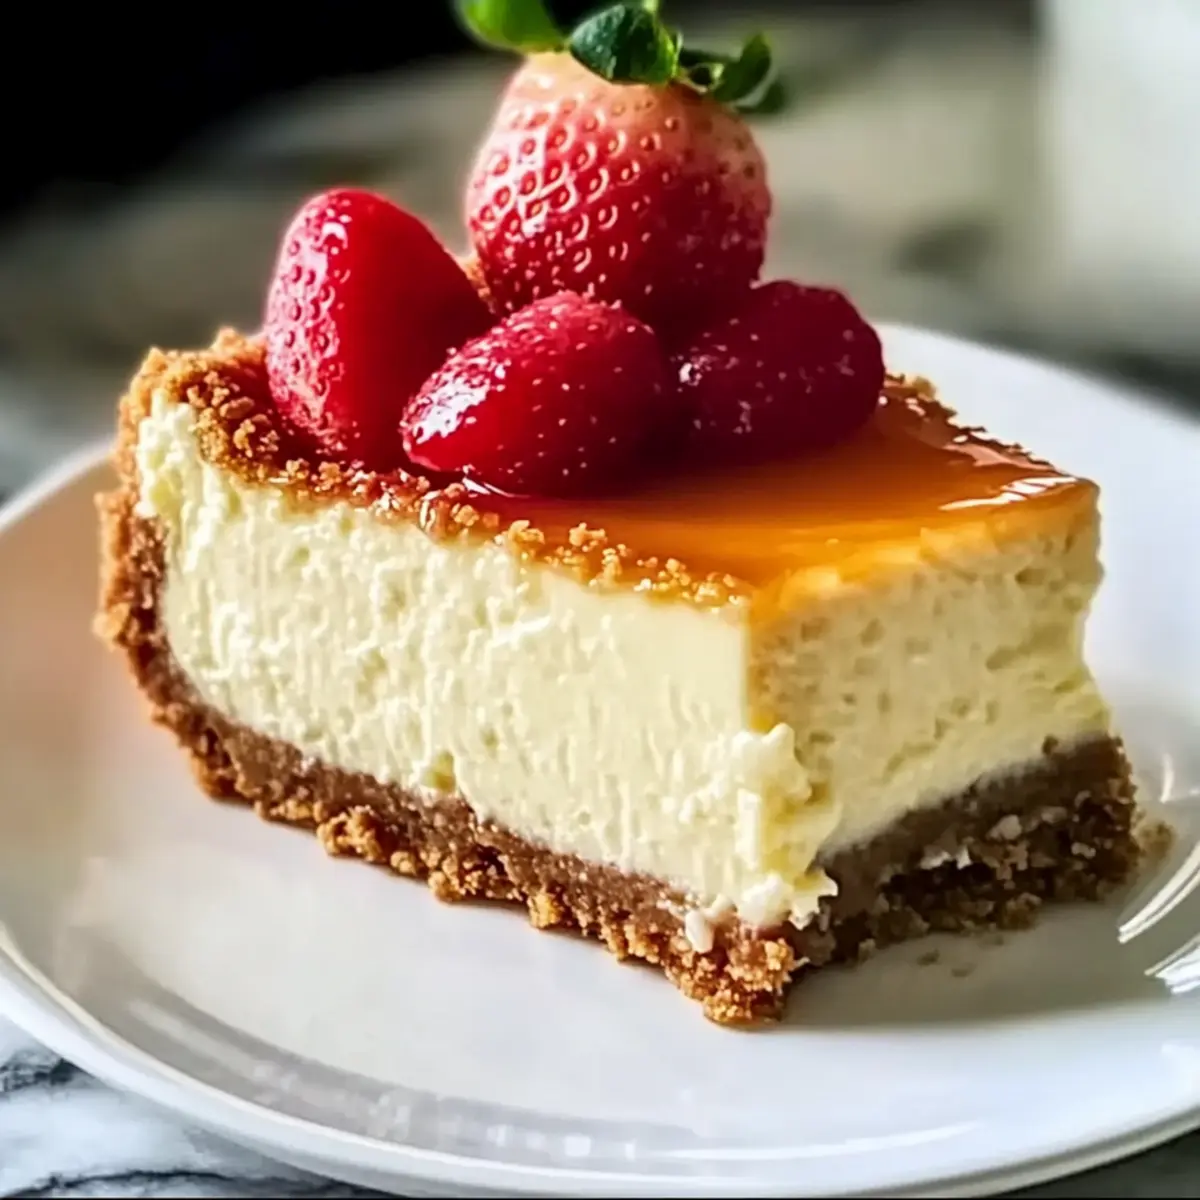
How to Store and Freeze Classic Cheesecake
Fridge: Store the cheesecake tightly covered in the refrigerator for up to 1 week. Make sure it’s placed on a flat surface to retain its shape and texture.
Freezer: If you want to keep it longer, freeze the cheesecake (well-wrapped in plastic wrap and aluminum foil) for up to 3 months. Thaw it overnight in the refrigerator before serving.
Serving After Freezing: To enjoy your frozen classic cheesecake, let it gradually thaw in the fridge. This gives you that delicious creamy texture back!
Leftover Slices: If you have leftover slices, individually wrap them and follow the same freezing process for easy, quick servings later on.
Expert Tips for Classic Cheesecake
• Avoid Overmixing: Be gentle when mixing the cream cheese; overmixing can lead to cracks in your cheesecake.
• Hot Knife Trick: For clean slices, dip your knife in hot water and wipe it dry before cutting each piece of cheesecake.
• Crust Perfection: Pre-baking the graham cracker crust for 10 minutes prevents it from getting soggy, ensuring that it stays crisp and delicious.
• Cool Gradually: After baking, crack the oven door to let the cheesecake cool slowly, reducing the risk of unsightly cracks.
• Chill Time: Allow your classic cheesecake to chill in the refrigerator for at least 4 hours; this helps the flavors meld beautifully for a delectable dessert.
Classic Cheesecake Variations & Substitutions
Feel free to personalize your classic cheesecake with these delightful twists to suit your tastes!
-
Dairy-Free: Swap cream cheese with a dairy-free cream cheese alternative for a vegan-friendly dessert. It’s creamy and satisfying!
-
Flavored Extracts: Replace vanilla extract with almond or hazelnut extract to add a gourmet twist. This simple change elevates the flavor profile wonderfully.
-
Brown Sugar: Use brown sugar instead of white for a deeper, caramel-like sweetness in both crust and filling. This subtle shift enriches your cheesecake experience.
-
Greek Yogurt: Substitute sour cream with Greek yogurt for a tangier and protein-packed topping. It brings a light texture and balances the sweetness beautifully.
-
Spicy Kick: Add a pinch of cinnamon or nutmeg to the filling for a warm, cozy flavor that complements the cheesecake perfectly. It’s like a hug in every bite!
-
Fruit Swirl: Incorporate a swirl of berry puree into the filling before baking for a pop of color and fruity tang. It makes each slice a stunning delight!
-
Nut Crust: For a change of texture, mix crushed nuts like almonds or pecans into your graham cracker crust. It adds a crunchy layer that’s simply irresistible.
-
Chocolate Drizzle: Top with a generous drizzle of chocolate sauce just before serving. This adds an indulgent flair that will impress guests and lift spirits!
For even more delightful cheesecake ideas, consider making my Cookie Butter Cheesecake or explore the unique flavors of Cheesecake Stuffed Strawberries. Each of these variations ensures your cheesecake remains an exceptional treat, no matter your mood or occasion!
Make Ahead Options
These Classic Cheesecake make-ahead options are a game-changer for busy home cooks! You can prepare the graham cracker crust up to 24 hours in advance; simply press it into the pan and refrigerate. The cheesecake filling can also be made up to 3 days ahead of time—just pour it over the crust, bake, and cool before topping with sour cream. To keep the cheesecake fresh, wrap it tightly in plastic wrap before refrigerating to prevent drying. When you’re ready to serve, simply remove it from the fridge, slice with a hot knife, and garnish with your favorite toppings. Enjoy that homemade taste with minimal effort on the day of your gathering!
What to Serve with Classic Cheesecake?
The perfect meal is not complete without thoughtful pairings that elevate the experience and delight the senses.
-
Fresh Berries: Adding a colorful assortment of strawberries, blueberries, or raspberries brings a burst of freshness and a slight tang that complements the creamy cheesecake beautifully.
-
Chocolate Sauce: Drizzling rich chocolate sauce over each slice creates a decadent layer of indulgence. The silky sweetness pairs harmoniously with the cheesecake’s tang, enticing every chocolate lover.
-
Whipped Cream: A dollop of light, fluffy whipped cream adds a luxurious texture and balances the richness of the cheesecake perfectly. Serve it on the side for a whimsical touch!
-
Coffee: A steaming cup of freshly brewed coffee serves as the ideal beverage to cut through the sweetness of the cheesecake. Its robust flavors complement the dessert’s creamy profile.
-
Caramel Drizzle: Pouring a homemade or store-bought caramel sauce on top infuses a buttery sweetness that dances delightfully with the cheesecake, creating a comforting and sinfully delicious treat.
-
Ice Cream: A scoop of vanilla or salted caramel ice cream offers a delightful contrast in temperature and texture, making each spoonful of cheesecake more enjoyable.
Imagine sharing this creamy dessert surrounded by loved ones, each bite an experience of happiness and celebration. Enjoying these pairings will surely make your cheesecake outing unforgettable!
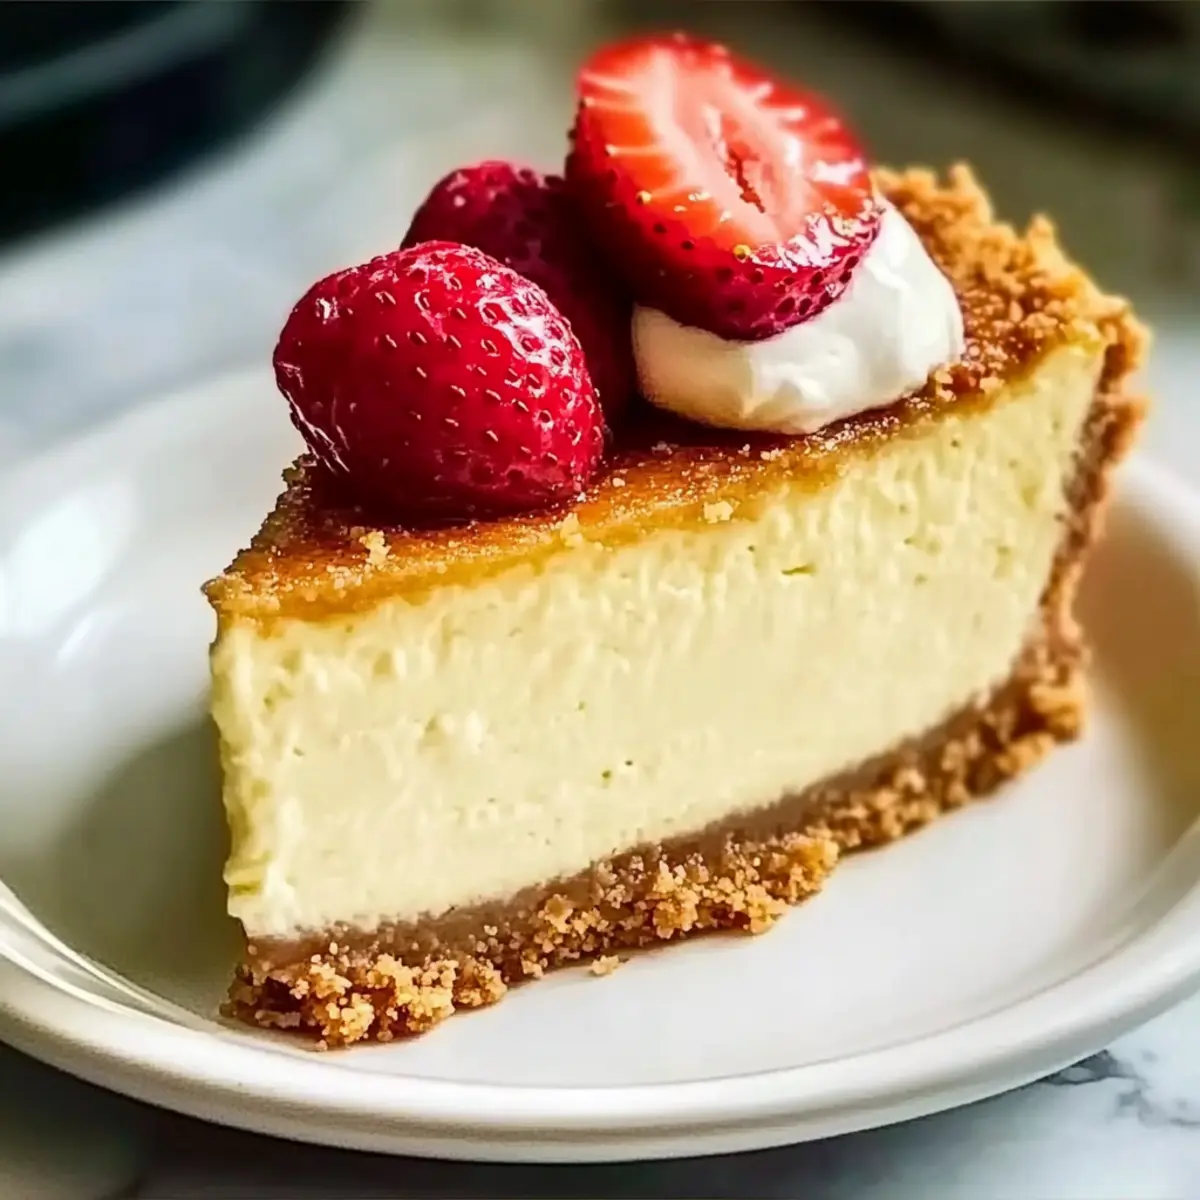
Classic Cheesecake Recipe FAQs
How do I select ripe and fresh cream cheese for the cheesecake?
Absolutely! When choosing cream cheese, look for blocks that are smooth and free of any dark spots. The packaging should be intact without any dents. Aim for cream cheese at a slightly softened room temperature, as this will help achieve that creamy texture when mixing.
How should I store my cheesecake once it’s made?
Very important! Store your Classic Cheesecake tightly covered in the refrigerator for up to 1 week. Make sure it’s placed on a flat surface to help retain its shape and avoid any unwanted odors from other foods.
Can I freeze my Classic Cheesecake, and if so, how?
Absolutely! To freeze your cheesecake, wrap it tightly in plastic wrap and then in aluminum foil to prevent freezer burn. It can be stored for up to 3 months. When you’re ready to enjoy it, thaw in the refrigerator overnight for the best texture and flavor. This way, your cheesecake will maintain its creamy goodness!
What should I do if my cheesecake cracks during baking?
No worries—this happens to the best of us! If your Classic Cheesecake has cracks, don’t fret. You can disguise them easily by spreading a layer of sour cream topping over the top, which adds creaminess and a nice finish. To prevent cracks in the future, remember to mix gently and gradually cool your cheesecake in the oven as it finishes baking.
Are there any dietary considerations I should keep in mind?
Absolutely! If you have dietary restrictions, you can easily adapt this recipe. For a lighter version, use low-fat cream cheese and Greek yogurt in place of sour cream. Additionally, if anyone has allergies, be cautious with the ingredients, especially if using alternative products or toppings like nuts or flavored extracts.
Can I use alternative toppings besides sour cream?
Very much so! If you’re looking to mix it up, consider topping your cheesecake with fresh fruits like strawberries or blueberries for a refreshing twist. You can also drizzle it with chocolate sauce or caramel for an indulgent touch. The more the merrier!
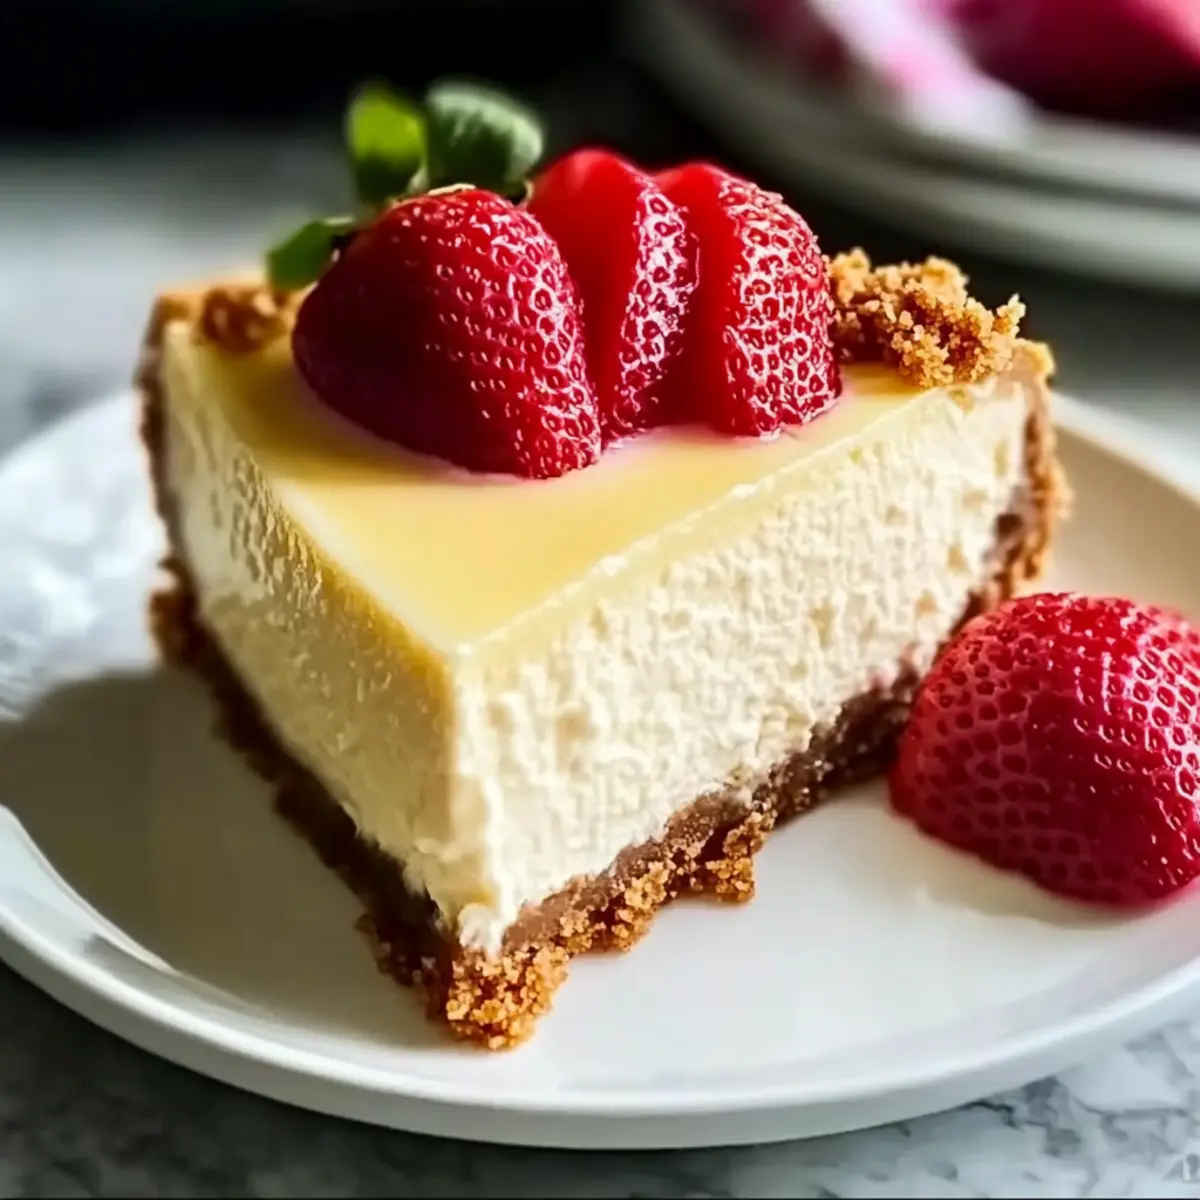
Classic Cheesecake with a Creamy Twist You’ll Love
Ingredients
Equipment
Method
- Preheat your oven to 325°F (160°C).
- In a mixing bowl, combine graham cracker crumbs, 1/4 cup of sugar, and melted butter until the mixture resembles wet sand. Press this mixture into the bottom of your springform pan.
- Bake the crust for about 10 minutes until slightly golden. Let it cool.
- In a separate bowl, beat the softened cream cheese until smooth. Gradually mix in 1 cup of sugar and vanilla extract.
- Add the eggs one at a time, mixing until just combined to avoid cracks.
- Pour the filling over the cooled crust and smooth the top. Bake for 50-60 minutes until the edges are firm and the center jiggles slightly.
- Turn off the oven and crack the oven door to let the cheesecake cool gradually for about 1 hour.
- Once cooled, spread 1 cup of sour cream evenly over the top and chill in the fridge for at least 4 hours before serving.
- Carefully release the sides of the springform pan and slice the cheesecake when ready to serve.
Leave a Reply