
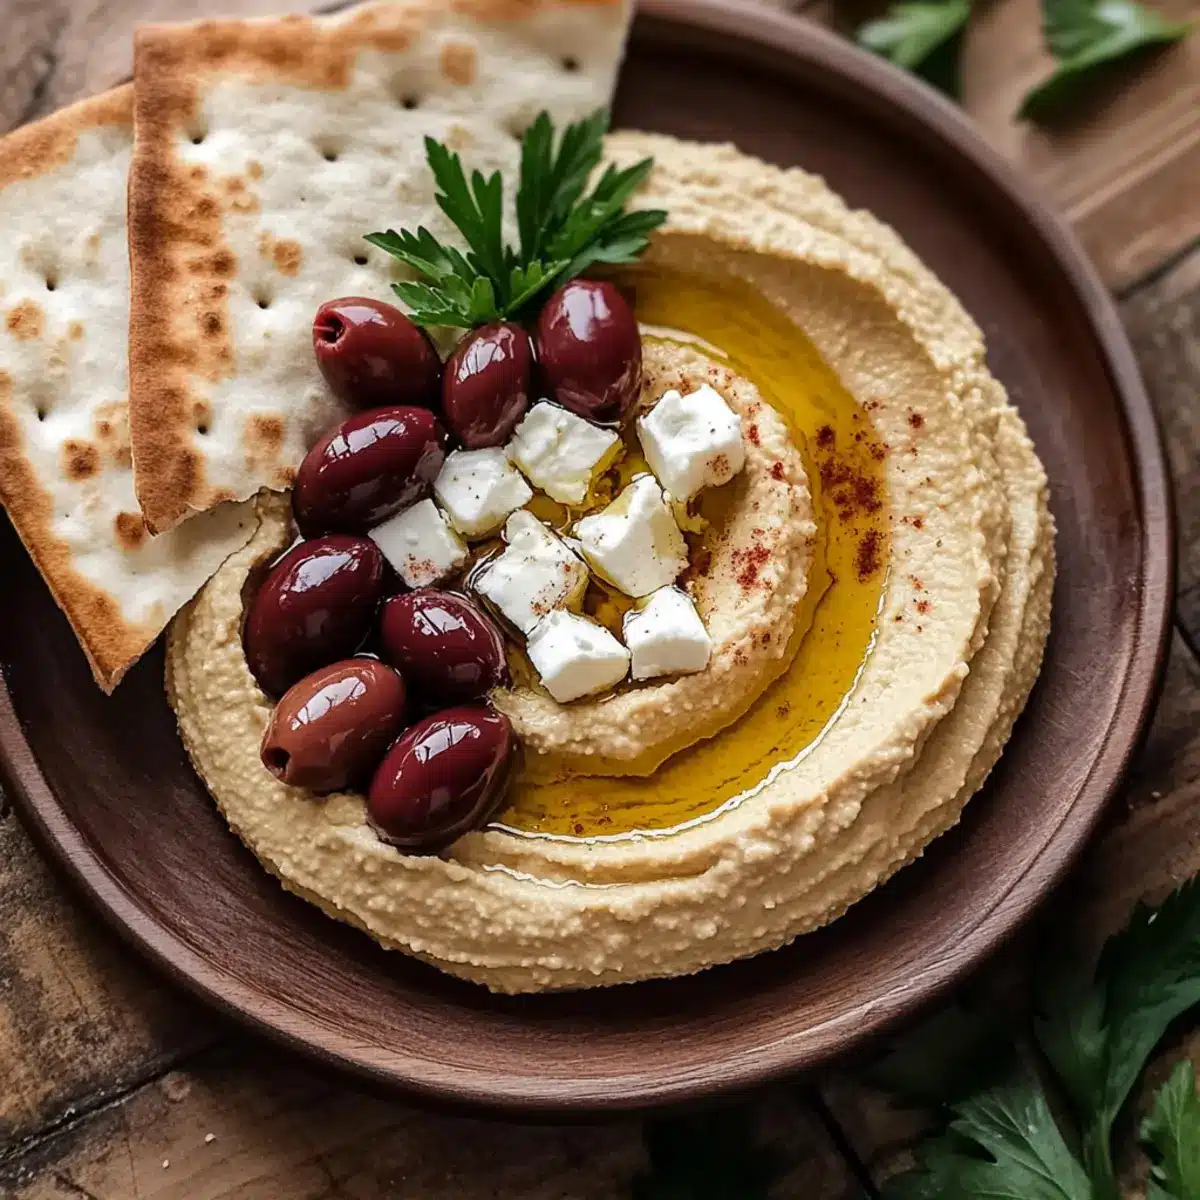
As I dipped my pita into that luscious, creamy concoction, I couldn’t help but smile—Greek hummus has a way of instantly transporting you to sun-drenched Mediterranean shores. This Greek Hummus Recipe puts a delightful spin on the classic dip, blending the traditional flavors of chickpeas and tahini with tangy feta and savory Kalamata olives. The best part? It’s not just indulgent; it’s an effortlessly healthy delight packed with plant-based protein and fiber, making it perfect for get-togethers or solo snack sessions. Whether you’re hosting a gathering or simply seeking a wholesome treat, this dip offers rich flavor and incredible versatility. What are you waiting for? Let’s dive into this mouthwatering adventure together!
Why is This Greek Hummus Recipe Special?
Flavor Explosion: This Greek hummus combines the classic creaminess of chickpeas with the briny goodness of Kalamata olives and tangy feta, creating a dip that excites your taste buds.
Wholesome Goodness: Packed with plant-based protein and fiber, it’s as nutritious as it is delicious—perfect for those craving something healthy!
Effortless Preparation: With straightforward steps and minimal ingredients, you can whip up this flavorful dip in no time, leaving more room for fun and less time in the kitchen.
Versatile Serving Options: Enjoy it with warm pita, fresh veggies, or crispy crackers; this dip complements various snacks, making it ideal for any occasion. Plus, check out my Greek Lemon Chicken for a complete Mediterranean-inspired meal!
Make-Ahead Friendly: Prepare it in advance and let the flavors deepen overnight—this hummus only gets better with time!
Greek Hummus Recipe Ingredients
For the Hummus
- Chickpeas – The creamy base packed with protein; drain and rinse for the best texture.
- Tahini – Rich and nutty, this ingredient adds depth; opt for high-quality for a luxurious flavor.
- Fresh Lemon Juice – Brightens and balances the flavors; fresh is key—about one juicy lemon will do!
- Extra Virgin Olive Oil – Enhances creaminess with healthy fats; drizzle generously when serving.
- Garlic – Adds a pungent, aromatic kick; use freshly minced for the tastiest results.
- Salt – Essential for flavor; tweak to your liking for the perfect seasoning.
- Ground Cumin – An optional spice adding warmth; feel free to omit if you prefer a simpler taste.
For the Mix-ins
- Feta Cheese – Imparts a tangy creaminess; substitute goat cheese or ricotta for a milder flavor if desired.
- Kalamata Olives – Introduces salty, briny notes; make sure they are pitted and finely chopped.
- Fresh Parsley – A garnish that adds a pop of color and freshness to your dish.
Step‑by‑Step Instructions for Greek Hummus Recipe
Step 1: Prepare the Chickpeas
Begin by draining and rinsing 1 can of chickpeas under cool running water until the liquid is no longer cloudy. If you desire a smoother Greek hummus, consider gently pinching off the skins from the chickpeas—this extra step will ensure creamier results. Set aside the chickpeas in a bowl as you gather the other ingredients.
Step 2: Blend the Base Ingredients
In a food processor, add the rinsed chickpeas, ¼ cup of tahini, the juice of one fresh lemon, 2 tablespoons of extra virgin olive oil, 2 cloves of freshly minced garlic, ½ teaspoon of salt, and ½ teaspoon of ground cumin (if using). Pulse the mixture for about 1-2 minutes, stopping periodically to scrape down the sides until you achieve a smooth, creamy consistency. If it seems too thick, add water one tablespoon at a time until the desired creaminess is reached.
Step 3: Incorporate Feta and Olives
Next, add in ½ cup of crumbled feta cheese and ¼ cup of chopped Kalamata olives to the mixture in the food processor. Pulse gently just to combine, ensuring you still have little flecks of feta and olives visible. This step gives your Greek hummus wonderful texture and a burst of flavor without over-blending it into a paste.
Step 4: Taste and Adjust Seasoning
After blending, take a moment to taste your Greek hummus and adjust the seasoning. You may want to add a bit more salt, a squeeze of lemon juice, or an extra clove of garlic for more zing. Blend again briefly to incorporate any adjustments you make, ensuring the flavors meld beautifully together.
Step 5: Serve and Garnish
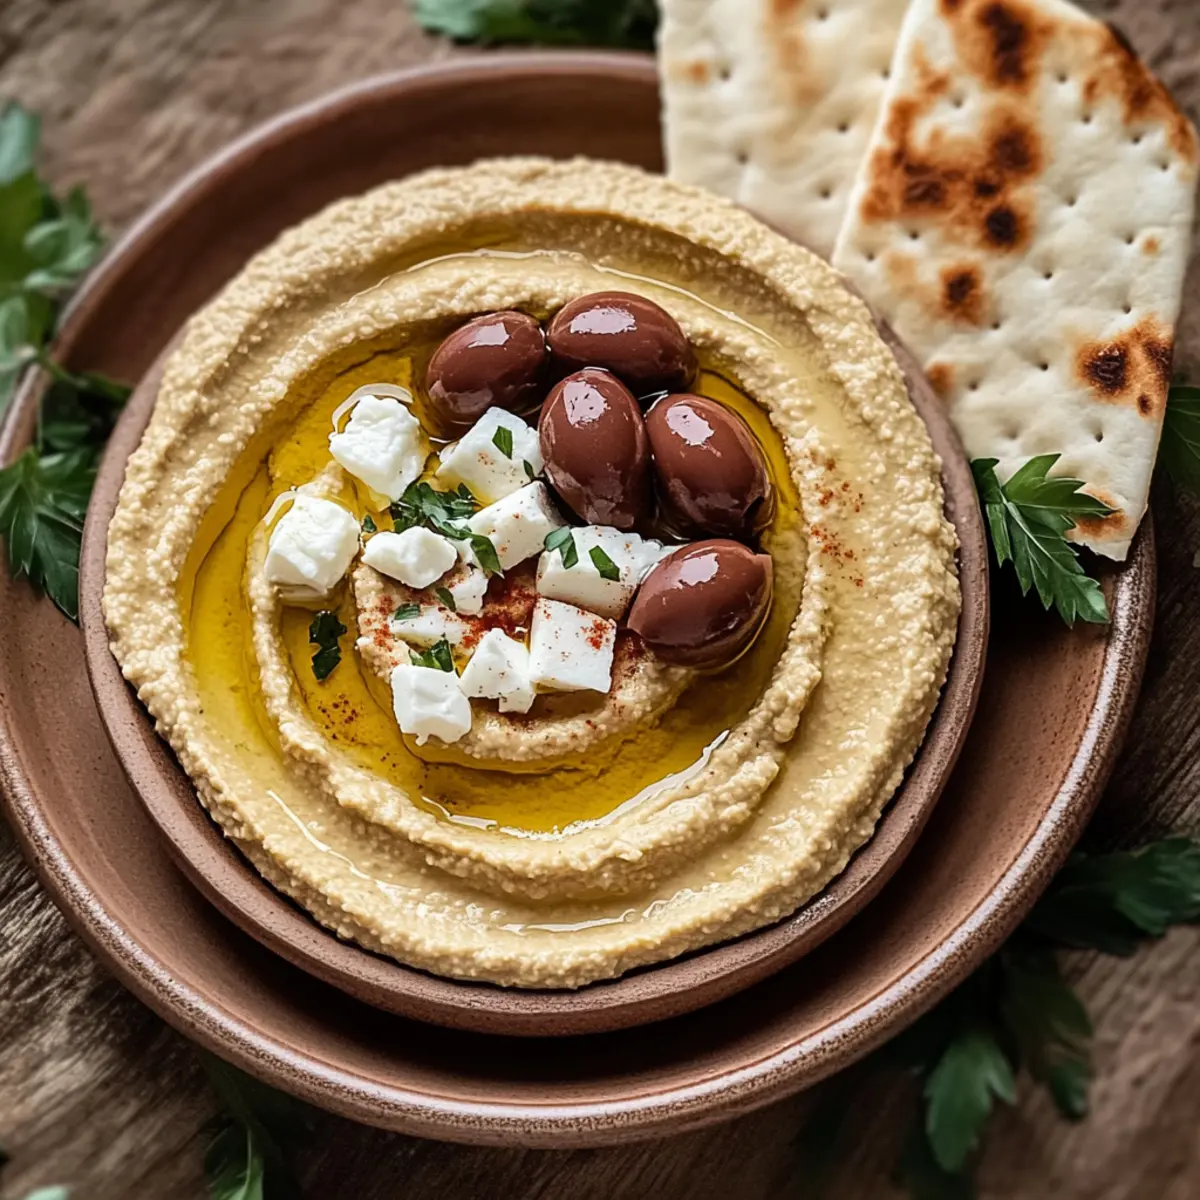
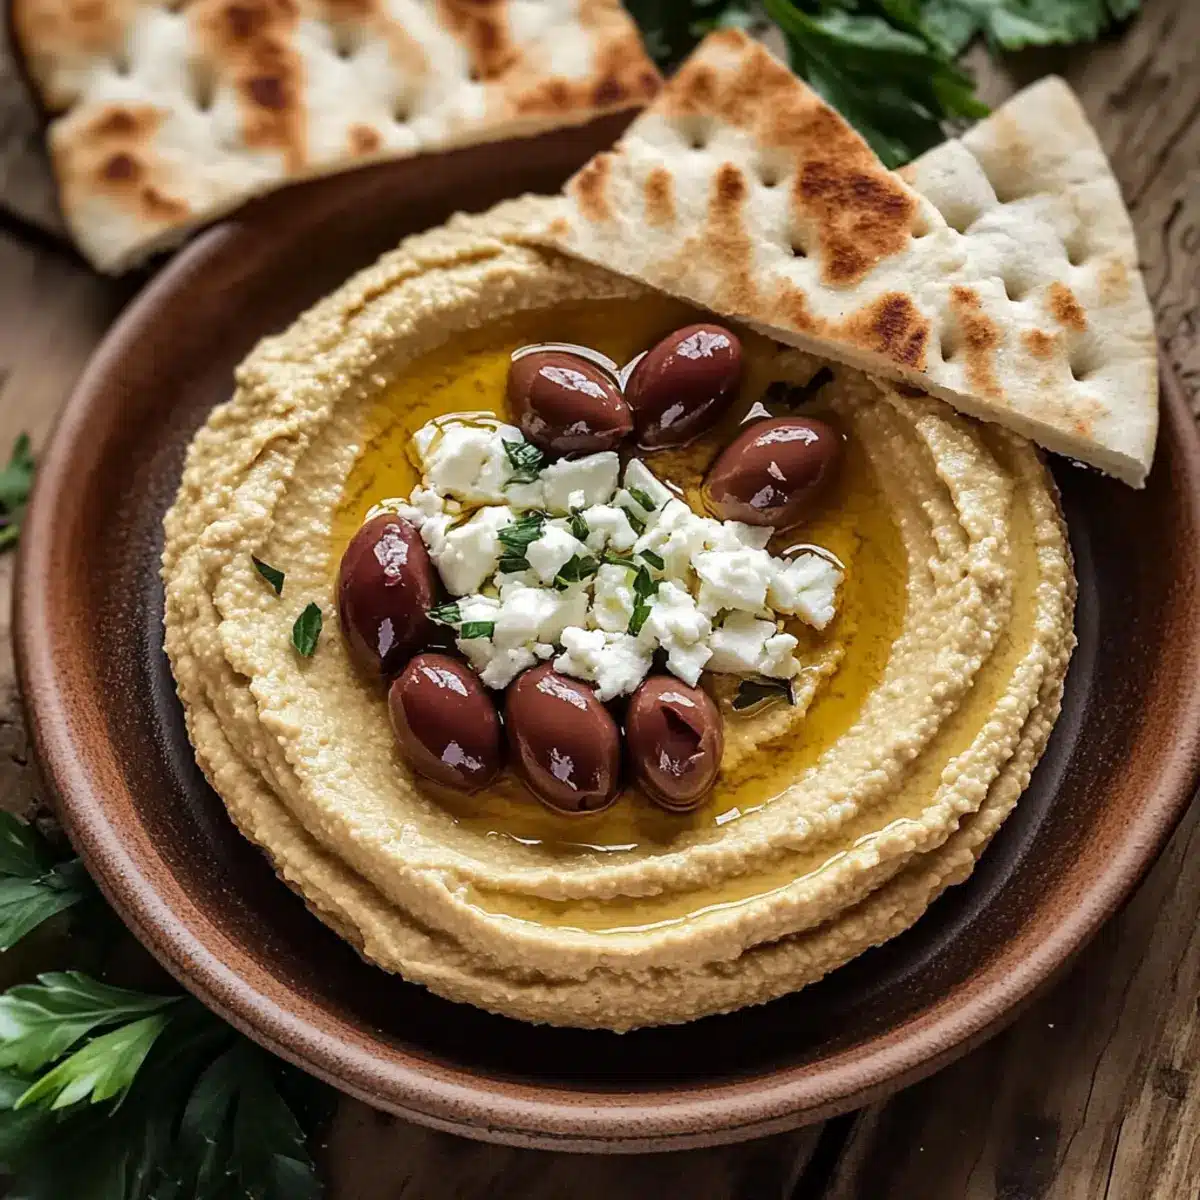
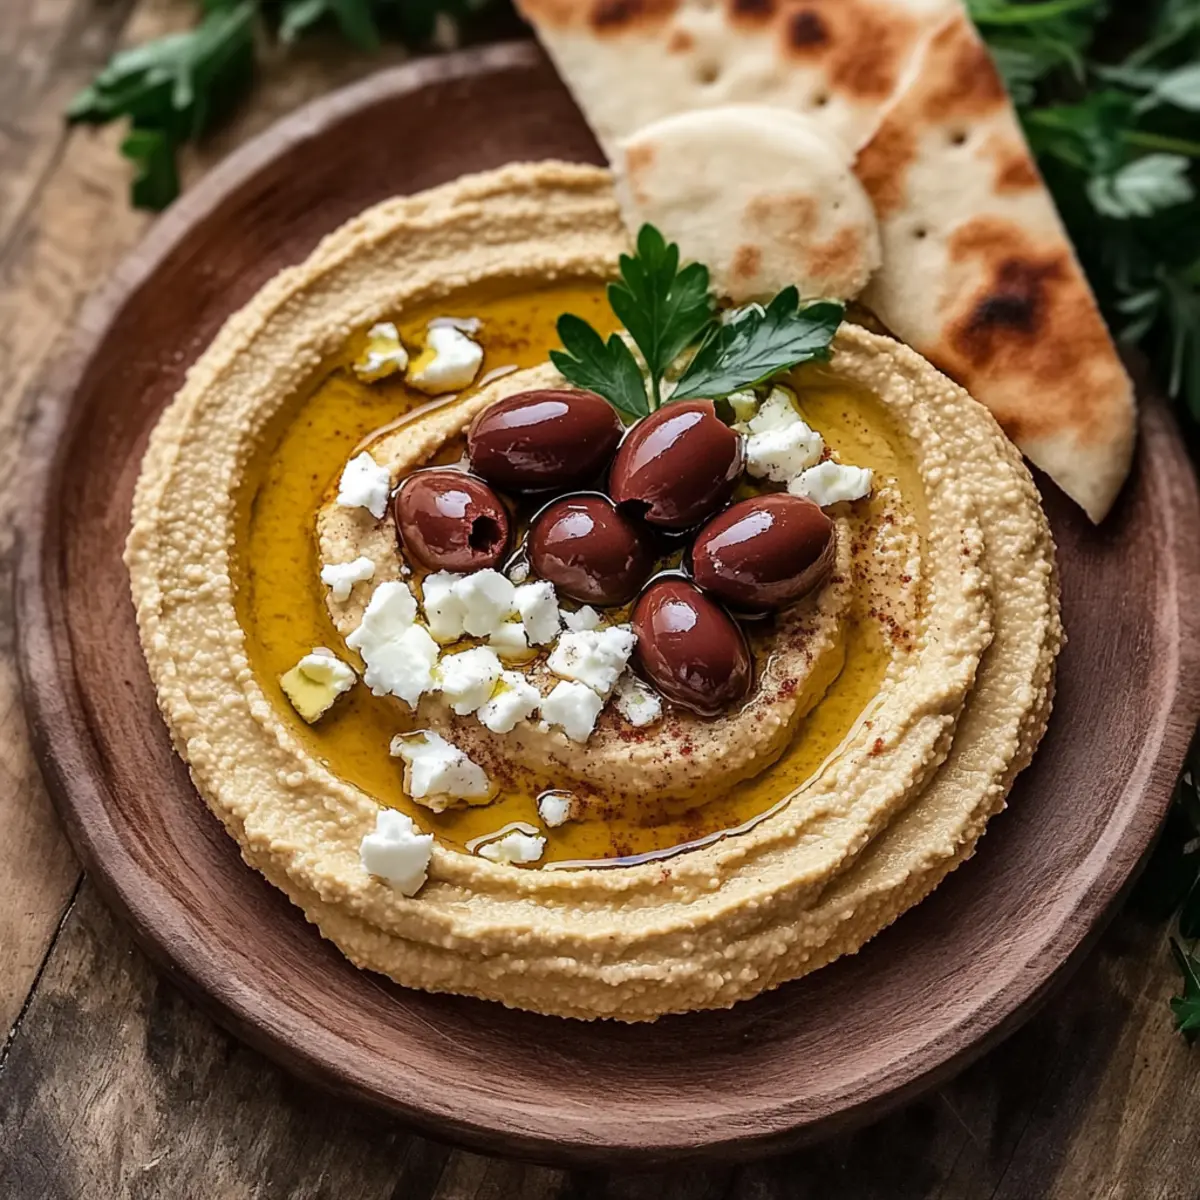
Transfer the Greek hummus to a beautiful serving bowl and make a shallow well in the center. Drizzle a generous amount of extra virgin olive oil on top, and garnish with additional crumbled feta, a few whole Kalamata olives, and a sprinkle of freshly chopped parsley for added color. This presentation makes your dish inviting and appetizing.
Step 6: Enjoy with Accoutrements
Your Greek hummus is now ready to serve! Pair it with warm pita bread, fresh sliced vegetables like cucumber and bell peppers, or an assortment of crunchy crackers. This creamy dip also makes for a delightful spread in sandwiches or wraps, enhancing all your snack adventures.
Expert Tips for Greek Hummus Recipe
Quality Ingredients Matter: Always choose fresh lemon juice and high-quality tahini for the best flavor. Avoid low-quality alternatives, as they can change the taste significantly.
Smooth Texture Tip: For an ultra-smooth hummus, consider removing the skins from the chickpeas. This extra step makes a world of difference in achieving creamy perfection.
Adjust to Taste: Don’t hesitate to tweak your Greek hummus recipe as you blend. Taste and adjust seasoning with more salt or lemon juice to cater to your preferences.
Make-Ahead Advantage: Preparing your hummus a day in advance allows the flavors to meld beautifully. Store it in an airtight container in the fridge—it’s even tastier the next day!
Garnishing Techniques: When serving, drizzle extra virgin olive oil on top and scatter a few Kalamata olives and parsley. This not only elevates presentation but also enhances flavor!
Make Ahead Options
These Greek Hummus Recipe options are perfect for busy home cooks looking to save time during hectic weeks! You can prepare the entire hummus up to 3 days ahead; just blend the chickpeas, tahini, lemon juice, olive oil, garlic, salt, and cumin, then gently fold in the feta and olives before serving to maintain texture. Store this creamy dip in an airtight container in the refrigerator to keep it fresh. When you’re ready to enjoy, give it a quick stir and consider drizzling with a touch more olive oil; the flavors will be even richer, giving you a delightful, hassle-free snack that’s just as delicious as when it was first made!
How to Store and Freeze Greek Hummus
Fridge: Store Greek hummus in an airtight container in the refrigerator for up to 3-4 days. The flavors improve with time, making it an ideal make-ahead snack.
Freezer: If you want to keep Greek hummus longer, freeze it in a suitable container for up to 3 months. Thaw in the refrigerator overnight before serving.
Reheating: If your hummus becomes thick after freezing, gently stir in a splash of water or olive oil to reach desired creaminess. It’s delicious served chilled or at room temperature!
What to Serve with Greek Hummus
Looking to create a delightful spread that perfectly complements your creamy Greek hummus?
- Crispy Pita Chips: Their crunchy texture pairs wonderfully with the creamy dip, providing a satisfying contrast with every bite.
- Colorful Veggie Platter: Fresh cucumbers, bell peppers, and carrots bring a crisp, refreshing crunch that enhances the rich flavors while adding a rainbow of colors to your table.
- Savory Baba Ganoush: Combining rich flavors of roasted eggplant with tahini, this dip offers a smoky counterpart to your Greek hummus that will keep your taste buds dancing.
- Mediterranean Grilled Chicken: Tender and juicy, marinated chicken adds a savory protein element, enriching your meal while maintaining that Mediterranean charm.
- Fresh Greek Salad: Crisp lettuce, tomatoes, cucumbers, and olives tossed in a light vinaigrette offer a zingy freshness that brightens up the meal and balances the richness of the hummus.
- Tzatziki Sauce: This cool, tangy yogurt dip infused with cucumber and dill is a refreshing complement to Greek flavors, making each bite feel like a Mediterranean getaway.
- Olive Tapenade: A spread made from finely chopped olives, capers, and anchovies, provides a briny, intense flavor that elevates the simplicity of the Greek hummus.
- Sparkling Lemonade: The zesty acidity enhances the dip’s tanginess while keeping the atmosphere light and refreshing, perfect for a sunny afternoon gathering.
- Baklava: For dessert, this sweet, flaky pastry drizzled with honey offers a delightful contrast to the savory flavors of the meal, ending on a sumptuous note.
- Mint-Infused Tea: A warm, fragrant herbal drink that pairs well with Mediterranean dishes, mint tea leaves a refreshing aftertaste to complete your culinary experience.
Greek Hummus Recipe Variations
Feel free to make this Greek hummus your own with these delicious twists that will inspire your taste buds!
-
Creamy Alternate Cheeses: Swap feta for goat cheese or ricotta for a milder flavor that still maintains that creamy texture. Each cheese brings its own personality to the mix, giving you a new experience every time!
-
Roasted Red Peppers: Add roasted red peppers for a sweet, smoky flavor twist. They not only elevate the taste but also add a gorgeous hue, turning your hummus into a colorful delight.
-
Herbal Freshness: Experiment with fresh herbs like dill or mint for an herbaceous finish. Their vibrant flavors can brighten your dip, offering a refreshing touch that pairs beautifully with pita.
-
Spicy Kick: For those craving a bit of heat, mix in some crushed red pepper flakes or a dash of cayenne. A little spice adds excitement without overpowering the traditional flavors.
-
Sun-Dried Tomato Bliss: Toss in some finely chopped sun-dried tomatoes for a tangy sweetness. They bring a rich, umami base that enhances the Mediterranean flair, making each bite delightful.
-
Lemon Zest Pop: Add a teaspoon of fresh lemon zest for an intense citrus burst. This subtle addition will amplify the brightness of your hummus, making it taste even fresher and more invigorating.
-
Nutty Crunch: Incorporate toasted pine nuts or walnuts for added texture and nutty flavor. This tiny contrast can create a lovely surprise in your creamy dip, enhancing the overall experience.
You might also enjoy serving your Greek hummus alongside fresh veggies or crispy crackers. And if you’re in the mood for an equally delicious main dish, check out my Spicy Salmon Sushi Bake!
Greek Hummus Recipe FAQs
What type of chickpeas should I use for this Greek hummus recipe?
Absolutely! For this Greek hummus recipe, I recommend using canned chickpeas for convenience, but feel free to use dried chickpeas if you prefer. If using dried, be sure to soak and cook them first. When using canned, always drain and rinse them thoroughly under cool water to remove excess salt and preserve the hummus’s flavor.
How should I store leftover Greek hummus?
Very! Store your Greek hummus in an airtight container in the refrigerator for up to 3-4 days. Cover it tightly to keep it fresh. As the flavors develop over time, it often tastes even better the next day, making it the ultimate make-ahead snack!
Can I freeze this Greek hummus?
Absolutely! Freezing Greek hummus is a great option for long-term storage. To freeze, transfer it to a freezer-safe container, leaving some space at the top for expansion, and store it for up to 3 months. When you’re ready to enjoy it, simply thaw it in the refrigerator overnight. If it appears thick after thawing, mix in a splash of water or olive oil until it reaches your desired consistency.
What can I do if my hummus turns out too thick?
Very! If your Greek hummus is too thick after blending, don’t worry! Just add water one tablespoon at a time, blending after each addition until you achieve your desired consistency. This is an excellent way to ensure it remains creamy and smooth without over-blending, which can lead to a paste-like texture.
Are there any dietary considerations with this recipe?
Yes! This Greek hummus recipe is vegetarian and primarily made with plant-based ingredients. However, if you have allergies to dairy or nuts, take caution with the feta cheese and tahini. For a dairy-free option, substitute the feta with a dairy-free cheese alternative or omit it altogether. Always check labels for allergens if serving to people with dietary restrictions.
What can I serve with Greek hummus besides pita bread?
The more the merrier! You can serve your delightful Greek hummus with a variety of dippers. Fresh vegetables such as cucumber, bell pepper strips, or carrot sticks are fantastic options. You can also pair it with pita chips, crusty bread, or even use it as a delicious spread in wraps and sandwiches. Enjoy experimenting with different snacks!
Creamy Greek Hummus Recipe for a Flavorful Snack Attack
Ingredients
Equipment
Method
- Begin by draining and rinsing 1 can of chickpeas under cool running water until the liquid is no longer cloudy. Set aside the chickpeas in a bowl.
- In a food processor, add the rinsed chickpeas, ¼ cup of tahini, the juice of one fresh lemon, 2 tablespoons of extra virgin olive oil, 2 cloves of freshly minced garlic, ½ teaspoon of salt, and ½ teaspoon of ground cumin. Pulse for 1-2 minutes until smooth.
- Add in ½ cup of crumbled feta cheese and ¼ cup of chopped Kalamata olives, and pulse gently just to combine. Ensure you still have little flecks of feta and olives visible.
- Taste your Greek hummus and adjust the seasoning. You may want to add more salt, lemon juice, or garlic. Blend again briefly.
- Transfer the Greek hummus to a serving bowl, drizzle extra virgin olive oil on top, and garnish with more feta, Kalamata olives, and parsley.
- Your Greek hummus is now ready! Pair it with warm pita bread, sliced vegetables, or crackers.
Leave a Reply