
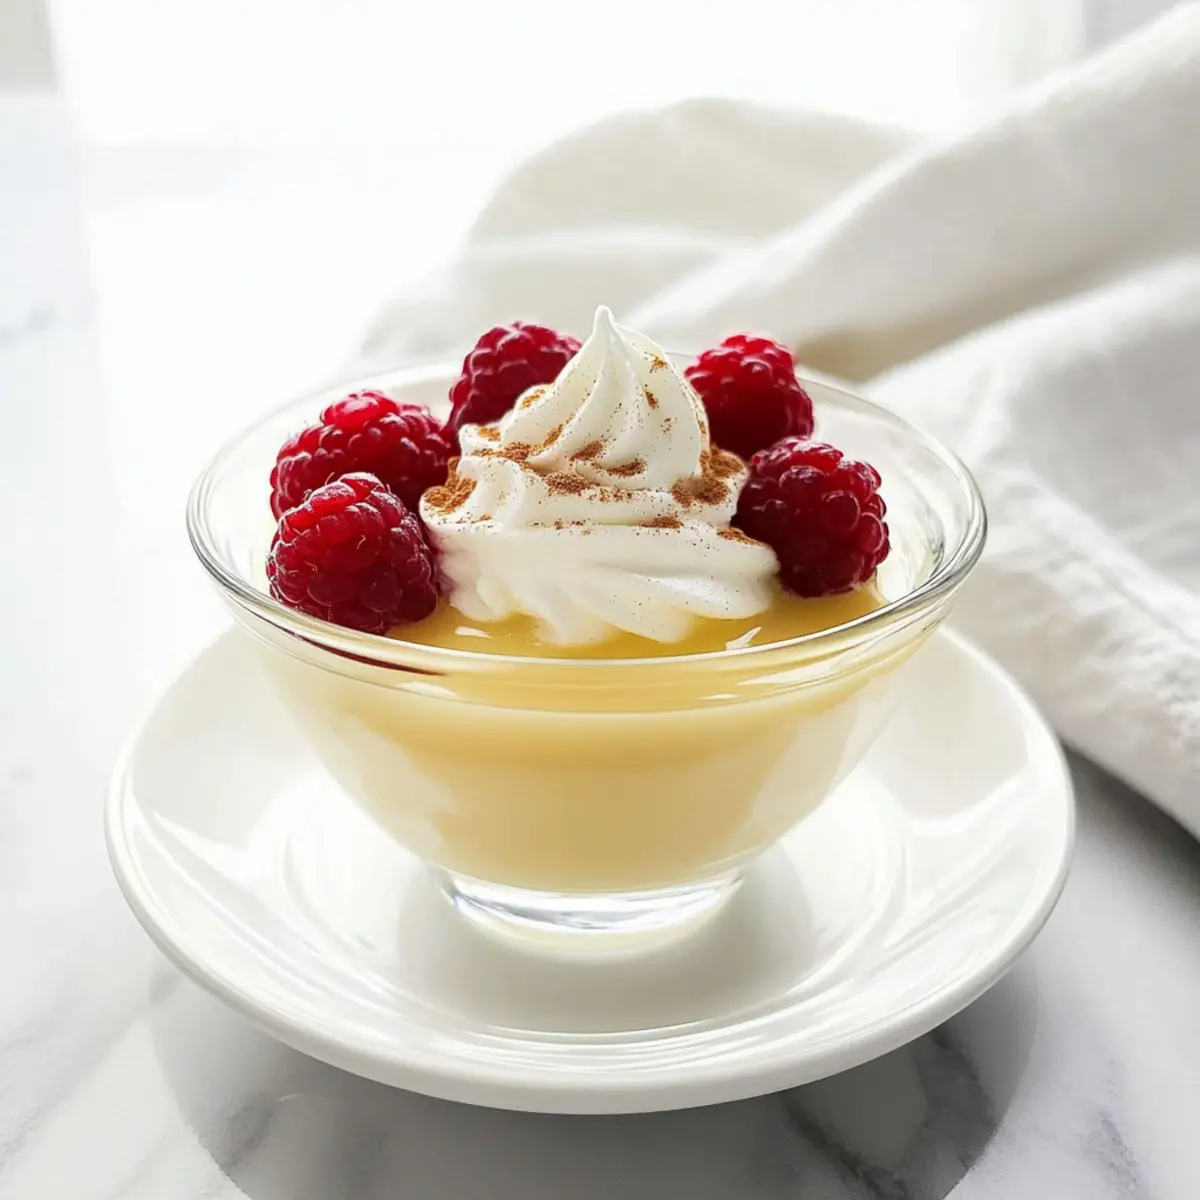
While mulling over dessert options one evening, I stumbled upon a craving for a classic that always hits the spot: homemade vanilla pudding. This creamy homemade vanilla pudding, with its thick and smooth texture, can whisk you back to comforting childhood memories in just 15 minutes. Made from simple ingredients, it’s not only a quick-fix for your sweet tooth, but also a delightful upgrade from the artificial boxed versions that often disappoint. The richness of fresh egg yolks and the aromatic burst of real vanilla make this dessert a true showstopper. Perfect for serving at dinner with friends or enjoyed quietly by yourself, this treat is sure to win hearts. What’s your favorite way to enjoy pudding—plain, or topped with something special?
Why Is Homemade Vanilla Pudding So Special?
Simplicity: This recipe comes together in just 15 minutes, making it the perfect last-minute dessert for any occasion.
Rich Flavor: The combination of real vanilla extract and creamy milk creates an indulgent taste that boxed options simply can’t match.
Versatile Uses: Enjoy it plain, or get creative by layering it in trifles or even turning it into a delicious banana pudding by adding sliced bananas.
No Artificial Additives: You can feel good serving this dessert, knowing it’s crafted from wholesome ingredients like fresh egg yolks and sugar.
Crowd-Pleasing: Whether for a dinner party or a cozy evening at home, this classic dessert will impress, leaving everyone wanting more. Pair it with a dollop of whipped cream or fresh fruit for added sweetness! Discover more delightful ideas in our Vanilla Raspberry Chia and Cheese Banana Pudding recipes for even more homemade treats.
Homemade Vanilla Pudding Ingredients
For the Pudding Base
- Granulated Sugar – Adds sweetness; feel free to reduce for a lighter treat.
- Cornstarch – Acts as a thickener; swap with arrowroot powder for a gluten-free alternative.
- Salt – Balances the sweetness; kosher salt works well for a milder flavor.
- Egg Yolks – Provides richness and structure; ensure they’re fresh for the best results.
- Whole Milk – Delivers a creamy texture; you can use reduced-fat milk, but the pudding will be less rich.
- Vanilla Extract – Imparts a delightful vanilla flavor; for an authentic touch, use a split vanilla bean during cooking.
Optional Toppings
- Whipped Cream – Adds a light, airy finish to your pudding.
- Fresh Fruit – Slices of strawberries or bananas create a refreshing contrast.
- Chocolate Sauce – A drizzle adds an indulgent twist, perfect for chocolate lovers!
This homemade vanilla pudding is the perfect base for your dessert creativity!
Step‑by‑Step Instructions for Creamy Homemade Vanilla Pudding
Step 1: Combine Dry Ingredients
In a heavy-bottomed saucepan, whisk together 1/2 cup of granulated sugar, 1/4 cup of cornstarch, and a pinch of salt until well mixed. This combination will create a smooth base for your homemade vanilla pudding. Make sure to break up any lumps in the cornstarch. This step should take about 2 minutes, and your mixture should be powdery and evenly blended.
Step 2: Mix Egg Yolks and Milk
In a separate bowl, whisk together 2 egg yolks and 2 cups of whole milk until frothy and fully combined. This mixture will add richness to your pudding. Aim for a light and airy consistency as you mix. This process will take about 1-2 minutes.
Step 3: Combine Mixtures Gently
Slowly pour the egg yolk and milk mixture into the saucepan with the dry ingredients while whisking continuously. This ensures that the egg yolks do not curdle, resulting in a smooth texture. Keep whisking for around 1-2 minutes until both mixtures blend seamlessly into a liquid.
Step 4: Cook the Mixture
Place the saucepan over medium heat. Continuously stir for 10-12 minutes, or until the mixture thickens enough to coat the back of a spoon. You’ll notice it bubbling gently—this is an indication of the pudding starting to set. The texture should become creamy and velvety, perfect for your homemade vanilla pudding.
Step 5: Add the Vanilla Extract
Once the pudding has thickened, remove the saucepan from heat. Stir in 1 teaspoon of vanilla extract, ensuring that the vanilla’s aroma fills the kitchen. It’s essential to add the vanilla after cooking, as this preserves its pure flavor and fragrance. Give it a good stir to incorporate completely.
Step 6: Chill the Pudding
Spoon the warm pudding into individual serving dishes or a large bowl. Allow it to cool at room temperature for about 15 minutes, then cover with plastic wrap pressed directly onto the surface to prevent a skin from forming. Refrigerate for at least 2-4 hours until fully chilled and set.
Step 7: Serve and Enjoy
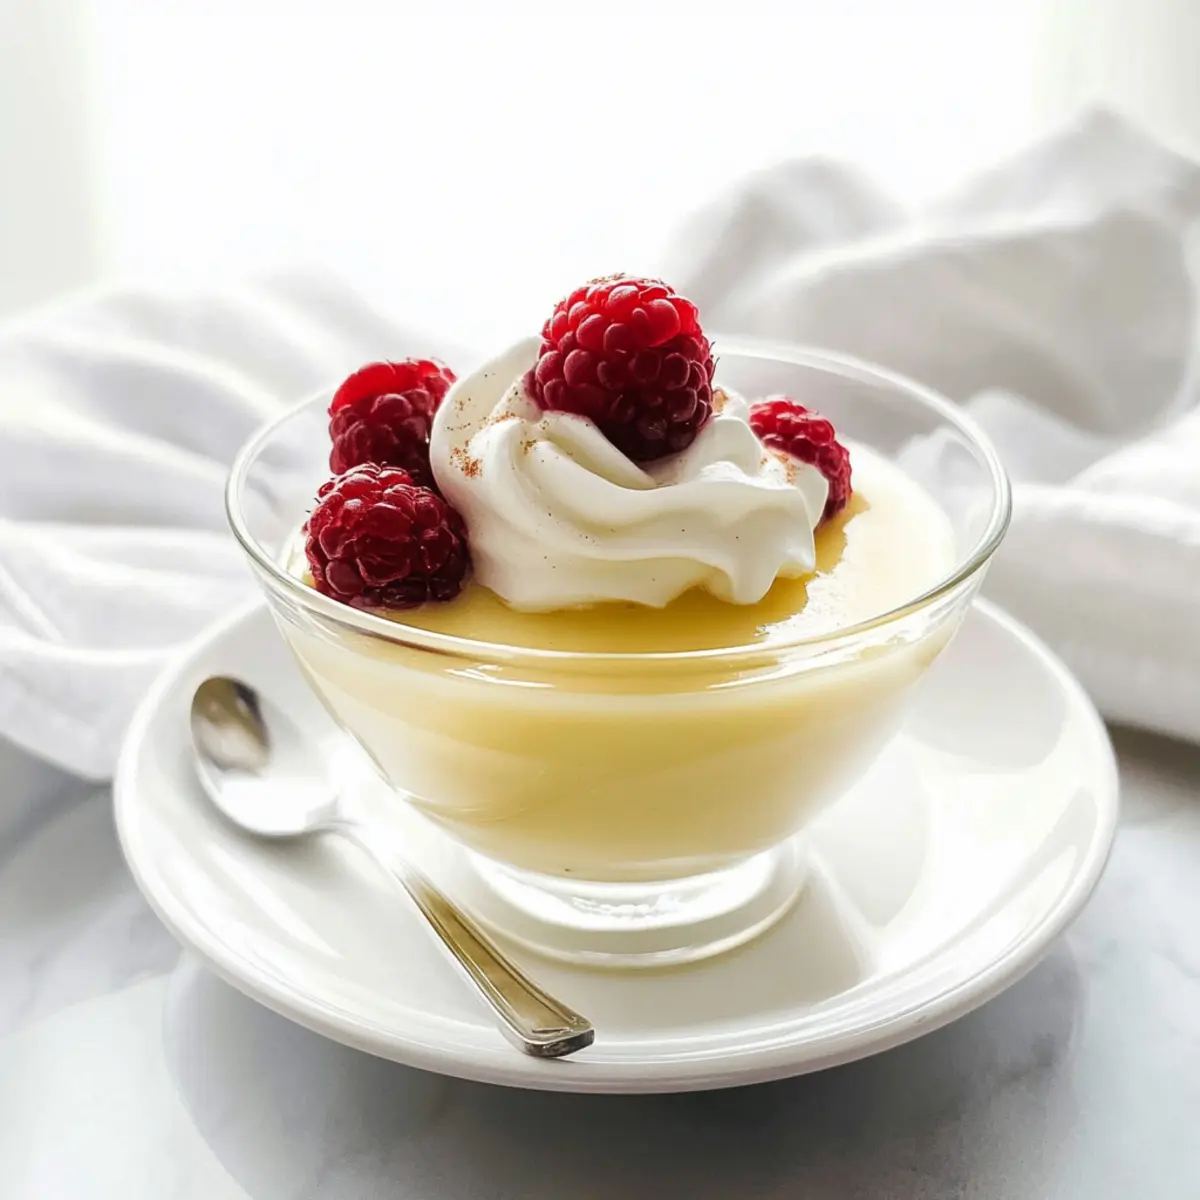
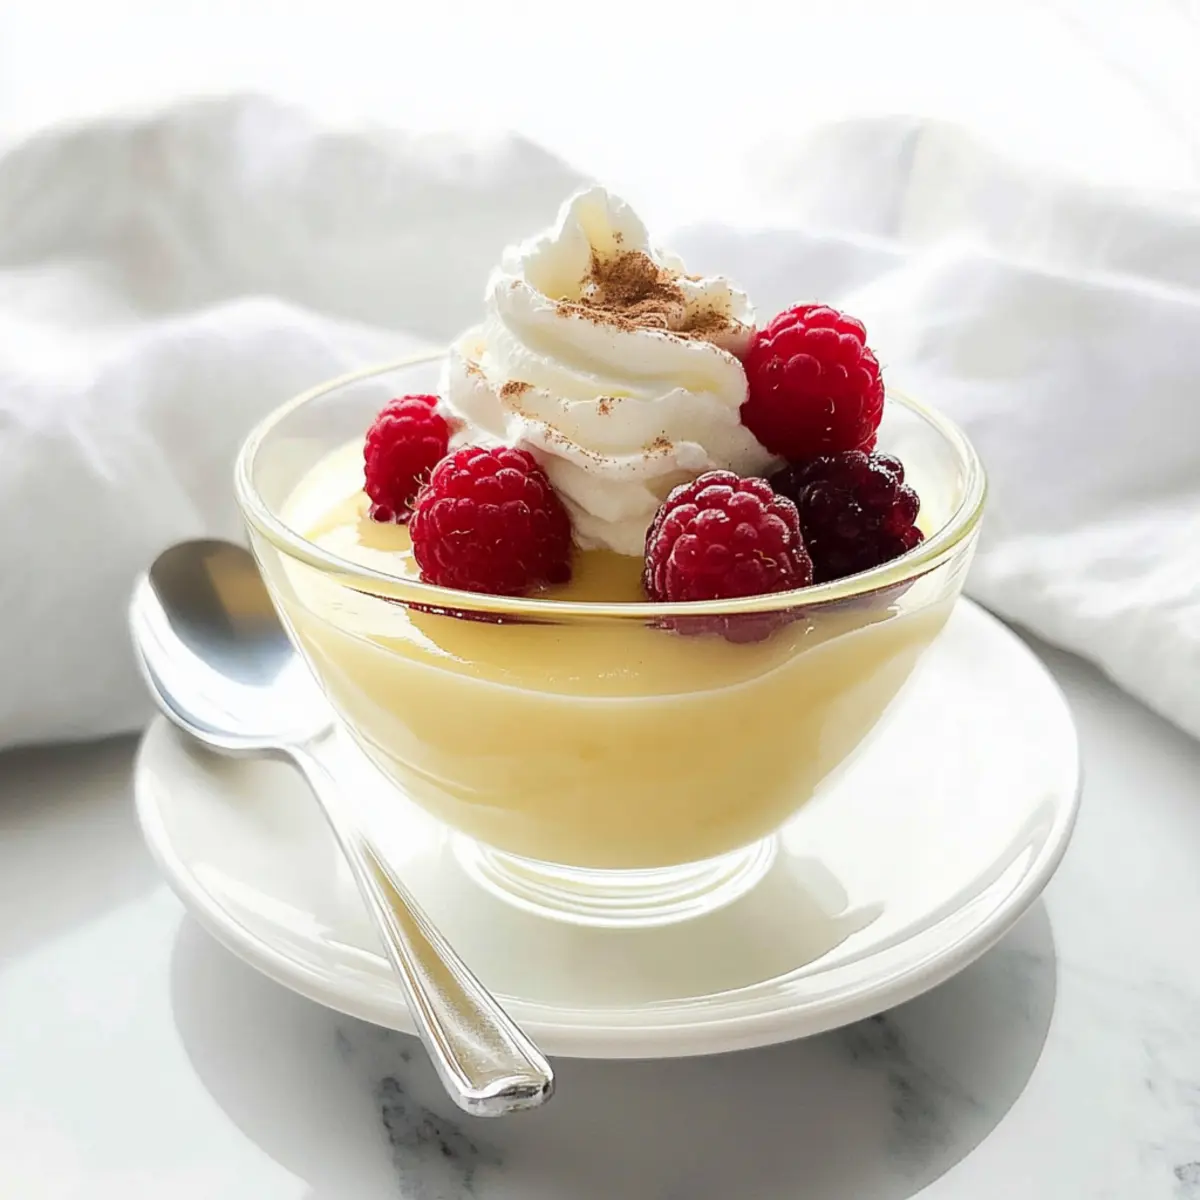
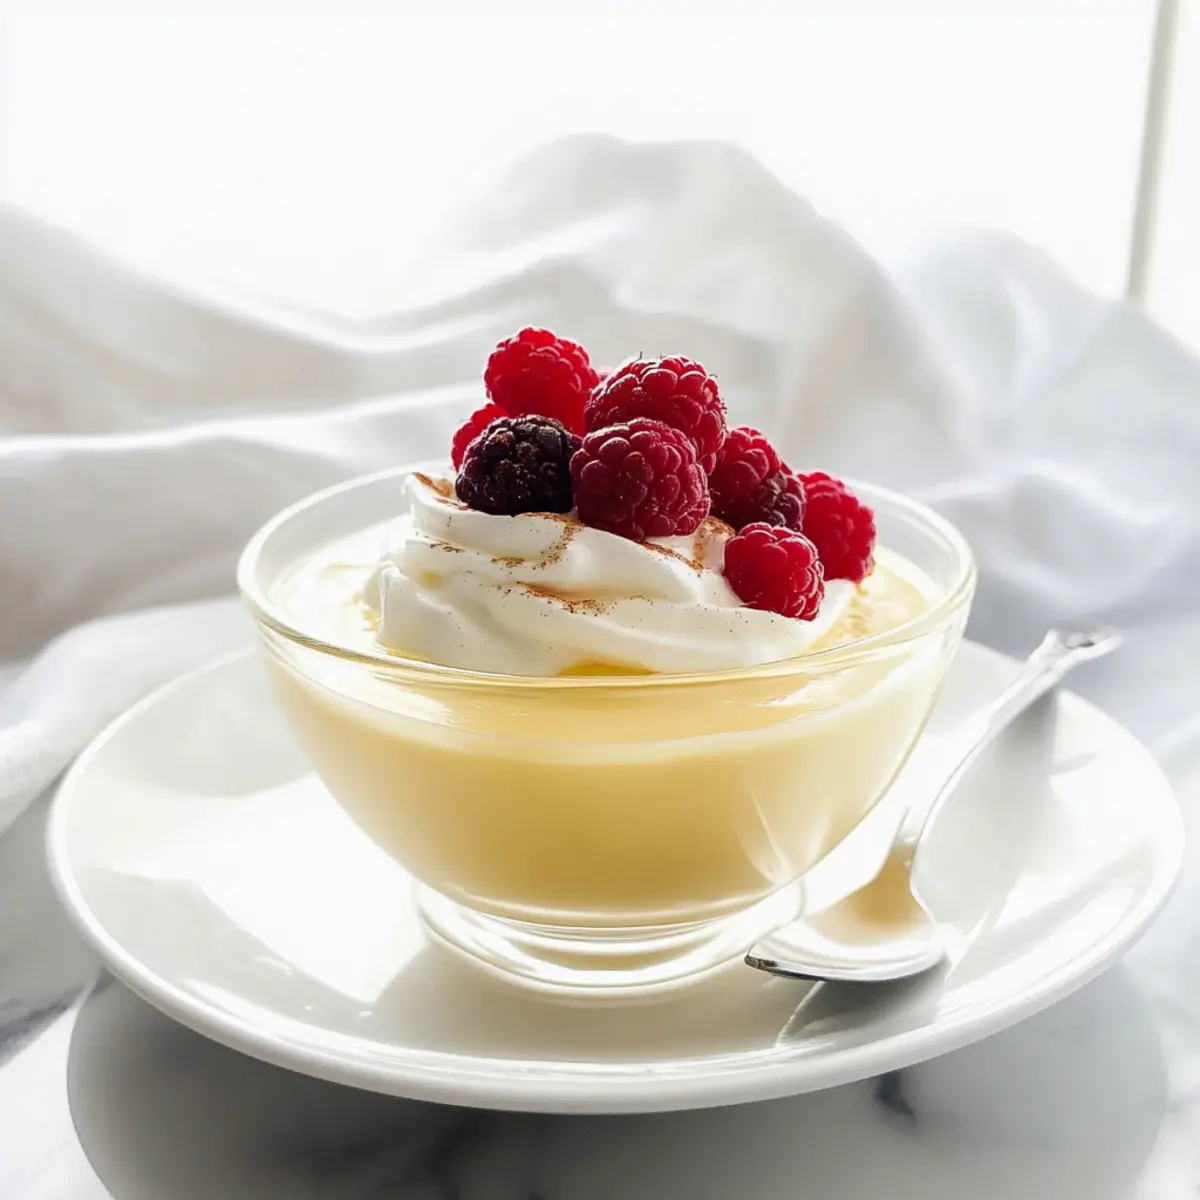
Once chilled, your creamy homemade vanilla pudding is ready to serve! You can enjoy it plain, or add a dollop of whipped cream, fresh fruit, or a drizzle of chocolate sauce for an extra touch. Relish each bite of this delightful dessert that brings comfort and satisfaction.
How to Store and Freeze Homemade Vanilla Pudding
Refrigerator: Store homemade vanilla pudding in an airtight container for up to 4 days. Cover the surface with plastic wrap to avoid skin formation.
Freezer: While it’s not ideal, you can freeze it for up to 2 months. However, expect texture changes upon thawing, which may result in a grainy consistency.
Reheating: If you prefer it warm, gently reheat on the stove over low heat, adding a splash of milk to restore creaminess. Make sure to stir frequently to avoid burning.
Serving: Enjoy chilled for the best flavor, but feel free to reheat for a comforting twist on this classic dessert!
Homemade Vanilla Pudding Variations
Get ready to personalize your pudding experience with these delightful twists that will surprise and please your taste buds!
-
Banana Pudding: Layer your vanilla pudding with sliced bananas and crispy vanilla wafers for a nostalgic treat. This classic combination adds texture and fruity sweetness to the rich vanilla.
-
Chocolate Delight: Stir in cocoa powder for a luscious chocolate version of your vanilla pudding. Blend about 1/4 cup of cocoa with your dry ingredients for a deeply decadent dessert.
-
Creamy Coconut: Substitute half the milk with coconut milk, and add shredded coconut for a tropical twist that will transport you to sunny shores with every bite.
-
Spiced Twist: Add a pinch of cinnamon or nutmeg to the mixture for a warm flavor enhancement that complements the vanilla beautifully. It gives a comforting aroma perfect for cozy evenings.
-
Nutty Crumble: Top your pudding with crushed almonds or pecans for an added crunch. Their rich textures contrast beautifully with the creamy pudding, making each spoonful a delightful surprise.
-
Maple Infusion: Replace granulated sugar with pure maple syrup for a subtle earthy sweetness that elevates your pudding. Not only does it add depth, but the flavor is simply exquisite.
-
Fruit Fusion: Swirl in fresh berries or pureed fruit before chilling for a refreshing burst of flavor. Think strawberries, raspberries, or mango—each brings a vibrant color and natural sweetness.
-
Chili Kick: For those who love a bit of heat, add a tiny pinch of cayenne pepper or chili powder into your pudding mixture. It’s an unexpected twist that can make this dessert truly memorable.
These variations can elevate your homemade vanilla pudding into something truly special. If you want more creative ideas, don’t forget to check out our Date Caramel Homemade or try layering it in our delectable Cheese Banana Pudding for some extra inspiration!
What to Serve with Creamy Homemade Vanilla Pudding?
This delightful dessert pairs beautifully with simple additions that enhance its creamy texture and rich vanilla flavor.
-
Fresh Berries: Their tartness contrasts the sweetness of the pudding, adding a refreshing burst of flavor. Think strawberries, blueberries, or blackberries piled high for a colorful finish!
-
Chocolate Sauce: Drizzling warm chocolate sauce over your pudding creates a decadent treat. The smooth, rich chocolate beautifully complements the subtle vanilla, making each spoonful an indulgent experience.
-
Whipped Cream: A dollop of airy whipped cream on top lightens the pudding’s richness. This classic pairing adds a pleasing texture contrast, inviting you to savor each delectable bite.
-
Toasted Almonds: A sprinkle of toasted almonds introduces a crunchy element, enhancing the pudding’s silky smoothness. Their nutty flavor also brings a delightful depth, making it a sophisticated dessert option.
-
Caramel Drizzle: A glossy drizzle of caramel sauce over your pudding adds an extra layer of sweetness and depth. This rich addition creates a wonderful interplay of flavors that dessert lovers will adore.
-
Banana Slices: For a comforting twist, top your pudding with fresh banana slices. This not only enhances the indulgence but also adds a natural sweetness that perfectly balances the dish.
-
Mint Leaves: Garnish with fresh mint leaves for a pop of color and a refreshing flavor profile. The mint brightens the pudding, making it feel even more inviting as a perfect dessert choice.
Expert Tips for Homemade Vanilla Pudding
-
Pan Selection: Use a heavy-bottomed saucepan to prevent scorching. This helps distribute heat evenly, ensuring your homemade vanilla pudding cooks perfectly.
-
Stir Consistently: Stir the mixture constantly while cooking to avoid lumps and prevent burning. This essential step guarantees a silky smooth texture.
-
Simmer Gently: Allow the pudding to simmer slowly. Cooking too fast may yield a thin texture, so patience is key for that creamy result.
-
Handle Lumps: If lumps form, simply strain the mixture through a fine-mesh sieve before chilling. This ensures your pudding remains velvety and divine.
-
Prevent Skin Formation: Cover the pudding with plastic wrap pressed directly onto the surface right after cooking. This tip prevents an unsightly skin from developing as it cools.
-
Add Flavor Last: Always stir in the vanilla extract after removing from heat; this preserves the rich, aromatic flavor of your homemade vanilla pudding.
Make Ahead Options
These homemade vanilla pudding delights are perfect for meal prep enthusiasts! You can prepare the base pudding up to 24 hours in advance, letting you enjoy the fruits of your labor on a busy weeknight. To make ahead, follow the first six steps of the recipe, allow the pudding to cool, then cover with plastic wrap pressed directly onto the surface to avoid a skin from forming, and refrigerate. This ensures it stays just as creamy and delicious when you’re ready to serve. When you’re ready, simply spoon the chilled pudding into individual bowls or layer with your favorite toppings for a delightful dessert that feels fresh and satisfying.
Homemade Vanilla Pudding Recipe FAQs
What type of milk is best for homemade vanilla pudding?
Using whole milk delivers the creamiest and richest texture for your homemade vanilla pudding. Reduced-fat milk can be used as a substitute, but keep in mind that it will alter the pudding’s overall richness and dreaminess.
How should I store homemade vanilla pudding?
Absolutely! Store your homemade vanilla pudding in an airtight container in the refrigerator for up to 4 days. To prevent a skin from forming, cover the surface of the pudding with plastic wrap pressed directly onto it.
Can I freeze homemade vanilla pudding?
While you can freeze pudding for up to 2 months, it’s important to know that the texture will change, resulting in a grainy consistency once thawed. If you wish to give it a try, pour it into an airtight container or freezer-safe zip bag, leaving some space for expansion; then, thaw it overnight in the refrigerator before use.
What should I do if my homemade vanilla pudding has lumps?
Very! If you find lumps in your pudding, don’t despair. Simply strain the mixture through a fine-mesh sieve into a bowl before chilling. This step ensures a silky, smooth texture for your final dessert.
Are there any dietary considerations for homemade vanilla pudding?
Yes! This recipe contains dairy and eggs, so if you have allergies to either, consider substituting with plant-based milk and an egg replacer like a flax egg. However, the texture and flavor may vary. For pet owners, it’s best to keep this dessert away from pets as both dairy and sugar can be harmful in large quantities.
How can I tell when my pudding has thickened enough?
To check if your homemade vanilla pudding has thickened properly, dip a spoon into the mixture. It should coat the back of the spoon without running off too quickly. If it clings well and leaves a clear line when you draw your finger through it, you’re set! This typically happens after about 10–12 minutes of constant stirring over medium heat.
Delicious Homemade Vanilla Pudding for a Sweet Escape
Ingredients
Equipment
Method
- In a heavy-bottomed saucepan, whisk together 1/2 cup of granulated sugar, 1/4 cup of cornstarch, and a pinch of salt until well mixed.
- In a separate bowl, whisk together 2 egg yolks and 2 cups of whole milk until frothy and fully combined.
- Slowly pour the egg yolk and milk mixture into the saucepan with the dry ingredients while whisking continuously.
- Place the saucepan over medium heat. Continuously stir for 10-12 minutes, or until the mixture thickens enough to coat the back of a spoon.
- Once the pudding has thickened, remove the saucepan from heat. Stir in 1 teaspoon of vanilla extract.
- Spoon the warm pudding into individual serving dishes or a large bowl. Allow to cool at room temperature for about 15 minutes.
- Cover with plastic wrap pressed directly onto the surface to prevent a skin from forming. Refrigerate for at least 2-4 hours until fully chilled and set.
- Once chilled, serve with optional whipped cream, fresh fruit, or chocolate sauce.
Leave a Reply