
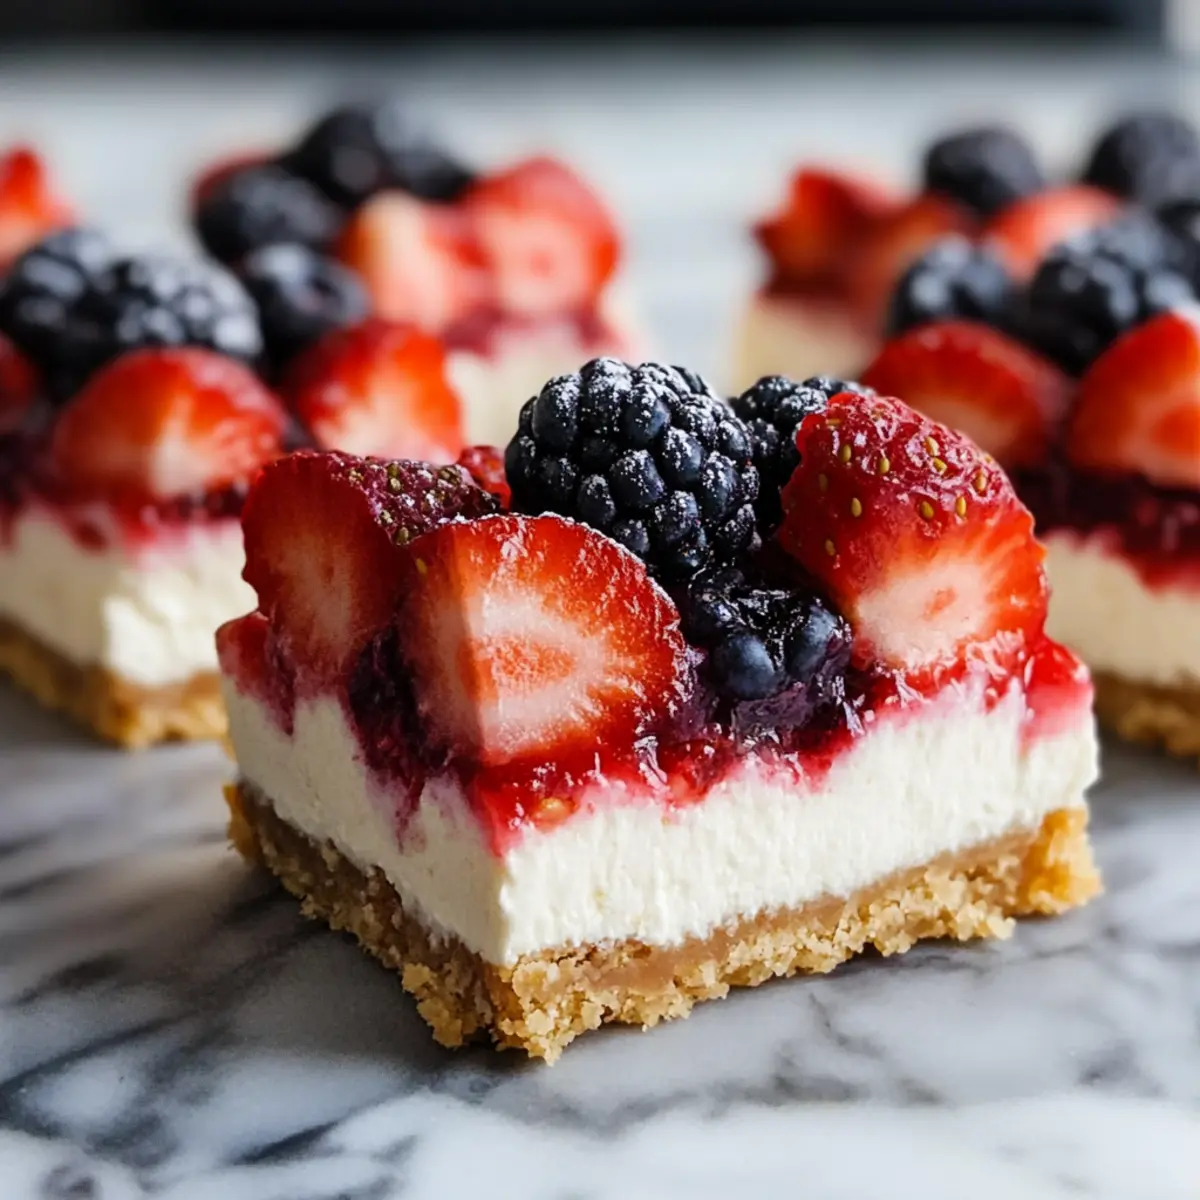
As I set foot into summer, the scent of sun-kissed berries and the promise of gatherings fills the air. What better way to celebrate the season than with these No-Bake Flag Cheesecake Bars? Created to evoke holiday cheer, these bars combine creamy cheesecake goodness with vibrant berries, perfectly mimicking the American flag. And the best part? They require just 20 minutes of prep, making them an effortless addition to any barbecue or picnic. Not only are they a crowd-pleaser, but they also offer a gluten-free option, ensuring everyone can join in on the fun. Who’s ready to put a delicious spin on dessert and impress both kids and adults alike? Let’s dive into this festive delight!
Why You’ll Adore These Cheesecake Bars?
Simplicity at Its Finest: With only 20 minutes of prep time, these No-Bake Flag Cheesecake Bars are perfect for busy summer days.
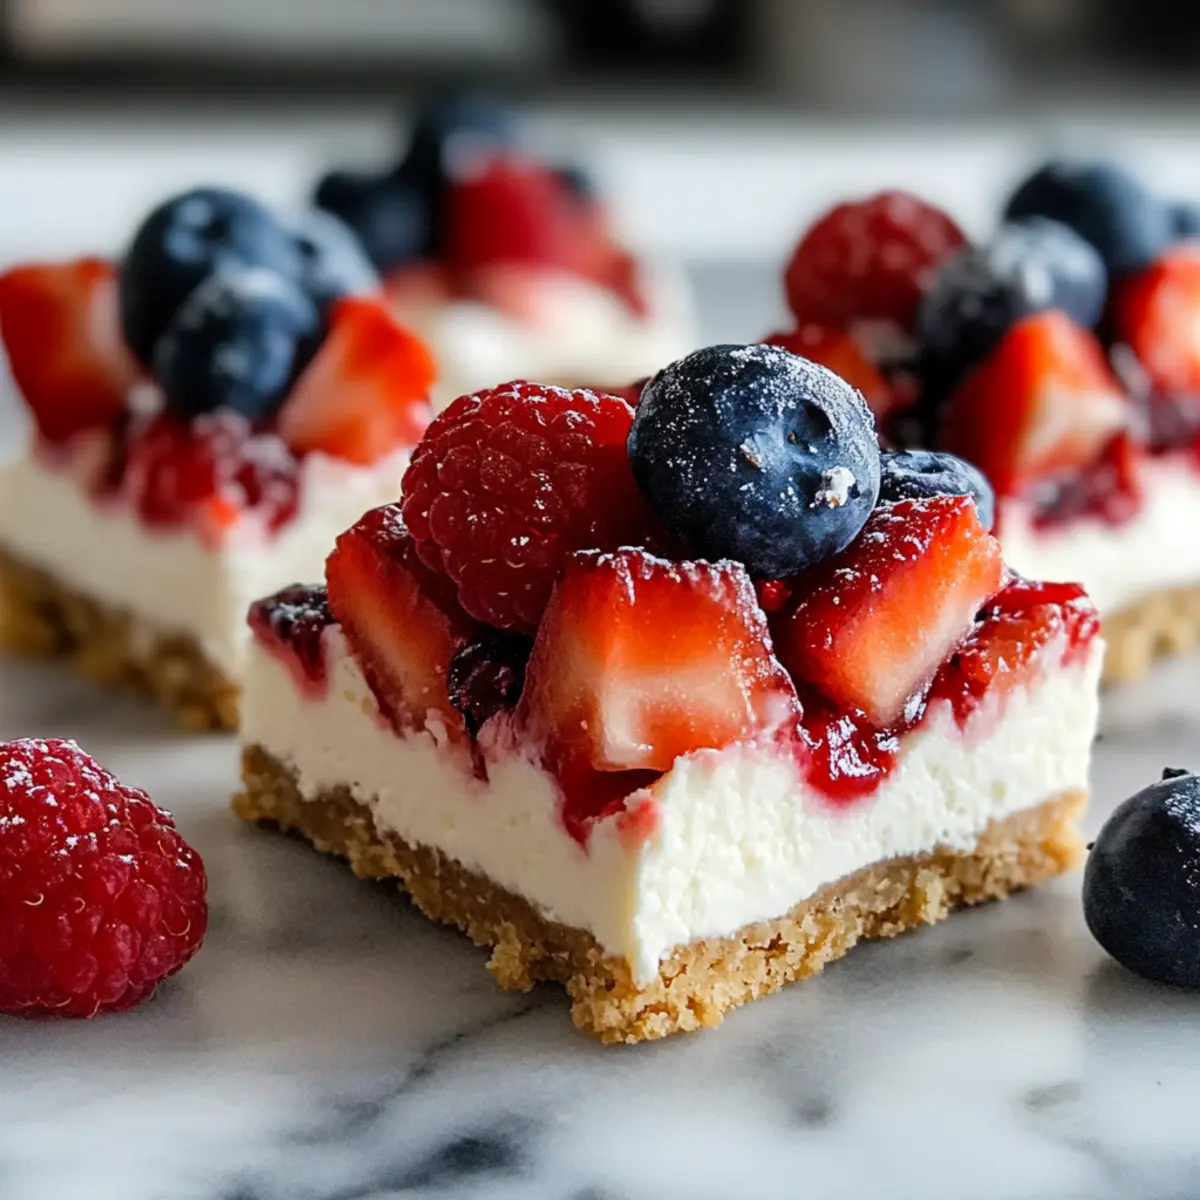
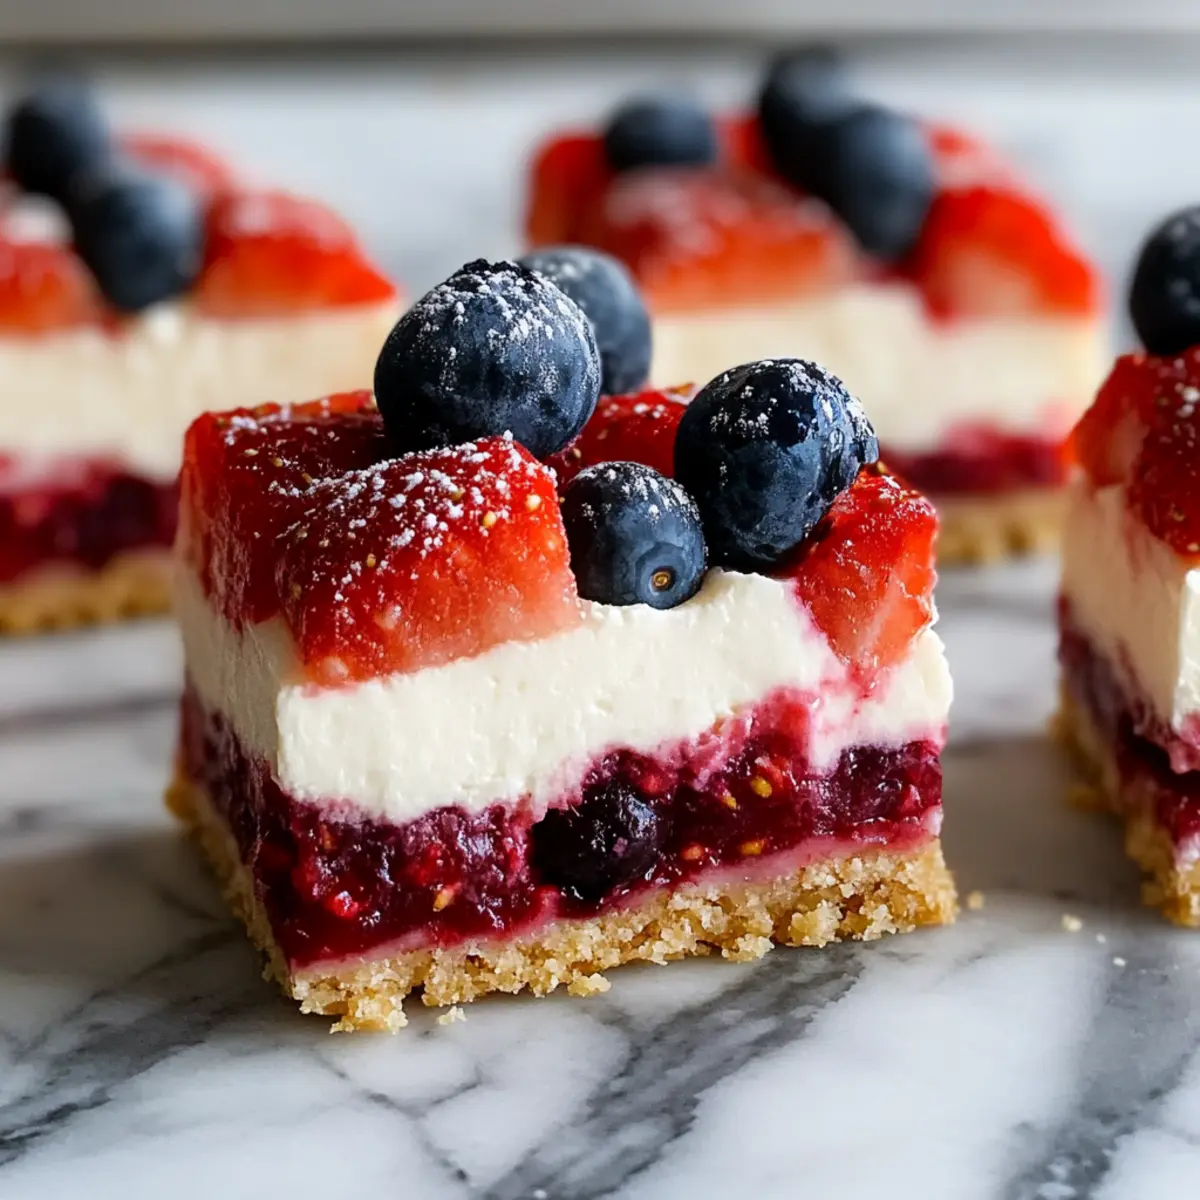
Vibrant Presentation: The colorful arrangement of fresh berries not only looks stunning but elevates the flavor profile, making it a delightful treat for all.
Crowd-Pleasing Flavor: Each bite combines smooth creaminess with a hint of sweetness, ensuring everyone at your gathering will be reaching for seconds.
Customizable Delight: Swap in your favorite seasonal fruits or even create a vegan version to cater to all dietary preferences.
Make Ahead Magic: Prepare these bars a day in advance for extra convenience, allowing the flavors to develop beautifully—just like with Crisp Mini Cheesecakes or Cheesecake Stuffed Strawberries!
No-Bake Flag Cheesecake Bars Ingredients
For the Crust
• Graham Cracker Crumbs – Structure the bottom crust; substitute gluten-free graham crackers for a gluten-free version.
• Unsalted Butter, Melted – Binds the crumbs together; ensure it’s fully melted for even mixing.
• Granulated Sugar – Adds sweetness to the crust; adjust to taste if desired.
For the Filling
• Cream Cheese (Softened) – Primary ingredient for the filling, providing creaminess; make sure it’s at room temperature for easy blending.
• Powdered Sugar – Sweetens the cheesecake layer while keeping it smooth.
• Vanilla Extract – Enhances flavor depth; use pure vanilla for best results.
• Heavy Cream – Adds lightness and aeration to the filling; whip to stiff peaks for best texture.
For the Topping
• Fresh Blueberries – Decorative element forming the flag’s blue field; can substitute with other berries like blackberries.
• Fresh Strawberries (Sliced) – Represents the flag’s red stripes; raspberries can also be used for a twist.
These No-Bake Flag Cheesecake Bars are sure to be a hit at your next summer gathering, blending delightful flavor with a festive presentation!
Step‑by‑Step Instructions for No-Bake Flag Cheesecake Bars
Step 1: Prepare the Crust
In a mixing bowl, combine graham cracker crumbs, melted unsalted butter, and granulated sugar until the mixture resembles wet sand. Press the crumb mixture firmly into a 9×13 inch baking pan, ensuring it’s tightly packed and even. Aim for a height of about half an inch, creating a sturdy base for your No-Bake Flag Cheesecake Bars.
Step 2: Make the Filling
In a large bowl, beat softened cream cheese, powdered sugar, and vanilla extract using an electric mixer until the mixture is smooth and creamy. This process should take about 2-3 minutes on medium speed. Ensure there are no lumps so that the filling will be silky when spread onto the crust—a crucial step for the overall texture of your cheesecake bars.
Step 3: Whip Cream
In a separate, chilled bowl, whip the heavy cream until stiff peaks form, which should take about 3-5 minutes on high speed. This will add lightness and a fluffy texture to your cheesecake filling. Gently fold the whipped cream into the cream cheese mixture using a spatula, being careful not to deflate the whipped cream. This step is vital for achieving the perfect consistency in your No-Bake Flag Cheesecake Bars.
Step 4: Assemble
Once the filling is ready, spread it evenly over the prepared crust using a spatula, smoothing out the top. Make sure it covers the crust completely for a uniform appearance. This will form the creamy layer that pairs beautifully with the fruity toppings, and will be the heart of your delicious No-Bake Flag Cheesecake Bars.
Step 5: Decorate
To create the American flag design, arrange fresh blueberries in the upper left corner of the cheesecake layer, creating the blue field. Next, create alternating rows of sliced strawberries across the rest of the surface, representing the flag’s red stripes. Take your time to get creative with the arrangement to enhance the visual appeal of your No-Bake Flag Cheesecake Bars.
Step 6: Chill
Finally, cover the baking pan with plastic wrap and refrigerate the assembled cheesecake bars for at least 4 hours, or until they are fully set. This chilling process allows the flavors to meld and the filling to firm up beautifully. Once set, you can cut the bars into squares and serve chilled, showcasing your stunning No-Bake Flag Cheesecake Bars at your summer gatherings!

Expert Tips for No-Bake Flag Cheesecake Bars
-
Perfectly Soft Cream Cheese: Allow cream cheese to reach room temperature for easy mixing; this prevents lumps and ensures a smooth filling.
-
Stiff Peaks Required: Whip the heavy cream until stiff peaks form; this is essential for lightness in your No-Bake Flag Cheesecake Bars.
-
Adjusting Consistency: If your cheesecake filling seems too thick, add a splash of milk or cream for a softer texture that’ll spread easily.
-
Chill Effectively: Refrigerate bars for at least 4 hours, but overnight chilling improves flavor and ensures a firmer set, making slicing easier.
-
Berry Variations: Feel free to swap the strawberries and blueberries for your favorite seasonal fruits; creativity adds a personal touch to your cheesecake bars!
Make Ahead Options
These No-Bake Flag Cheesecake Bars are a fantastic choice for meal prep, allowing you to enjoy more time with loved ones at your summer gatherings. You can prepare the crust and filling up to 24 hours in advance; simply store them separately in airtight containers in the refrigerator to maintain their freshness and quality. When you’re ready to serve, pour the filling over the crust, decorate with berries, and chill as directed. This prep approach not only saves valuable time but also enhances the flavors, ensuring your cheesecake bars are just as delicious and festive when served!
Storage Tips for No-Bake Flag Cheesecake Bars
Fridge: Store leftovers in an airtight container in the refrigerator for up to 5 days to keep them fresh and creamy.
Freezer: For longer storage, freeze the cheesecake bars wrapped in plastic wrap and then in an airtight container for up to 2 months.
Thawing: To enjoy frozen No-Bake Flag Cheesecake Bars, thaw in the fridge overnight for the best texture.
Reheating: These bars are best served chilled, so no reheating is necessary—simply slice and enjoy!
What to Serve with No-Bake Flag Cheesecake Bars?
Elevate your summer gatherings with delightful pairings that complement the creamy, fruity goodness of these festive cheesecake bars.
-
Fresh Fruit Salad: A medley of seasonal fruits adds a refreshing crunch and bright flavors that balance the rich cheesecake.
-
Grilled Peaches: The warm, caramelized sweetness of grilled peaches drizzled with honey enhances the summer vibes while adding a smoky contrast.
-
Vanilla Ice Cream: A scoop of creamy vanilla ice cream creates a luscious combination, especially as it melts into the cheesecake’s coolness.
-
Whipped Cream: A dollop of freshly whipped cream adds a fluffy texture, perfectly enhancing the creamy layers in every bite.
-
Mojito Mocktail: This refreshing drink, with mint and lime, cuts through the sweetness of the bars, creating a balanced, enjoyable sip.
-
Chocolate Drizzle: Drizzling melted chocolate over each bar elevates the indulgence factor, marrying rich cocoa flavors with the fruity topping.
-
Lemonade: The tartness of freshly squeezed lemonade pairs excellent with the sweet bars, making it a classic picnic complement.
-
Cheese Platter: A selection of creamy cheeses can create a stunning contrast to the dessert, especially mild choices like brie or goat cheese.
-
Chocolate-Covered Strawberries: For a bite-sized indulgence, these treats mirror the flavors of your cheesecake bars while offering a delightful surprise.
No-Bake Flag Cheesecake Bars Variations
Feel empowered to personalize these delightful cheesecake bars and savor every bite!
- Gluten-Free: Use gluten-free graham crackers instead of regular ones to ease any dietary worries while still enjoying this treat.
- Vegan Delight: Opt for dairy-free cream cheese and whipped coconut cream for a luscious vegan version that everyone can enjoy.
- Chocolate Lovers: Add a layer of luscious chocolate ganache on top for a decadent twist that will make chocolate lovers swoon.
- Berry Medley: Mix and match seasonal fruits, like raspberries or peaches, to create your own unique flag design bursting with flavor.
- Nutty Crunch: Incorporate finely chopped nuts into the crust for an extra crunch that complements the smooth filling beautifully.
- Citrus Zing: Add a splash of lemon or orange zest to the filling for a refreshing burst of citrus that elevates the cheesecake flavor.
- Layered Treats: Consider making these in individual cups for a fun, portable dessert that’s perfect for gatherings (think Cookie Butter Cheesecake).
- Berry Sauce Drizzle: Top off your cheesecake bars with a homemade berry sauce for added sweetness and a splash of color!
The options are limitless when you add your creative touch! Feel free to explore these variations and make these bars your own. You might also enjoy serving them alongside refreshing options like Heaven on Earth Cake for a delightful summer dessert spread!
No-Bake Flag Cheesecake Bars Recipe FAQs
How do I choose ripe berries for the No-Bake Flag Cheesecake Bars?
Absolutely! Look for blueberries and strawberries that are plump, firm, and vibrant in color. Avoid any with dark spots or signs of spoilage, as these can affect the overall flavor. When selecting strawberries, opt for those with bright red skin and a fresh green cap—indicators of peak ripeness.
What is the best way to store No-Bake Flag Cheesecake Bars?
Very! After making your No-Bake Flag Cheesecake Bars, store them in an airtight container in the fridge. They can last for up to 5 days, maintaining their delicious creaminess. Ensure they’re covered well to prevent any fridge odors from seeping in!
Can I freeze these cheesecake bars?
Absolutely! To freeze, wrap the cheesecake bars tightly in plastic wrap first, then place them in an airtight freezer-safe container. This method prevents freezer burn. They can be stored this way for up to 2 months. When you’re ready to enjoy, simply thaw them in the refrigerator overnight for optimal texture.
What should I do if the cheesecake filling is too thick?
If you find that your filling is too thick, don’t fret! Simply add a splash of milk or heavy cream to the mixture, and beat it until it reaches your desired consistency. This lightly moistens the filling, allowing for easier spreading over the crust. Remember, achieving the right texture is key for smooth and delectable bars!
Are these cheesecake bars suitable for people with allergies?
The No-Bake Flag Cheesecake Bars are vegetarian-friendly, but for those with gluten or dairy allergies, I recommend using gluten-free graham crackers and dairy-free cream cheese and heavy cream. It’s always a great idea to double-check ingredient labels to avoid any potential allergens for guests!
How long do these cheesecake bars need to chill before serving?
Chill the cheesecake bars for a minimum of 4 hours to allow them time to set properly. However, for the best flavor and texture, it’s ideal to let them chill overnight. This extra time helps the filling firm up and allows the flavors to develop beautifully, creating a truly enjoyable dessert experience!
No-Bake Flag Cheesecake Bars: A Festive Summer Delight!
Ingredients
Equipment
Method
- In a mixing bowl, combine graham cracker crumbs, melted unsalted butter, and granulated sugar until the mixture resembles wet sand. Press firmly into a 9x13 inch baking pan.
- In a large bowl, beat softened cream cheese, powdered sugar, and vanilla extract using an electric mixer until smooth and creamy.
- In a separate chilled bowl, whip the heavy cream until stiff peaks form. Gently fold it into the cream cheese mixture.
- Spread the filling evenly over the prepared crust using a spatula.
- Arrange fresh blueberries in the upper left corner, followed by alternating rows of sliced strawberries across the surface.
- Cover with plastic wrap and refrigerate for at least 4 hours, or until fully set. Cut into squares and serve chilled.
Leave a Reply