
With just a few simple ingredients, I whipped up a delightful batch of No-Bake Mini Cheesecakes that took my taste buds on a blissful ride. These creamy morsels are not only effortlessly easy to prepare but also adaptable for various dietary needs—think gluten-free or even dairy-free versions that still deliver on flavor. Perfectly portioned and utterly indulgent, they are ideal for gatherings or as a make-ahead dessert when that sweet craving strikes. Picture the contrast of a crunchy graham cracker crust hugging a light and fluffy filling, ready for your favorite toppings. Curious about how to create this delightful treat in your own kitchen? Let’s dive in!
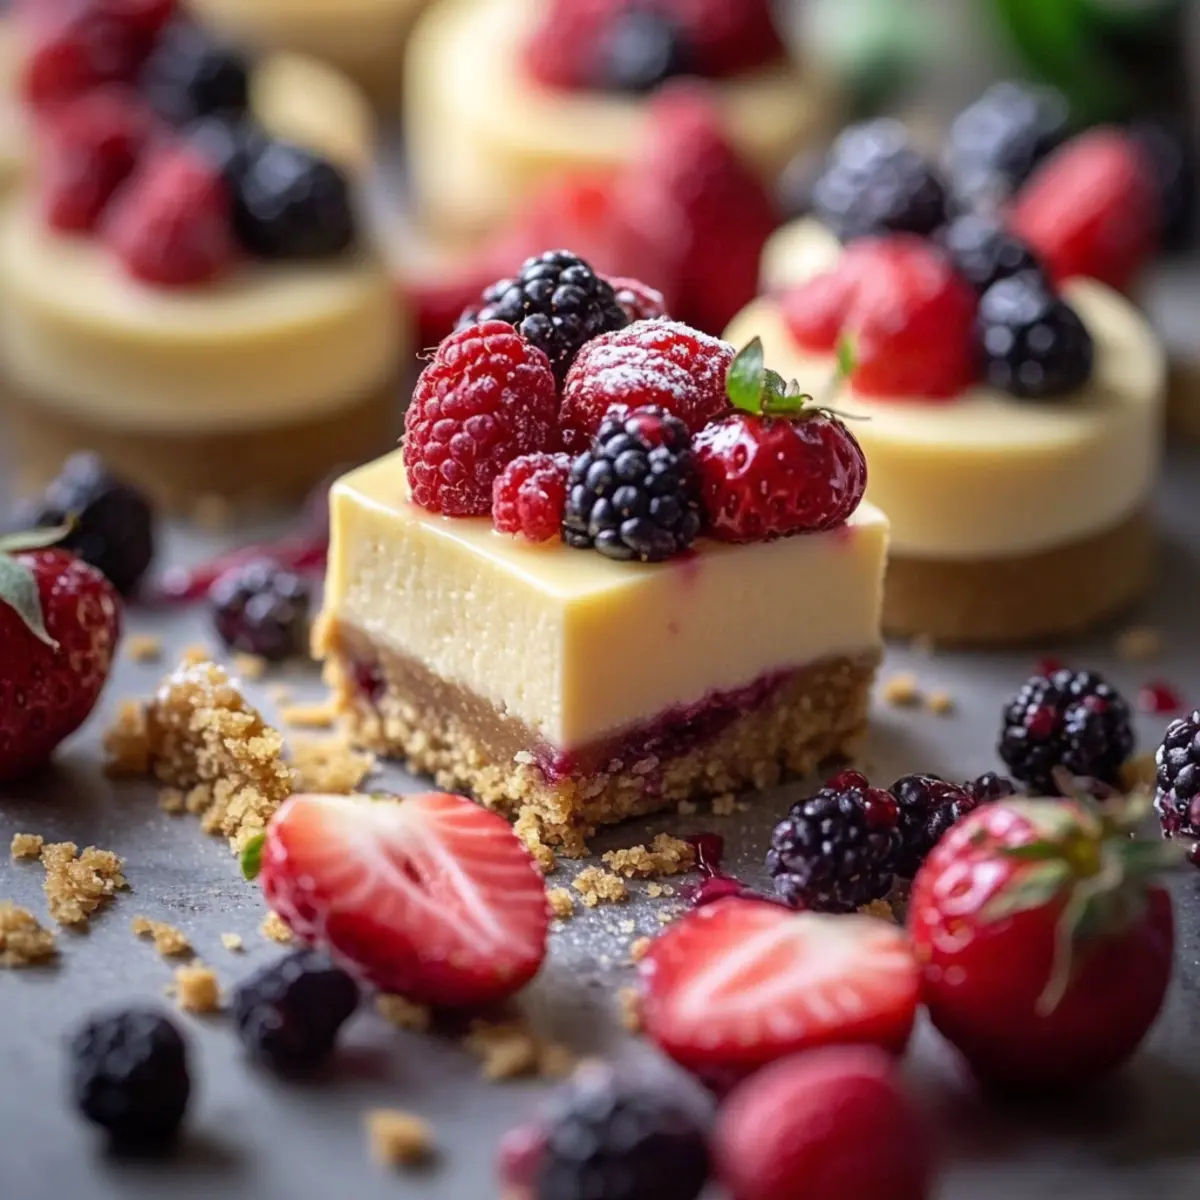
Why are No-Bake Mini Cheesecakes a Must-Try?
Effortless Delight: These no-bake mini cheesecakes require minimal effort, making them the perfect solution for anyone looking to satisfy a sweet tooth without the hassle of traditional baking.
Customizable Options: Whether you prefer gluten-free variations or a rich chocolate version, you can easily adapt the recipe to suit your dietary needs.
Party-Ready Treat: Their cute, individual portions make them an elegant choice for gatherings, impressing guests without overwhelming the host.
Rich, Creamy Flavor: The combination of cream cheese, sour cream, and a hint of lemon creates a smooth, tangy filling that’s irresistibly luscious.
Make-ahead Magic: Prepare them in advance for stress-free entertaining—just pop them in the fridge and they’ll be ready when you are. If you’re in the mood for something equally delightful, check out Crisp Mini Cheesecakes or Mint Chocolate Balls for more sweet inspirations!
No-Bake Mini Cheesecakes Ingredients
• For the Crust
- Graham Cracker Crumbs – Provides a crunchy base; for a gluten-free option, substitute with gluten-free graham crackers.
- Granulated Sugar (for crust) – Sweetens the crust to perfection.
- Unsalted Butter – Binds the crust together for a deliciously cohesive texture.
• For the Filling
- Full-Fat Cream Cheese – Creates a creamy filling; avoid low-fat versions for the best results.
- Granulated Sugar (for filling) – Adds the necessary sweetness to the cheesecake.
- Sour Cream or Plain Yogurt – Adds tanginess; can be swapped with Greek yogurt for extra richness.
- Fresh Lemon Juice – Enhances flavor; bottled juice is a convenient alternative if you’re in a pinch.
- Vanilla Extract – Provides essential flavor that brightens the filling.
- Heavy Whipping Cream – Adds fluffiness to the filling; ensure it’s cold for optimal whipping.
• For Toppings
- Fresh Berries or Toppings – Optional garnishes to elevate presentation; caramel or chocolate drizzles are also delightful choices.
Get ready to create these delightful No-Bake Mini Cheesecakes that your friends and family will adore!
Step‑by‑Step Instructions for No-Bake Mini Cheesecakes
Step 1: Prepare the Muffin Tin
Begin by lining a 12-cup muffin tin with paper liners, ensuring they are snug. Lightly spray each liner with nonstick spray to prevent the crust from sticking. This will create easy removal for your delicious No-Bake Mini Cheesecakes later. Prepping the tin properly is key to achieving that beautiful presentation.
Step 2: Make the Graham Cracker Crust
In a medium bowl, combine graham cracker crumbs, sugar, and melted butter until the mixture resembles wet sand. Use a fork or your fingers to blend well. Press this crumb mixture evenly into the bottom of each muffin liner, packing it down firmly for a sturdy base. Place the tin in the refrigerator to chill for about 10 minutes while you prepare the filling.
Step 3: Whip the Heavy Cream
In a chilled mixing bowl, pour in your heavy whipping cream. Use a hand mixer or stand mixer to whip the cream on medium speed until stiff peaks form, which should take about 3-5 minutes. This fluffy whipped cream will be key in ensuring your No-Bake Mini Cheesecakes are light and airy; set it aside once fully whipped.
Step 4: Beat the Cream Cheese Filling
In a separate large bowl, beat the softened cream cheese with sugar using an electric mixer until the mixture is smooth and creamy, roughly 2-3 minutes. Next, mix in sour cream, lemon juice, and vanilla extract until everything is well combined. This rich mixture will serve as the luscious filling for your mini cheesecakes.
Step 5: Fold in the Whipped Cream
Gently fold the whipped cream into the cream cheese mixture using a spatula, being careful not to deflate the whipped cream. This step adds the lightness you want in your No-Bake Mini Cheesecakes, ensuring a perfect, airy texture. Stop folding when no streaks remain; this will create a beautifully smooth filling.
Step 6: Fill the Crusts
Spoon or pipe the creamy filling into each prepared crust, filling just slightly above the edges for a nice mound. Smooth the tops with a spatula to make them look neat and inviting. These mini cheesecakes should be filled generously to show off that delicious creamy texture when served.
Step 7: Chill to Set
Cover the muffin tin with plastic wrap and refrigerate the mini cheesecakes for at least 4 hours, or preferably overnight. This chilling time allows them to firm up properly and enhances the flavor. Your patience will be rewarded when you cut into these delightful No-Bake Mini Cheesecakes.
Step 8: Serve with Toppings
When ready to serve, remove the mini cheesecakes from the muffin tin and gently peel away the liners. Top each cheesecake with fresh berries, a drizzle of chocolate sauce, or any other favorite toppings. These finishing touches will elevate the presentation and add an extra burst of flavor to your scrumptious treats.
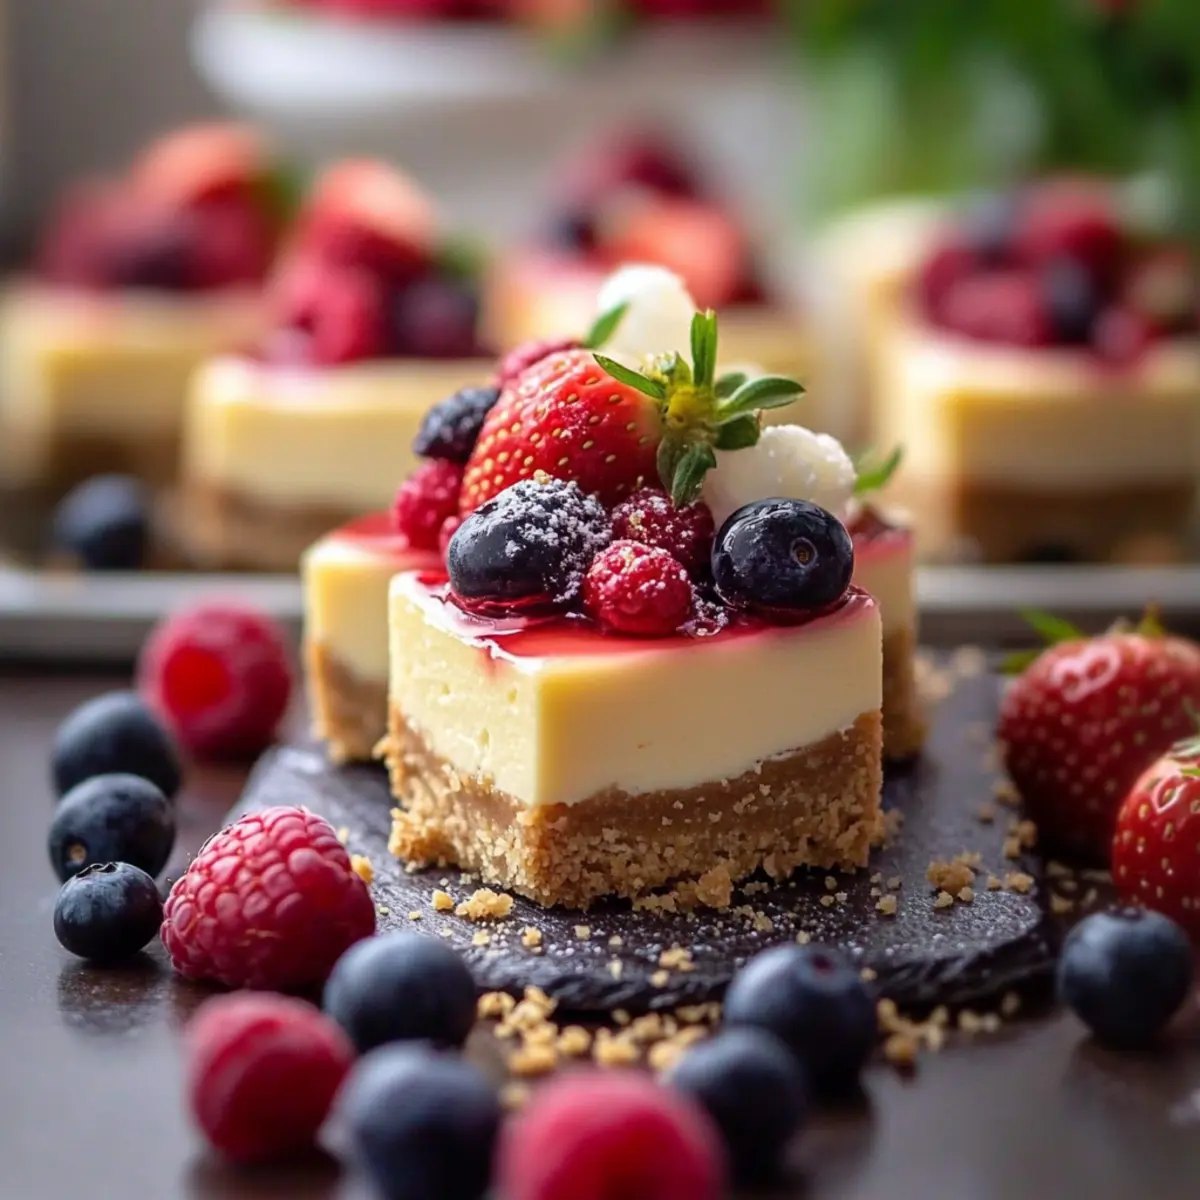
Storage Tips for No-Bake Mini Cheesecakes
-
Fridge: Keep your No-Bake Mini Cheesecakes refrigerated for up to 5 days. Ensure they are covered with plastic wrap or stored in an airtight container to maintain freshness.
-
Freezer: For longer storage, these mini cheesecakes can be frozen for up to 2 months. Wrap each cheesecake tightly in plastic wrap and then place them in a sealed freezer bag.
-
Thawing: When you’re ready to enjoy your frozen cheesecakes, simply transfer them to the fridge to thaw overnight. This will preserve their texture and flavor.
-
Reheating: There’s no need to reheat these treats; enjoy them chilled straight out of the fridge for the best taste!
What to Serve with No-Bake Mini Cheesecakes
Elevate your dessert experience with delightful pairings that complement the creamy richness of these mini cheesecakes.
-
Fresh Berries: The tartness of strawberries, blueberries, or raspberries adds a refreshing contrast to the sweet and creamy filling.
-
Chocolate Ganache: A silky drizzle of chocolate ganache enhances the indulgence and pairs beautifully with the cheesecake’s flavors—it’s truly a match made in dessert heaven.
-
Whipped Cream: Light and airy whipped cream on top provides an extra layer of fluffiness and a pleasing presentation, making every bite delightful.
-
Caramel Sauce: The buttery sweetness of caramel sauce creates a scrumptious harmony that elevates the dessert experience to new heights.
-
Coffee or Espresso: A rich cup of coffee or a shot of espresso balances the sweetness and offers a wonderful after-dinner treat, perfect for those who enjoy dessert with a caffeine kick.
-
Lemon Zest: Bringing a little brightness, a sprinkle of lemon zest on top adds a lovely aromatic touch and enhances the overall flavor profile.
-
Mint Leaves: For a pop of freshness, garnish with mint leaves; they not only look beautiful but also enhance the flavor with a cool hint.
-
Chilled Sparkling Wine: A glass of bubbly adds a celebratory touch, and its acidity cuts through the richness of the cheesecake, making for a delightful pairing.
Make these pairings your own and watch your No-Bake Mini Cheesecakes shine even brighter at your next gathering!
No-Bake Mini Cheesecakes Variations & Substitutions
Feel free to explore these delightful twists and enhancements that will make your no-bake mini cheesecakes uniquely yours!
-
Gluten-Free: Use gluten-free graham cracker crumbs for the crust to accommodate dietary preferences without sacrificing taste.
-
Dairy-Free: Swap cream cheese and heavy cream with vegan alternatives, such as coconut cream and dairy-free cream cheese for a luscious treat.
-
Chocolate Lovers: Mix in melted chocolate to the filling or substitute the graham cracker crust with crushed Oreo cookies for an indulgent chocolate version.
-
Fruit-Infusion: Add pureed fruit like strawberries or raspberries to the filling for a fruity twist that will brighten up the flavor.
-
Nutty Texture: Incorporate finely chopped nuts into the crust for a crunchy texture or sprinkle them on top before serving to add a delightful bite.
-
Zesty Kick: Mix in lemon or lime zest for an extra zing, elevating the flavor profile and adding a refreshing touch to these mini delights.
-
Caramel Drizzle: Top off each cheesecake with a rich caramel sauce for a sweet finish that takes them to the next level of indulgence.
-
Frozen Treats: For a summery option, freeze the filled cheesecakes instead of chilling them; they’ll make for a refreshing dessert that’s perfect for hot days.
Get ready to entertain your taste buds and create a personal touch! If you’re inspired for more delightful desserts, don’t miss our tasty Crisp Mini Cheesecakes and decadent Mint Chocolate Balls that are perfect for every occasion!
Expert Tips for No-Bake Mini Cheesecakes
- Room Temperature Cheese: Ensure your cream cheese is at room temperature to avoid lumps and achieve a silky texture in your filling.
- Stiff Peaks: Whip the heavy cream until stiff peaks form for the lightest, fluffiest filling. Be careful not to over-whip, or it may become grainy.
- Chilling Time: Allow the mini cheesecakes to chill for at least 4 hours, but overnight is optimal for the best flavor and texture.
- Use of Liners: Always use paper liners; they make removing the cheesecakes a breeze and keep them looking pristine on the plate.
- Quick Cleanup: If you’re in a hurry, you can skip piped fillings and simply spoon the mixture in—just make sure to smooth the tops!
Make Ahead Options
These No-Bake Mini Cheesecakes are an incredible option for meal prep! You can prepare the crust and filling up to 24 hours in advance. Simply make the graham cracker crust and fill each muffin liner, then cover with plastic wrap and refrigerate. When you’re ready to serve, just whip up the heavy cream and fold it into the pre-prepared filling, then spoon it into the crusts. To maintain the quality, ensure they are sealed in the fridge to prevent them from absorbing any unwanted odors or flavors. These mini cheesecakes will taste just as delicious and save you precious time on busy weeknights!
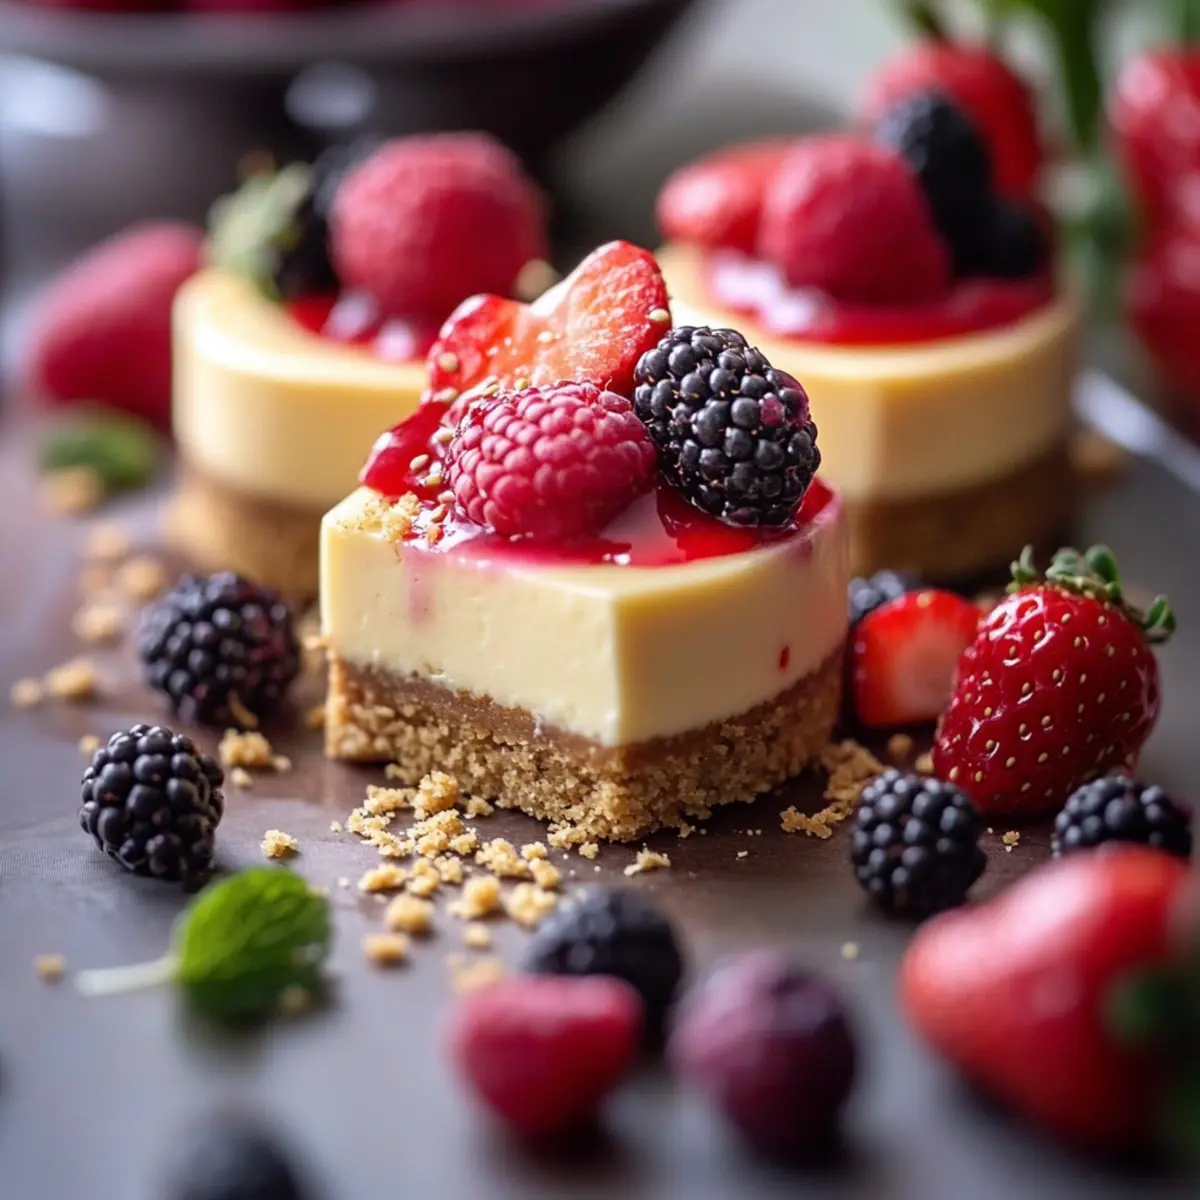
No-Bake Mini Cheesecakes Recipe FAQs
How do I select ripe ingredients for the filling?
Absolutely! When selecting the cream cheese, look for full-fat options that are close to their expiration date but still fresh—this ensures a rich flavor without any off taste. For lemon juice, fresh lemons provide the best flavor, but bottled juice is acceptable in a pinch.
How should I store leftovers of No-Bake Mini Cheesecakes?
Very! You can refrigerate your No-Bake Mini Cheesecakes for up to 5 days. Just make sure to cover them with plastic wrap or keep them in an airtight container to preserve their delightful texture and creaminess.
Can I freeze No-Bake Mini Cheesecakes? What’s the best method?
You can freeze these delightful treats for up to 2 months! First, wrap each cheesecake tightly in plastic wrap to prevent freezer burn. Then, place them in a sealed freezer bag for extra protection. When you’re ready to enjoy, simply move them to the fridge to thaw overnight. This will help maintain their creamy texture.
What should I do if my filling is too runny?
If you find your filling is too runny, it’s likely that the heavy cream wasn’t whipped to stiff peaks, or the cream cheese wasn’t softened enough. In either case, you can whip the heavy cream a bit more until you see stiff peaks. If you prefer, you can add a tablespoon or two of powdered sugar for stabilization. Just be cautious not to over-whip!
Can I make these mini cheesecakes dairy-free?
Absolutely! For a dairy-free version, swap the full-fat cream cheese with vegan cream cheese and use coconut whipped cream instead of heavy whipping cream. You’ll still get a fabulous, creamy texture without compromising on taste!
Are there any allergy considerations?
Yes, it’s essential to consider allergies. This recipe contains dairy and gluten, given the graham cracker crust. For a gluten-free option, simply replace the graham cracker crumbs with gluten-free alternatives. Always double-check ingredients if you are catering to specific allergies, such as nut allergies, as some dairy-free cream cheese options may contain nuts.
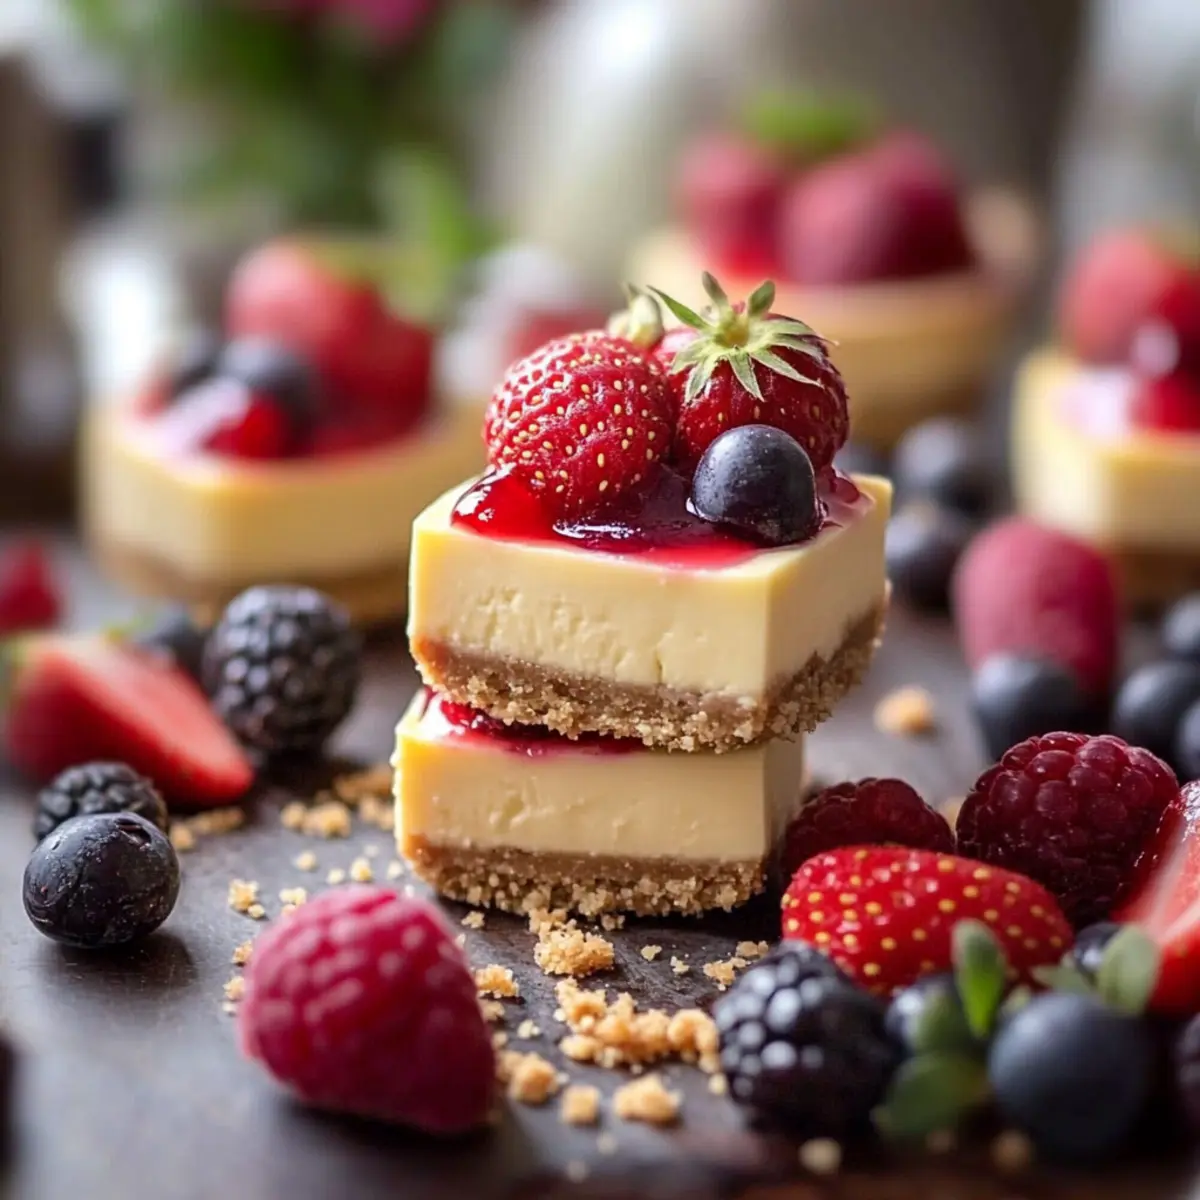
No-Bake Mini Cheesecakes That Melt in Your Mouth
Ingredients
Equipment
Method
- Prepare the Muffin Tin: Line a 12-cup muffin tin with paper liners and spray with nonstick spray.
- Make the Graham Cracker Crust: Combine graham cracker crumbs, sugar, and melted butter; press into muffin liners and chill for 10 minutes.
- Whip the Heavy Cream: Whip heavy cream in a chilled bowl until stiff peaks form, about 3-5 minutes.
- Beat the Cream Cheese Filling: Beat cream cheese with sugar until smooth, then mix in sour cream, lemon juice, and vanilla.
- Fold in the Whipped Cream: Gently fold whipped cream into cream cheese mixture.
- Fill the Crusts: Spoon or pipe filling into each crust, smooth the tops.
- Chill to Set: Cover with plastic wrap and refrigerate for at least 4 hours or overnight.
- Serve with Toppings: Remove from muffin tin, peel liners, and top with fresh berries or drizzles.
Leave a Reply