
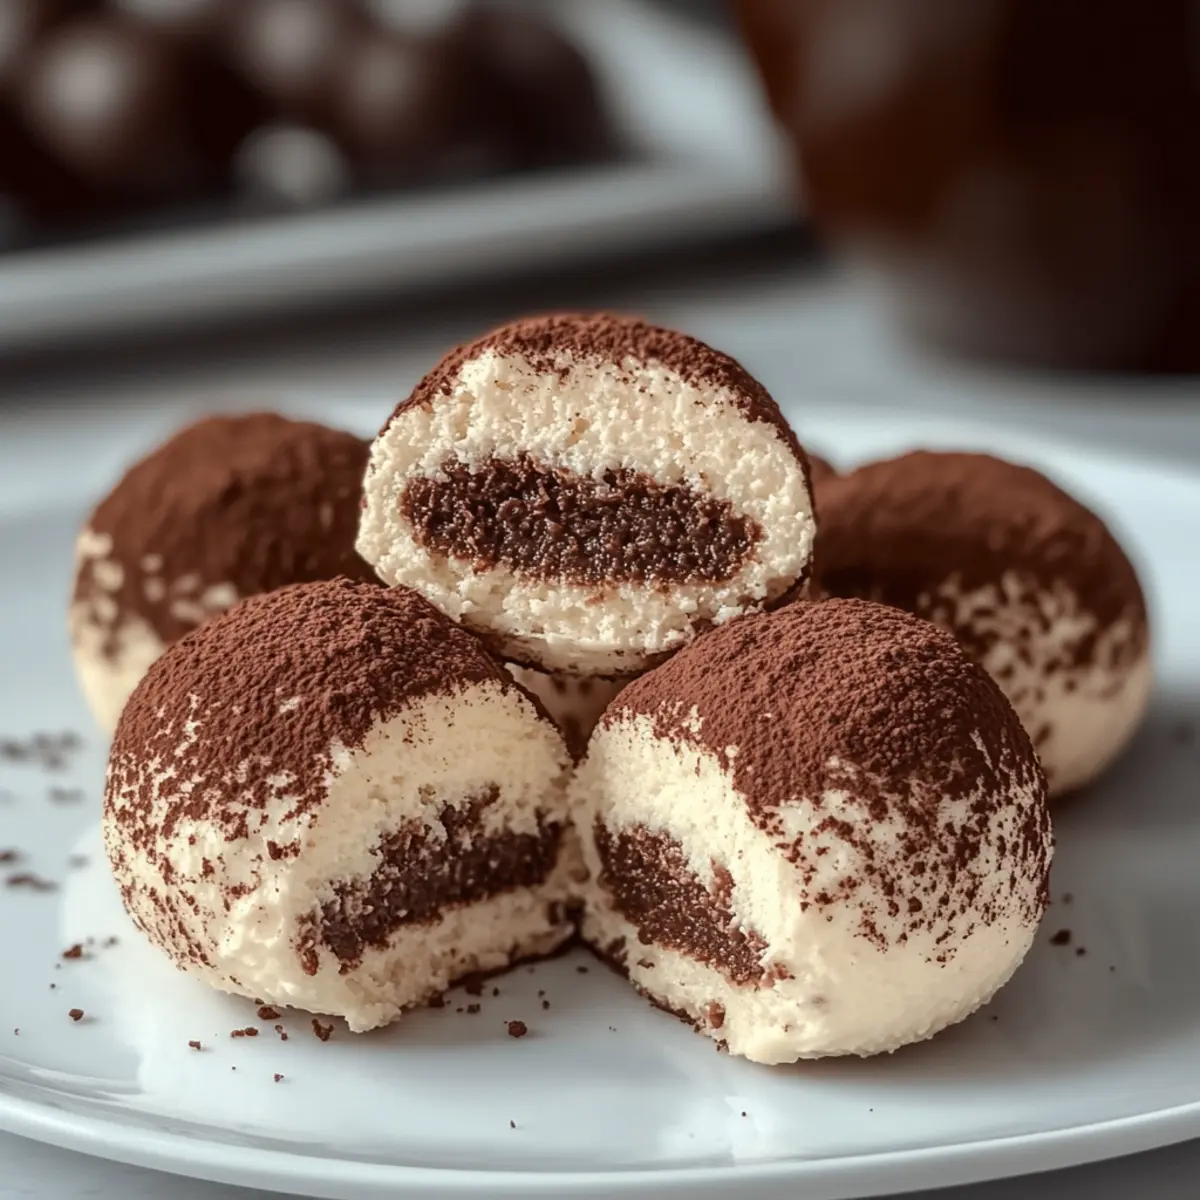
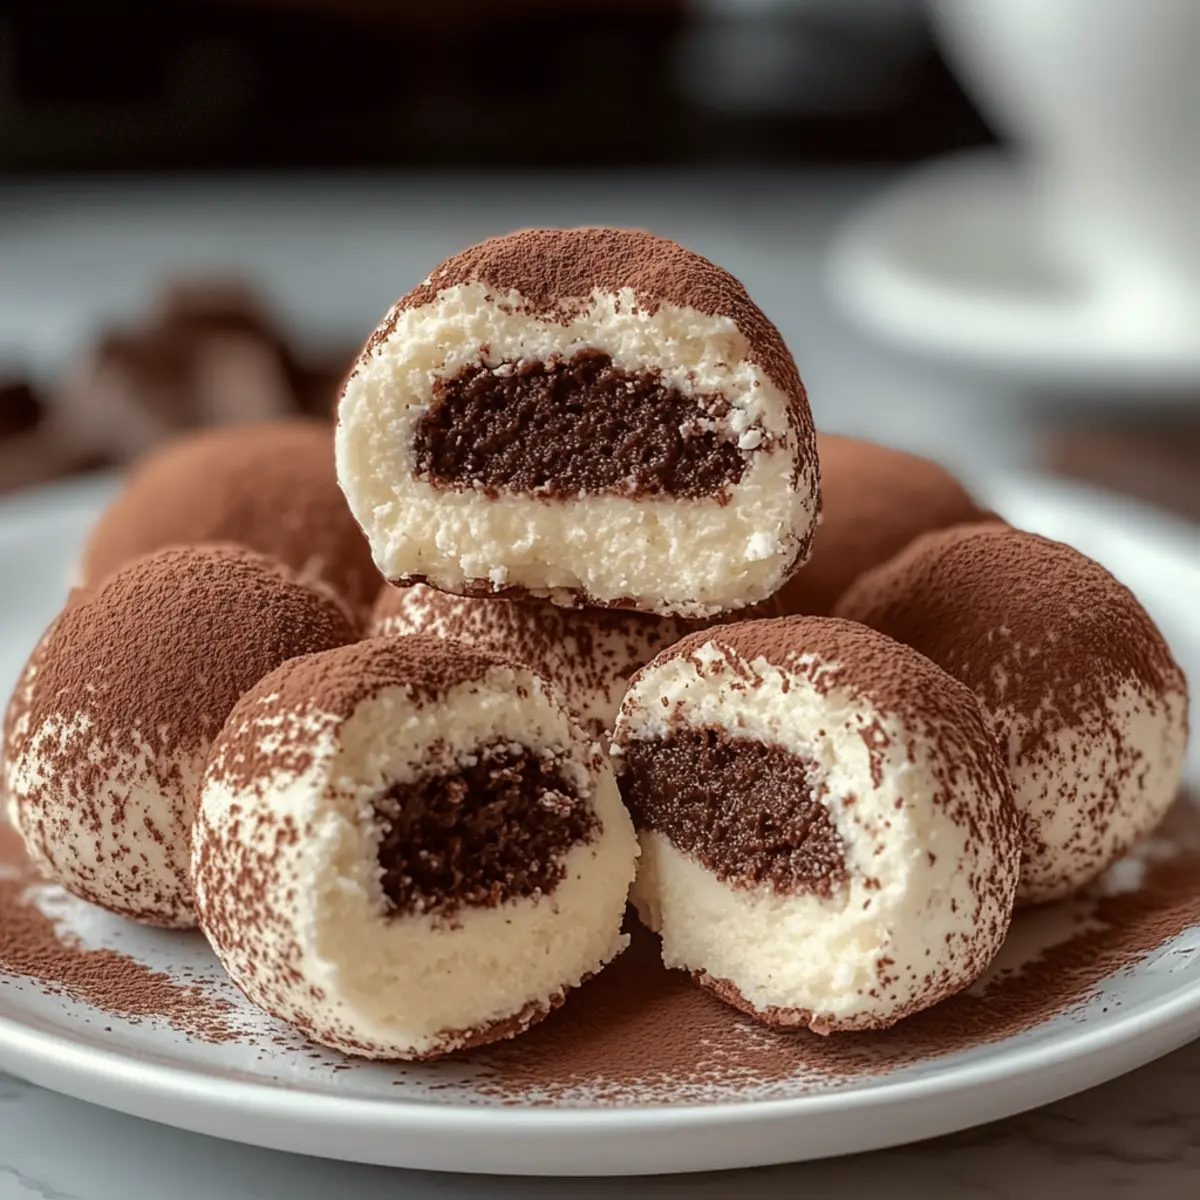
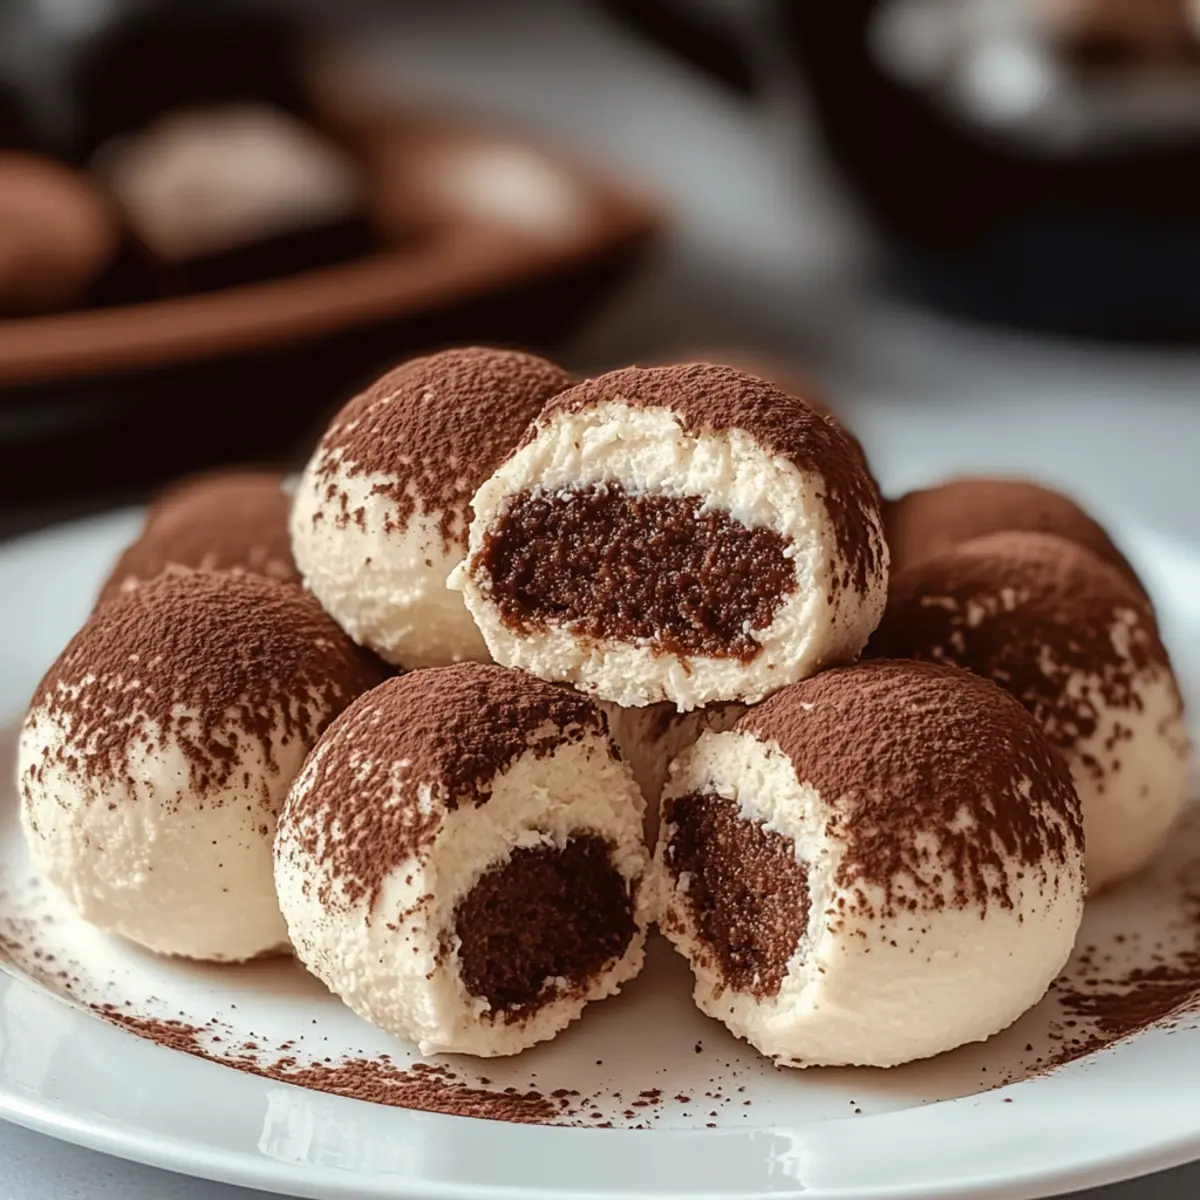
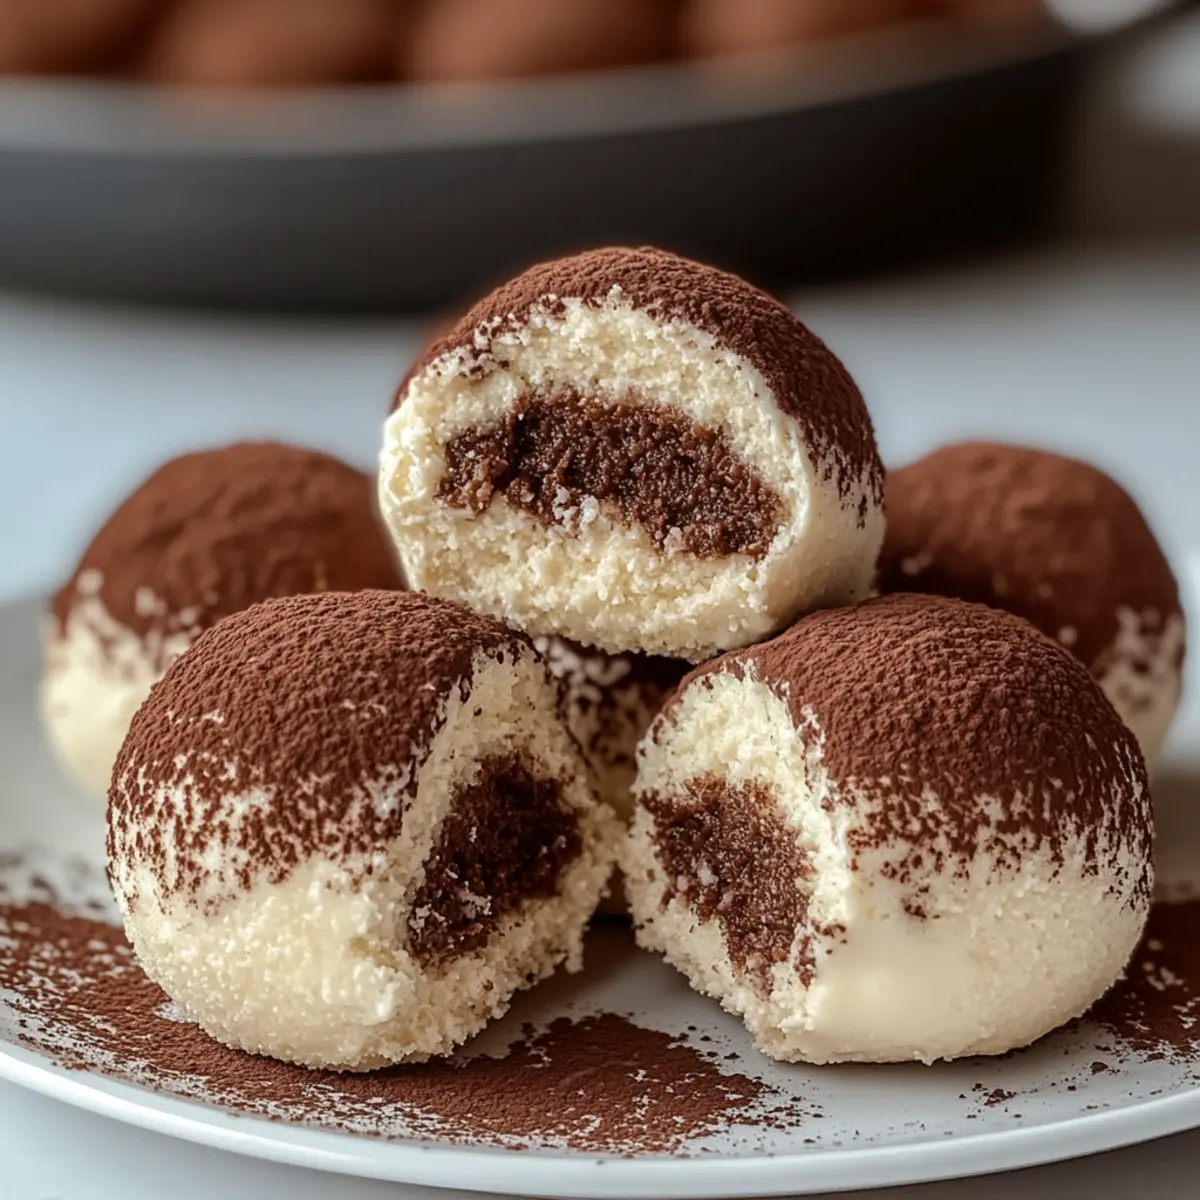
Running late for a gathering and craving something delicious? Meet my 10-Minute Tiramisu Balls—your new best friend in the dessert department! These no-bake delights capture the essence of beloved Tiramisu in a fun, bite-sized format. Not only are they quick to whip up, allowing you to indulge your sweet tooth without the hassle of traditional baking, but they also invite creativity with their customizable flavors. Whether you stick to the classic espresso essence or swap in a liqueur of your choice, these Tiramisu Balls are sure to impress any crowd. Ready to dive into a treat that’s both easy to make and utterly indulgent? Let’s get rolling!
Why Will You Crave These Tiramisu Balls?
Quick Preparation: In just 10 minutes, you can whip up these no-bake Tiramisu Balls, freeing up your day for more fun activities or last-minute plans.
Decadent Flavor: The rich mascarpone and espresso flavors create a dessert that is truly irresistible—perfect for any coffee lover!
Customizable Treat: Feel free to swap liqueurs or adjust sweetness levels to suit your personal taste. Try a twist with Mint Chocolate Balls for those who enjoy a chocolate mint experience!
Perfect for Sharing: Whether it’s a dinner party or a cozy family night, these Tiramisu Balls are a crowd-pleaser that will leave everyone asking for seconds.
No-Bake Simplicity: Since there’s no baking involved, cleanup is minimal, allowing you to focus on savoring your delicious creation rather than stressing over dishes!
Tiramisu Balls Ingredients
• Here’s everything you need to create these indulgent Tiramisu Balls!
For the Batter
- Ladyfingers (200g) – Provide structure and texture; crush into fine crumbs for mixing.
- Brewed Espresso (½ cup, cooled) – Adds the signature coffee flavor; essential for that traditional Tiramisu taste.
- Mascarpone Cheese (250g) – The main ingredient for creaminess and richness; can be substituted with cream cheese for a lighter version.
- Powdered Sugar (½ cup) – Sweetens the mixture and balances flavors; adjust to taste for sweetness preference.
- Cocoa Powder (1 tablespoon + additional for dusting) – Enhances flavor and presentation; using Dutch-processed cocoa will offer a smoother taste.
- Coffee Liqueur (1 tablespoon, optional) – Adds depth to the coffee flavor; can substitute with Amaretto for a deliciously nutty profile.
- Vanilla Extract (1 teaspoon) – Contributes aromatic flavor; always opt for pure for the best results.
- Pinch of Salt – Enhances sweetness and balances overall flavor.
Get your ingredients ready, and let’s create something delightful with these Tiramisu Balls!
Step‑by‑Step Instructions for Tiramisu Balls
Step 1: Crush Ladyfingers
Start by placing the ladyfingers into a food processor. Pulse until you achieve fine crumbs, resembling sand, which will help create the structure of your Tiramisu Balls. This should take about 1-2 minutes. Once done, transfer the crumbs to a mixing bowl and set aside for later use.
Step 2: Prepare Mascarpone Mixture
In a large mixing bowl, combine the mascarpone cheese, powdered sugar, vanilla extract, and a pinch of salt. Using a hand mixer, blend these ingredients on medium speed until smooth and creamy. This should take around 2-3 minutes, resulting in a luscious mixture that’s the foundation of your Tiramisu Balls.
Step 3: Add Espresso and Liqueur
Next, pour the cooled brewed espresso and optional coffee liqueur into the mascarpone mixture. Stir gently with a spatula until everything is well incorporated, ensuring that the coffee flavor is evenly distributed throughout. This step should take about 1 minute and will infuse the mixture with that classic Tiramisu taste.
Step 4: Combine Ingredients
Fold the crushed ladyfinger crumbs into the mascarpone and espresso mixture using a spatula. Ensure that the ladyfingers are fully coated and evenly incorporated, creating a cohesive batter. This process should take around 2 minutes, and you should see a uniform blend of textures.
Step 5: Form Balls
With clean hands, take small portions of the mixture and roll them into walnut-sized balls. You should aim for about 12-15 balls, depending on the size you prefer. This step may take about 5 minutes; the mixture should be firm enough to hold its shape without falling apart.
Step 6: Dust and Chill
Once all your Tiramisu Balls are formed, place them on a tray lined with parchment paper. Dust the tops generously with cocoa powder, giving them a beautiful finish. Chill in the refrigerator for at least 30 minutes to allow the flavors to meld and the texture to set properly. During this time, the Tiramisu Balls will become firmer and even more delightful!
What to Serve with 10 Minute Tiramisu Balls
Nothing completes a delicious dessert experience quite like the right accompaniments to elevate your Tiramisu Balls and create a memorable occasion.
- Fresh Berries: The bright acidity of strawberries or raspberries cuts through the richness, adding a refreshing contrast that enhances each bite.
- Whipped Cream: Light and airy, whipped cream adds a luscious texture; its mild flavor complements the robust coffee notes beautifully.
- Italian Espresso: Nothing beats authentically brewed espresso. Serve it alongside to amplify the coffee flavor and enrich the experience.
- Chocolate Sauce: Drizzling a rich chocolate sauce over your Tiramisu Balls adds an indulgent twist, enhancing the overall dessert presentation.
- Gelato: Pair with a scoop of creamy vanilla or coffee gelato. The cold creaminess elevates the experience, marrying well with the flavors of the Tiramisu Balls.
- Hazelnut Chocolate Liqueur: A small glass can serve as an enticing digestif, echoing the flavors in your dessert and providing a cozy finish to the meal.
- Layered Parfaits: Create a visual feast by layering Tiramisu Balls with vanilla pudding and crushed cookies; the textures and flavors will wow your guests!
How to Store and Freeze Tiramisu Balls
-
Fridge: Store Tiramisu Balls in an airtight container for up to 7 days. This helps maintain their creamy texture and flavor, making them a perfect make-ahead treat.
-
Freezer: For longer storage, freeze the Tiramisu Balls individually on a baking sheet before transferring them to a freezer-safe container. They can last up to 3 months and be enjoyed whenever you crave a sweet bite.
-
Thawing: To enjoy frozen Tiramisu Balls, transfer them to the fridge to thaw overnight. They’ll be ready to savor the next day while retaining their delicious flavor.
-
Reheating: There’s no need to reheat Tiramisu Balls; serve them chilled straight from the fridge or frozen for a refreshing treat!
Expert Tips for Tiramisu Balls
-
Texture Assurance: Ensure your mixture isn’t too wet; if it feels loose, add more crushed ladyfingers until it holds together properly.
-
Flavor Depth: For a richer taste, consider adding a touch more coffee liqueur or espresso, but don’t overdo it—balance is key!
-
Chilling Time: Allow a full 30 minutes of chilling for the Tiramisu Balls to set; they’ll be hard to resist once they firm up!
-
Adjust Sweetness: Personalize your dessert by modifying the powdered sugar amount; taste as you go for the perfect sweetness.
-
Serving Style: Dust with cocoa powder right before serving to keep that fresh look; it adds an enticing touch to your Tiramisu Balls.
Tiramisu Balls Variations & Substitutions
Feel free to explore various options to customize your Tiramisu Balls, creating a treat that fits your taste perfectly!
-
Nut-Free: Substitute ladyfingers with crushed gluten-free cookies or graham crackers to keep it nut-free and delicious.
-
Dairy-Free: Replace mascarpone and cream cheese with coconut cream or cashew cream for a dairy-free indulgence. This gives a lovely flavor twist while staying creamy.
-
Lower Sugar: Use a sugar substitute or reduce powdered sugar for a healthier take without sacrificing taste.
-
Flavor Adventure: Swap espresso with chai tea concentrate or matcha for a unique flavor profile that will surprise your guests. Each of these options adds a wonderful aromatic experience.
-
Liqueur Twist: Instead of coffee liqueur, try vanilla vodka or even a splash of white wine for a refreshing alternative, adding a nuanced flavor boost.
-
Textural Play: Mix in finely chopped nuts or dark chocolate chips to add an exciting crunch to your dessert. This extra texture elevates the classic Tiramisu experience.
-
Layered Indulgence: Try layering the Tiramisu Balls with a dollop of whipped cream and chocolate shavings in a glass for a sophisticated dessert. Your guests will love this beautifully presented treat.
Why not also explore delightful options like these Mint Chocolate Balls or consider a fruity variation like lemon coconut balls for a zesty twist? There’s always room for creativity in the kitchen!
Make Ahead Options
These 10-Minute Tiramisu Balls are fantastic for busy home cooks looking to save time! You can prepare the entire mixture up to 24 hours in advance by rolling the balls and then refrigerating them. Simply follow the recipe until the dusting step, then store the formed balls in an airtight container, separating layers with parchment paper to prevent sticking. When you’re ready to serve, dust them with cocoa powder for an appealing finish. They’ll maintain their creamy texture and indulge your guests just as deliciously as if made fresh that day—perfect for any last-minute gatherings or meal planning!
Tiramisu Balls Recipe FAQs
What type of ladyfingers should I use for Tiramisu Balls?
I recommend using Savoiardi ladyfingers as they provide the best texture and flavor for traditional Tiramisu. Look for dry, crisp ones rather than soft or cake-like varieties, as they absorb the espresso without becoming too soggy.
How should I store Tiramisu Balls after preparing them?
Place your Tiramisu Balls in an airtight container and store them in the refrigerator for up to 7 days. This method keeps them fresh and maintains their creamy texture, making them a delightful make-ahead treat for gatherings.
Can I freeze Tiramisu Balls, and if so, how?
Absolutely! To freeze Tiramisu Balls, first, place them on a baking sheet lined with parchment paper, ensuring they don’t touch. Freeze them for about 1-2 hours until solid, then transfer them to a freezer-safe container. They will last up to 3 months. When you’re ready to enjoy them, simply thaw them in the refrigerator overnight.
What can I do if my Tiramisu Ball mixture is too wet?
If the mixture feels too wet and doesn’t hold its shape, don’t worry! Just add more crushed ladyfingers, a tablespoon at a time, until you reach the desired consistency. Remember to mix it gently; you want everything incorporated without overworking the mixture.
Are these Tiramisu Balls suitable for those with allergies?
While these Tiramisu Balls are a heavenly treat, they contain dairy and gluten, which may not be suitable for those with allergies to these ingredients. For a dairy-free option, consider using a vegan cream cheese alternative and gluten-free ladyfingers. Always check labels for other potential allergens based on your dietary needs.
How can I customize my Tiramisu Balls for different flavors?
Get creative! You can substitute the coffee liqueur with a flavored liqueur like amaretto or even skip it entirely if you prefer a non-alcoholic version. Additionally, consider adding a few teaspoons of flavored extracts, like almond or hazelnut, to the mascarpone mixture for an extra punch of flavor. The more the merrier!
Irresistible Tiramisu Balls: No-Bake Delight in 10 Minutes
Ingredients
Equipment
Method
- Crush the ladyfingers in a food processor until fine crumbs form, resembling sand. Transfer to a mixing bowl.
- In a large mixing bowl, combine mascarpone, powdered sugar, vanilla extract, and salt. Blend with a hand mixer until smooth and creamy.
- Pour in the cooled espresso and optional coffee liqueur into the mascarpone mixture. Stir gently until well incorporated.
- Fold the crushed ladyfinger crumbs into the mascarpone mixture until fully coated.
- Roll the mixture into walnut-sized balls, aiming for about 12-15. This may take around 5 minutes.
- Dust the formed balls with cocoa powder and chill in the refrigerator for at least 30 minutes.
Leave a Reply