
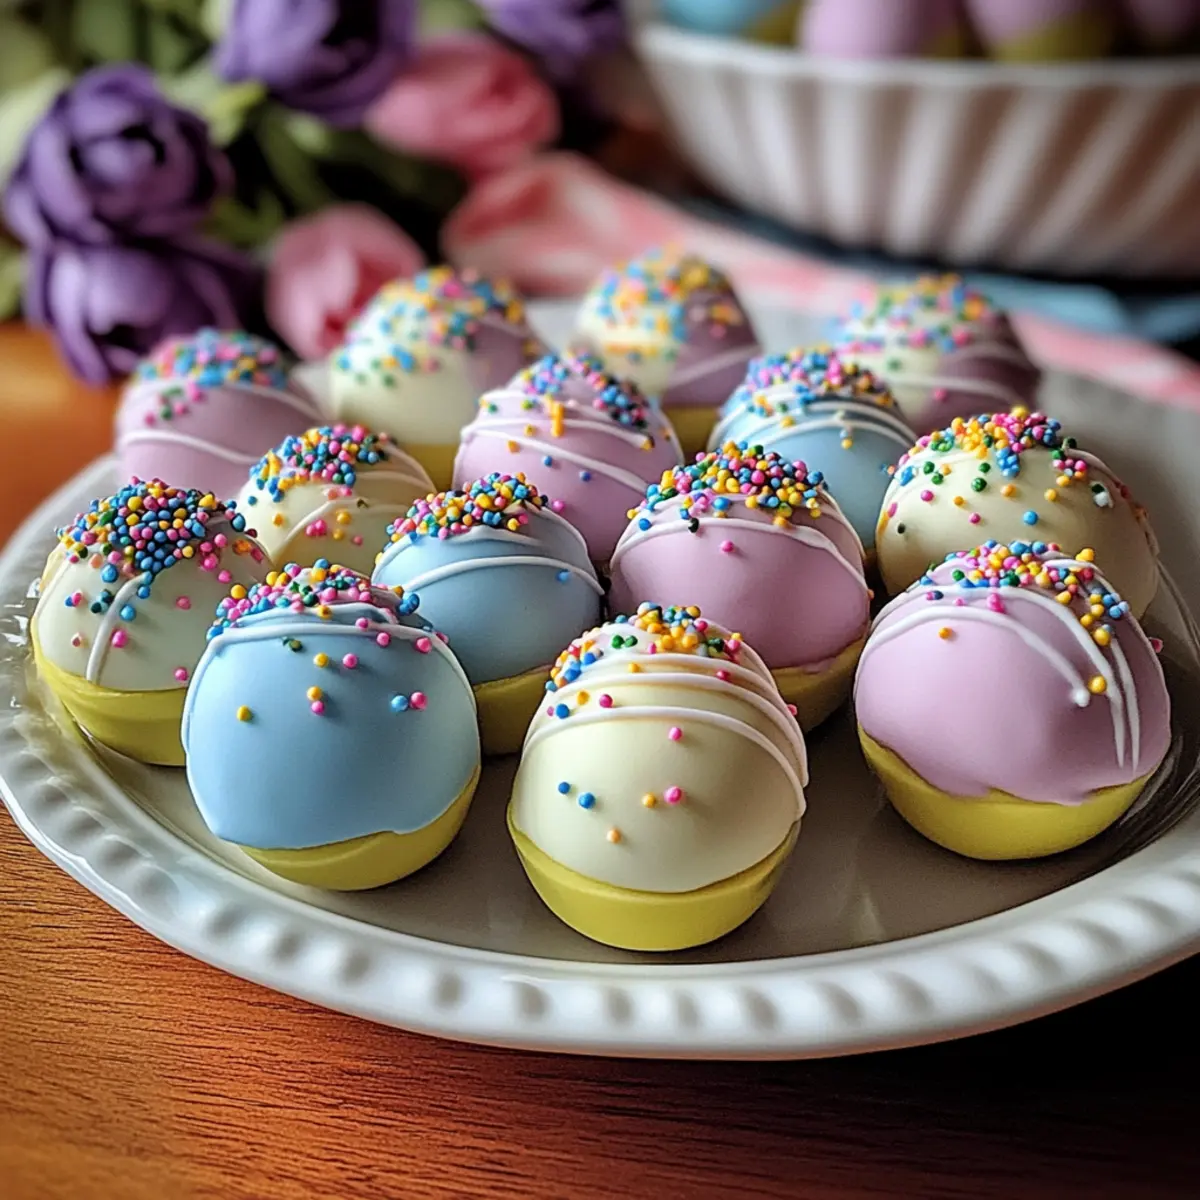
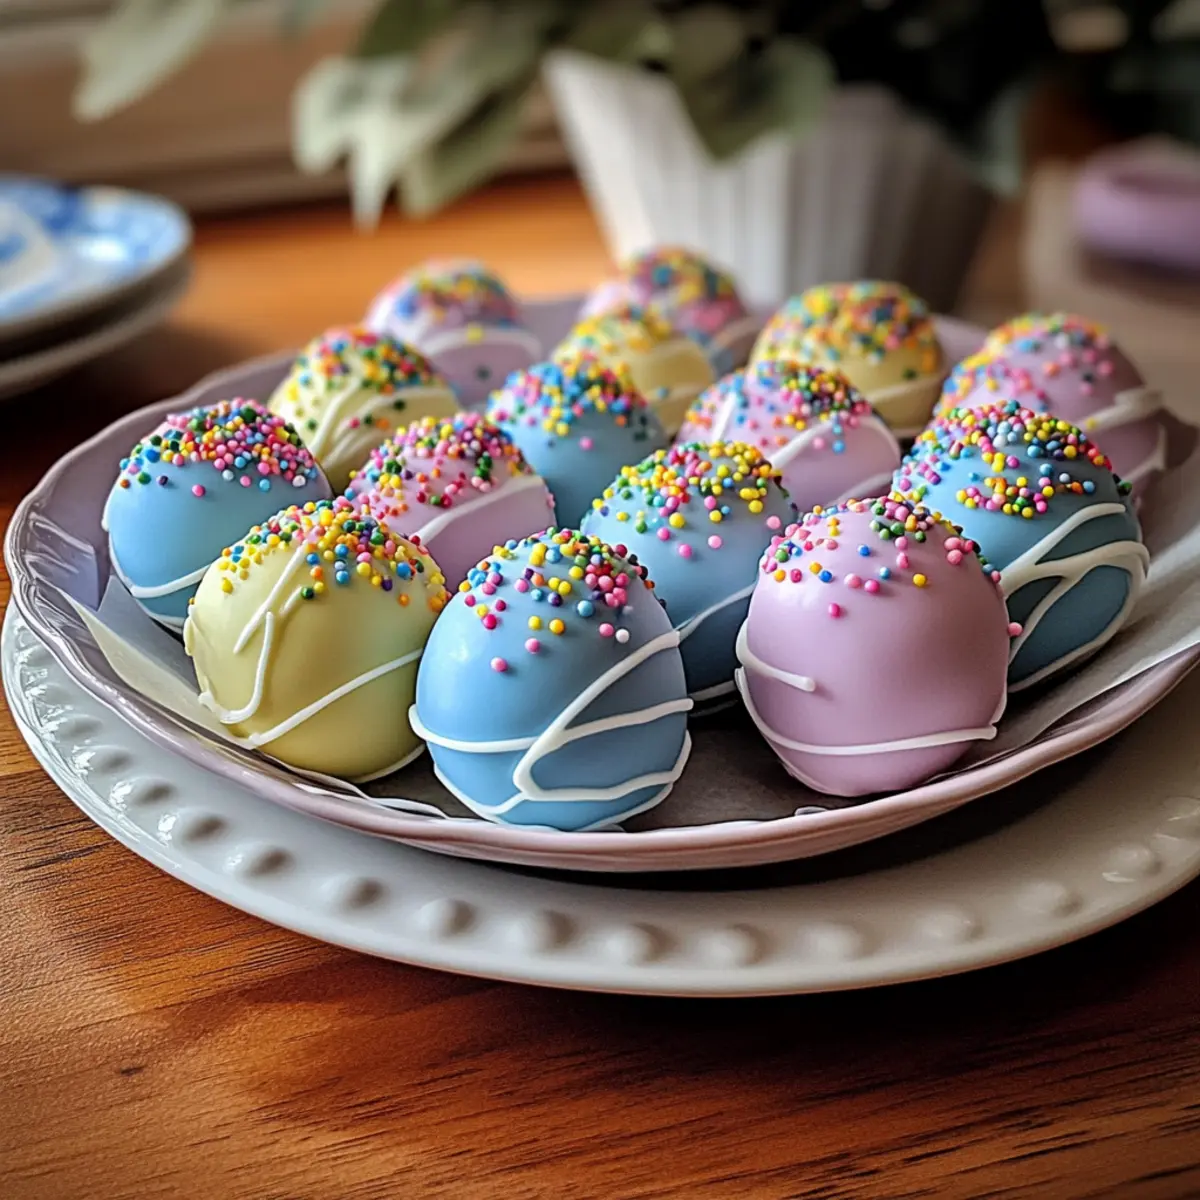
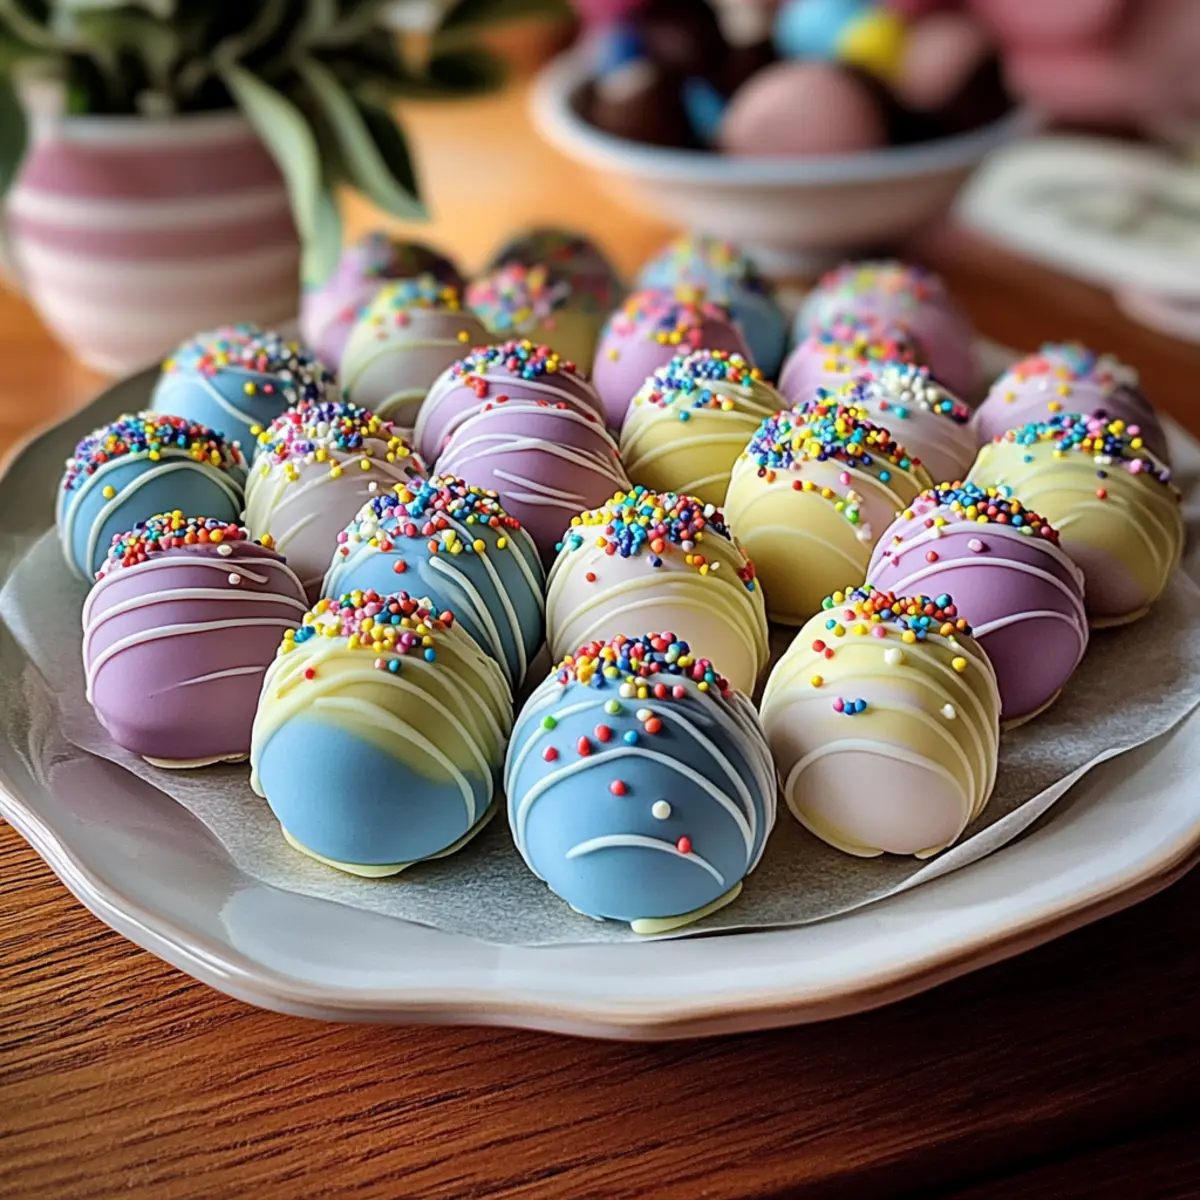
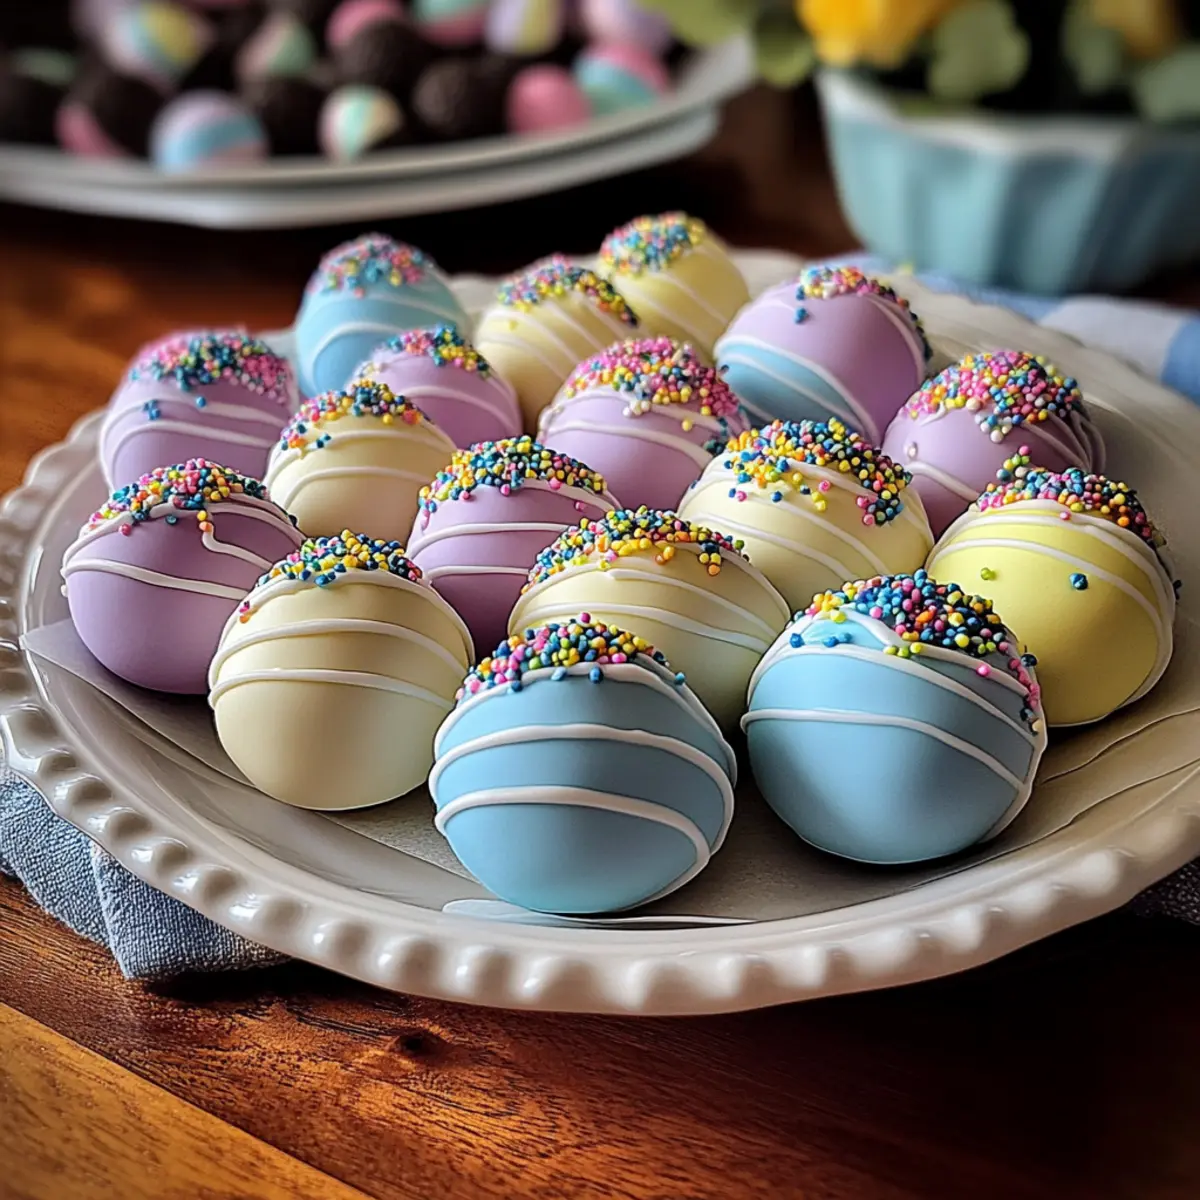
As I wandered through aisle after colorful aisle of pastel decorations, a delightful idea crept into my mind: No-Bake Easter Egg Oreo Balls! These festive treats are not just a feast for the eyes; they offer a simple, crowd-pleasing way to bring joy to your holiday gatherings. With a creamy filling enveloped in a vibrant candy shell, they are as customizable as they are delicious, making them perfect for both kids and adults alike. Plus, since there’s no baking involved, you’ll find yourself whipping them up in no time, leaving you more room for creating cherished memories with loved ones. Ready to bring a new twist to your Easter celebrations? Let’s dive into the world of No-Bake Easter Egg Oreo Balls!
Why Are Easter Egg Oreo Balls a Must-Make?
Easy to Prepare: These No-Bake Easter Egg Oreo Balls come together in just a few simple steps, saving you time in the kitchen while delivering delicious results.
Fun for Everyone: Kids and adults alike will love shaping and decorating these festive treats, making for a delightful activity during Easter celebrations.
Customizable Delight: Their vibrant colors and endless decorations mean you can personalize each batch, ensuring they stand out at any gathering.
Rich Flavor: The classic combination of Oreo cookies and cream cheese creates a rich, indulgent taste that’s hard to resist, making them a hit with friends and family.
Perfect for Gifting: Pack them into adorable Easter baskets or serve on a decorative platter for a charming treat that spreads joy. For more delightful, easy-to-make treats, check out my Mint Chocolate Balls and Sugar-Free Keto Eggnog!
Easter Egg Oreo Balls Ingredients
• For the Filling
- Oreo cookies – Provides the base and gives a deep chocolate flavor; you can also use Golden Oreos for a lighter option.
- Cream cheese – Essential for creamy texture; reduced-fat or dairy-free cream cheese can serve as great substitutes.
- Vanilla extract (optional) – Enhances flavor; while not mandatory, a splash adds delightful depth to your filling.
• For the Coating
- White candy melts – Creates a smooth and colorful outer shell; you can substitute with white chocolate chips, adding 1 tsp coconut oil for easy melting.
- Pastel food coloring – Achieve festive colors for decoration; opt for gel food coloring for the most vibrant results.
• For the Decoration
- Sprinkles/sanding sugar – Optional but add a fun touch; consider selecting festive colors to make your Easter Egg Oreo Balls really pop!
With these Easter Egg Oreo Balls ingredients ready, you’ll see just how easy it is to create a crowd-pleasing treat that’s perfect for any celebration!
Step‑by‑Step Instructions for Easter Egg Oreo Balls
Step 1: Crush Oreos
Begin by crushing the Oreo cookies to create fine crumbs. You can use a food processor for quick results or place the cookies in a zip-top bag and crush them with a rolling pin. Aim for a uniform crumb texture, which is essential for the creamy filling of your Easter Egg Oreo Balls.
Step 2: Mix Filling
In a large mixing bowl, combine the crushed Oreos with softened cream cheese. Use a spatula or mixer to blend the ingredients until the mixture resembles a thick dough. If you choose to add vanilla extract, stir it in at this stage for an extra flavor boost. The dough should be thick enough to hold its shape when formed.
Step 3: Shape Eggs
Scoop out about one tablespoon of the mixture and roll it between your palms to form an egg shape. Place the shaped balls on a parchment-lined baking sheet, ensuring they are spaced apart to prevent sticking. This step is crucial as these will become the delightful Easter Egg Oreo Balls that everyone will love.
Step 4: Chill
Refrigerate the shaped Oreo balls for at least 30 minutes, or if you’re in a hurry, freeze them for about 15 minutes. This chilling time is essential for firming up the balls, so they retain their shape when dipped in the melted coating.
Step 5: Melt Coating
In a microwave-safe bowl, melt the white candy melts according to the package instructions. Typically, this involves microwaving them in 30-second increments, stirring between each increment until smooth. The coating will add a sweet outer layer to your Easter Egg Oreo Balls, so ensure it’s fully melted for the best results.
Step 6: Color Coating
Once melted, divide the candy melts into smaller bowls if you wish to create multiple colors. Add a few drops of pastel food coloring to each bowl, stirring until you achieve your desired vibrant shades. This will transform your coating into a festive layer for your Easter Egg Oreo Balls.
Step 7: Dip Eggs
Take each chilled egg and dip it into the colored coating, making sure it’s fully submerged. Allow any excess coating to drip off before placing the coated ball back onto the parchment-lined baking sheet. This step is where your Easter Egg Oreo Balls start to look festive, so take your time for an even coating.
Step 8: Decorate
Before the coating sets, sprinkle the top of each egg with colorful sprinkles or drizzle with melted chocolate of a contrasting color. Being creative here makes your Easter Egg Oreo Balls not only delicious but visually appealing, adding a personal touch for your celebrations.
Step 9: Set
Finally, allow the decorated Easter Egg Oreo Balls to set at room temperature for about 15 minutes or refrigerate for 10 minutes to harden the coating. Once set, these delightful treats are ready for serving or packaging, ensuring they are both beautiful and delicious for your guests to enjoy.
What to Serve with Easter Egg Oreo Balls?
Indulging in these festive treats opens a world of delightful pairings that will elevate your dessert spread.
- Fresh Fruit Salad: A medley of seasonal fruits adds a bright and refreshing contrast, balancing the richness of the Oreo balls.
- Mini Cupcakes: Serve these alongside colorful mini cupcakes, which provide a fun and playful bite-sized option.
- Chocolate Fondue: Offer a chocolate fondue station with fruits and marshmallows for dipping, creating an interactive dessert experience.
- Ice Cream: A scoop of vanilla or mint chocolate chip ice cream brings a creamy coolness that beautifully complements the chocolatey goodness.
- Coffee or Tea: A cup of freshly brewed coffee or herbal tea provides a comforting companion, enhancing the rich flavors of the Oreo balls.
- Eggnog Milkshake: Blend up a festive eggnog milkshake for a creamy, holiday-inspired drink that pairs wonderfully with these treats.
Treat your guests to a well-rounded dessert experience by combining these ideas with your Easter Egg Oreo Balls!
How to Store and Freeze Easter Egg Oreo Balls
Fridge: Keep your Easter Egg Oreo Balls in an airtight container in the refrigerator for up to 5 days. This helps maintain their creamy texture and fresh flavor.
Freezer: To store them for longer, freeze the Oreo balls in a single layer on a baking sheet until firm, then transfer them to a freezer-safe container. They can be frozen for up to 2 months.
Thawing: When ready to enjoy, simply place them in the fridge to thaw overnight. Enjoy them chilled for the best taste experience!
Reheating: There’s no need to reheat these treats, as they are best enjoyed cold and refreshing.
Make Ahead Options
These Easter Egg Oreo Balls are perfect for busy home cooks looking to save time without compromising on deliciousness! You can prepare the filling and shape the eggs up to 24 hours in advance; simply store them in an airtight container in the refrigerator to maintain their firmness. For the coating, melt your white candy melts and color them when ready to serve, as this ensures vibrant colors without any fading. When it’s time to enjoy, dip the chilled eggs into the colored coating, decorate with sprinkles, and allow them to set. With this make-ahead approach, you’ll set yourself up for a stress-free holiday celebration, all while impressing your guests with these delightful treats!
Easter Egg Oreo Balls Variations
Get ready to unleash your creativity and elevation of flavor with these delightful twists on your Easter Egg Oreo Balls!
-
Dairy-Free: Use dairy-free cream cheese and dark chocolate melts for a delicious vegan version that’s just as creamy and indulgent.
-
Flavored Oreos: Switch up the flavor by using mint or pumpkin spice Oreos for a unique seasonal twist that adds character to your treats.
-
Nutty Surprise: Add crushed nuts or almond butter to the filling for added texture and nutty flavor; it creates a delicious variation that will wow your guests.
-
Chocolate Coating: For a richer experience, opt for milk or dark chocolate coating instead of white; the contrast will take your treats to the next level.
-
Coconut Twist: Skip the coating and roll your egg-shaped balls in shredded coconut for a tropical flair—this lighter version offers a delightful chew.
-
Colorful Drizzle: After coating, drizzle contrasting chocolate on top for added visual appeal and an extra chocolatey kick; it’s a simple touch that makes a big difference.
-
Spicy Touch: Mix in a pinch of cayenne or chili powder to the filling for a surprising spicy kick that compliments the sweetness beautifully.
-
Decorative Options: Use edible glitter or themed sprinkles to elevate the presentation; it’s a fun and festive way to enhance the visual appeal of your Easter Egg Oreo Balls.
Explore these options, and if you’re eager for more exciting dessert ideas, don’t forget to try my Voodoo Egg Rolls for a savory delight or whip up some refreshing Mint Chocolate Balls that are perfect for any occasion!
Expert Tips for Easter Egg Oreo Balls
-
Chill Time Matters: Allow your shaped Oreo balls to chill properly; this ensures they hold their shape while being dipped in the coating.
-
Cream Cheese Prep: Make sure your cream cheese is at room temperature for easier mixing. This helps achieve a smoother filling for your Easter Egg Oreo Balls.
-
Uniform Crumbs: Use a food processor to crush the Oreos for a consistent crumb size, preventing larger pieces that could disrupt the smooth filling.
-
Colorful Coatings: Experiment with different color combinations or patterns to make your Easter Egg Oreo Balls visually stunning and festive!
-
Decorating Ideas: Get creative with decorations! Consider drizzling melted chocolate on top or adding fun edible glitter for a captivating touch.
Easter Egg Oreo Balls Recipe FAQs
How do I select the best Oreos for this recipe?
Absolutely! For the best flavor and texture, use standard Oreo cookies as they provide a rich chocolate base that pairs beautifully with cream cheese. If you’re in the mood for something a little different, consider trying Golden Oreos or even chocolate chip cookies for a unique twist.
What is the best way to store leftover Easter Egg Oreo Balls?
To keep your delightful Easter Egg Oreo Balls fresh, store them in an airtight container in the refrigerator for up to 5 days. This method preserves their creamy texture and rich flavor. If you plan to enjoy them later, you can freeze them for up to 2 months. Just be sure to wrap them well to prevent freezer burn!
Can I freeze Easter Egg Oreo Balls?
Very! Freezing your Easter Egg Oreo Balls is a great idea. To do this, first, place them in a single layer on a baking sheet and freeze until firm. Once set, transfer them to a freezer-safe container. They’ll be good for up to 2 months. When you’re ready to enjoy them, simply let them thaw in the fridge overnight.
How can I troubleshoot if my filling is too soft?
If your filling is too soft to hold its shape after mixing, don’t fret! You can simply chill it in the refrigerator for about 30 minutes to firm it up. If it’s still too soft, consider adding a bit more crushed Oreos to the mixture until the desired consistency is reached. Make sure your cream cheese is well softened but not overly warm, as this can affect the texture.
Are these treats safe for kids with allergies?
While this recipe uses common ingredients, keep in mind that Oreos contain wheat and dairy. If you’re making these No-Bake Easter Egg Oreo Balls for someone with allergies, consider using gluten-free Oreos or dairy-free cream cheese as substitutes. Always check ingredient labels and consult with the person with the allergy for safe enjoyment.
What if I want to make them without cream cheese?
Absolutely! If you’re looking for a dairy-free or healthier alternative, try substituting the cream cheese with a mixture of nut butter and powdered sugar for a similar creamy texture. You may need to adjust the amount based on your preference for taste and consistency.
Easter Egg Oreo Balls: Fun No-Bake Treats for Everyone
Ingredients
Equipment
Method
- Begin by crushing the Oreo cookies to create fine crumbs.
- In a large mixing bowl, combine the crushed Oreos with softened cream cheese.
- Scoop out about one tablespoon of the mixture and roll it into an egg shape.
- Refrigerate the shaped Oreo balls for at least 30 minutes.
- Melt the white candy melts according to the package instructions.
- Once melted, divide the candy melts into smaller bowls and add pastel food coloring.
- Dip each chilled egg into the colored coating, ensuring it’s fully submerged.
- Before the coating sets, sprinkle colorful decorations on top.
- Allow the decorated Oreo Balls to set at room temperature or refrigerate them.
Leave a Reply