
On a sweltering summer afternoon, I found myself standing in front of the open freezer, longing for something cool and creamy to rescue me from the heat. That’s when the idea struck me: why not whip up some Homemade Chocolate Ice Cream? This classic treat not only captures the essence of a perfectly indulgent dessert but also comes with a delightful twist—a no-churn option that simplifies the ice cream-making process. With just a handful of ingredients, you’ll create a luxurious dessert that’s incredibly rich in flavor and irresistibly smooth. Get ready to impress your friends and family without needing an ice cream maker, all while enjoying a dessert that’s both satisfying and customizable. Curious about how easy it is to bring this comforting delicacy into your home? Let’s dive into the delicious details!
Why Make Your Own Chocolate Ice Cream?
Homemade ice cream is a game-changer! Not only does it allow you to control the ingredients, ensuring a fresh and rich flavor, but it also sparks creativity. With both a classic and no-churn option, you can whip up a delightful dessert in no time. Plus, it’s a great, crowd-pleasing choice for gatherings! If you’re looking for more fun flavors or ideas, check out Chocolate Peanut Butter or perhaps some Sweet Coconut Cream treats to accompany your ice cream!
Delicious Homemade Chocolate Ice Cream Ingredients
• For the Base
- Cocoa Powder – Adds rich chocolate flavor; choose Dutch-processed cocoa for a deeper taste.
- Granulated Sugar – Sweetens the mixture, enhancing the chocolate experience.
- Brown Sugar – Contributes moisture and depth; can be swapped for more granulated sugar if preferred.
- Salt – Balances sweetness and elevates overall flavors.
- Heavy Whipping Cream – Provides a creamy texture; full-fat coconut milk works for a dairy-free alternative.
- Whole Milk – Serves as the ice cream base; opt for low-fat for a lighter version, but it may be less creamy.
- Vanilla Extract – Amplifies the chocolate flavor; you can substitute with other extracts for a unique twist.
• For the No-Churn Option
- Sweetened Condensed Milk – Essential for the no-churn recipe; ensures creaminess without an ice cream maker.
Feel the excitement build as you gather these simple yet delicious ingredients for your Homemade Chocolate Ice Cream adventure!
Step‑by‑Step Instructions for Homemade Chocolate Ice Cream
Step 1: Whisk Together Dry Ingredients
In a medium bowl, combine ½ cup cocoa powder, ¾ cup granulated sugar, ½ cup brown sugar, and ¼ teaspoon salt. Whisk them thoroughly until the mixture is uniform in color and texture, ensuring there are no lumps in the cocoa powder. This step is vital for achieving a smooth and rich flavor in your homemade chocolate ice cream.
Step 2: Incorporate Milk
Gradually add 1 cup of whole milk to the dry mixture while continuing to whisk. Keep mixing until all dry ingredients are completely dissolved, forming a smooth, chocolatey base. This process should take about 2-3 minutes. The mixture will have a slightly thick consistency, rich in chocolate aroma, ready for the next flavor-enhancing ingredient.
Step 3: Add Cream and Vanilla
Pour in 2 cups of heavy whipping cream along with 1 teaspoon of pure vanilla extract. Use a spatula to gently fold the ingredients together until they are well combined. The mixture should look silky and creamy, representing the indulgent texture you expect from homemade chocolate ice cream. At this point, feel free to taste the base and adjust sweetness if necessary.
Step 4: Chill the Mixture
Cover the bowl with plastic wrap and refrigerate the mixture for 1 to 2 hours. For optimal flavor, let it chill overnight. This resting period allows the flavors to meld together, ensuring a deliciously decadent final product. Once chilled, the mixture will be slightly thicker, making it easier to churn later.
Step 5: Churn the Ice Cream
After chilling, pour the cooled chocolate ice cream mixture into an ice cream maker. Follow your machine’s instructions for churning—typically around 15-20 minutes for a frozen bowl machine or 25-35 minutes for a compressor machine. The ice cream will gradually thicken and increase in volume, showcasing its creamy texture.
Step 6: Freeze for Firmness
Once the churning is complete, transfer the soft ice cream into a separate airtight container. Smooth the top with a spatula and cover it tightly. Place it in the freezer for at least 4 hours, or until firm. This final freezing step is essential for achieving the perfect scoopable texture of your homemade chocolate ice cream.
Step 7: Serve and Enjoy
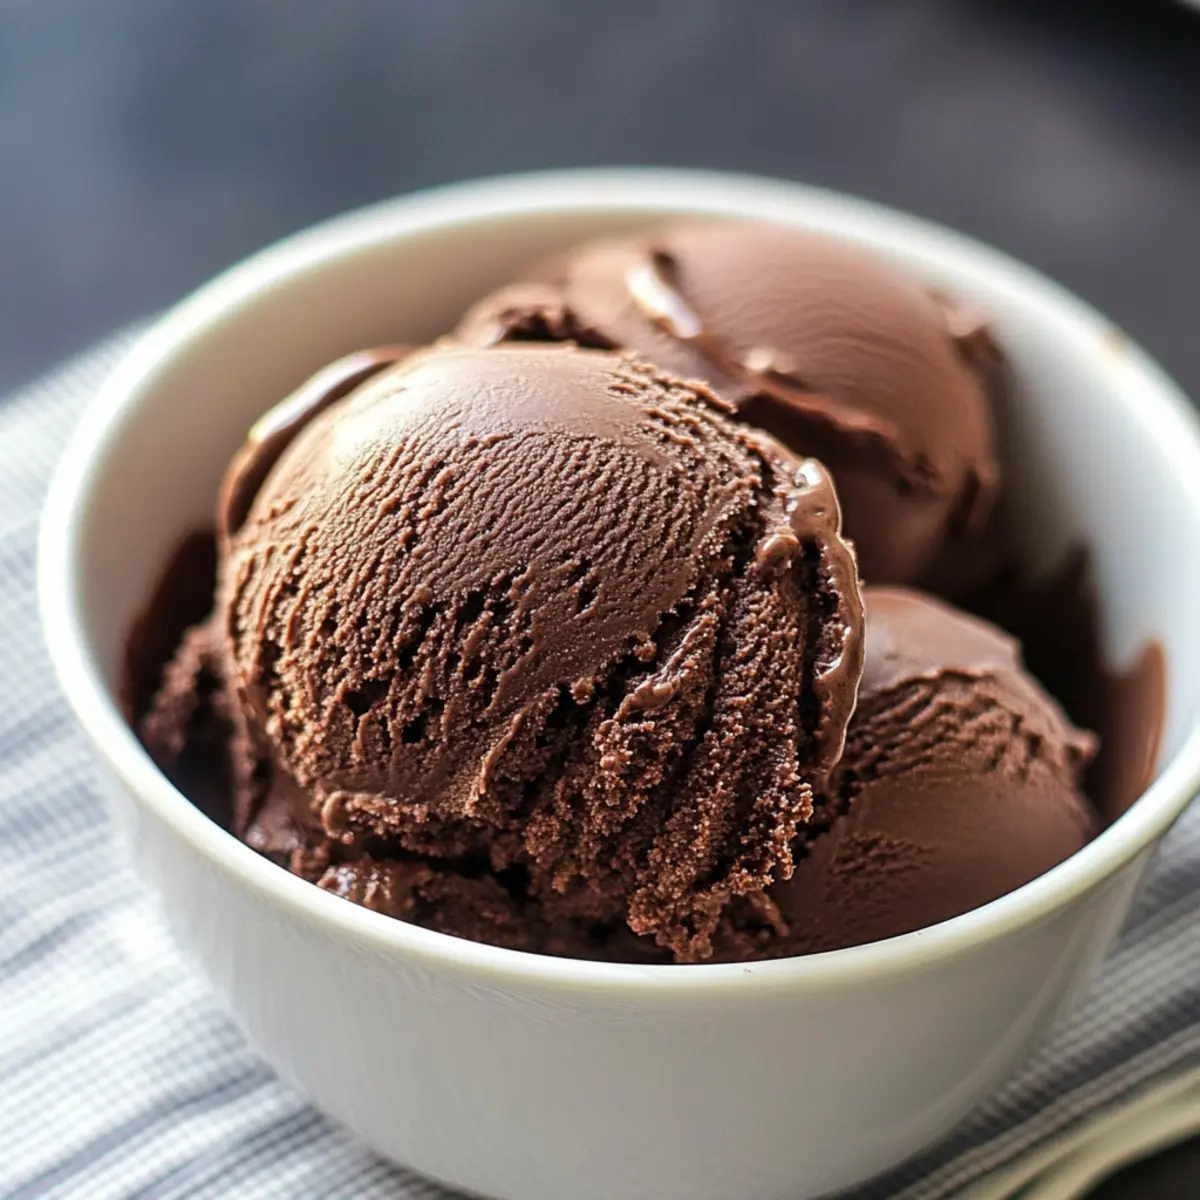
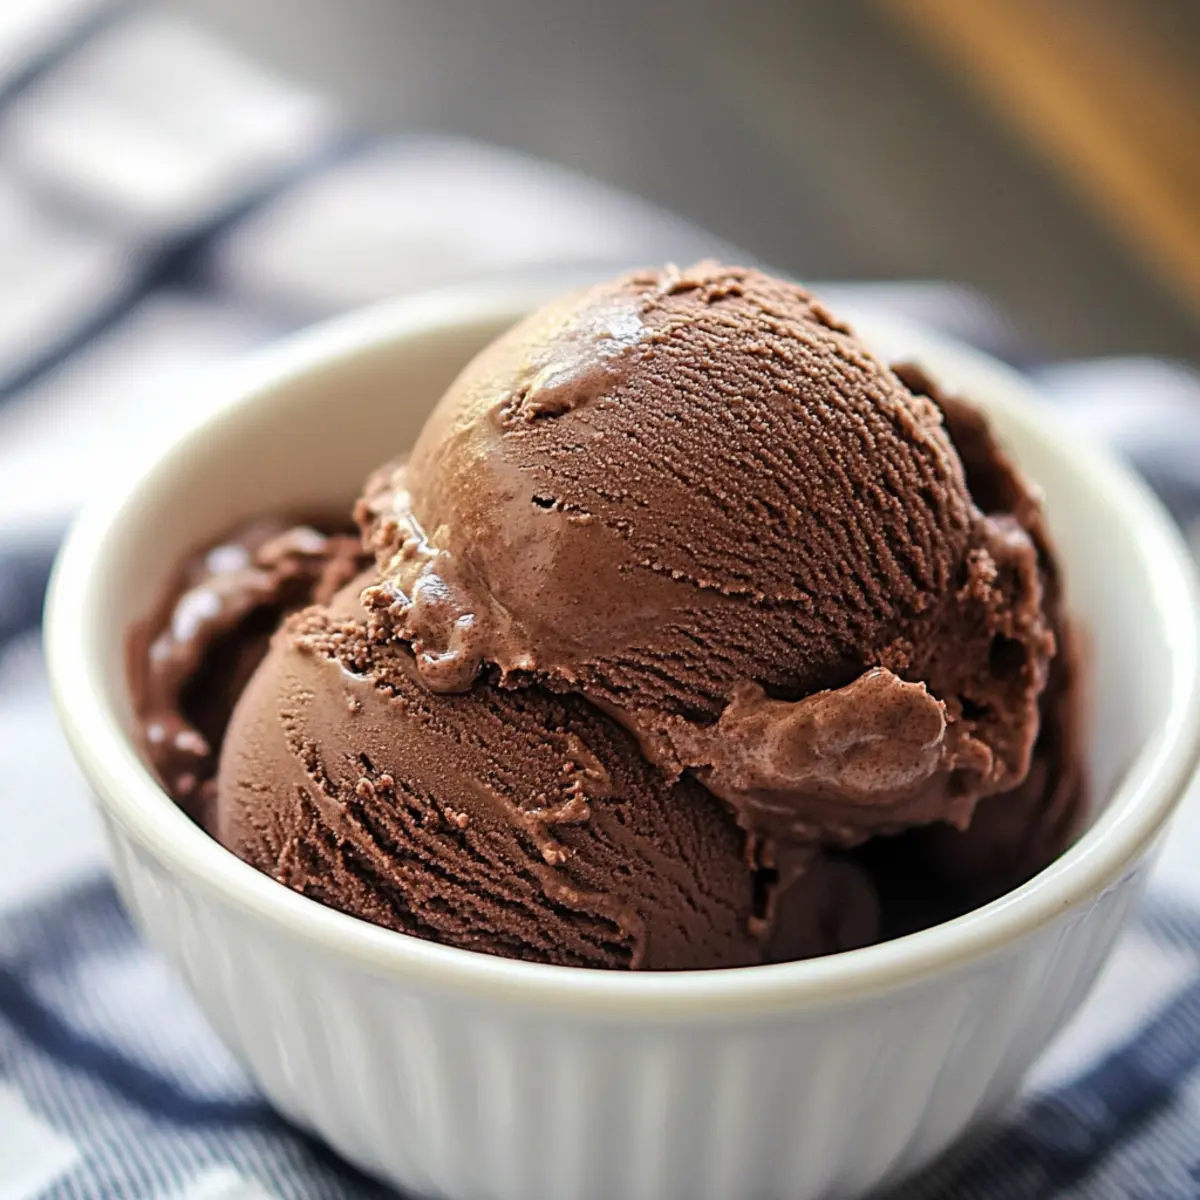
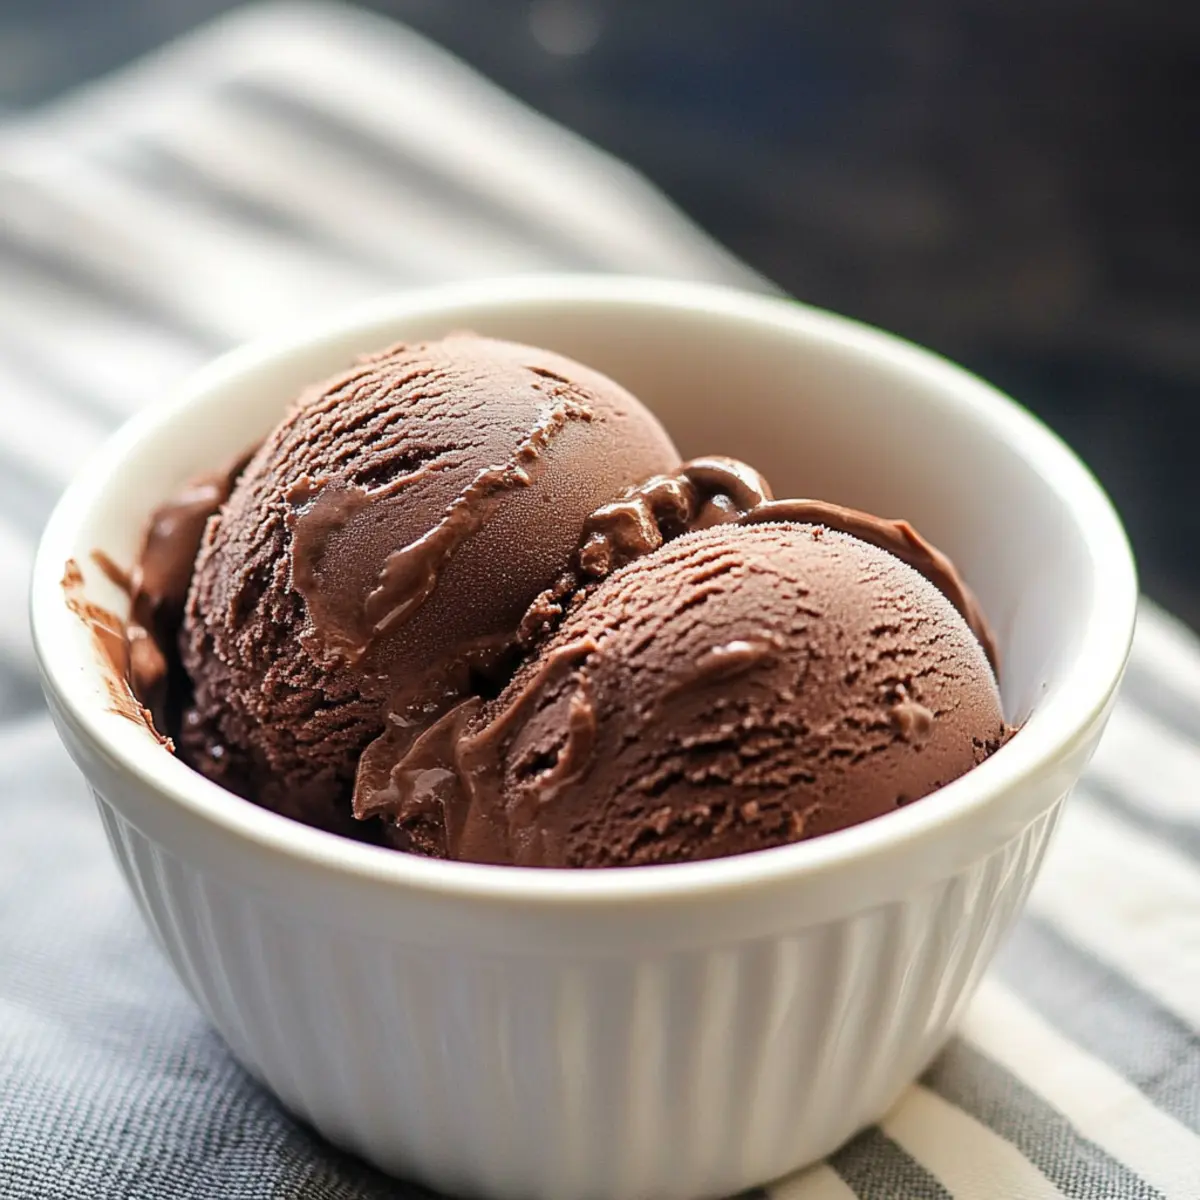
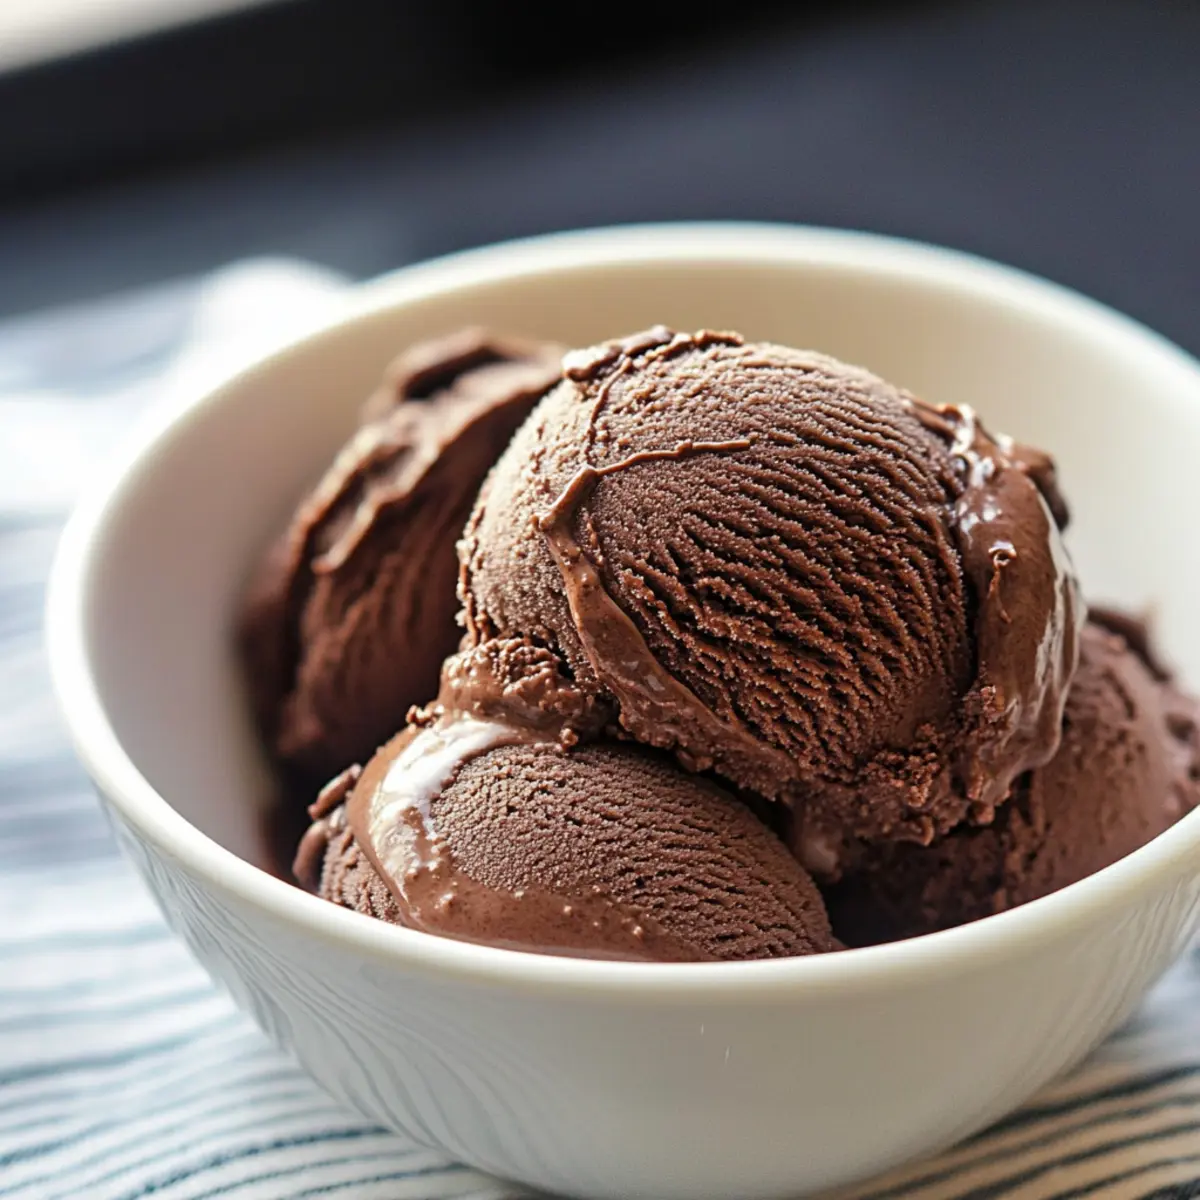
Once fully frozen, remove your homemade chocolate ice cream from the freezer and let it sit at room temperature for a few minutes before scooping. Use an ice cream scoop to serve into bowls or cones, and enjoy the rich, creamy texture that you’ve created. Whether enjoyed on its own or as a topping for desserts, this ice cream is sure to delight everyone!
Make Ahead Options
Preparing your Homemade Chocolate Ice Cream ahead of time is a fantastic way to save on precious minutes during busy weeks! You can make the ice cream base up to 24 hours in advance by chilling the mixture and storing it covered in the refrigerator. For optimal flavor, refrigerating overnight is ideal, allowing the flavors to meld. Additionally, you can churn the ice cream and transfer it to an airtight container, freezing it for up to 3 days before serving. To maintain that luscious texture, store it in an insulated container. When you’re ready to enjoy, simply scoop out the ice cream and let it sit for a few minutes at room temperature before serving, ensuring it’s just as creamy and delicious as when freshly made!
What to Serve with Homemade Chocolate Ice Cream
Indulge your senses with delightful pairings that elevate your homemade chocolate ice cream experience.
- Fresh Berries: Juicy strawberries or raspberries add a tangy contrast, balancing the ice cream’s richness with their natural sweetness.
- Chocolate Sauce: Drizzling warm chocolate sauce creates a divine, melt-in-your-mouth texture that chocolate lovers will relish.
- Whipped Cream: Light and airy, whipped cream brings a lush texture that enhances the creamy goodness of your ice cream.
- Warm Brownies: Serve a scoop atop a fudgy brownie for a decadent dessert that marries rich flavors beautifully.
- Salted Caramel Drizzle: The sweet-salty play of salted caramel elevates each bite, making it a deliciously irresistible combination.
- Crushed Nuts: Sprinkle walnuts or pecans for a delightful crunch and added depth, complementing the smoothness of the ice cream.
- Coffee: A cup of freshly brewed coffee creates a delightful pairing, with bold flavors that enhance the chocolate delight.
- Mint Leaves: Fresh mint adds a refreshing touch, creating a vibrant contrast that brightens the overall dessert experience.
- Coconut Flakes: Toasted coconut flakes add an exotic note, providing a chewy texture that complements every scoop.
Expert Tips for Homemade Chocolate Ice Cream
• Chill Well: Ensure the mixture is thoroughly chilled for optimal texture. This pre-chilling step enhances the creaminess when churning your homemade chocolate ice cream.
• Ice Cream Bowl: If using an ice cream machine with a removable bowl, freeze it for at least 24 hours ahead of time. This preparation prevents the ice cream from not setting properly.
• Avoid Ice Crystals: Store your ice cream in an insulated container to maintain creaminess and avoid unwanted ice crystals that can form in the freezer.
• Mix-Ins Madness: Get creative! Add chocolate chips, nuts, or caramel swirls during the last few minutes of churning for customized flavor and texture.
• Test for Sweetness: Taste the mixture before churning and adjust the sweetness if needed. The flavor can mellow slightly once frozen, so don’t hold back on satisfying your sweet tooth!
Storage Tips for Homemade Chocolate Ice Cream
Fridge: Store any leftover mixture in the refrigerator for up to 2 days before churning. Cover it tightly to prevent absorption of other odors.
Freezer: Once fully frozen, keep your homemade chocolate ice cream in an airtight container for up to 3 months to maintain its best texture and flavor.
Reheating: If your ice cream becomes too hard, let it sit at room temperature for about 5-10 minutes before scooping for easier serving.
Covering: Always smooth the top of the ice cream before sealing to minimize air exposure, which helps prevent ice crystals from forming.
Homemade Chocolate Ice Cream Variations
Feel free to get creative with this delightful treat and explore various ways to customize your homemade chocolate ice cream!
-
Dairy-Free: Substitute heavy cream with full-fat coconut milk for a rich, creamy, dairy-free version that’s just as indulgent.
-
No-Churn Delight: For a quicker option, use sweetened condensed milk instead of making the base from scratch. It’s a breeze!
-
Nutty Twist: Add chopped nuts like pecans or walnuts during the last few minutes of churning for added crunch and flavor.
-
Chocolate Chip Boost: Mix in your favorite chocolate chips right before the ice cream is fully churned for a delightful surprise in every scoop.
-
Spicy Kick: Enhance the chocolate flavor with a pinch of cayenne pepper or cinnamon, giving your ice cream an exciting warming spice that plays beautifully with the cocoa.
-
Swirled Goodness: Try adding a swirl of homemade caramel or peanut butter for an extra layer of flavor. This can elevate your ice cream experience into something truly gourmet!
-
Minty Freshness: Infuse the cream with fresh mint leaves during chilling and strain them out later for a refreshing mint chocolate version.
-
Fruity Finesse: Combine in some pureed strawberries or raspberries for a fruity twist, providing a delightful contrast to the rich chocolate base.
Exploring these variations will not only elevate your homemade chocolate ice cream but also spark your creativity in the kitchen. And if you’re still looking for more flavor inspiration, consider pairing this ice cream with a decadent slice of Pistachio Cream Cake or a rich dessert like Steak Tortellini in Creamhouse Sauce Bliss. Happy scooping!
Homemade Chocolate Ice Cream Recipe FAQs
What kind of cocoa powder should I use for the best flavor?
Absolutely! For a rich and intense chocolate taste in your homemade chocolate ice cream, I recommend using Dutch-processed cocoa powder. It offers a deeper flavor profile compared to natural cocoa powder, creating a more luxurious dessert experience.
How long can I store homemade chocolate ice cream in the freezer?
You can keep your homemade chocolate ice cream in an airtight container for up to 3 months. Make sure to smooth the surface before sealing to minimize air exposure, which helps prevent ice crystals from forming and keeps the texture creamy.
Can I freeze the ice cream mixture before churning it?
I often recommend against this because freezing the mixture solid can affect the consistency. Instead, chill your mixture in the refrigerator for 1 to 2 hours, or ideally overnight. This ensures that the flavors meld beautifully before churning, giving you the best texture and taste.
How do I prevent ice crystals from forming in my homemade chocolate ice cream?
To avoid ice crystals, store your ice cream in an insulated container, as it helps maintain the creaminess. Additionally, smooth the top before sealing and try to minimize air contact. If your ice cream becomes too hard, let it sit at room temperature for 5-10 minutes to soften before scooping.
Is this recipe pet-friendly?
No, this homemade chocolate ice cream is not safe for pets, especially dogs, as chocolate is toxic to them. I suggest enjoying it with family and friends while ensuring your furry companions have their own special treats.
Can I make changes for dietary restrictions?
Very! If you’re looking for a dairy-free option, substitute the heavy cream with full-fat coconut milk and leave out the whole milk, or use almond milk. For the no-churn option, sweetened condensed milk works beautifully while keeping the rich flavor intact.
Delightful Homemade Chocolate Ice Cream: Creamy No-Churn Recipe
Ingredients
Equipment
Method
- In a medium bowl, whisk together cocoa powder, granulated sugar, brown sugar, and salt until uniform.
- Gradually add whole milk to the dry mixture while whisking until smooth.
- Fold in heavy whipping cream and vanilla extract until well combined.
- Cover and refrigerate for 1 to 2 hours, or overnight for optimal flavor.
- Pour chilled mixture into an ice cream maker and churn according to the manufacturer's instructions.
- Transfer to an airtight container, smooth the top, and freeze for at least 4 hours until firm.
- Let sit at room temperature for a few minutes before scooping to serve.
Leave a Reply