
As the sun beats down and laughter fills the air, a scoop of something cool and delightful becomes the star of summer gatherings. My No-Churn Red, White and Blue Ice Cream is a visual treat that transforms any occasion into a festive celebration, especially perfect for the Fourth of July. Whipping this up is a breeze, with minimal prep time and no ice cream maker required—just pure, homemade joy layered in patriotic colors. Imagine the smiles on your family’s faces as they dig into this rich, creamy dessert, celebrating every bite. Plus, it’s an easy make-ahead option, allowing you to savor the day instead of stress about dessert. Curious what makes it irresistibly fun? Let’s dive into the details together!
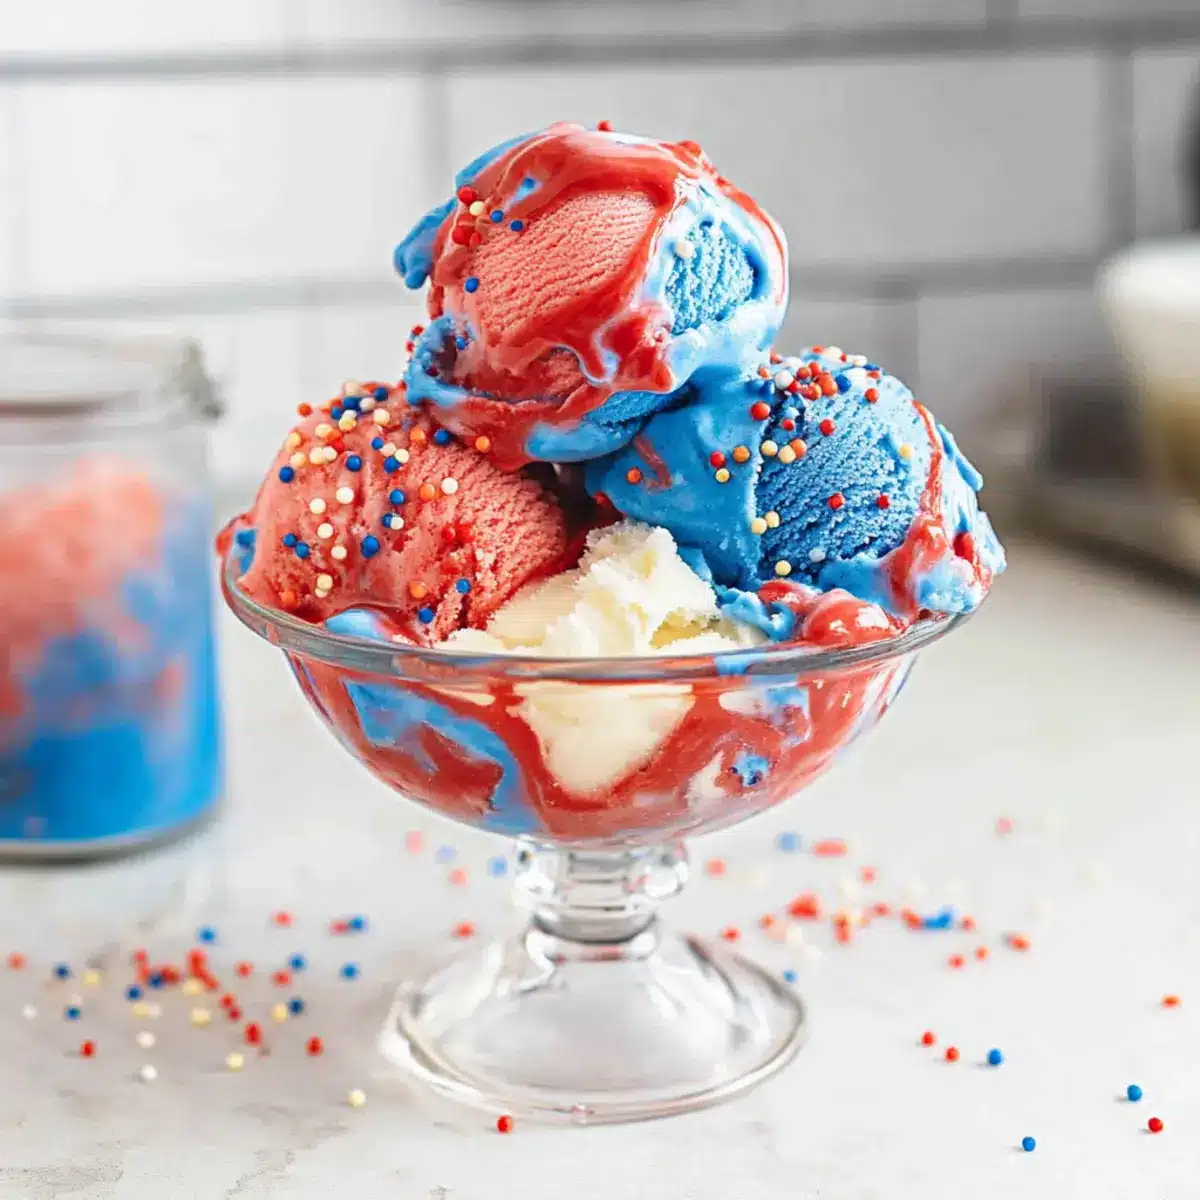
Why is this ice cream a summer must?
No-Churn Convenience: This recipe skips the hassle of ice cream makers, perfect for those looking for quick and easy summer treats.
Vibrant Layers: The striking red, white, and blue colors not only look fantastic but also add a festive touch to your gatherings.
Family-Friendly Fun: Kids will love being involved in creating this eye-catching dessert, making it a delightful bonding experience.
Versatile Design: Change the theme colors for any occasion, from bright pastels for Easter to earthy tones for Thanksgiving.
Make-Ahead Delight: Prepare this ice cream ahead of time—it keeps well in the freezer, allowing you to focus on enjoying the summer with loved ones.
Unleash your creativity and celebrate with this deliciously easy Red, White and Blue Ice Cream this summer!
Red, White and Blue Ice Cream Ingredients
• Ready to create your own deliciously fun dessert? Here’s what you’ll need!
For the Ice Cream Base
- Heavy Cream – Use very cold cream for that rich, creamy texture.
- Sweetened Condensed Milk – This adds sweetness and makes it super creamy without any churning.
- Vanilla Extract – The star ingredient that gives this dessert its delightful aromatic flavor.
For the Patriotic Colors
- Red Gel Food Coloring – Helps achieve that vibrant red layer; feel free to use other colors for different themes!
- Blue Gel Food Coloring – Adds that festive blue layer, making this dessert pop with color!
Optional Serving Suggestions
- Ice Cream Cones – A delightful crunchy contrast when serving your creamy creation.
Step‑by‑Step Instructions for Red, White and Blue Ice Cream
Step 1: Chill the Pan
Begin by placing a standard loaf pan in the freezer for about 15 minutes. This will help keep your layers from mixing together as you create your stunning Red, White and Blue Ice Cream. The chilled pan also aids in achieving the perfect texture, ensuring your ice cream remains creamy and delicious.
Step 2: Whip the Cream
In a large mixing bowl, add very cold heavy cream. Using an electric mixer, beat the cream on medium-high speed until stiff peaks form, which should take about 3-5 minutes. Watch for the cream to thicken and hold its shape; this will create a light, airy base for your no-churn ice cream.
Step 3: Incorporate Ingredients
Gently fold in the sweetened condensed milk and vanilla extract with a spatula until everything is just combined. This technique preserves the fluffy texture you built while whipping the cream. Make sure to mix thoroughly but carefully to keep the airiness, which is vital for your Red, White and Blue Ice Cream.
Step 4: Divide the Mixture
Once the mixture is uniform, divide it evenly into three separate bowls. Tint one bowl with red gel food coloring, another with blue, and leave the third bowl white. Stir each bowl gently until the colors are vibrant and well-mixed, creating the beautiful layers that will define your patriotic dessert.
Step 5: Layer in the Pan
Start layering by spooning the red mixture into the chilled loaf pan, spreading it evenly. Next, add the white mixture, smoothing it out to avoid mixing. Finally, top with the blue mixture, creating a visually appealing striped effect. Each layer adds a pop of color to your Red, White and Blue Ice Cream!
Step 6: Freeze Until Firm
Cover the loaf pan with plastic wrap and place it in the freezer for 6 to 8 hours, or until the ice cream is fully set. This step is crucial for developing a smooth and creamy texture. During this time, the layers will meld together while keeping their distinct colors.
Step 7: Serve and Enjoy
Remove the ice cream from the freezer and let it sit for a few minutes at room temperature to soften slightly. Scoop generous portions into bowls or cones, garnishing with festive patriotic sprinkles if you desire. Your vibrant Red, White and Blue Ice Cream is now ready to be enjoyed with friends and family!
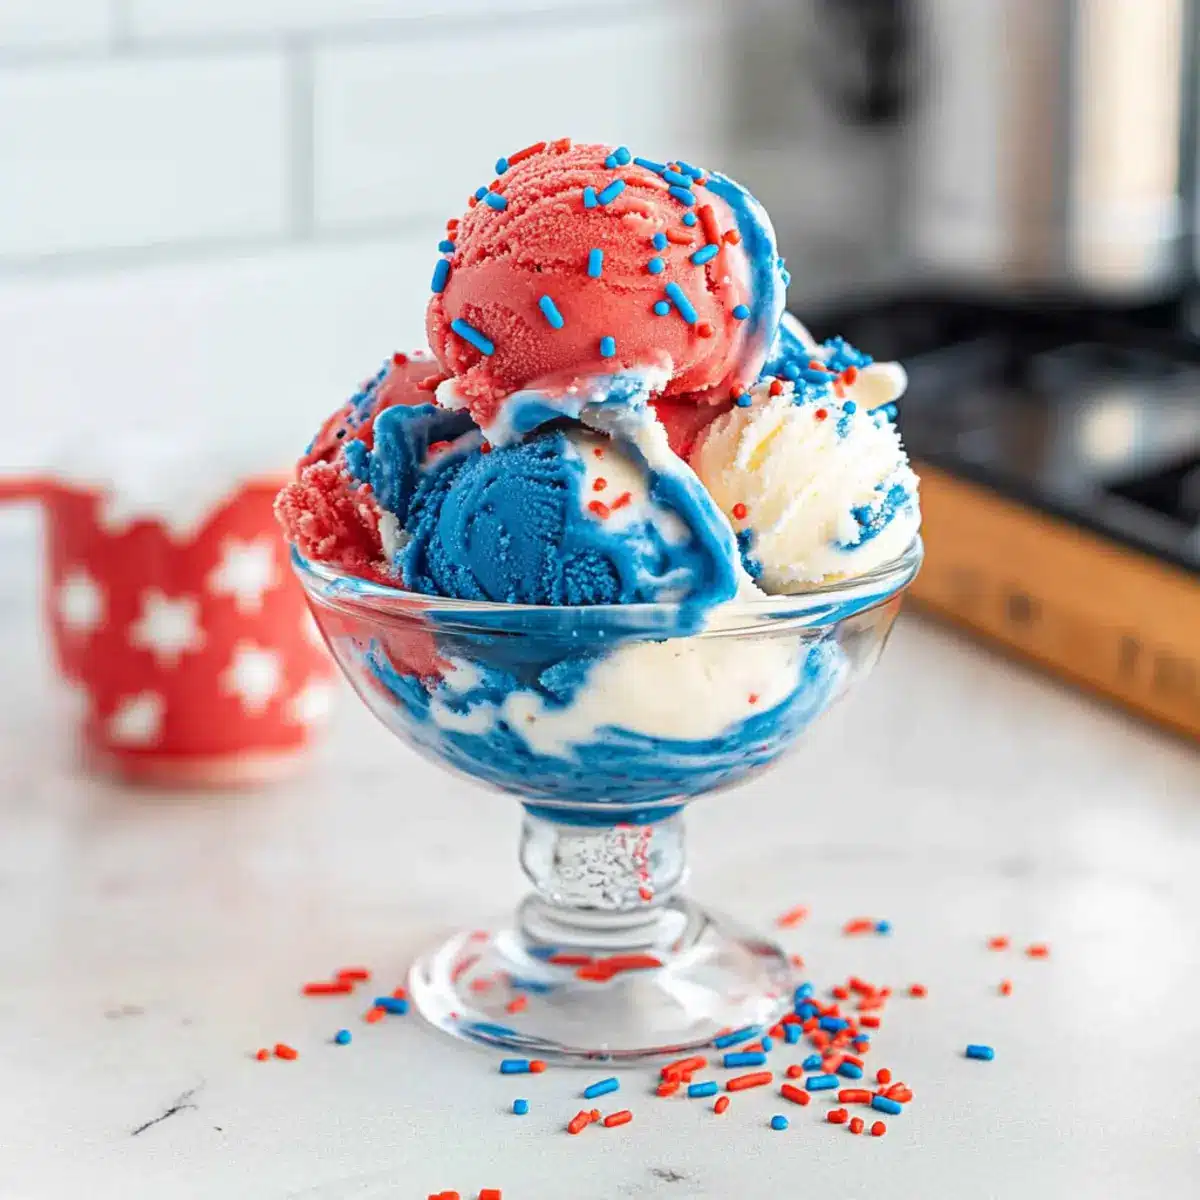
Storage Tips for Red, White and Blue Ice Cream
Fridge: Store any leftover Red, White and Blue Ice Cream in the freezer for up to 3-4 weeks. Keeping it well-sealed prevents freezer burn and preserves its delightful texture.
Freezer: Wrap the loaf pan in plastic wrap if you plan to store it there; it can stay fresh for up to 1 week, maintaining its creamy goodness.
Reheating: If the ice cream is too hard to scoop, let it sit at room temperature for 5–10 minutes for easier serving. This will soften it to the perfect consistency!
Airtight Containers: For longer storage, consider transferring the ice cream into an airtight container, which helps retain flavor and prevent ice crystals from forming.
Expert Tips for Red, White and Blue Ice Cream
-
Cold Ingredients: Ensure the heavy cream is very cold before whipping; this helps achieve stiff peaks and a creamy texture.
-
Gentle Folding: When combining sweetened condensed milk and vanilla, fold gently to preserve the airiness of the whipped cream, critical for your Red, White and Blue Ice Cream’s fluffy consistency.
-
Coloring Caution: Use gel food coloring instead of liquid for brighter, more vibrant layers. Too much liquid can alter the texture of your ice cream.
-
Layering Technique: To avoid colors mixing, add a layer of cream, then gently smooth it out before adding the next color, creating distinct stripes.
-
Storage Solutions: Keep leftovers in an airtight container for up to 3-4 weeks; if in the loaf pan, cover with plastic wrap for optimal freshness up to a week.
Make Ahead Options
These delightful Red, White and Blue Ice Cream treats are perfect for meal prep enthusiasts looking to save time during busy summer festivities! You can make the ice cream base up to 24 hours in advance and freeze it until serving. To do this, follow the steps to whip and layer the ice cream, then cover it tightly with plastic wrap and ensure it’s in an airtight container. This helps maintain that creamy texture and prevents freezer burn. When it’s time to serve, simply remove the ice cream from the freezer, let it sit for a few minutes to soften slightly, scoop, and enjoy a festive dessert that will impress your family and friends!
Red, White and Blue Ice Cream Variations
Feel free to get creative with these delightful twists to make your ice cream even more personalized and fun!
- Different Colors: Swap the red and blue gel food coloring for other vibrant options to match any celebration theme. Think pastel shades for a springtime treat or earthy tones for Thanksgiving festivities. This versatility ensures your dessert remains eye-catching no matter the occasion!
- Flavor Infusions: Add a teaspoon of almond or mint extract to the base for a unique flavor twist that enhances the vanilla and adds depth to your ice cream. Just imagine a light, refreshing minty scoop on a warm summer day!
- Chunky Add-Ins: Toss in crushed cookies, chocolate pieces, or fresh berries into the layers before freezing for added texture and flavor. This little surprise is sure to delight your guests with each scoop!
- Vegan Version: For a dairy-free alternative, use coconut cream instead of heavy cream and a plant-based sweetened condensed milk. Enjoy a creamy, dreamy ice cream that everyone can love!
- Fun Sprinkle Layers: Create edible layers by adding colorful sprinkles between the ice cream layers. These vibrant pops of fun add a playful crunch that’s sure to be a hit with kids and adults alike!
- Sorbet Variation: Transform the ice cream into a no-churn sorbet by blending frozen fruits like strawberries and blueberries with sweetened condensed milk. You’ll create a refreshing summer treat bursting with natural flavors!
- Layered Parfaits: For a fun presentation, layer scoops of your ice cream in cups with fresh fruit or whipped cream. This looks fabulous and offers a delightful mix of flavors and textures in every bite.
With these variations, your homemade Red, White and Blue Ice Cream will always be a crowd-pleaser! Enjoy tailored options that cater to everyone’s tastes and preferences.
What to Serve with No-Churn Red, White and Blue Ice Cream
Indulging in this vibrant dessert sparks joy, especially when paired with delightful complements to elevate your summer gatherings.
-
Crunchy Ice Cream Cones: Serve your ice cream in crispy cones to add a lovely crunch, creating a perfect textural contrast to the creamy layers.
-
Fresh Berries: A medley of strawberries and blueberries enhances the patriotic theme, providing a burst of freshness that balances the sweetness beautifully.
-
Homemade Brownies: The rich, fudgy texture of brownies pairs flawlessly with the lightness of the ice cream, making for an irresistible combination.
-
Chocolate Drizzle: A drizzle of melted dark chocolate on top adds an elegant touch and a hint of bitterness that plays well with the dessert’s sweetness.
-
Whipped Cream: Light and airy whipped cream makes a fantastic addition, enhancing the creamy texture of the ice cream while amplifying its volume on the plate.
-
Sparkling Lemonade: A refreshing glass of homemade sparkling lemonade offers a zesty contrast, quenching your thirst and complementing the creamy dessert.
-
Fruit Salad: A vibrant fruit salad, tossed with mint, adds a refreshing burst of flavor and color, balancing the creaminess of the no-churn red, white, and blue ice cream.
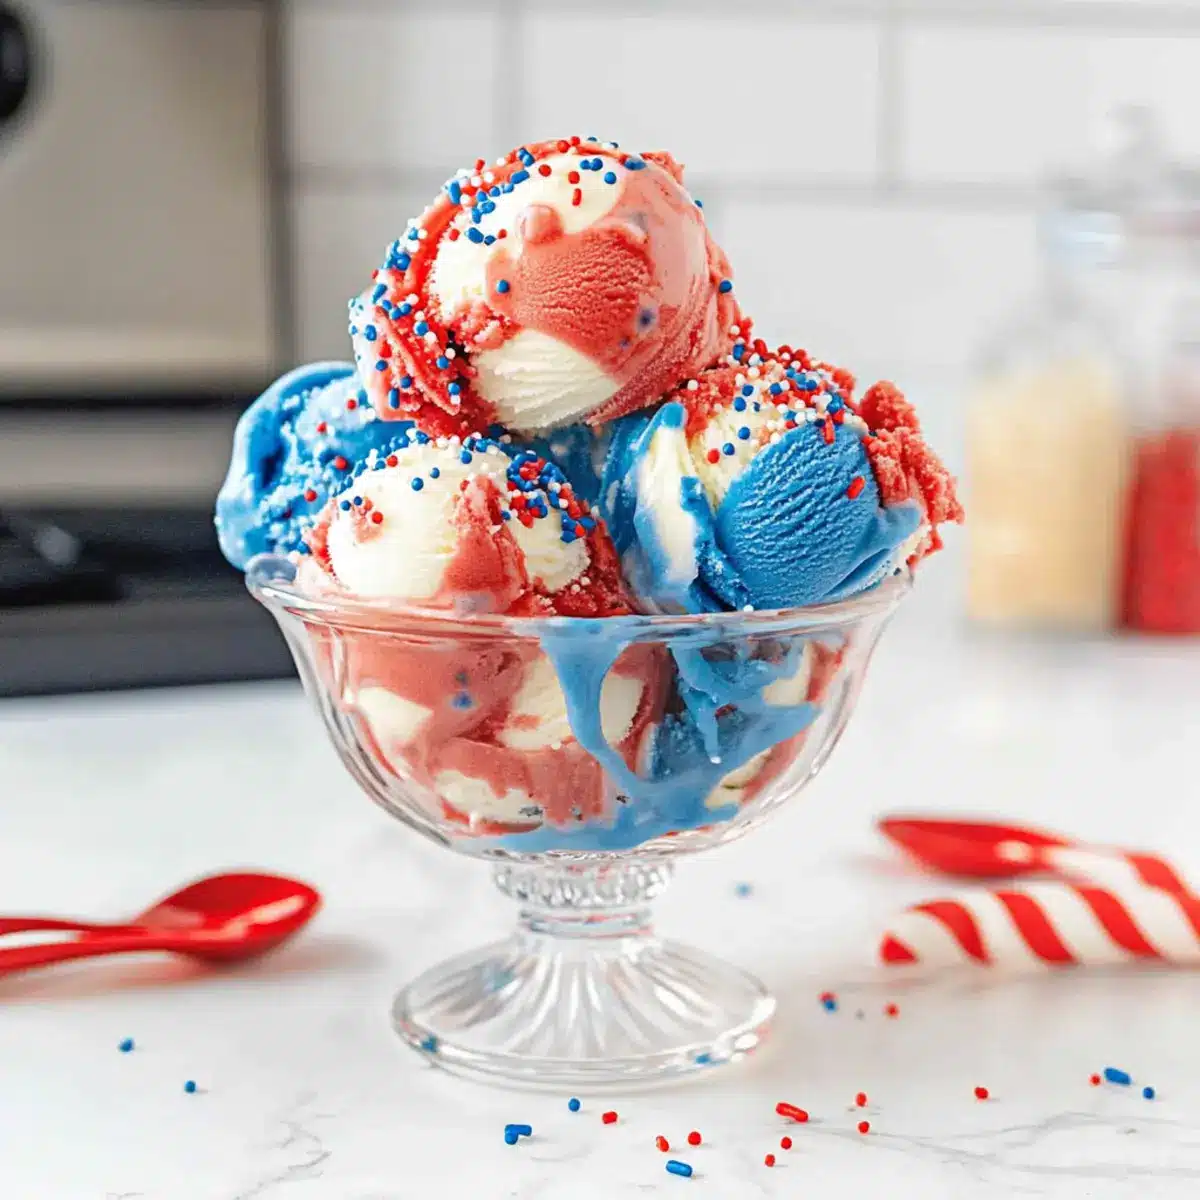
Red, White and Blue Ice Cream Recipe FAQs
What type of heavy cream should I use for the ice cream?
Absolutely! Use a heavy cream with a fat content of at least 36%. This will ensure you get that rich and creamy texture essential for your Red, White and Blue Ice Cream. Make sure it’s also very cold before whipping, as this greatly aids in achieving stiff peaks.
How should I store leftovers of the ice cream?
I recommend keeping any leftover Red, White and Blue Ice Cream in an airtight container for up to 3-4 weeks in the freezer. This prevents freezer burn and helps maintain its delightful texture. If you prefer to keep it in the loaf pan, just wrap it in plastic wrap and it’ll stay fresh for about a week.
Can I freeze this ice cream? If so, how?
Yes! To freeze it properly, ensure the ice cream is in a tightly sealed container or the loaf pan is wrapped well in plastic wrap. It will last up to 3 months in the freezer. When ready to enjoy, let it sit at room temperature for about 5-10 minutes to soften before scooping—it makes for easier serving!
What if my ice cream mixture is too runny after mixing?
If you find that your mixture is too runny before freezing, it may be due to the cream not being cold enough or the whipping process not being thorough. You can fix this by chilling your mixing bowl and heavy cream for a short time before whisking again until stiff peaks form. It’s so important to get that airy texture!
Are there any dietary considerations for this recipe?
Yes, please consider that this recipe contains dairy, so it may not be suitable for those with lactose intolerance or dairy allergies. An alternative for a dairy-free version would be to use coconut cream mixed with coconut milk, which can allow you to enjoy a similar texture without lactose. However, the taste will vary slightly.
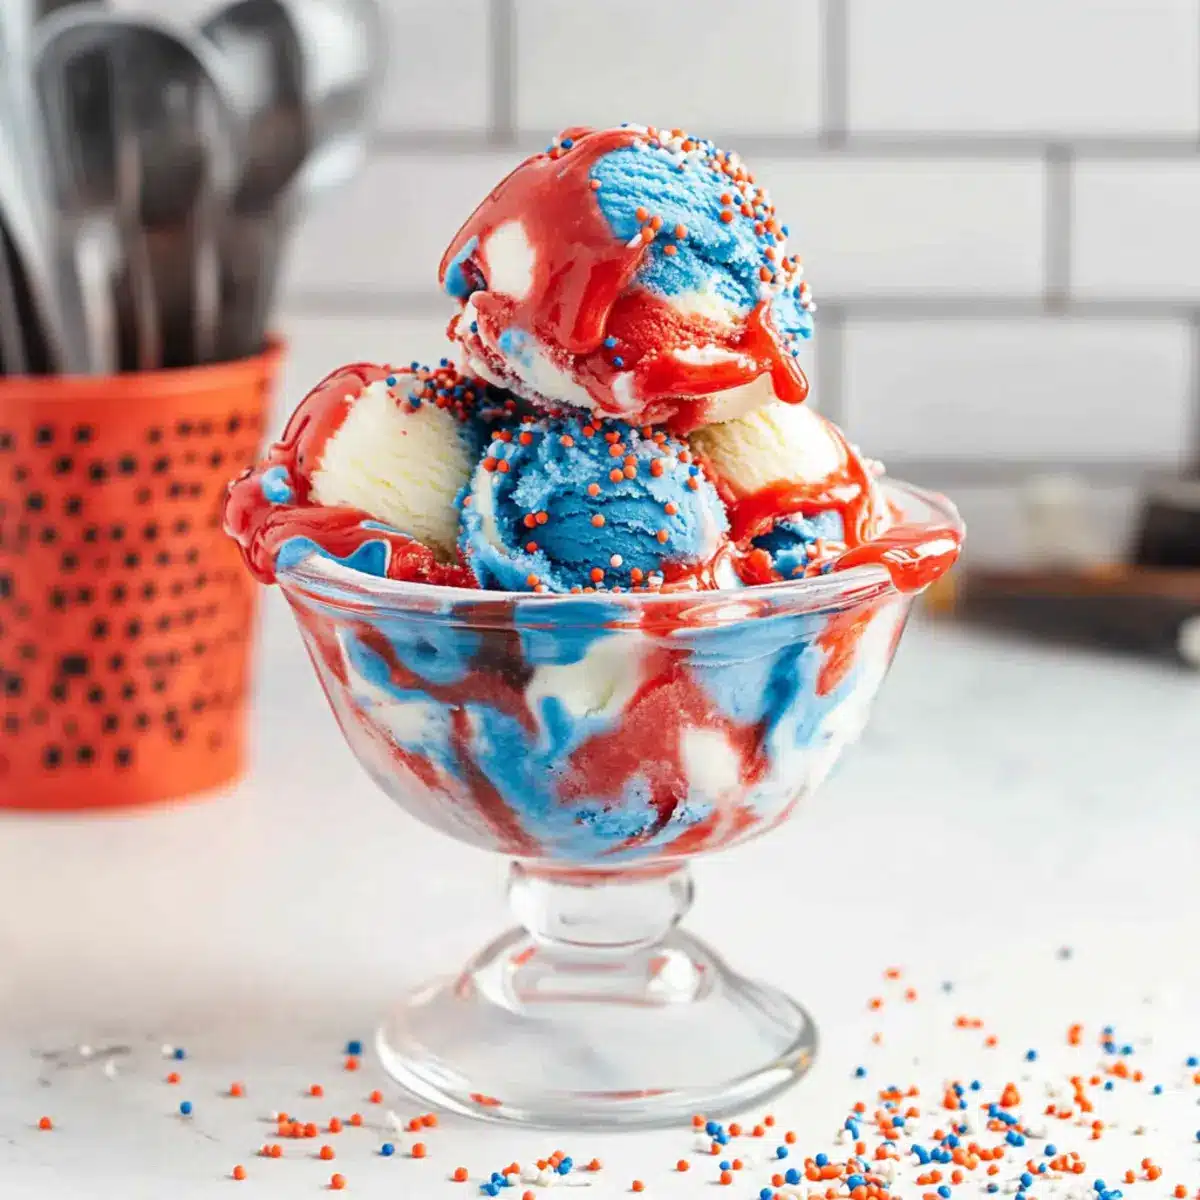
Deliciously Easy Red, White and Blue Ice Cream for Summer Fun
Ingredients
Equipment
Method
- Chill the loaf pan in the freezer for about 15 minutes.
- In a large bowl, whip the cold heavy cream until stiff peaks form, about 3-5 minutes.
- Gently fold in sweetened condensed milk and vanilla extract until just combined.
- Divide the mixture into three bowls. Color one red, one blue, and leave one white.
- Layer the colored mixtures in the chilled loaf pan, starting with red, then white, and topping with blue.
- Cover with plastic wrap and freeze for 6-8 hours until firm.
- Let sit at room temperature for a few minutes before serving.
Leave a Reply